


Put Together a Minimalistic Hanging Porch Planter for Under $5
Greenery is always a plus when it comes to decor, and this hanging porch planter is a great way to add some simple appeal to your home. It’s a quick project that uses basic materials that you probably already have lying around your shed. Create a whole bunch for a line of planters, or stagger them to keep the eye moving. I’ll be hanging mine outside, but you can choose to hang yours inside if you desire. It’s entirely up to you! Check out my step-by-step tutorial below to get started now!
Tools and Materials:
- Wood
- Jigsaw
- Drill
- Paint
- Paintbrush
- Paracord
- Lighter
- Planter
- Screw eye
- Screwdriver
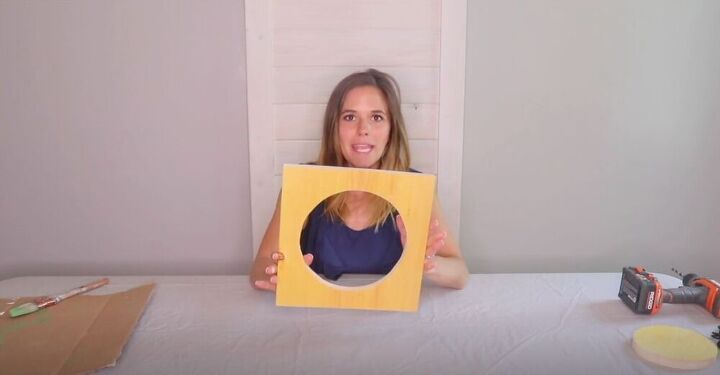
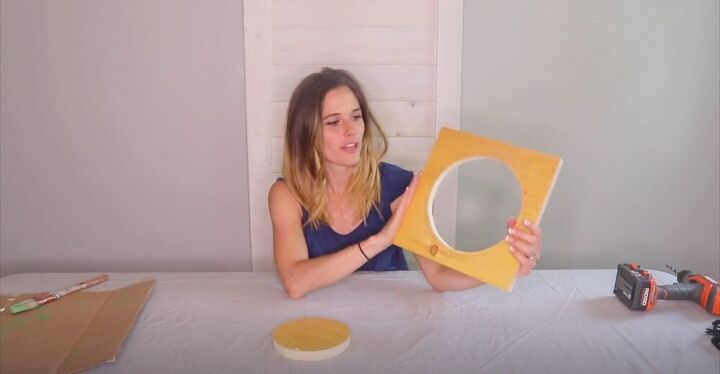
I started out by cutting a circle out of the square piece of wood. Go ahead and use whatever method works best for you for this. The hole should be big enough for the planter to fit into it, but not so big that it falls through. It works best with planters that are tapered at the top. I measured the top of mine, subtracted about half an inch, and cut my circle accordingly.
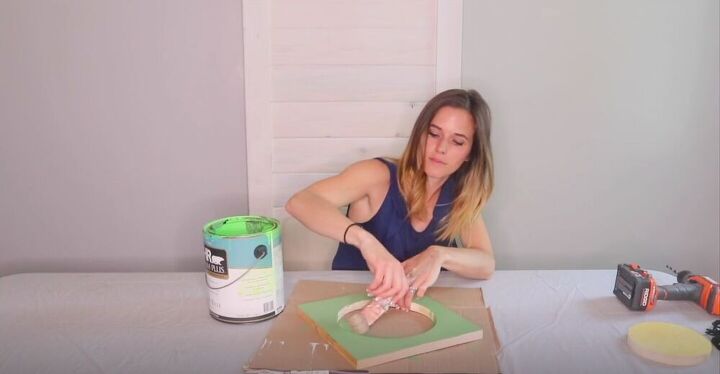
Next I painted the wood. This planter will be living outside, so I made sure to use a paint that was made to be used outdoors. Get a good two coats on for full coverage.
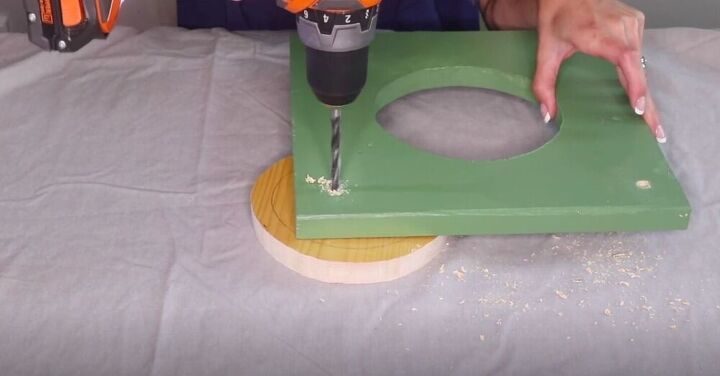
]I needed to attach a paracord to each corner of my wood, so I drilled a hole at each corner. I used my circle piece of scrap wood to prop up the block.

Make sure to periodically clean any sawdust off the drill bit.
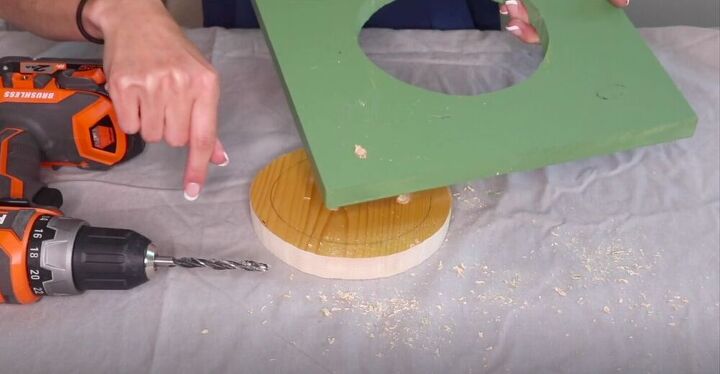
When you break through to the other side of the wood you may end up with some splitting. If this happens, just go ahead and touch it up with a bit of paint.

You only need two pieces for this project, so cut each of them at about double the length they need to be for how low you want them to hang.

Tip:
With nylon, you need to burn any cut ends to stop them from fraying.
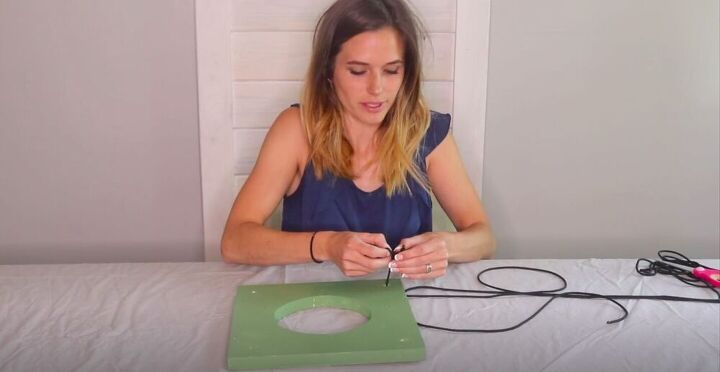
I tied a cord to opposite corners of my planter. I tied three knots for each cord to make sure that it wouldn’t slip through the hole. Make sure that the knot is tied on the bottom of the board.
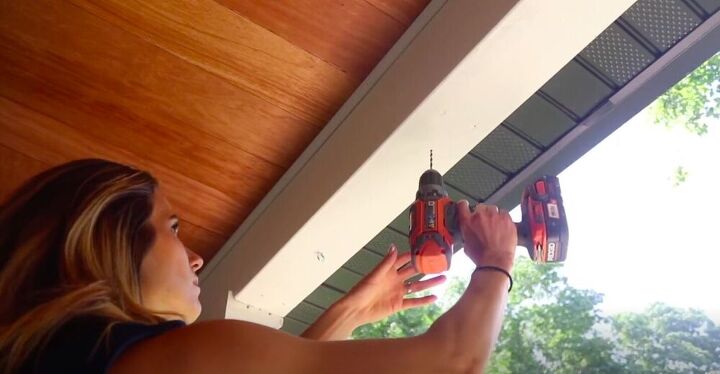
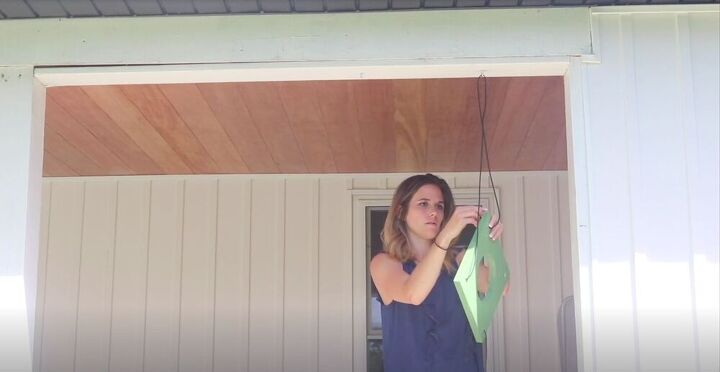
I drilled into the roof of my porch and added a screw eye. Make sure that the screw eye that you’re using is rated for the weight it will be holding. If you want it to be removable, you can use a hook instead. I was a little concerned about them coming off in the wind and I didn’t want it to fall off if one of my kid’s knocked into it, so I decided to make them more permanent with screw eyes.
Using a screwdriver, I twisted the screw eye into place.
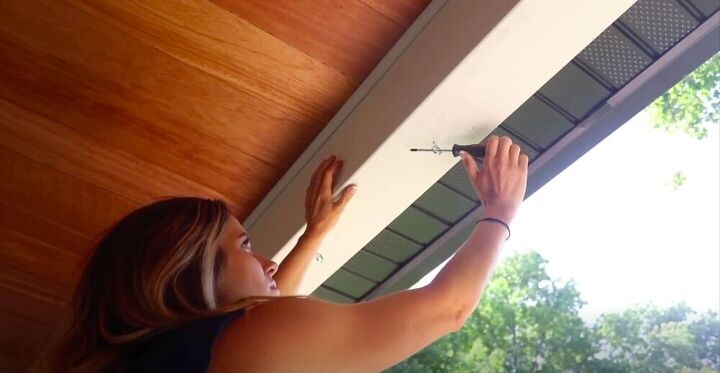
Then I threaded one of the paracords through the screw eye and the wooden board, and tied it on the other side like I did in the previous step.
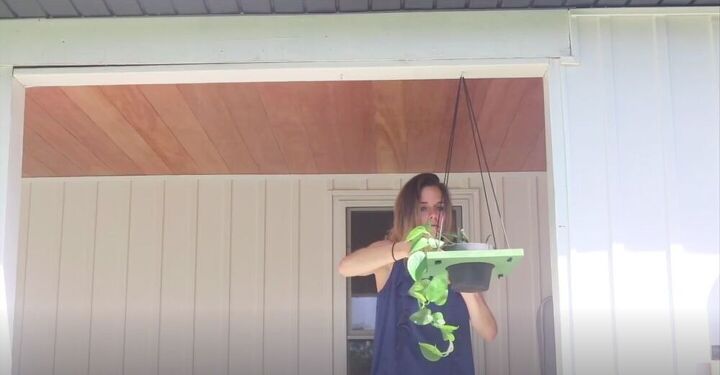
I repeated this with the other cord, set my planter into the hole, and voila, my project was complete!
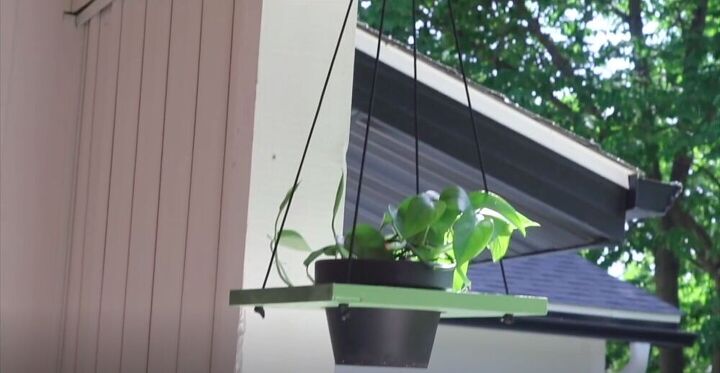
This is a great, minimalistic hanging porch planter that will add a pop of color to your home’s facade! How would you customize yours? Let me know in the comments below!


Comments
Join the conversation
-
Brilliantly easy and clean looking design. I love the possibilities! I am looking forward to making several for my sun-room.


Frequently asked questions
Have a question about this project?