


DIY Floating Cedar Shelf For Bedroom
2 Materials
$13
2 Hours
Medium
Ever want some vertical display space? Here a simple way to mount a floating cedar shelf
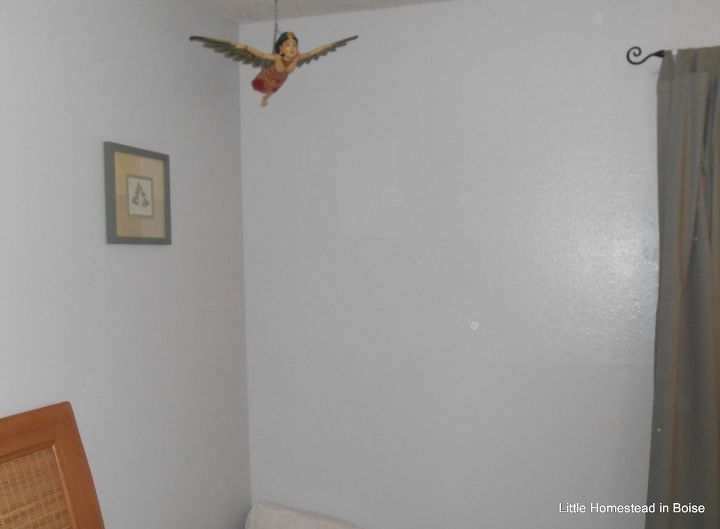
Before photo, empty wall
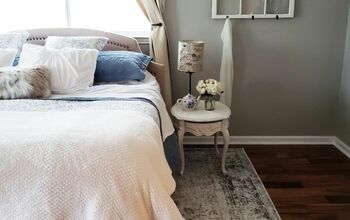
We painted our master bedroom a few weeks ago. I had wanted to do something that wasn't just more pictures on the wall. I asked my husband Dave to build a floating Cedar shelf in the empty bedroom space. There's a short wall on my side of the bed between the outside corner wall and the window. I thought it would be a perfect place to float a shelf and add some decorative items on it.
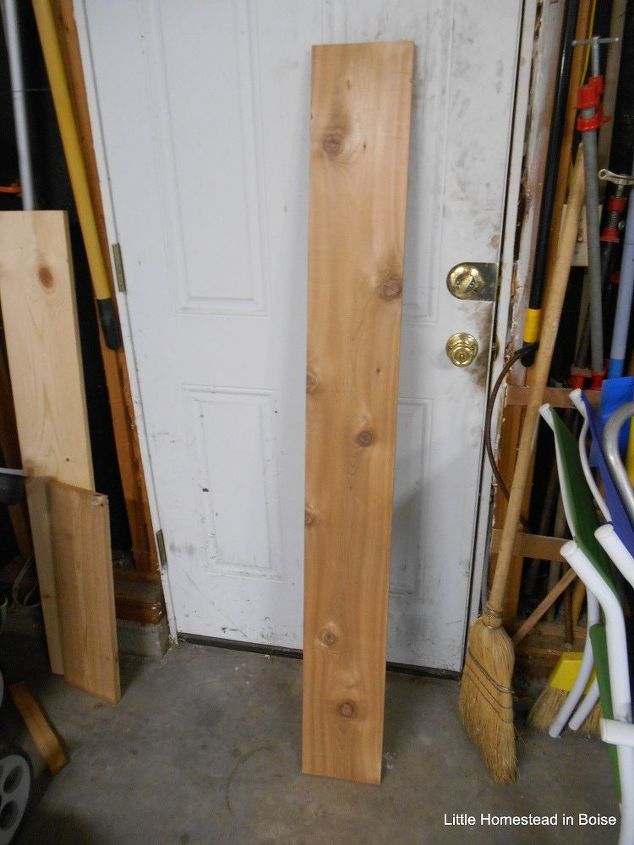
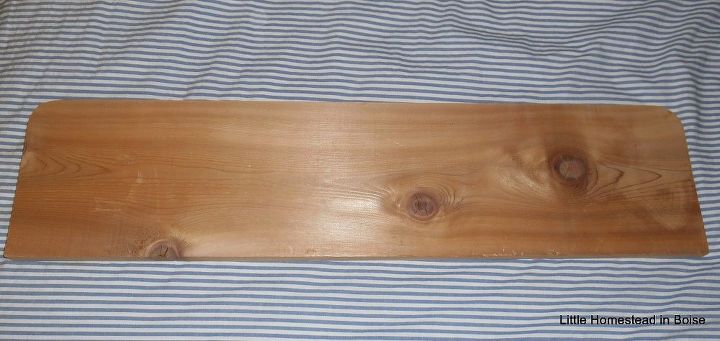
Cedar board
Step 1- We bought a nicer quality finished cedar board (not fencing) with one side is very very smooth. One board was about $22, but since I found one that was split on the end they gave it to us for half price. Yeah! I wanted to make sure the wood we bought had one nice outside edge with no knots since that would be showing.
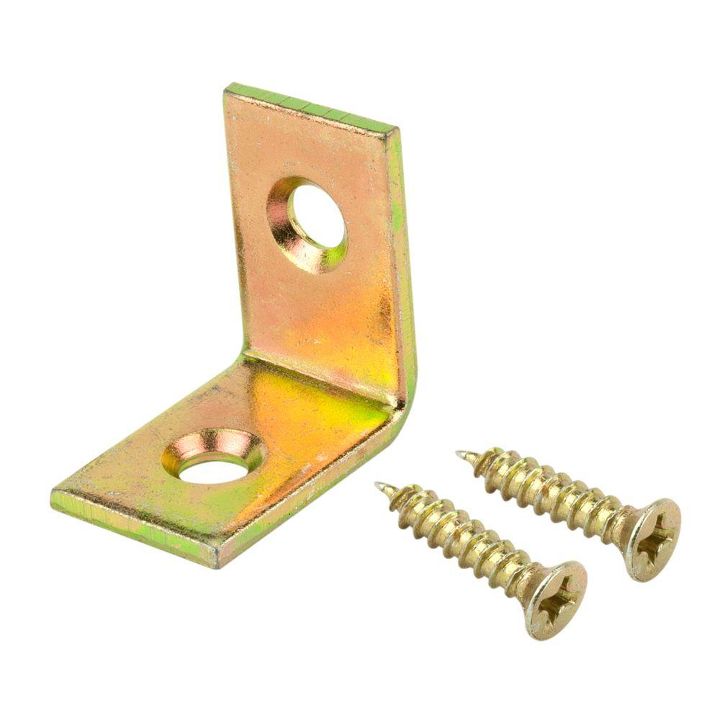
L brackets
Step 2- Dave bought a couple of 3/4" L brackets and small screws, measured the correct length for the space.
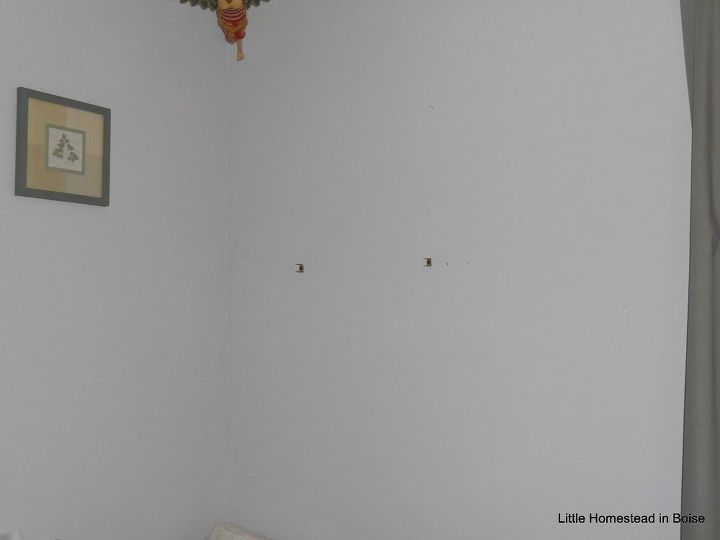
Brackets mounted
Step 3- Cut the wood the length to fit the area. He then found the studs using a stud finder, then mounted the brackets. He used on on the top, one down, so it looks like a U.
Shelf cut to size
Step 4- I asked Dave to round the shelf on the edge, he used jig saw for that, then lightly sanded the edges. He did a little bit of sanding with his palm sander.
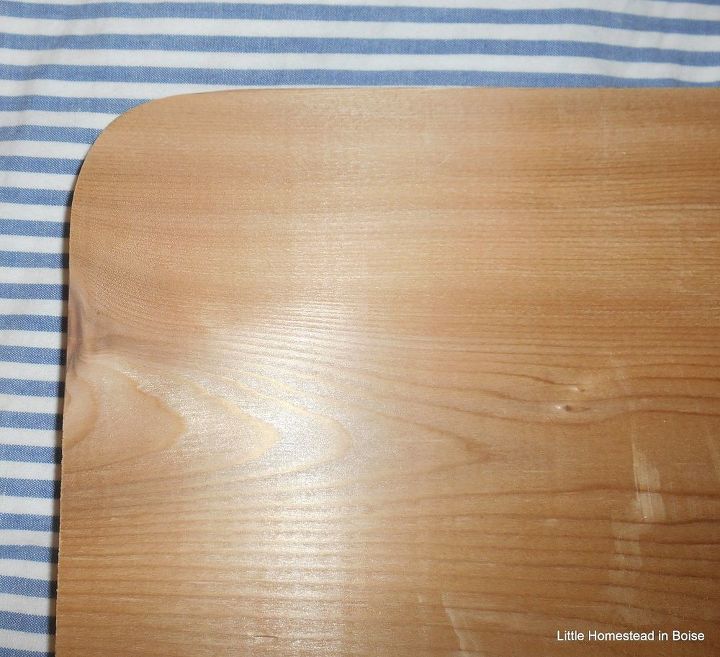
Step 4- Close up shot, looking good!
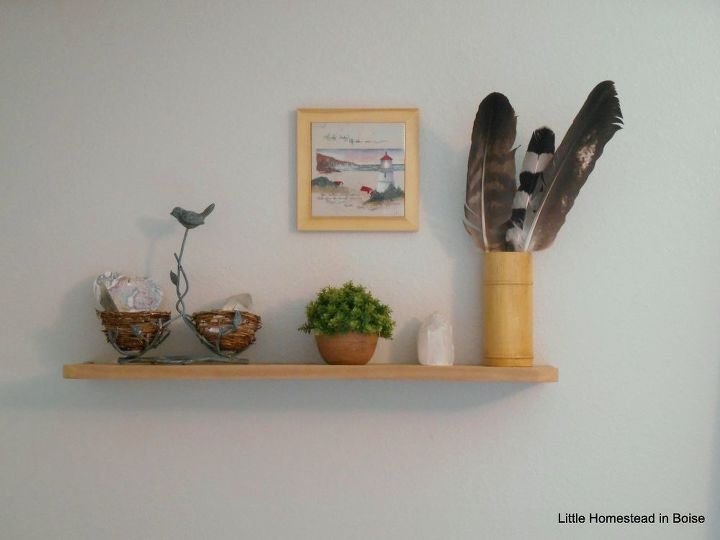
Finished shelf
Step 5- I held the board while he screwed it into place. I left it unfinished since I love the color!
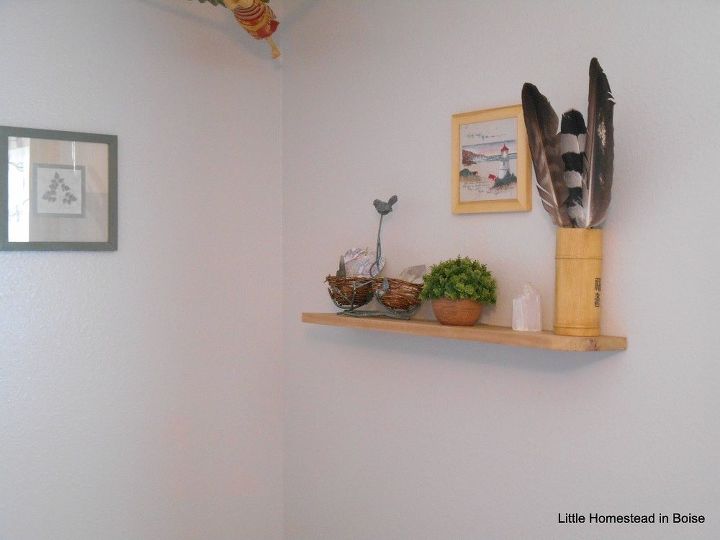
Step 6- Once he got it up and installed it it looked great! I notice it every time I walk into the room!!!

Want more details about this and other DIY projects? Check out my blog post!


Frequently asked questions
Have a question about this project?