DIY Rope Hanging Shelves

by
Happenings of a Housewife
(IC: blogger)
4 Materials
$25
4 Hours
Easy
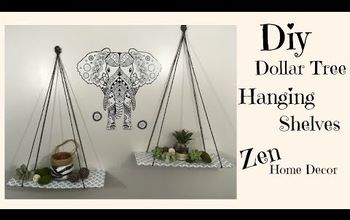
Do you ever shop online and see something you just love and then see the price?!! Your heart sinks and you think, I just can't bring myself to pay that! Or maybe you want it really bad but you know your husband would kill you for spending that much! A similar situation happened to my sister in law a little while back. But instead of being discouraged, she gave me a call! "Dawnya", she said. "Do you think you could make me these awesome shelves I saw today online?" Of course I was up for the challenge! She sent me a picture and I went to work. The good news is, they were easy! You are going to love them and with these simple instructions, you can make your own too! Let's get started!
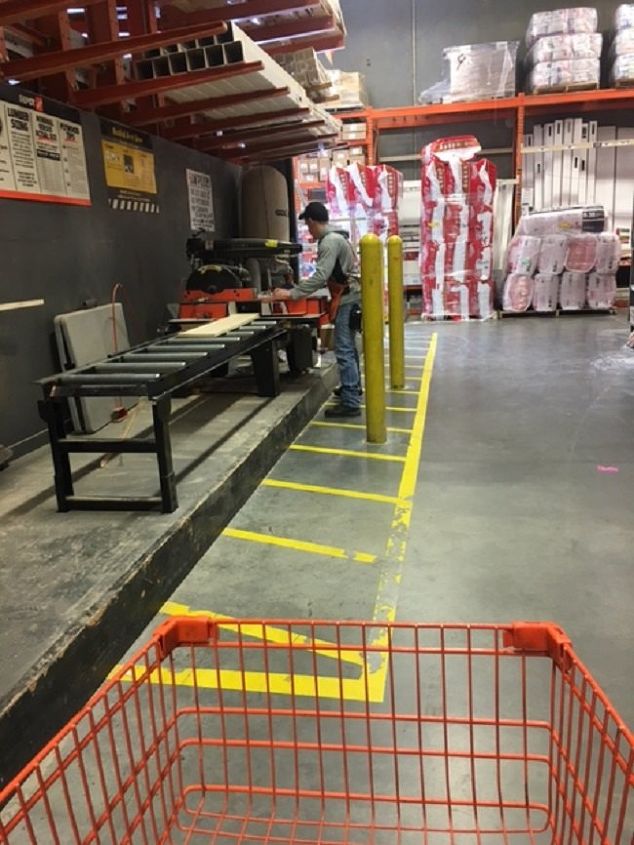
First I went to Home Depot for supplies. I purchased the straightest 12 foot long 1" x 8" pine board I could find. I had the nice young man who worked there cut it into 3 even pieces, 4' long for me. Yeah, that eliminated a step for me, and they cut it FOR FREE!
I also picked up some stain and some rope while I was there.
I measured 1 1/2 from each corner and marked the spot with a pencil.
Next, I drilled holes and used my router and with the round over bit to take the sharp edges off all the sides.
I stained all three boards on both sides and let them dry overnight.
I cut 2 sections of about 12' of rope. I took one end of each of the ropes and wrapped it with electrical tape so it would be easy to thread. I threaded one rope through 2 holes on the end the board I wanted to be the top shelf. I measured out about 3 1/2' of slack that I would need to hang it. This creates a loop at the top. Then I tied a knot under each corner of the shelf for support. The most difficult part was making the knots even.
If you want a bigger space between your shelves, just cut the rope longer.
It may take some adjusting of the knots to get your shelves to sit nice and even. This really was the hardest part of the entire project. Just have a little patience and you will get there.
Now your shelves are ready to hang. You could hang your shelves any way you like. I chose these cute knobs I found at Hobby Lobby.
Just use dry wall anchors to hang them so that you have enough support to hold up your shelves.
And you're done!
Don't you love the finished product?
Enjoyed the project?
Resources for this project:
See all materials
Any price and availability information displayed on [relevant Amazon Site(s), as applicable] at the time of purchase will apply to the purchase of this product.
Hometalk may collect a small share of sales from the links on this page.More info

Want more details about this and other DIY projects? Check out my blog post!
Published August 8th, 2017 11:17 AM
Comments
Join the conversation
2 of 60 comments
-
 Jenny
on Feb 12, 2018
Wow! These are Beautiful! Thanks for sharing. I'm going to add these to "projects to do" list 😁
-
You’re welcome! I’m so glad you like them. 😊
 Happenings of a Housewife
on Feb 12, 2018
-
-
-
 Cso51108026
on Jul 26, 2021
Ooohhh! I have the perfect piece of barnwood - this is about to be my new hanging herb shelf in my kitchen!!! Thanks for the great idea! Love it when it's simple, and elegant!
-








Frequently asked questions
Have a question about this project?
& Yes..i too would Love to know how the knobs are mounted on the wall?
Instead of the knots could you use a round piece of would with a hole in it . Put the rope through the hole. That would seem to take away the trouble of trying to get them all even using the knots.
What size are your knobs? Smaller than a doorknob, but larger than a kitchen cabinet knob?