


Easy Curvy Shelf Dupe

Admit it, youv’e seen them on Pinterest and you’ve considered getting one from Urban Outfitters. Those funky rounded shelves. No need to spend big money, I made my own. It took all of one hour, paint drying time included.
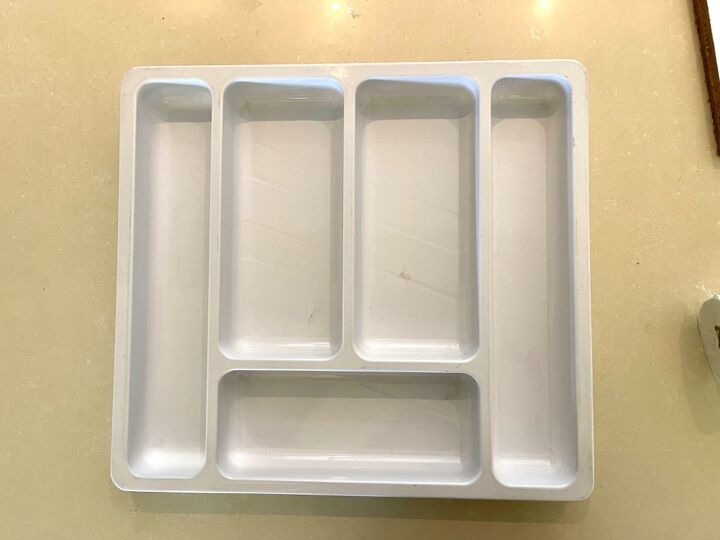
It all starts with a very large plastic cutlery tray, one that is not too square but that has trendy, rounded edges, I got mine from a thrift shop.
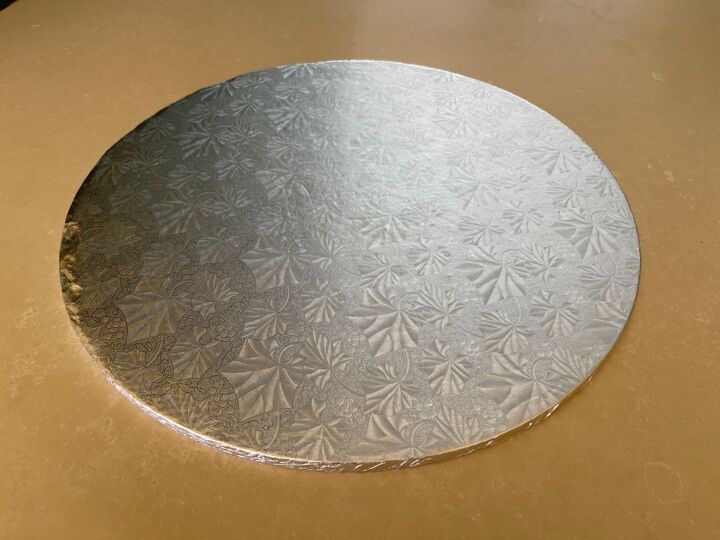
You also need a cake board that matches the size of the cutlery tray. This one is 16” cardboard with foil covering. Do not use raw polystyrene, chances are that your spray paint will eat away at it. Then again, that may just create a nice rustic effect.🤔
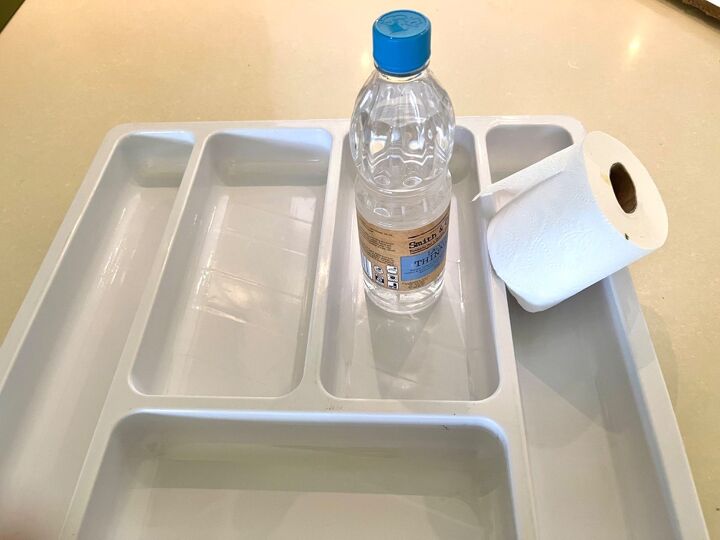
Wash the tray with soapy water and then wipe with thinners.
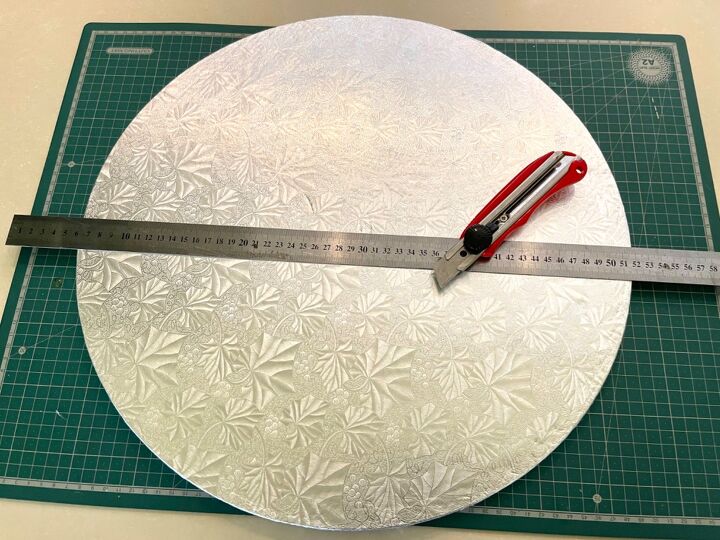
Halve the board.
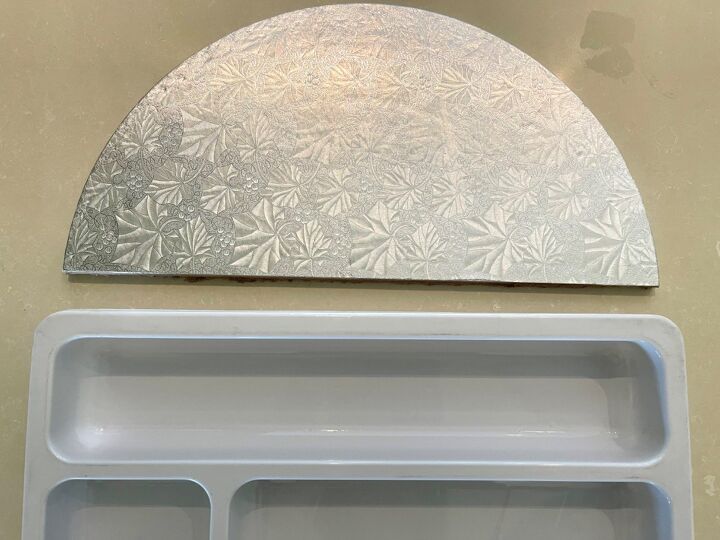
It should match the size of tray when most of the partitions lay horizontally.
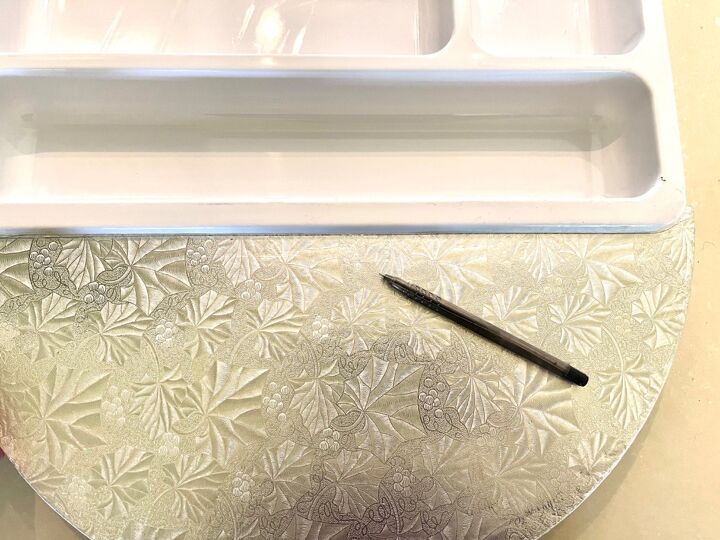
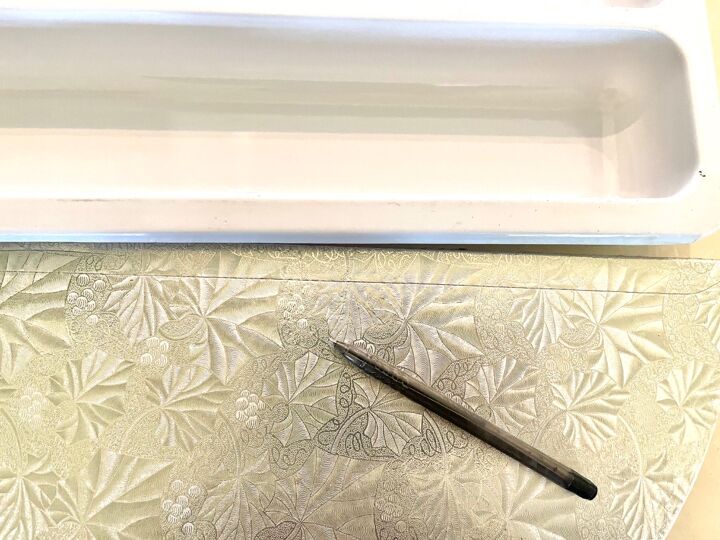
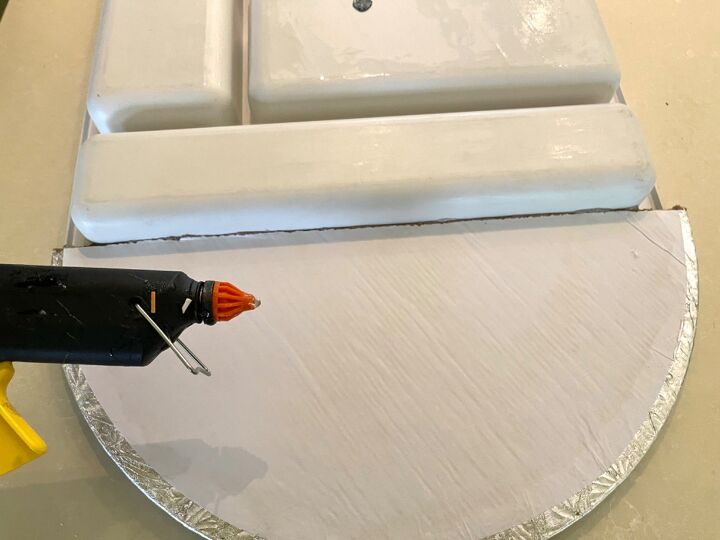
The cutlery tray usually has a lip that faces downwards, put the raw edge of the cake round beneath this edge. Let it rest onto the first compartment then draw a line with a pen along the edge of the tray. This line will indicate an edge over which you should not venture with the glue gun.
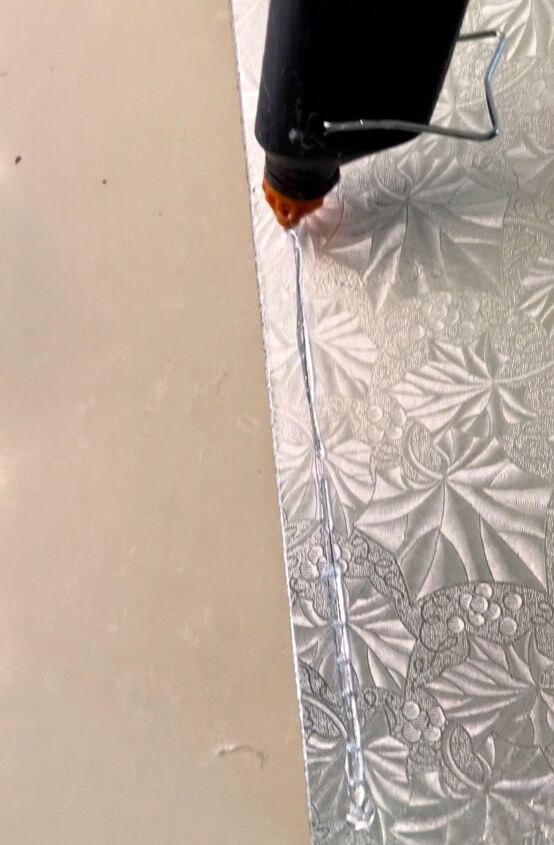
Now add hot glue along this line (or slightly away from it to make room for glue spreading). Also add glue on the raw cardboard edge, the most important area. Then stick the cake board into position behind the lip of the cutlery tray and with the raw cardboard resting on the first compartment. You have to work quickly and also make sure that no glue squelches out in the front.
Now flip everything over and add some extra glue at the join to make it stronger. Repeat the whole process with the other cake round half on the opposite side of the cutlery tray.
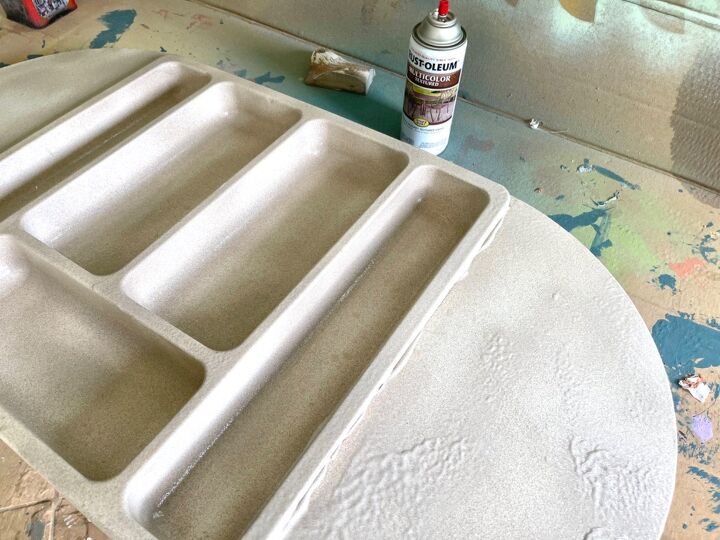
Spray the whole lot with textured spray paint. Don’t be too much of a perfectionist, my spray paint made all sorts of strange textures and drips (operator induced) which I didn’t have a problem with because it adds to the rustic, potterylike look. You may need two coats. Dry thoroughly.
There is also the trick of using glue and bicarbonate of soda and then painting it. This technique would look superb on this.
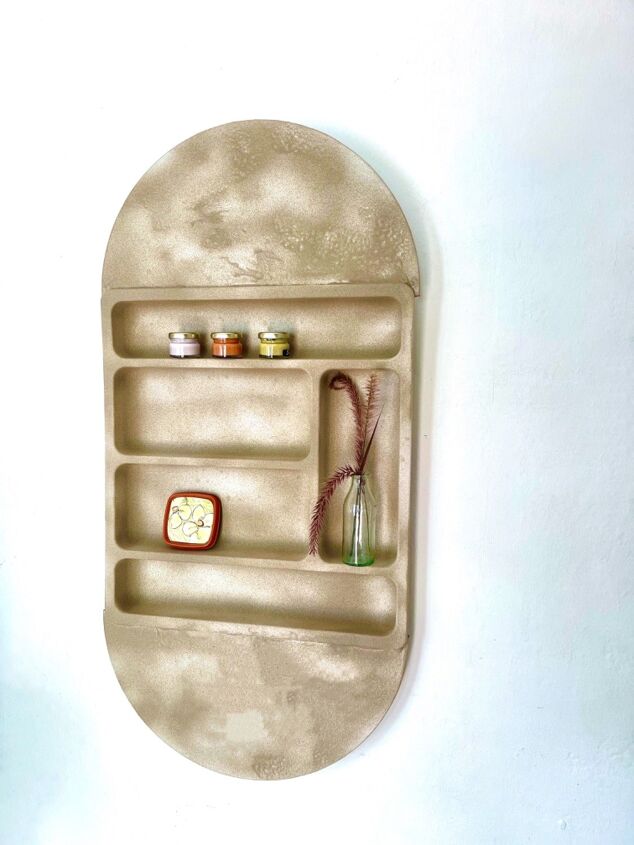
With a couple of hooks mounted to the tray and your shelf is ready to be hung. If the compartments are molded in such away that the objects you place on them slide off, I suggest you add two blocks of wood to the bottom back of the shelf. This way the shelf leans slightly backwards not forwards and your things won’t fall out.
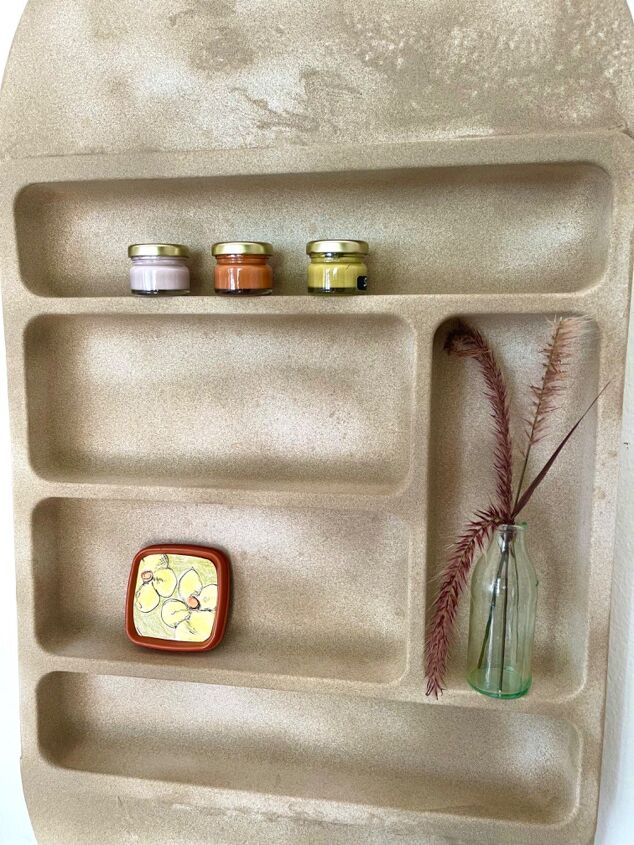
On the photos my shelf looks quite mottled. if you don’t like this look, add another layer of spray paint. If you are painting with bicarb, glue and paint it would also have a different effect.
Resources for this project:
See all materials


Comments
Join the conversation
-
Great idea!
-
This Thea creation reminds me of midcentury which I love, maybe because I grew up with it. It disappeared for so many years, now back in vogue.


Frequently asked questions
Have a question about this project?