Super Easy DIY Picture Ledge

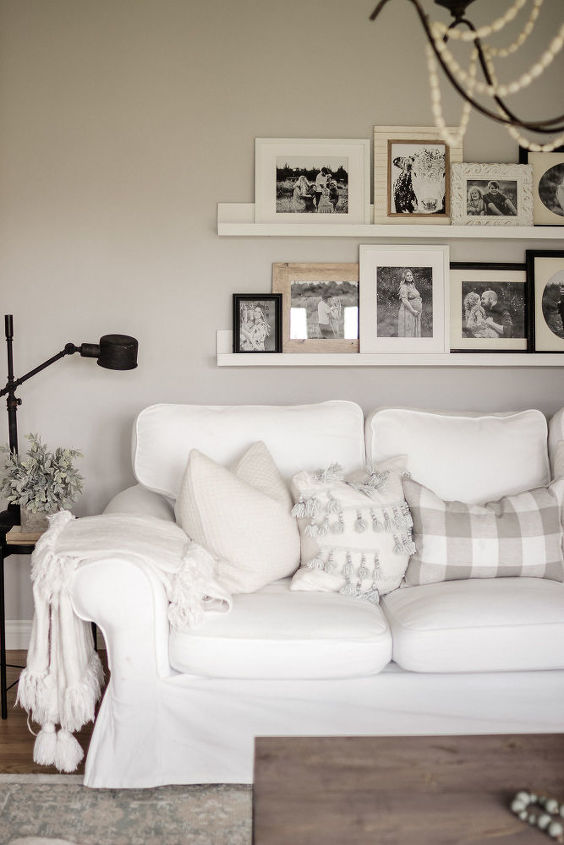
This project costs under 10 dollars each ledge and will take under 10 minutes. Super easy and minimize the amount of holes in your walls if you're a renter. Great option rather than doing a big gallery wall!
We also make two smaller shelves with the scraps for our kiddos books!
We’ve lived in this home for six months now and we haven’t put up any family photos yet, so I knew that I wanted to have a big picture wall behind our sofa. BUT, I didn’t want to buy new frames for this project or put a ton of holes in the wall so I came up with this super easy DIY Picture Ledge that will hold all our pictures and we only had to put 6 super skinny brad nails in the wall that are pretty naked to the human eye – and can easily be filled when we move someday.
This DIY Picture Ledge literally cost us nothing as we already had the 1×6’s in our garage from an old project, and we split the other wood down. But, if you had to purchase them here are the supplies you will need for two 5′ Ledges.
Shopping List
-2 x 1x4x8’s at 3.69 each
-2 x 1x6x8’s at 6.69 each
-2 x 1x2x8 at 1.69 each
-16 1 1/4″ screws
-Wood Glue
-White Paint + Paint Brush
$12.07/shelf for the wood. We spent 0 dollars on these shelves AND we had left over material so the above supplies will make you two 5′ shelves and two 3′ shelves. The 3′ shelves we are putting in our nursery for book storage!
Dimensions + Cuts
Cut Two Pieces of 1×4 = 60″
Cut Two Pieces of 1×6 = 60″
Cut Two Pieces of 1×2 = 60″
( If you don’t have a saw to cut the pieces this length, they will do this for you at the hardware store! )
As the pictures above show, this DIY was pretty simple. You do not need a drill for this DIY. You can use a screw driver – it will just take you a bit longer and a bit more elbow grease.
First pictures shows we made 4 starter holes in each board, we spaced ours 14″ Apart. You do not have to do this step, but if you’re using a drill, it ensures that when you drill into the wood, it won’t crack. We also used a clamp to easily tighten the two boards together, but again, you do not need to.
One you have screwed the bottom board onto the “ledge”, you want to do the same thing to the back of the picture ledge. Screw all four holes down. Since we had a drill, this DIY took us under 5 minutes a ledge.
Once we were finished screwing all 3 sides together, you can sand and stain or paint your desired colour. I did mine in a flat white!
This is it – the easiest DIY ever. If you simply cannot get your brain around screwing the sides together, you can also use brackets to attach the wood pieces together. But keep in mind, you will have to strategically place the picture frames in front of the brackets.
Below is how the two shelves turned out – super happy with them. Since we already had all the supplies, this project cost us nothing!
Head on over to my blog to see additional photos of this DIY!
Want to make your rental dreams a reality?
Enjoyed the project?
Resources for this project:
See all materials









Frequently asked questions
Have a question about this project?
How did you attach them to the wall?
Did you attach the back board (1x6) to the top of the shelf board (1x4) or to the back edge of the board. I’m trying to figure what the total depth of the shelf is including the front and back pieces.
How did you attach to wall x