


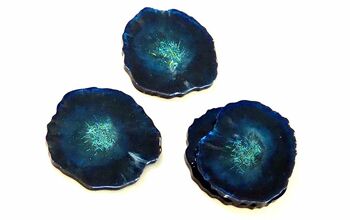
How to Make Cute DIY Coasters With Photos & Wood Slices

Welcome to this step-by-step tutorial on creating personalized DIY coasters with your favorite pictures. This simple and creative project will not only protect your surfaces but also add a personal touch to your home decor.
Follow these easy steps to craft custom wooden coasters that showcase your cherished memories. Let's get started!
Tools and materials
- Wood slices (available at craft stores or cut from a fallen tree branch)
- Sandpaper (various grits for smoothing)
- Printer
- Mod Podge
- Foam brushes
- Scissors or craft knife
- Clear finishing spray or epoxy resin
- Selected pictures for printing
- Old newspapers or disposable tablecloth (to protect your work surface)
- Pencil (for tracing if needed)
How to make photo coasters
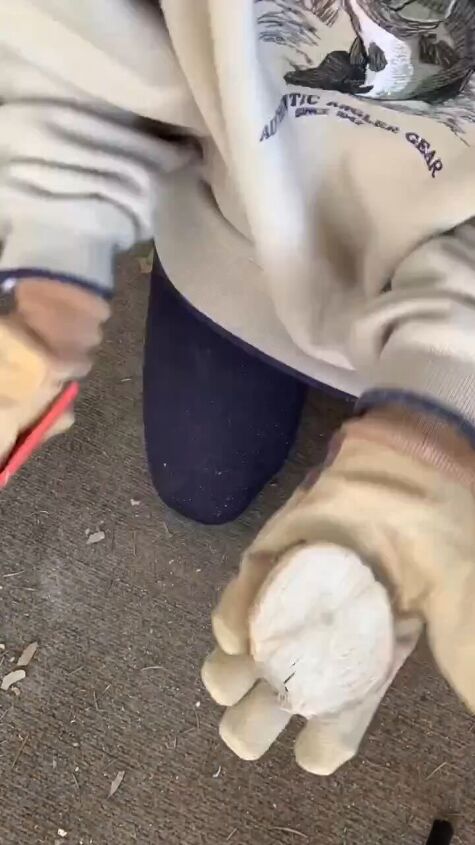
Step 1: Cut the Wood Slices
Begin by obtaining or cutting wood slices to the desired size for your coasters. Aim for slices that are approximately 4 to 5 inches in diameter for a standard coaster size. Ensure the wood is clean and free of any loose bark.
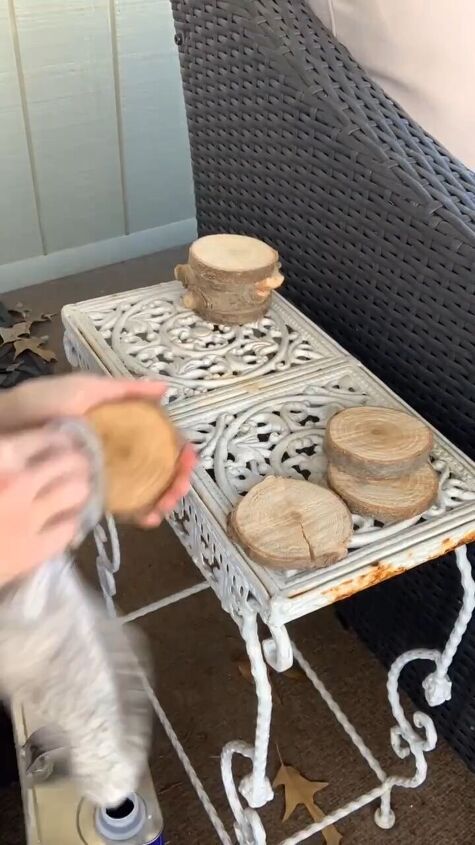
Step 2: Sand Wood Slices
Using sandpaper, smooth the surfaces and edges of the wood slices. Start with a coarse grit and gradually move to a finer grit for a polished finish. Wipe away any dust with a clean cloth.
Step 3: Print Selected Pictures
Choose the pictures you want to feature on your coasters and print them to the size of your wood slices. Use high-quality photo paper for the best results.
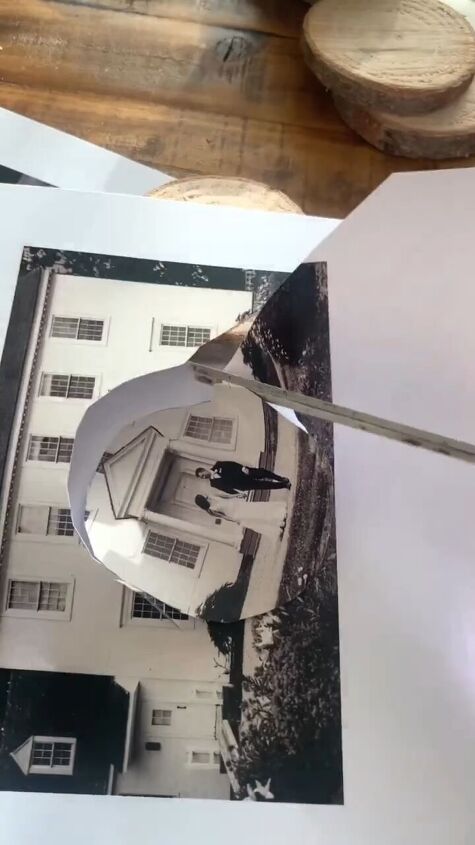
Step 4: Cut Out Photos to Fit Coasters
Carefully cut out the printed pictures, ensuring they fit well within the dimensions of your wood slices. You can use the wood slices as a template for tracing if needed.
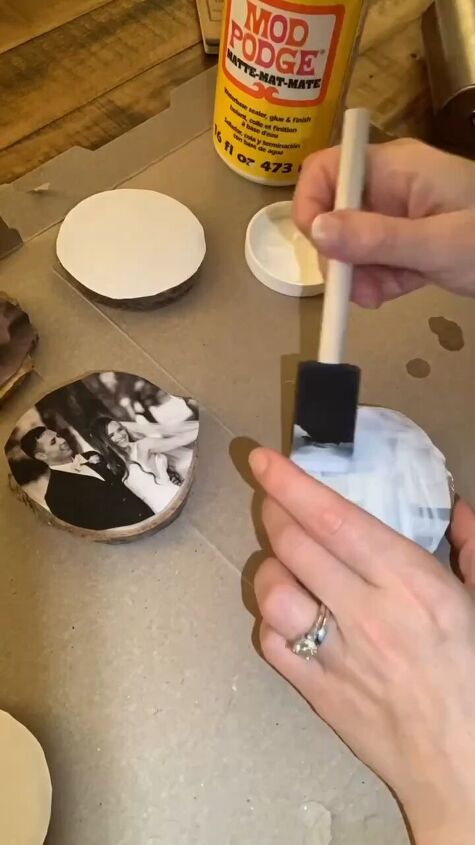
Step 5: Apply Mod Podge to the Face of the Picture
Using a foam brush, apply a thin, even layer of Mod Podge to the face of the picture. Make sure to coat the entire surface, reaching the edges.
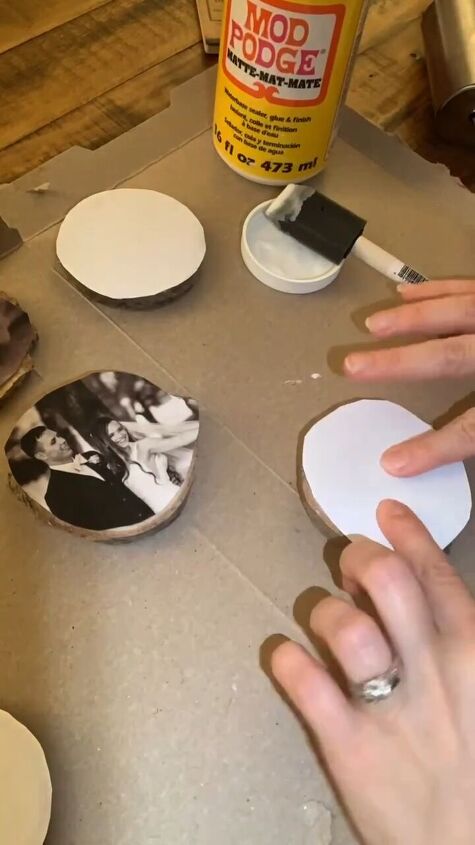
Step 6: Place the Picture Face Down on the Coaster
Carefully position the picture, face down, onto the wood slice. Smooth out any air bubbles or wrinkles. Allow it to dry completely.
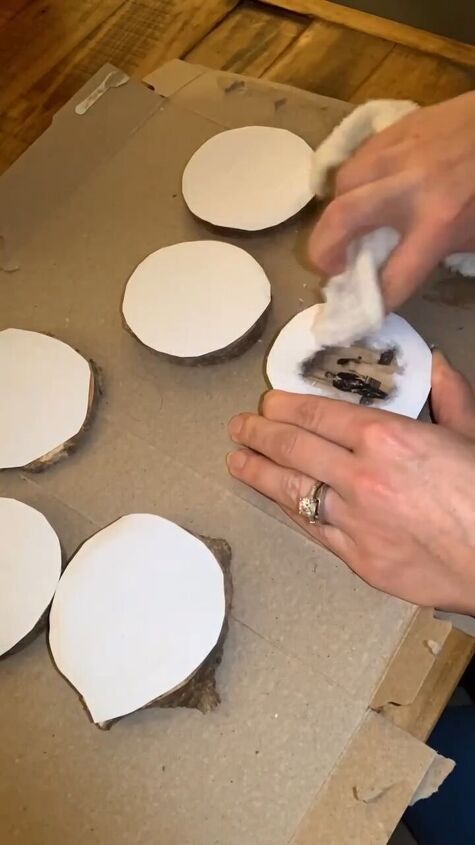
Step 7: Rub Away Paper
Once the Mod Podge is dry, dampen a cloth or sponge and gently rub away the paper backing. The image will be transferred onto the wood, revealing your picture.
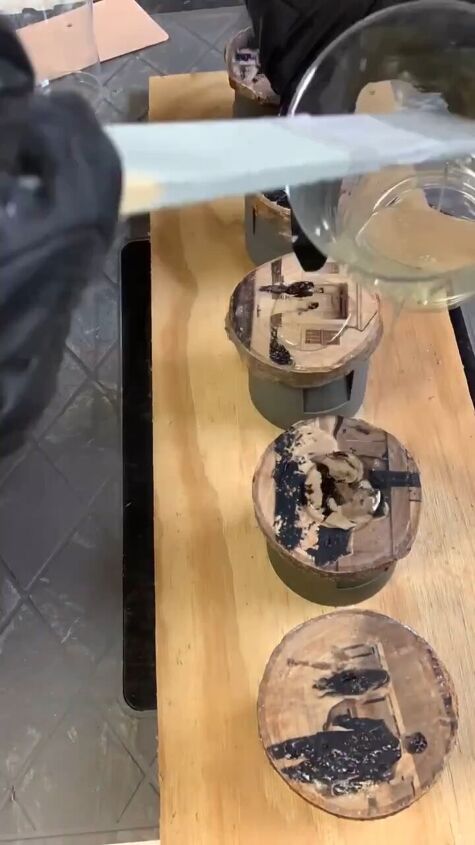
Step 8: Apply Finish
To protect your coaster and give it a finished look, apply a clear finishing spray or epoxy resin. Allow it to dry thoroughly before using your personalized wooden coaster.
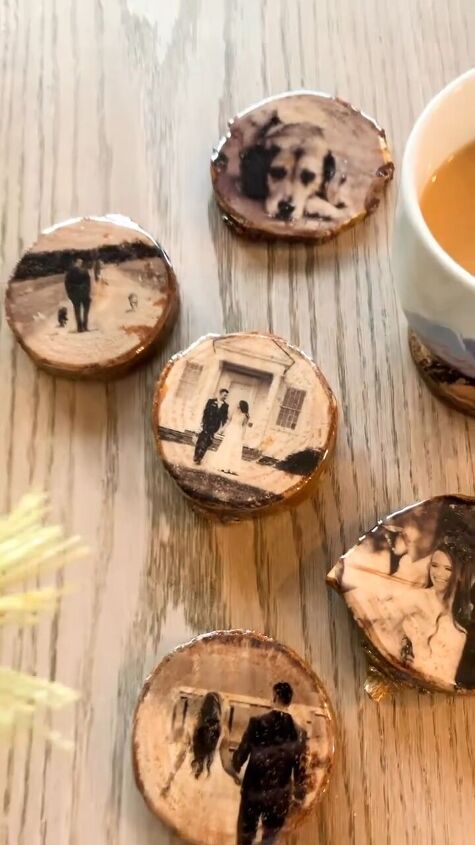
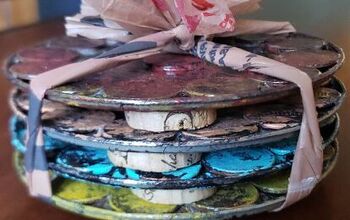
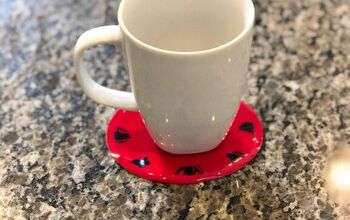
Congratulations! You've successfully crafted your own set of personalized wooden coasters with beautiful pictures. These custom coasters make fantastic gifts or a unique addition to your home.
DIY coasters
Experiment with different pictures, finishes, and wood types to create a set that suits your style. Enjoy showcasing your memories while keeping your surfaces safe from condensation and scratches.
Don’t forget to leave me a comment to let me know how your coasters came out. Happy crafting!
Follow @well_shetried on Instagram for more DIY ideas.
Comments
Join the conversation
-
What an inspired creation! I absolutely love these!! These would make such nice gifts. I will definitely be giving this a try. Thanks for the idea and clear instructions.


Frequently asked questions
Have a question about this project?