


How to Repurpose All Those Glass Luncheon Snack Plates
They must have been MASSIVELY mass produced.
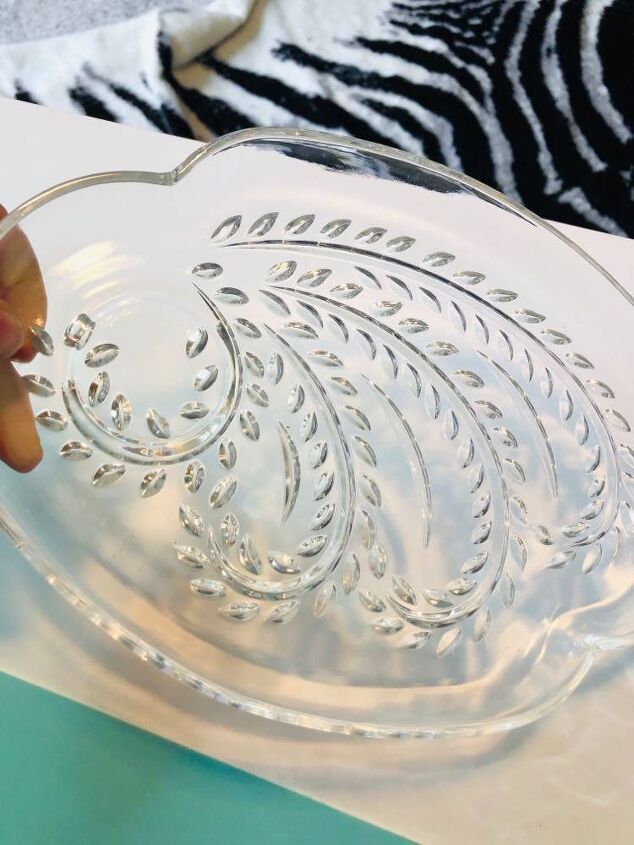
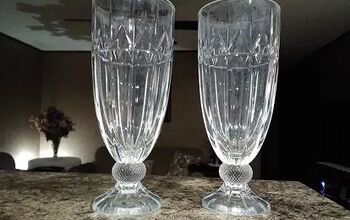
These lovely cut glass luncheon plates with matching cups were, at one time, the standard for serving “a light lunch” at baby showers, wedding showers, church meetings, bridge clubs and other hosted “Ladies who Lunch” events.
These are still in use today. However, more and more, I see them at garage sales, listed on marketplace pages, or included in an “I’m downsizing, please take these for free” social media post.
My mother has boxes of them. She doesn’t want them.
I asked around the family…”Anyone want these?”
Crickets.
These are still amazing plates that are perfect for serving yummy tidbits or smaller meals. But, I’m sure there are other uses. And, they can be found easily in large quantities.
Maybe they just need a little makeover.
You know…like a new outfit or pretty shade of lipstick!
LET’S GO!
Mod Podge and Patterned Tissue Paper!
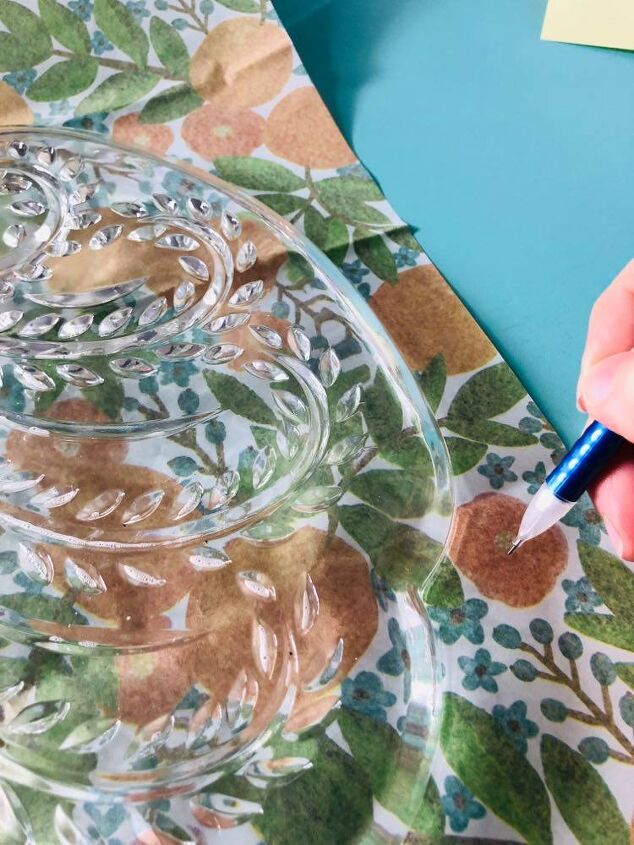
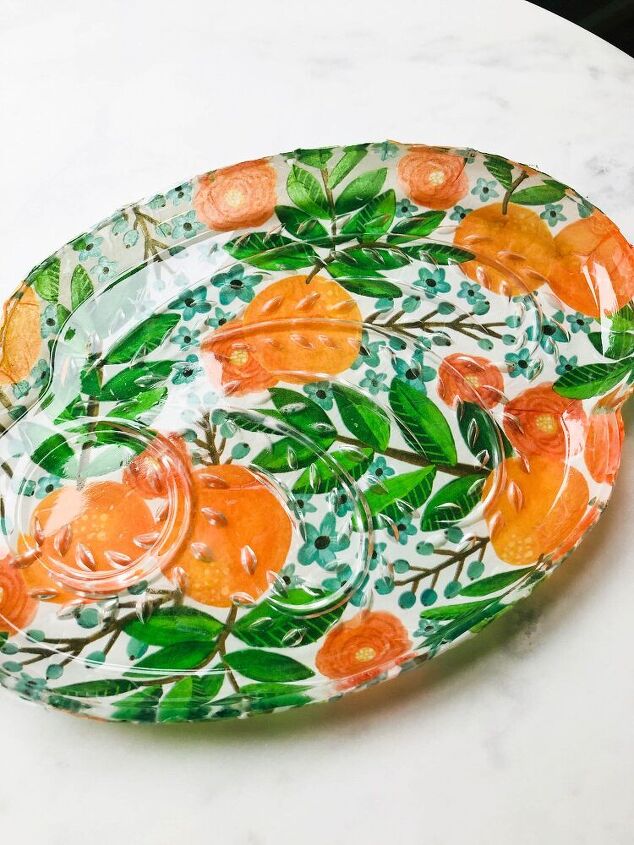
The fun part of this project is choosing the tissue paper. Because of the intricacy of decoupaging a plate with glass cuts, it works better if you use a BUSY pattern. That’s right. The busier the better. The pattern helps to disguise any of the glass cuts that are not totally covered by the tissue paper.
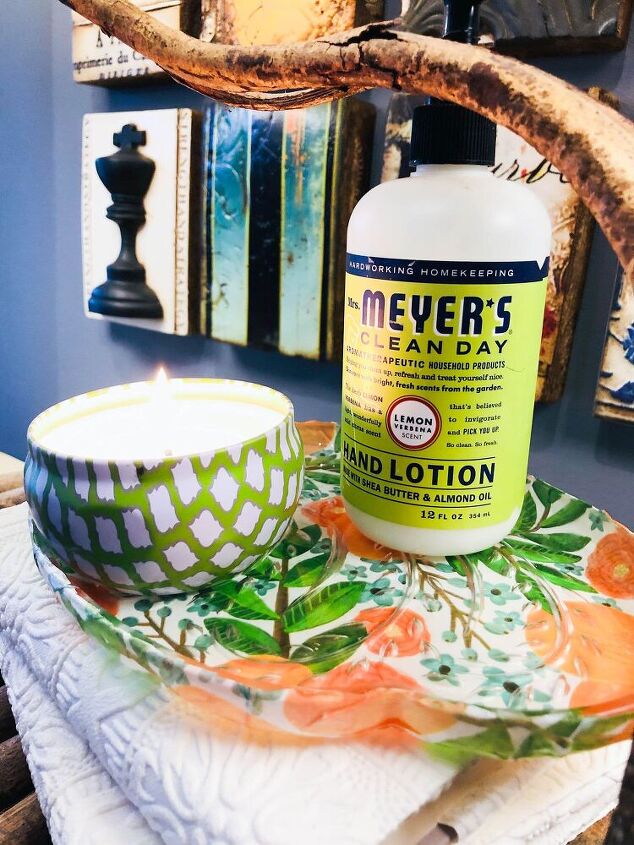
This Jillson & Roberts tissue paper sports a cool combination of oranges and greenery. The leafy background ties in perfectly with the cut glass leaves on the plates. (You can purchase Jillson & Roberts tissue paper here.)

For this project, I am using the Mod Podge Hard Coat formula. If you are planning to put your plates in the dishwasher, you might consider using the Mod Podge Dishwasher-Safe formula.

EASY How-To Steps
Clean the plate with soap and water. Then wipe down the plate with rubbing alcohol. This will help the Mod Podge to adhere most effectively.
Cut the tissue paper to fit the shape of the plate. I added a little extra on the edge to allow for the curve of the plate and the cuts on the glass.
Brush a thin layer of glue on to the BACK of the glass plate. Don’t worry if the glue pools a little in the glass cuts. This will dry clear!
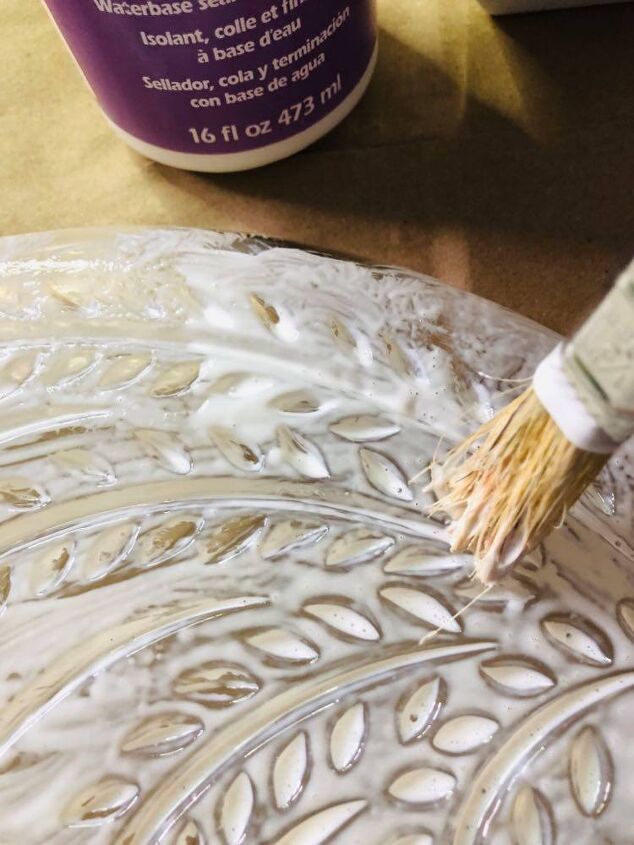
Now brush a thin layer of glue on to the front side of the tissue paper. Be sure to brush the glue all the way to the edge of the paper.
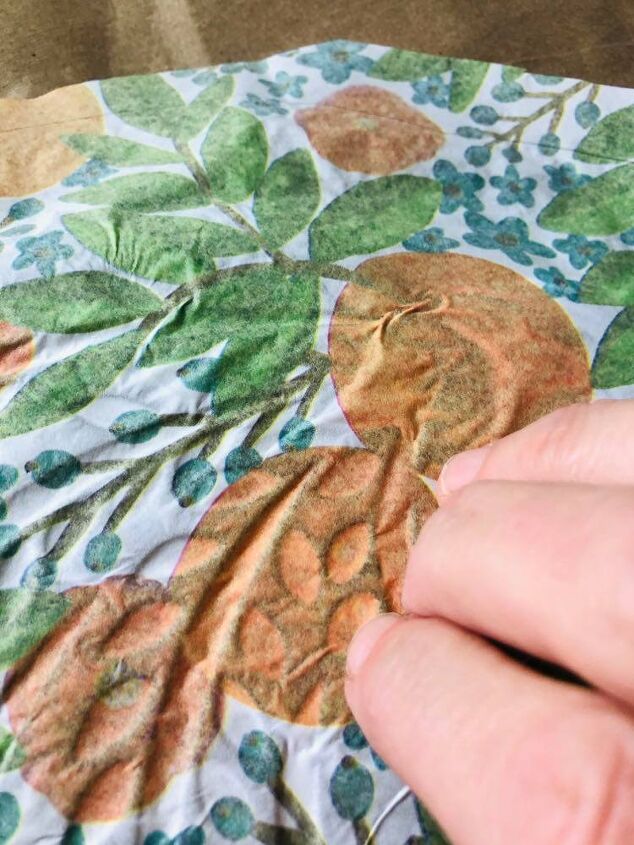
Gently lay the tissue paper face down on the back of the plate. Starting in the middle of the plate, carefully begin to press the paper against the plate. Press GENTLY into the cuts of the glass but there is no need to press completely down. (Remember: the glue dries clear.) There will be wrinkles! This is where the magic of the pattern helps to disguise those wrinkles!
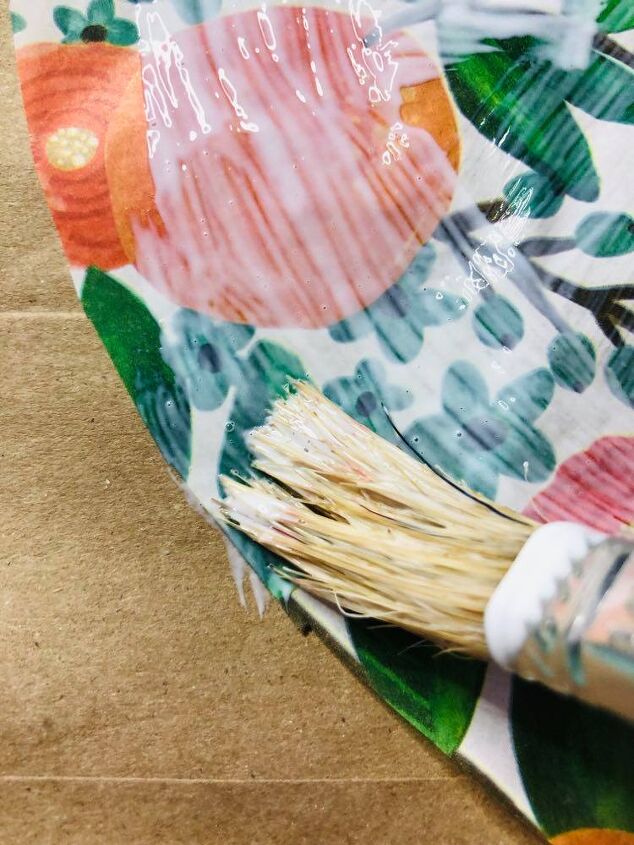
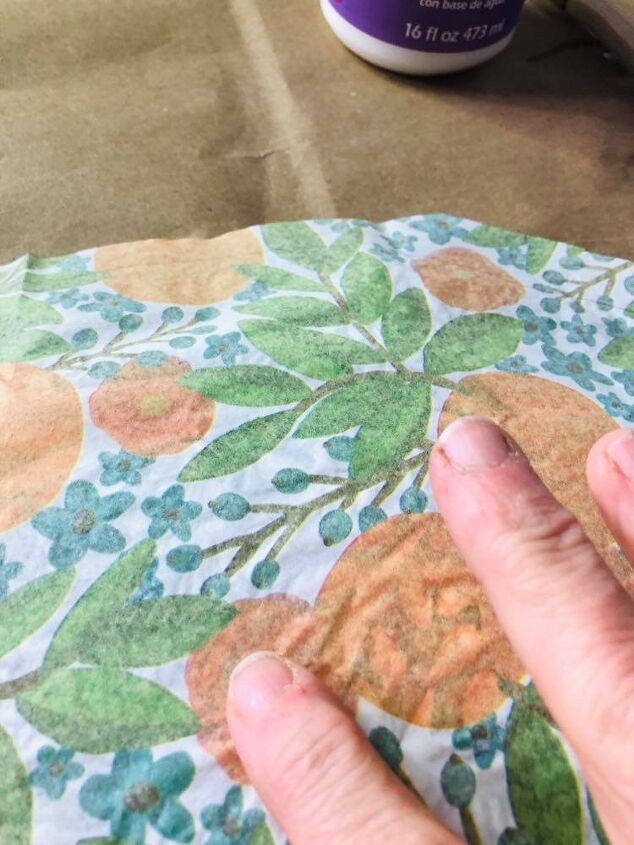
Apply a thin layer of glue over the back of the plate. Definitely brush a thin layer of glue over the edge of the paper so it doesn’t pull away from the plate as it dries. Use your fingers to press out any air bubbles.
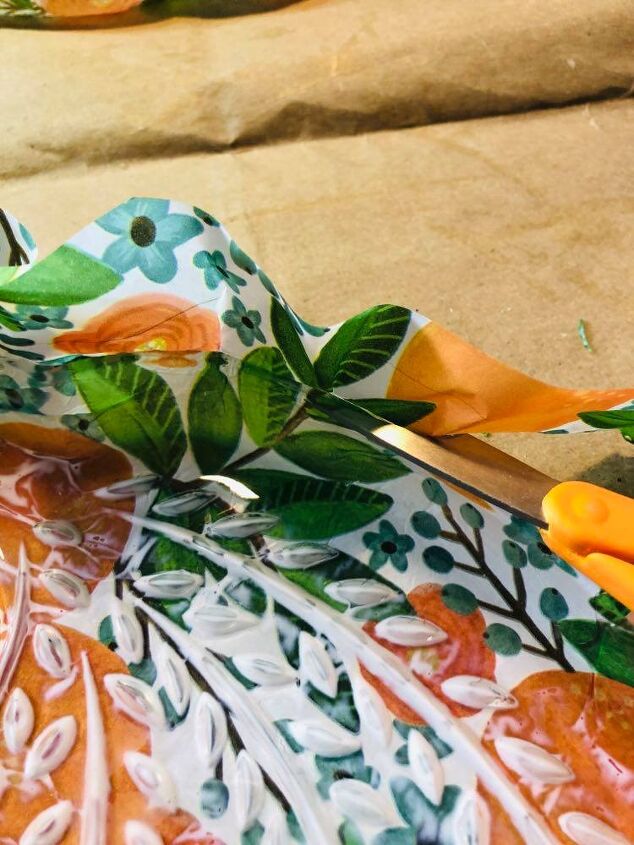
Trim excess paper from the edge of the plate with very sharp scissors. Let dry for several hours or overnight. Once the original coat has dried, add one more thin layer of glue to “Seal the Deal!” If the plate is tacky to the touch, wait a bit more for it to fully dry.
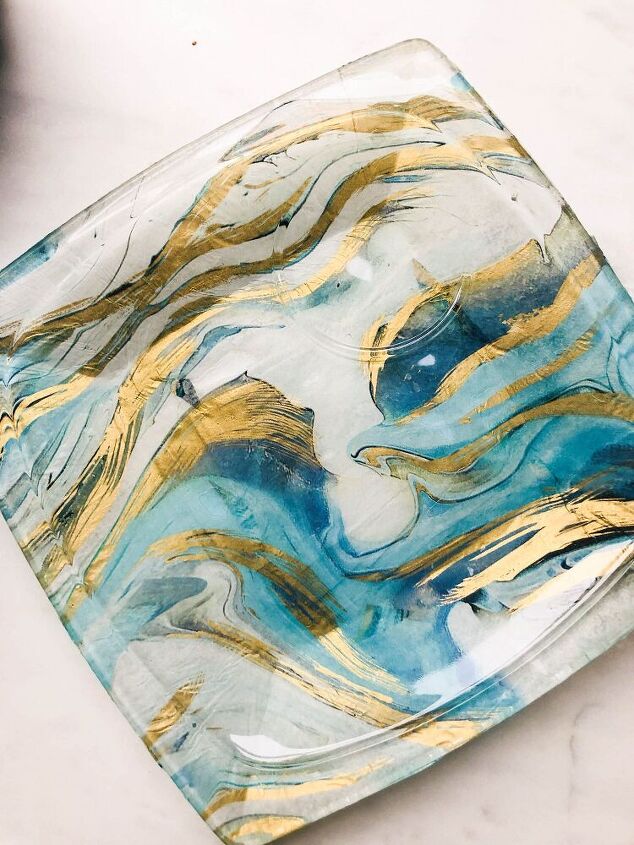
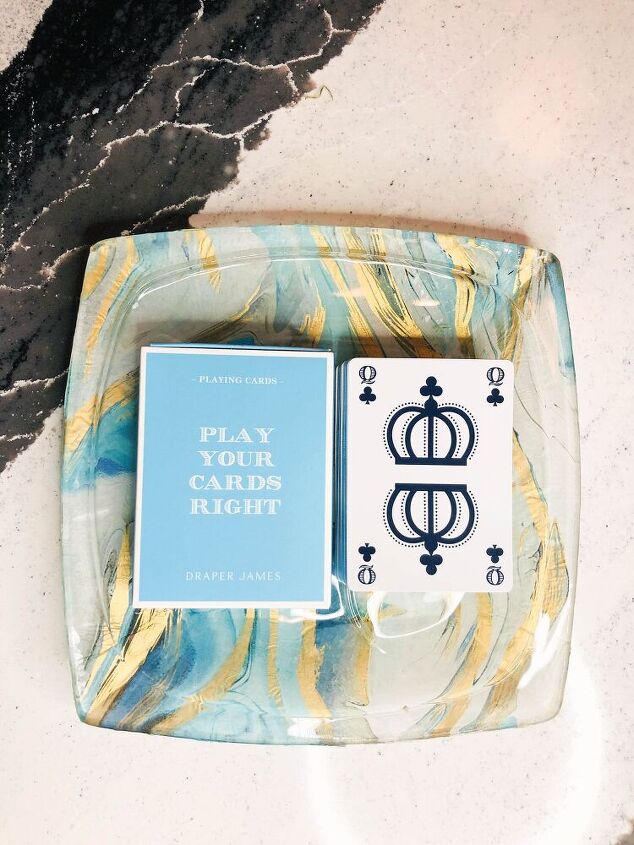
Here is another example using a square glass luncheon plate. I used another Jillson & Roberts tissue paper pattern in an amazing blue and gold marble pattern.
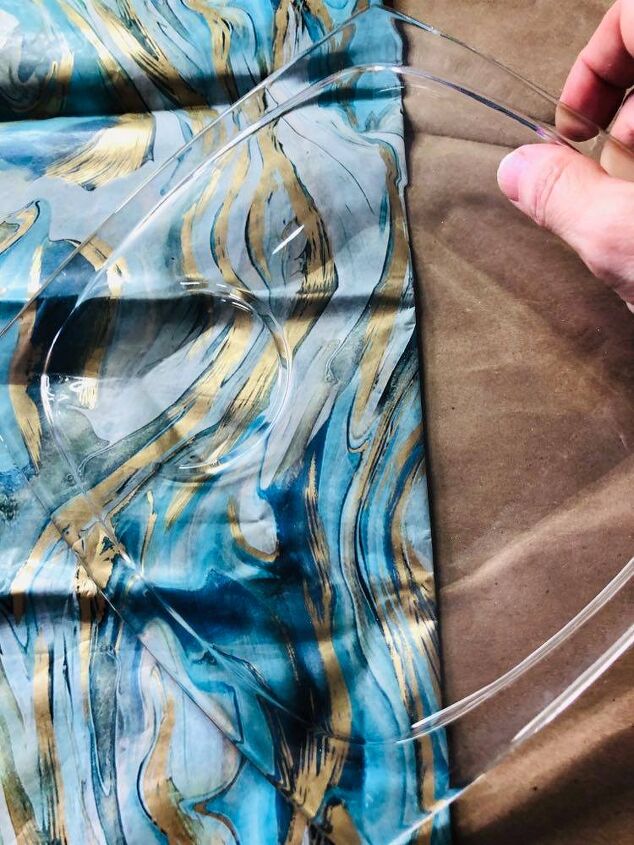
Love! Love! Love how these turned out! I was blown away with how cool these plates can be. I would absolutely buy something like this in a favorite store like Anthropologie or an Etsy shop.
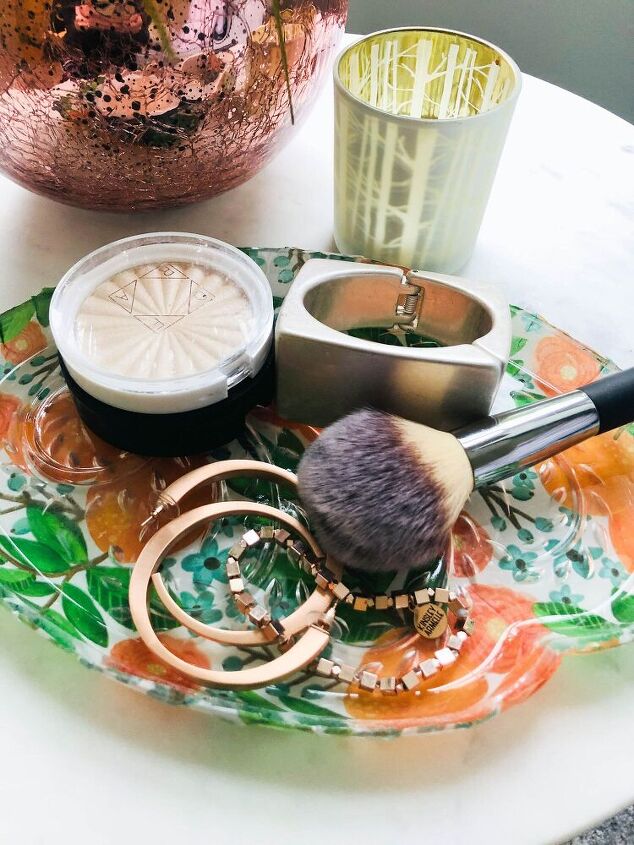
Now that these are all dolled up, there are other uses for the plates other than serving food. (Note: These plates would be considered food safe because the decoupage medium is used on the bottom of the plate. Hand wash and avoid soaking.)
A Trinket Tray – Keep on your nightstand, dresser, or in the closet for a fun way to gather your frequently used jewelry, glasses, perfume bottles, etc.
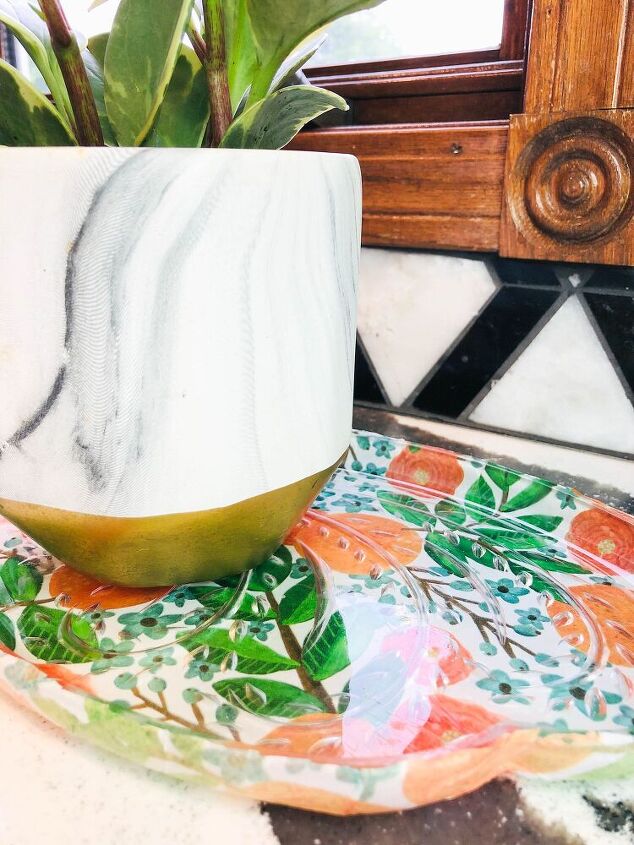
Plant Tray – Keep water at bay by using the plate as a tray under a plant.
A Warm Welcome – Keep a welcoming flame burning by placing a candle in the front entry to welcome guests.
Playing Card Station – Whether playing Solitaire or Pitch, you will never be at a loss for the cards!
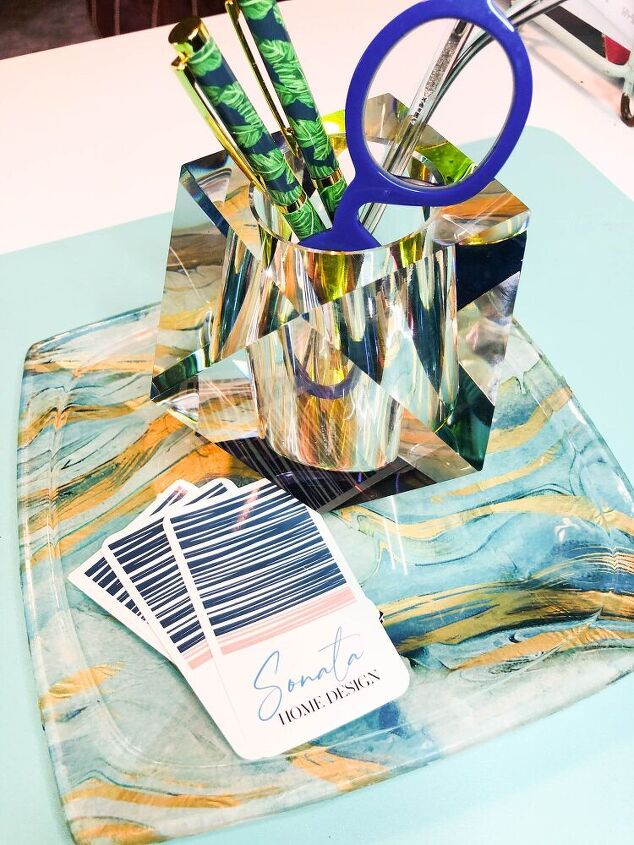
Desk Accessories – What a perfect way to corral business cards, pens, reading glasses, and more.
Objet d’arte – Highlight one beautiful home accent on the plate to give it focus and importance.

Other Ideas:
A Bird Feeder – That’s right! Our feathered friends will appreciate some handy birdseed and one of these plates sitting on an outside table or bench.
Tea Party for One – Add a charming teapot and you have a delightful tea tray to set on a side table while you read a favorite book. (Treat yourself like a Queen!)
Hang on the Wall – Add a plate hanger to the back of the plate for unique wall art. Take it one step further and hang three or four together for a grid!
Santa Cookie Tray – Use a holiday tissue paper and give Santa a stylish cookie plate!
So, hit “Pause” before you sell or give away all those luncheon plates. Just add a little “lipstick” and invite someone over for a light lunch!
Disclaimer: This post contains affiliate links.

Comments
Join the conversation
-
Thank you so much, Terri!
-
Great idea - Thank you!


Frequently asked questions
Have a question about this project?