


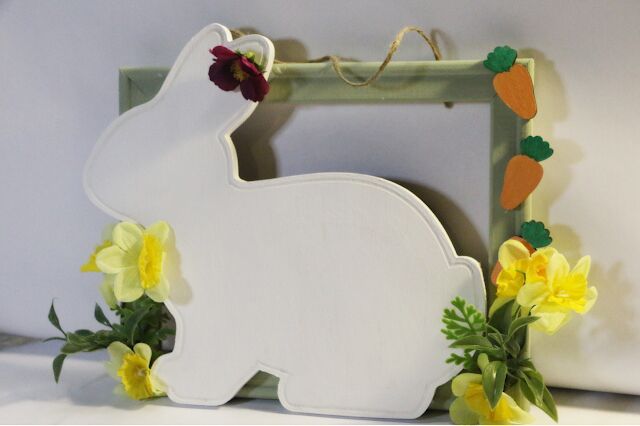
DIY Canvas Frame Easter Design

Hello, and welcome! I'm so happy that you decided to stop by. Today we are working on a fun Spring craft just in time for Easter. This craft is perfect for Easter, but could also be displayed throughout the Spring season.
For this craft, we are using the frame from a canvas. I did another craft using the canvas frame and really enjoyed how that turned out Spring Canvas Frame Art Display. If you're ready to create, grab your materials, and let's get started!
Video tutorial
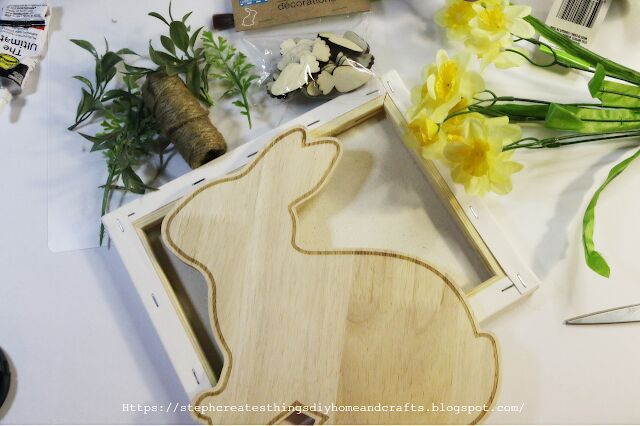
Material List
One Canvas- Purchased at Michaels for $2
One Wood Bunny-Purchased at Target $3
Scissors, and floral snips
Twine-optional
Paint- Color choices white for the bunny, and celery for the frame. Also orange, and green paint for wooden carrots
Wood decoration carrots-optional-Purchased at Dollar Tree
Spring floral, and greenery-Purchased at Dollar Tree
Hot glue, or any other strong adhesive
My total cost for this project was around $8
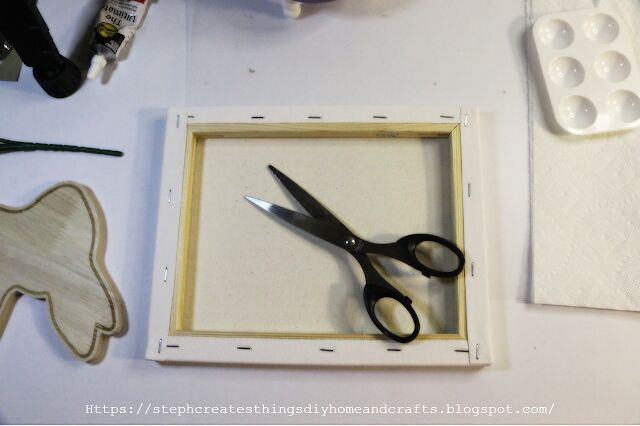
Start by taking your scissors, and begin to cut your canvas from the wood frame. I found it easier to puncture the middle of the canvas with my scissors.
Be sure to completely remove the canvas from the wood frame.
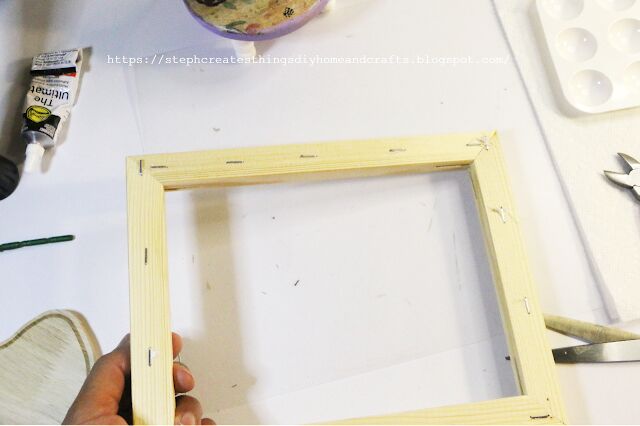
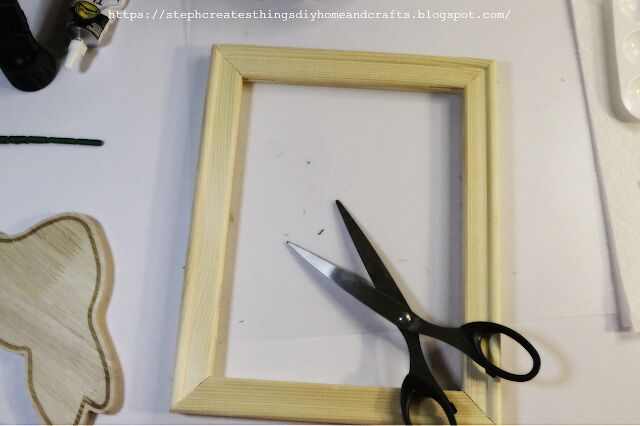
When you are done, you should just have your wood frame. I left my staples in the frame since that was going to the back side of my design.
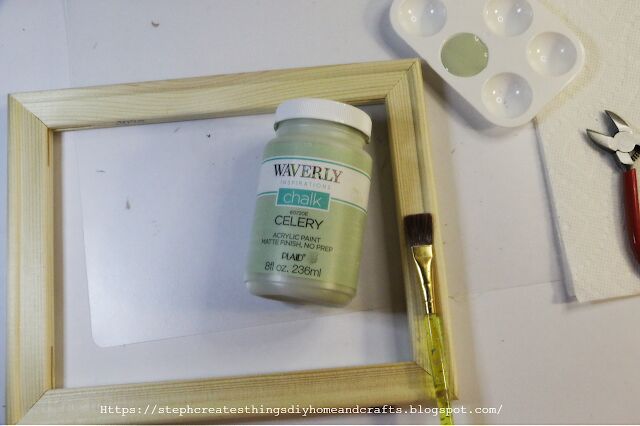
Next, take your frame, and apply paint.
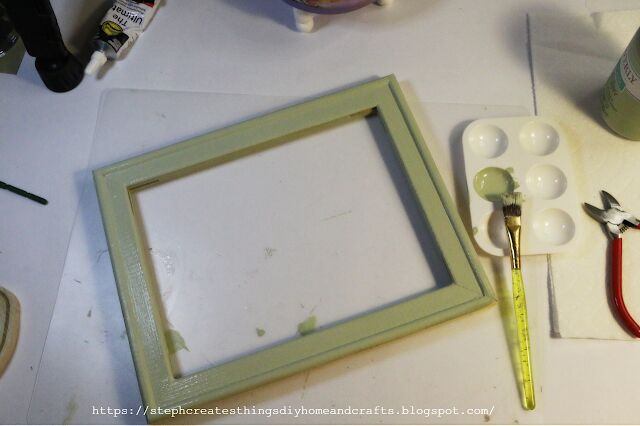
Be sure to apply paint on the front, top, bottom, and sides. Also, be sure to apply paint to the inner sections of the frame as well. I applied around three coats of paint to give my frame full coverage. Set your frame aside, and allow it to completely dry.
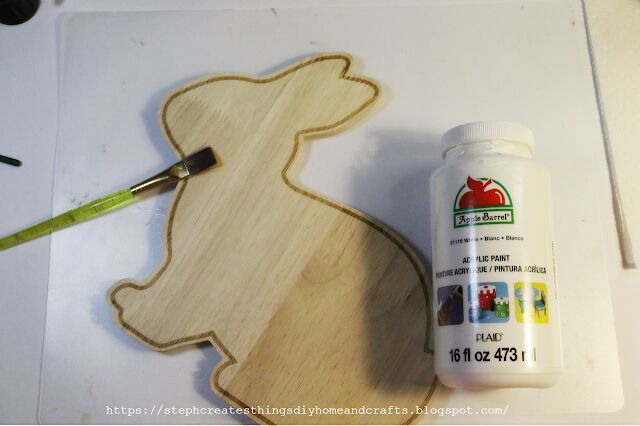
Next, take your white paint, and apply it to your wooden bunny.
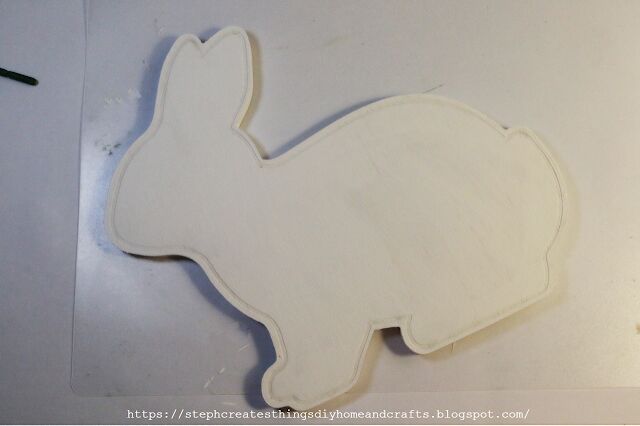
I applied around three coats of white paint onto my wooden bunny. Set your wooden bunny aside, and allow it to completely dry.
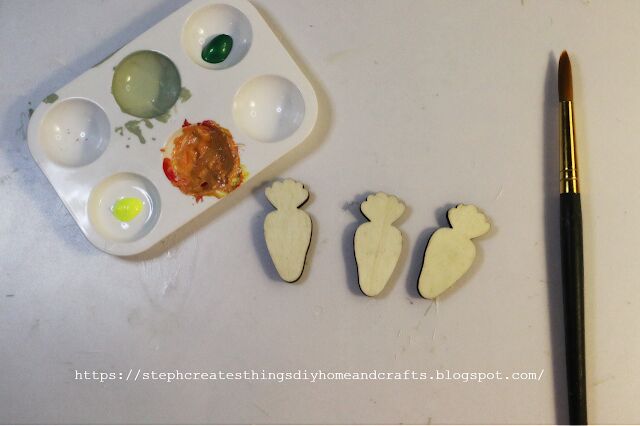
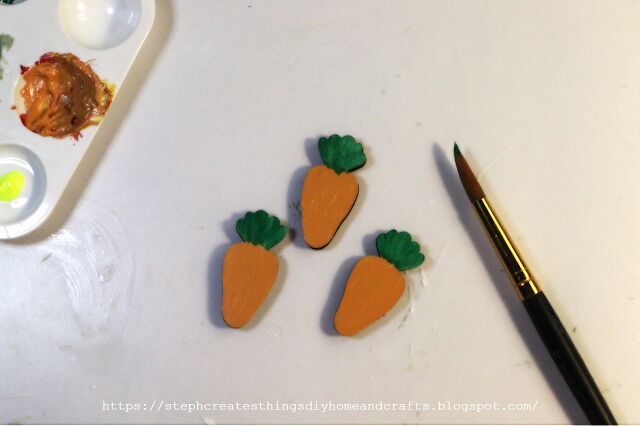
While your frame and bunny are drying, take your wooden carrots, orange, and green paint, and apply paint onto them. For this, I used three wooden carrots to include in my frame design. This step is completely optional.

Now that your frame is dry, if you decide to add twine on the back side of your frame, flip your frame over, cut a medium-length strand of twine, and use your hot glue to attach it.
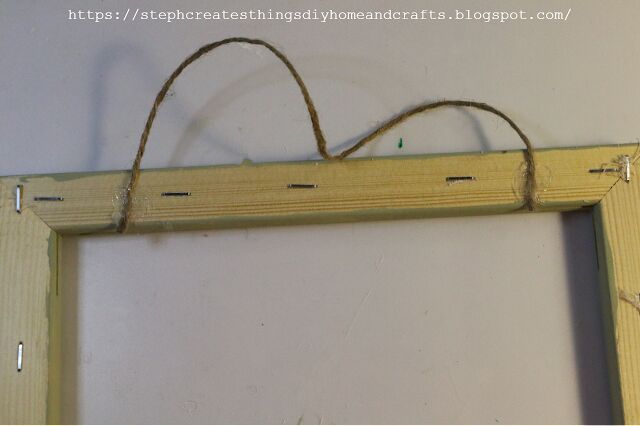
If you would like extra hold, use an extra adhesive along with your hot glue. This will provide an extra hold for when you hang your design. Once you have added your twine, flip your frame over so that the front is facing up.
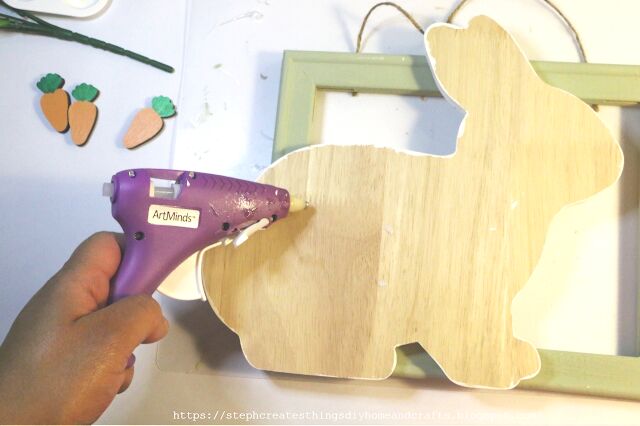
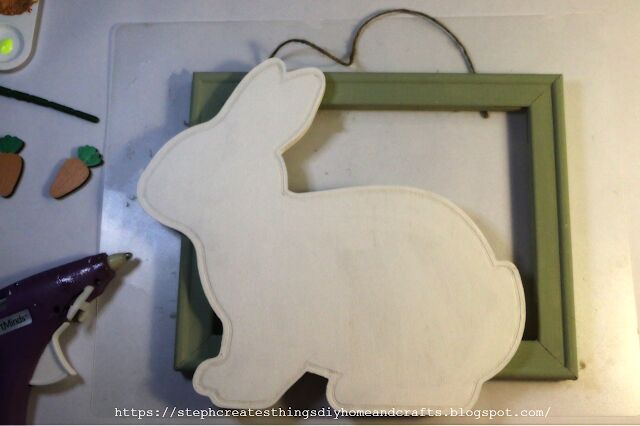
Next, take your hot glue, and apply some of your glue onto your wooden bunny. Flip your wooden bunny over, and attach it to your frame.
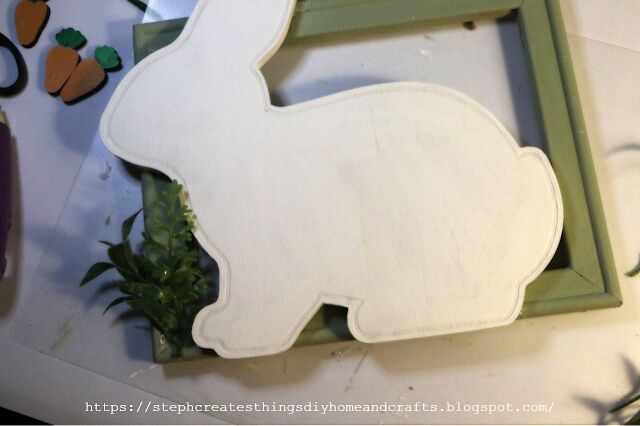
Now you are ready to add your greenery. Take your greenery, and cut it to the desired size. I cut my greenery pieces into smaller sections.
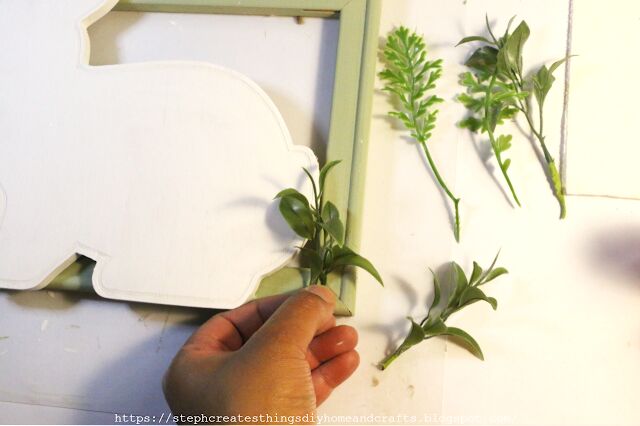
Using your hot glue, apply your greenery onto the bottom corners of your frame.
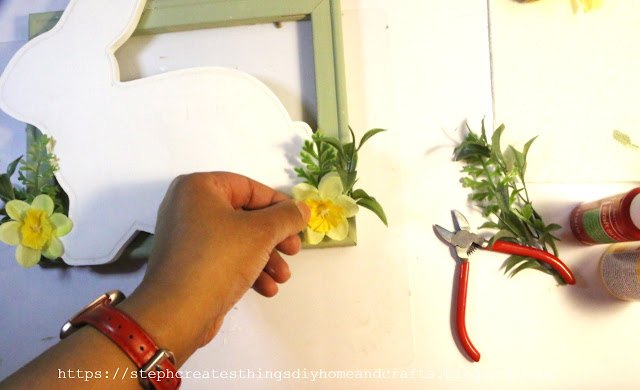
After you have added your greenery, take your spring floral, and using hot glue, apply your floral onto your frame. I chose to add my floral around my greenery.

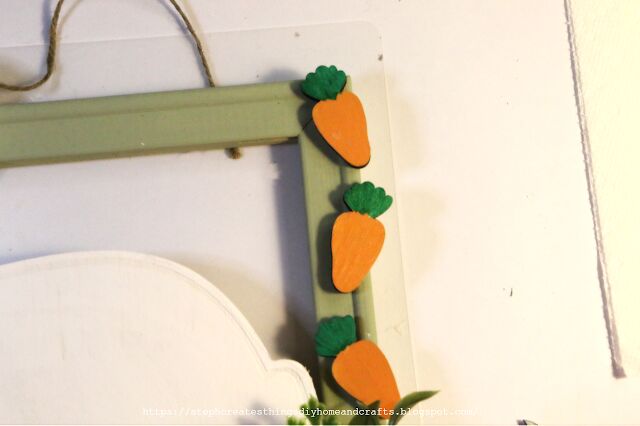
Next, take your wooden carrots, and add them using hot glue. I decided to add my three carrots onto the right section of my frame.
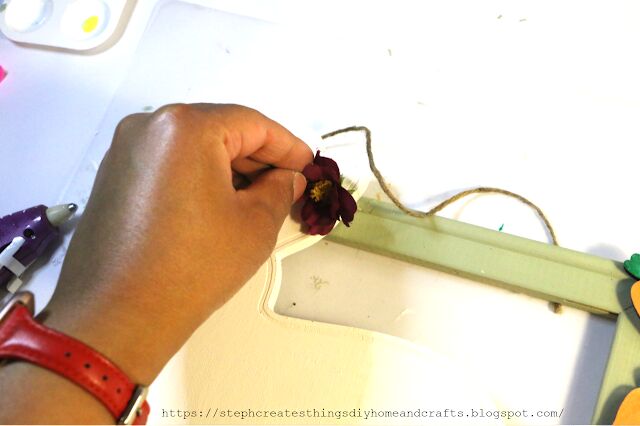
This last step is completely optional, but if you have any extra floral, take a piece, and add it to the top section near the ear of your wooden bunny.
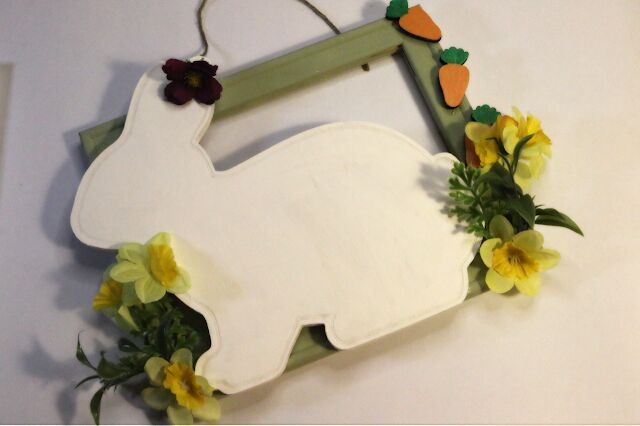
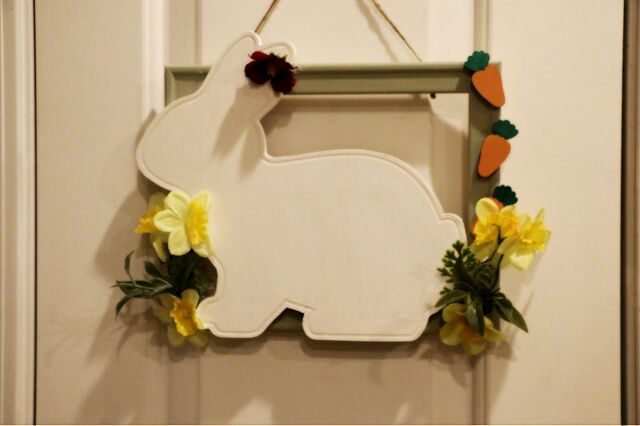
You are all done! I hope that you enjoyed this canvas frame design. Be sure to check out my video tutorial, and feel free and leave a comment. I'd love to hear if you decide to create your very own. Thank you so much for stopping by!
Be sure to check out my other Spring crafts here- Spring crafts
Pin/Save/Share


Frequently asked questions
Have a question about this project?