


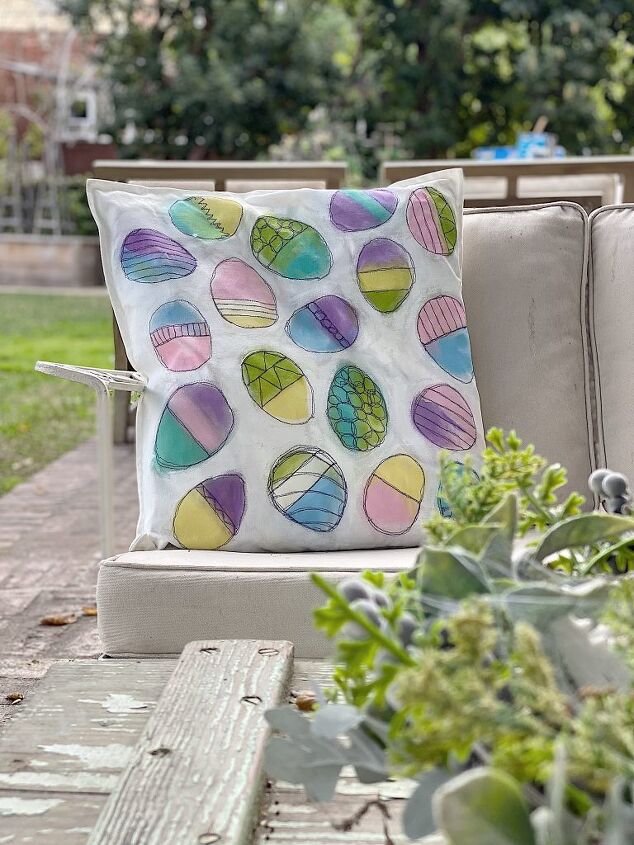
DIY Easter Craft Pillow
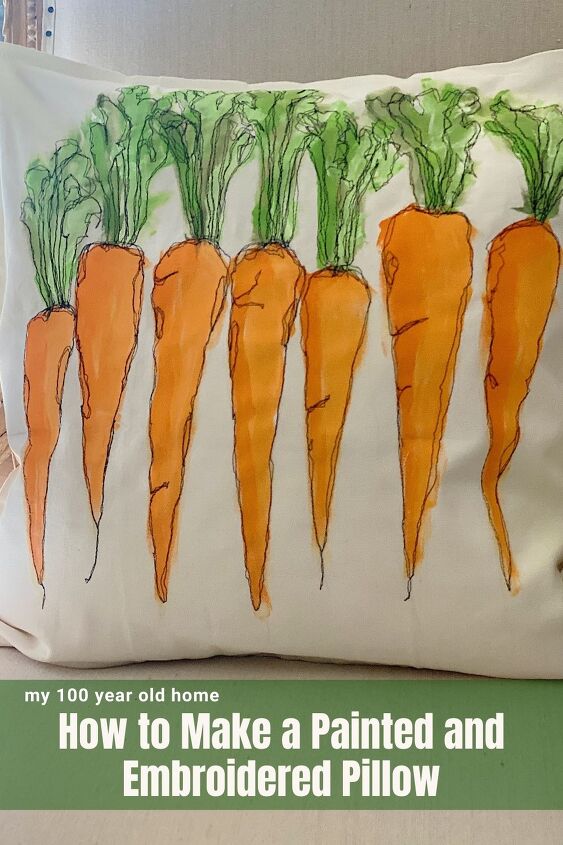
Today I am sharing a DIY Easter craft pillow. You can make this Free Stitch Embroidered pillow with carrots.
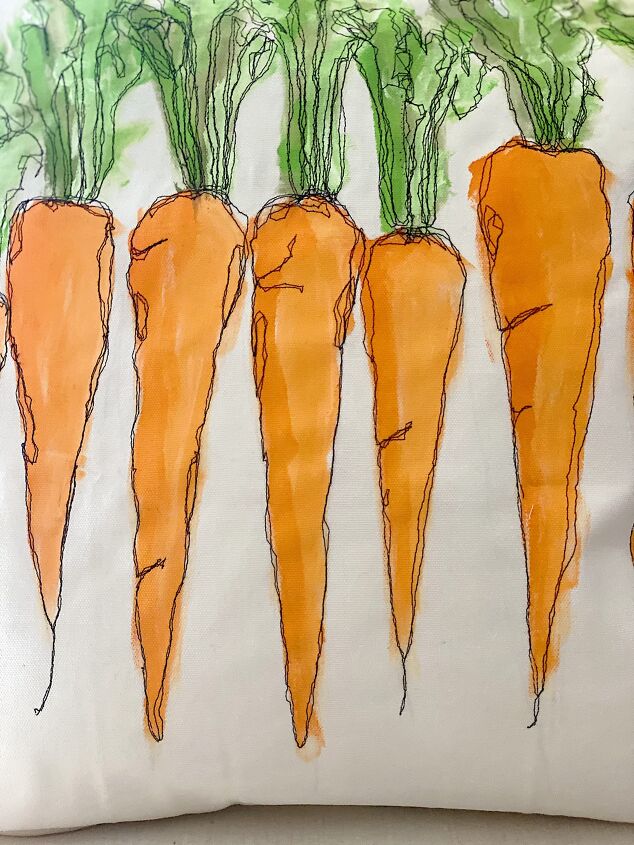
When my girlfriends and I decided to do a post about an Easter Embroidery craft, it took me about a second to decide to use free stitch embroidery. I had always wanted to make something with carrots and this DIY Easter Craft pillow looks exactly like I hoped it would.
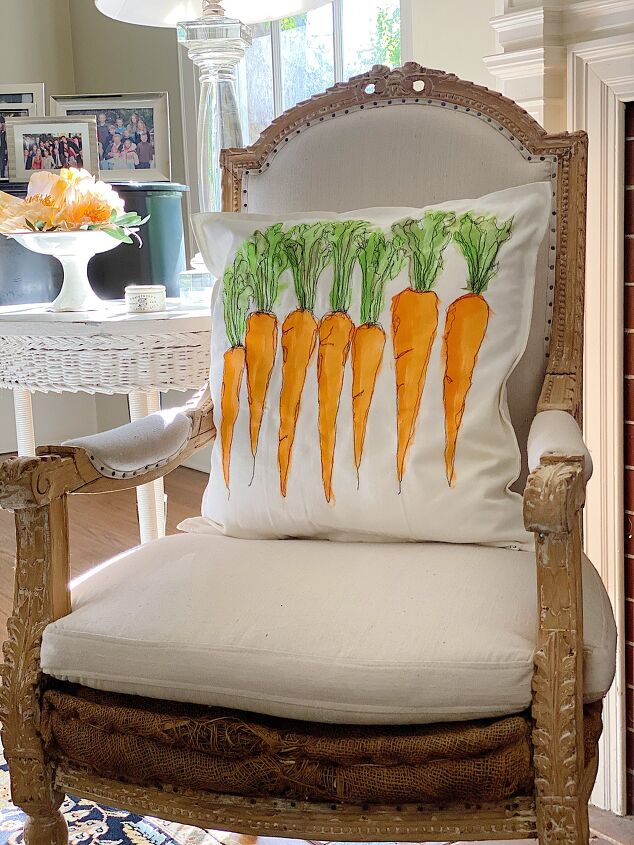

My Easy Free Motion Embroidery Pillow
I know what you are thinking.
This pillow is easy?
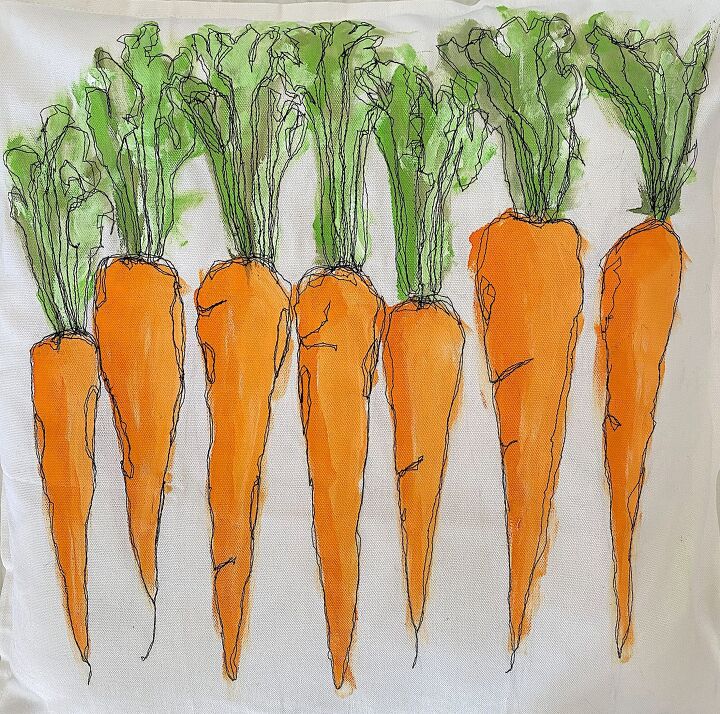
Well, it is not hard. Painting the carrots is really simple and I will show you exactly how to do it. The embroidery is free motion, which means you get to move the fabric in any direction.
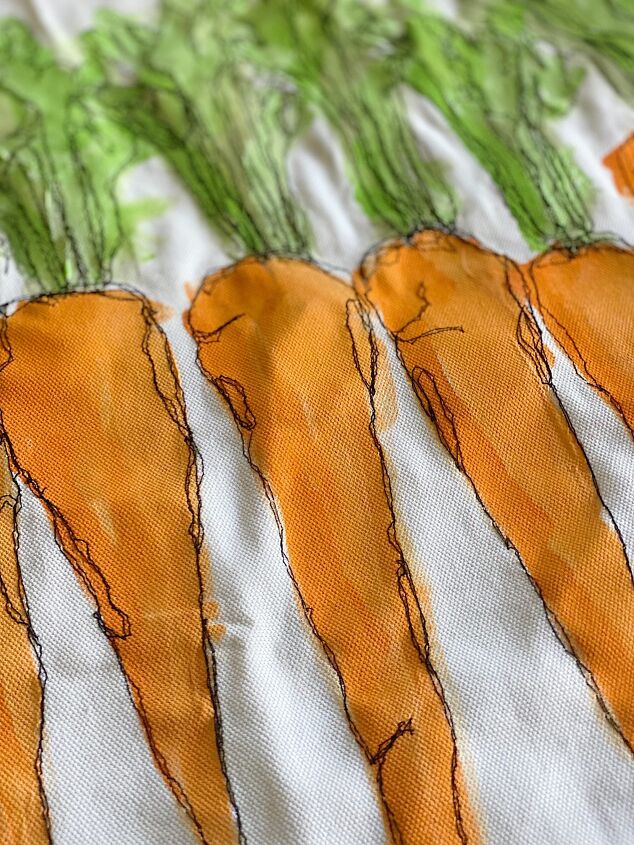
And messy is good. If you look closely you can see I sewed the outline of everything twice and none of the stitches match.
And if you don’t sew, you can use a permanent thin marking pen to outline the carrots!
How easy is that?
And can I just say that I really love this pillow?

What is Free Motion Embroidery?
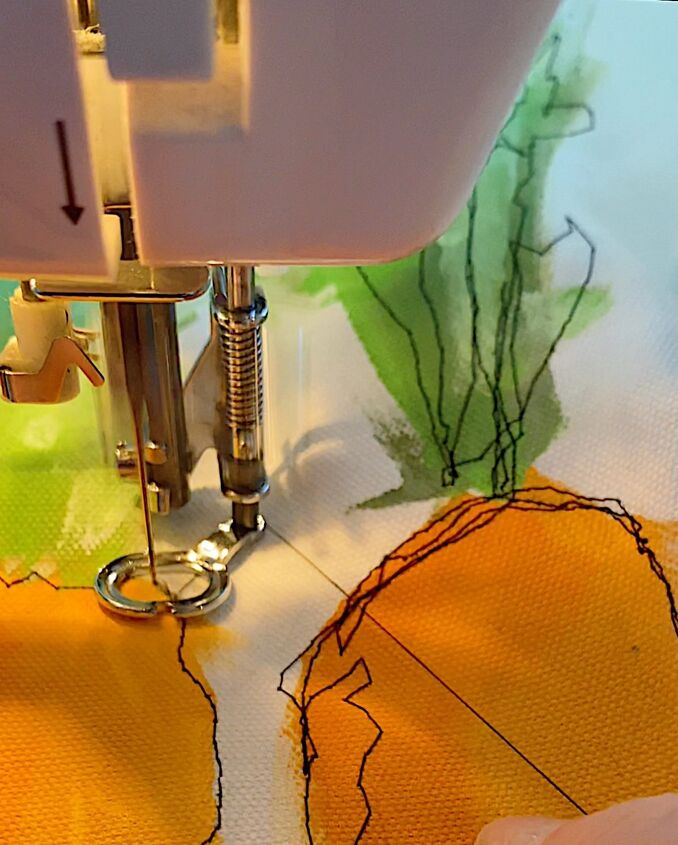
Free motion machine embroidery is a type of sewing that you do on a regular sewing machine but you can move the material in any direction while sewing it on your machine. Normally when you sew, the machine automatically moves the fabric forward. When you sew free motion embroidery, you get to move the fabric so you determine exactly where you want to sew. You can move sideways, forward, backward and create any shape you want. All you need is a quilting foot (and the ability to lower the “feed dogs” on your sewing machine).
The free-motion quilting foot, sometimes called a darning foot, is designed so that the sewing machine needle passes through a small ring on the foot. Instead of hopping, these feet float over the fabric without providing pressure. The Foot releases the fabric when the needle is in the up position, allowing you to move the fabric freely.
All you need is the free motion foot for your machine. This foot may vary based on your type of machine but I linked a “universal” one.
I read a lot about lowering the “feed dogs” on your machine when stitching free-motion embroidery. Feed dogs are the little teeth on your sewing machine that feed your fabric evenly through the machine. These teeth are extremely important because they help us produce perfectly spaced, even stitches whenever we sew garments, piece quilts, or applique shapes on our machine. Most people recommend that you lower the feed dogs for free-motion embroidery.
For this pillow, I lowered the feed dogs using a lever on my machine. It worked great. If you don’t have the option to lower them, you can use a Supreme Slider instead.
If you are enjoying my blog, you can sign up to receive my blog updates here. .
Studying the Subject Matter
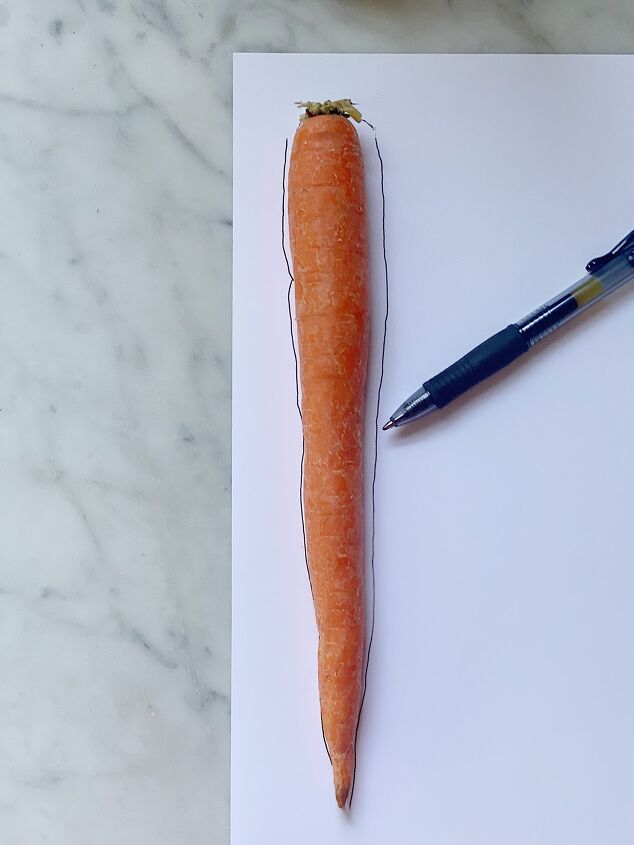
Before I started this pillow I pulled out a few carrots and studied them. I wanted to make sure I got the shape right. My carrots were a bit skinny so I fattened them out a bit.
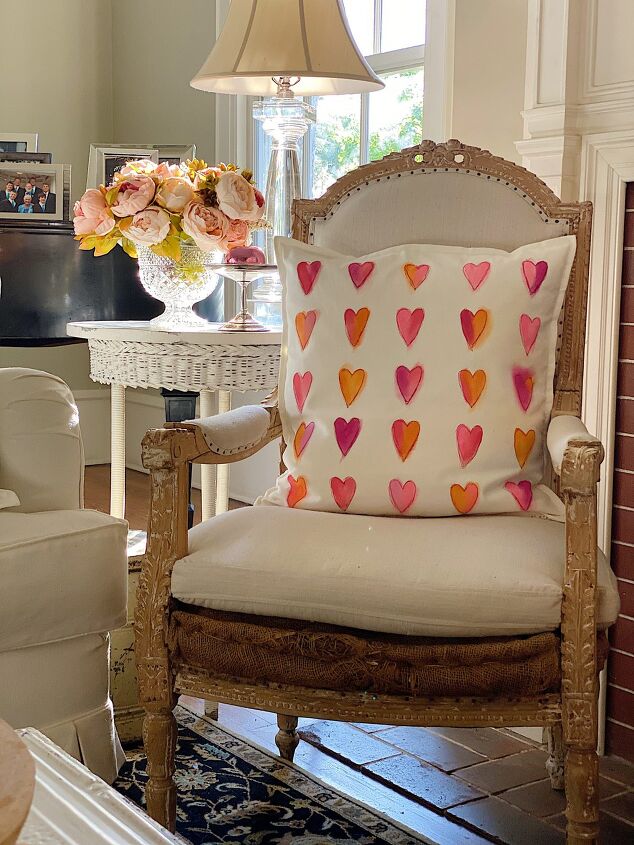
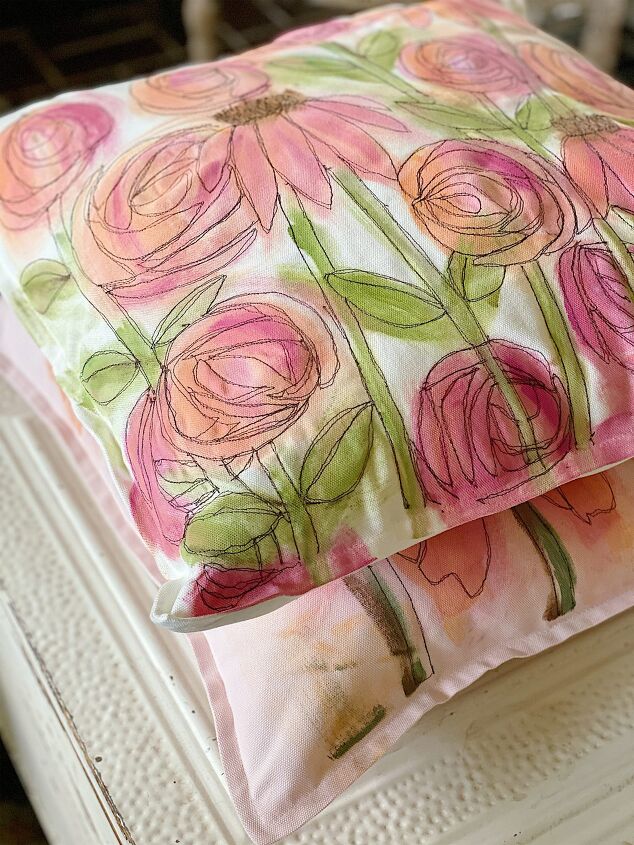
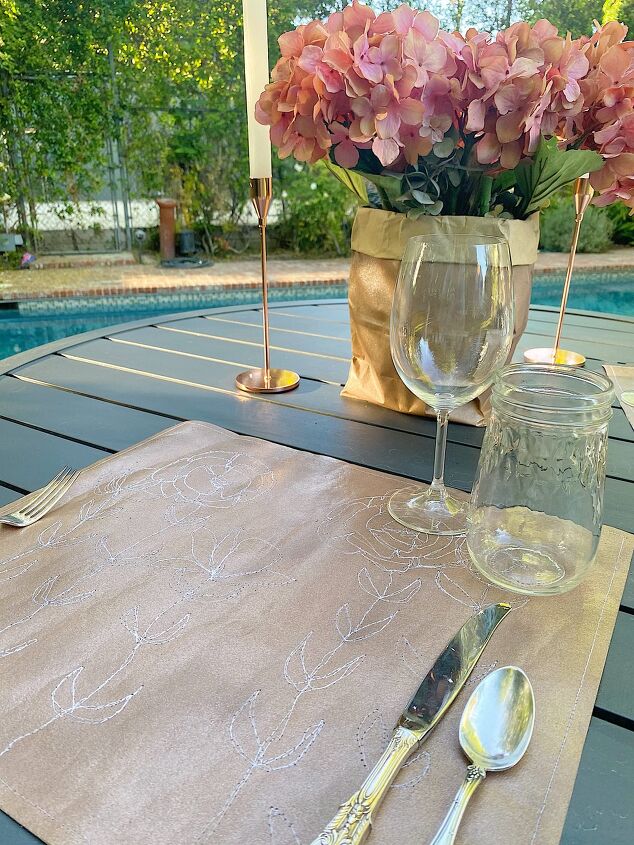
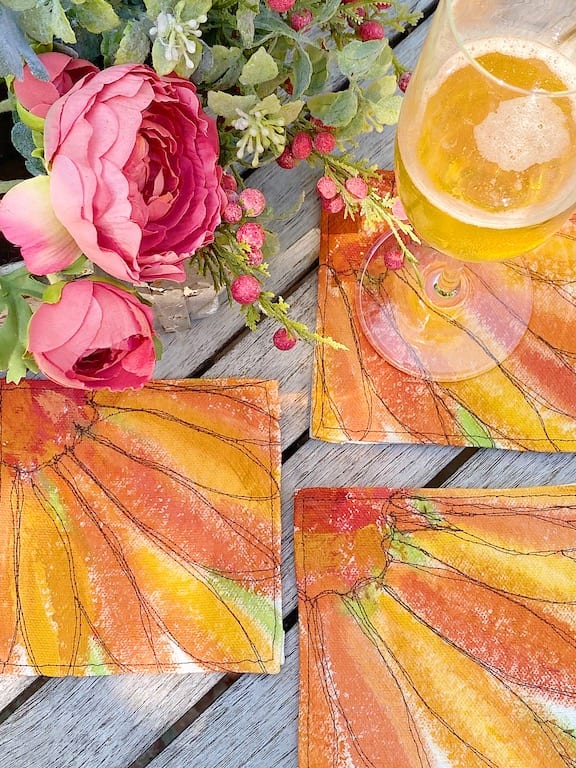
Here are Some of My Free Stitch Embroidery Projects
In the past year, I have made quite a few Free Stitch Embroidery projects. I have made pillows, placemats, and coasters.
What You Need to Make a Free Motion Embroidery Pillow
Pillow cover ( I like these.)
Acrylic paint and brush
Dark Embroidery thread (I used black)
Parchment paper or cardboard to fit inside the pillow cover while painting.
Free motion quilting foot for your machine (varies by sewing machine brand)
How to Make a Free Motion Embroidery Stitch Pillow
To prevent the paint from leaking through to the backside of the pillow cover, place a piece of parchment paper or cardboard inside the pillow.
Choose your colors and place paints on paper plates. Feel free to mix the colors as this will result in a more cohesive color palette.
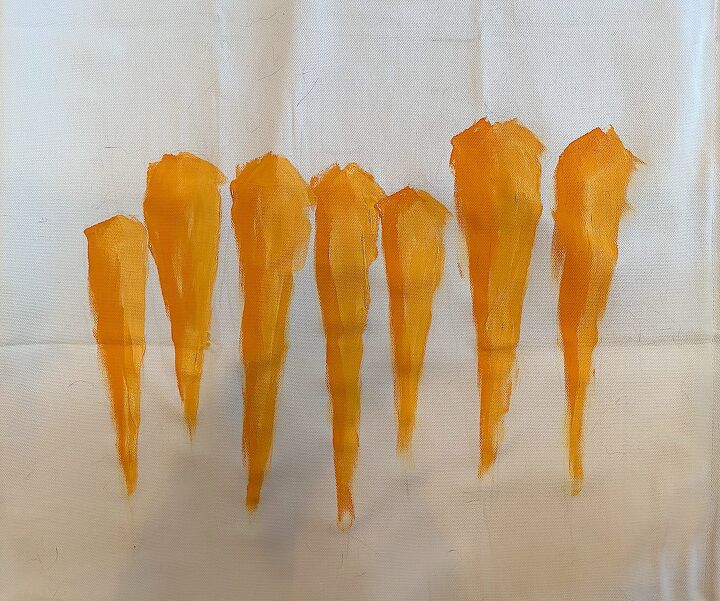
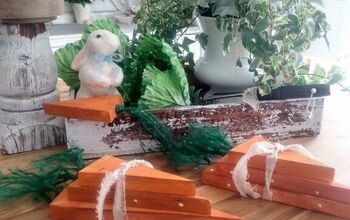
For this pillow, I used two orange bottles of acrylic. I added white to both of them to lighten them up.
Be sure you paint shapes on the pillow, not details of carrots. I like just painting shapes and not things. Keep it simple!
Once the “carrots” dried, I added the green tops.
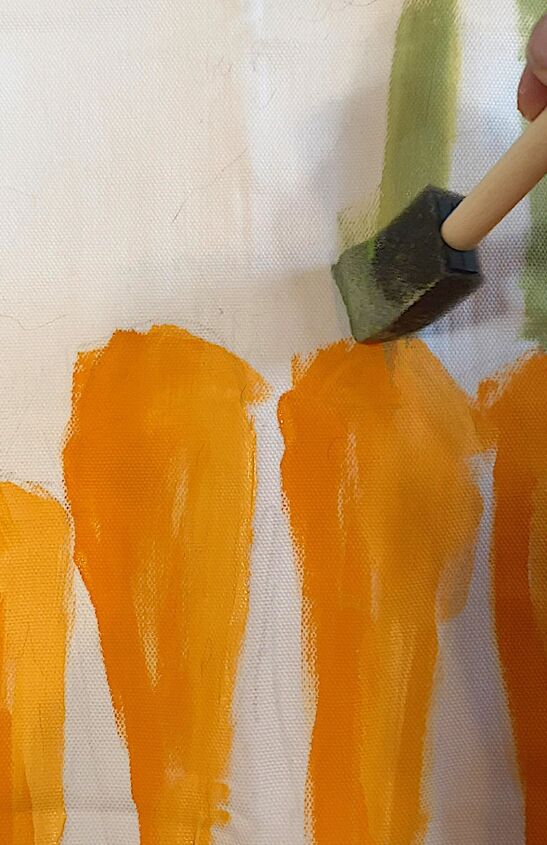
I used one green and added white to make three shades of green. I loosely painted in the three shades of green.
Just add paint in shapes. Keep it easy.
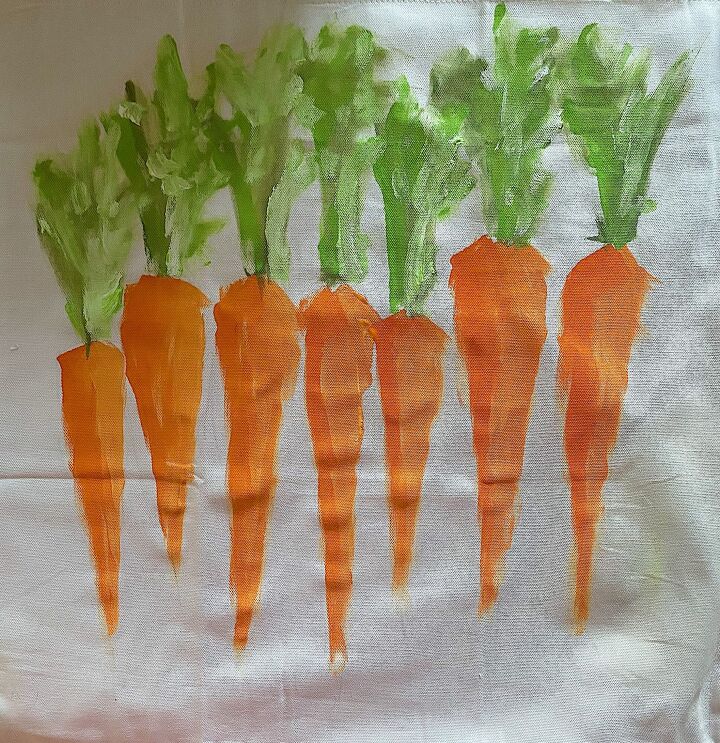
As soon as the pillow is completely dry, you can add the free motion embroidery.
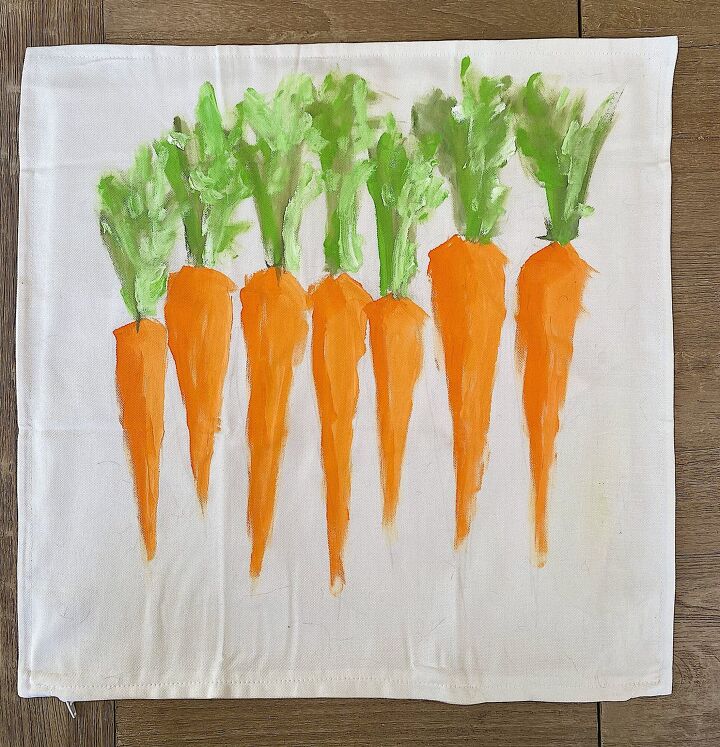
The best thing about free embroidery is that it doesn’t need to be perfect. I love how it looks when the two layers of stitches don’t match. And I love being able to push the fabric wherever I want it to go.
Frequently Asked Questions
What is free motion stitch embroidery?
Free motion machine embroidery is a type of sewing that you do on a regular sewing machine but you can move the material in any direction while sewing it on your machine. Normally when you sew, the machine automatically moves the fabric forward. When you sew free motion embroidery, you get to move the fabric so you determine exactly where you want to sew. You can move sideways, forward, backward and create any shape you want. All you need is a quilting foot.
How do you do free motion embroidery?
Use a medium-heavy fabric for free motion embroidery. Attach the darning foot to your machine, and lower the feed dogs. (The feed dog is what moves your fabric forward. If you lower it then you can move the fabric in any direction you want.)
Sew your design two times so the stitching is more predominant. DO NOT try to sew perfectly. It’s so easy and don’t worry if you make a mistake here and there. It looks better that way.
Can you sew free motion embroidery on any machine?
Yes, you can sew free-motion embroidery using a regular sewing machine. You will want to use a darning foot and lower the feed dogs to allow you to move the fabric in any direction you want.
Watch My Video
Watch My Amazon Live
I love having the chance to talk with all of you about all of the things that I love.
I am now sharing a few Amazon Live broadcasts every week and I hope you will tap on the links to see what’s new.

Everything you need to make this super cute pillow is listed below, just click the photo for more info!
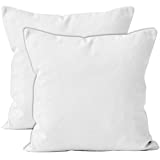
White 20×20 Canvas Pillow Covers, Set of 2

20×20 Pillow Inserts, Set of 2
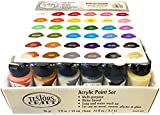
Testors Craft Acrylic Paint Set
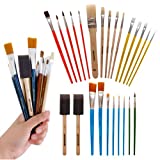
Pack of 25 Assorted Paint Brushes

Water Soluble Marking Pen, Blue
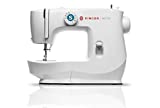
Singer Sewing Machine
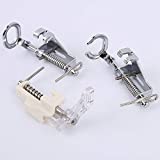
Free Motion Sewing Presser Foot

Brother Sewing Machine
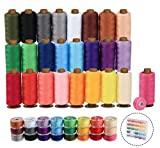
Thread and Bobbins Set
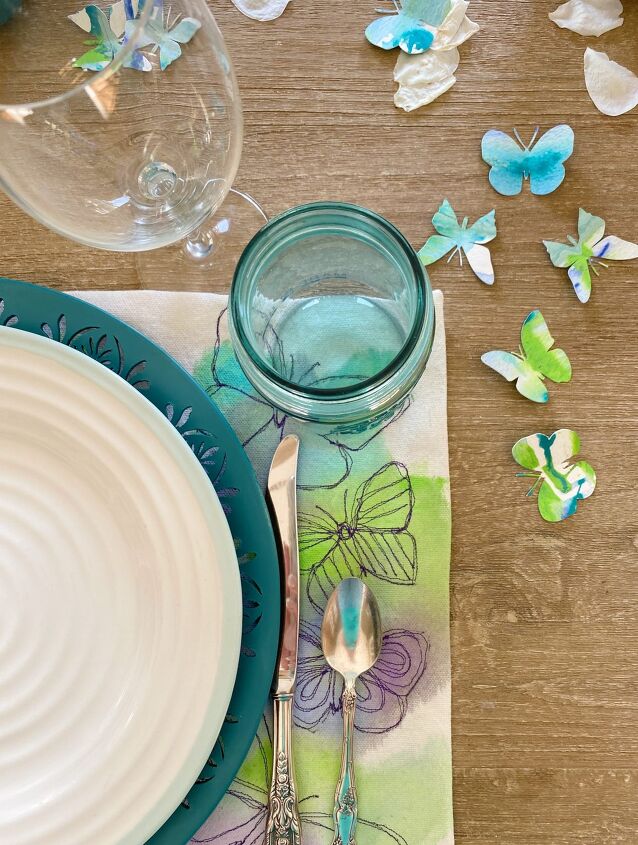
Easter Embroidery Crafts
I have teamed up with my friends Janine and Ashley as we are all sharing an Easter Craft.
Happy Happy Nester
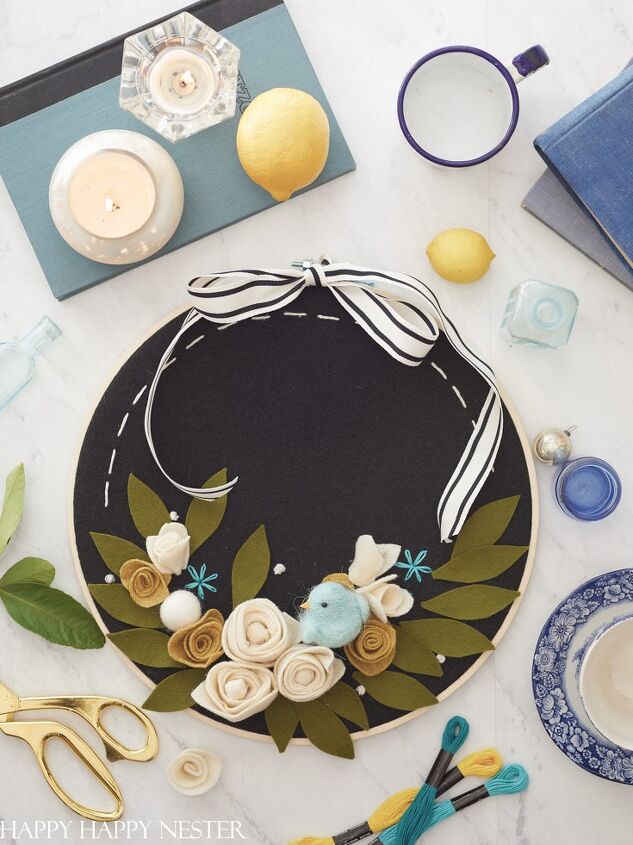
This adorable felt flower wreath DIY is perfect for spring or summer. Learn how to make a rosette and rose flower for this embroidery hoop wreath.
Modern Glam Home

Learn how to embroider a sweatshirt with custom lettering and transform your ordinary clothing into a piece that is unique to you!
Pin the image below to your decor boards on Pinterest (just click the Pin button in the top left corner). You can also follow along with me on Pinterest!
For more real-time updates, follow me on Instagram @My100YearOldHome

ABOUT LESLIE
Welcome to My 100 Year Old Home. I started my blog so I could share my passion for entertaining, décor, cooking, and crafts. You will find all this and more right here. Read more…
Resources for this project:


Comments
Join the conversation
-
Too darn Cute!!
Can’t wait to try it!!
-
Love free motion sewing. I have bsr foot but rarely use. I prefer letting it go. For those concerned, relax. I like music on when stitching And let your imagination go. Don’t over think it. Your drawing/accenting with thread. Thanks for inspiration


Frequently asked questions
Have a question about this project?
What if you don’t have sewing machine?
Absolutely love this project, the details are great! I realized after reading the entire article that you painted the carrots on. At first I thought each one was an individual piece of material! Great job!