


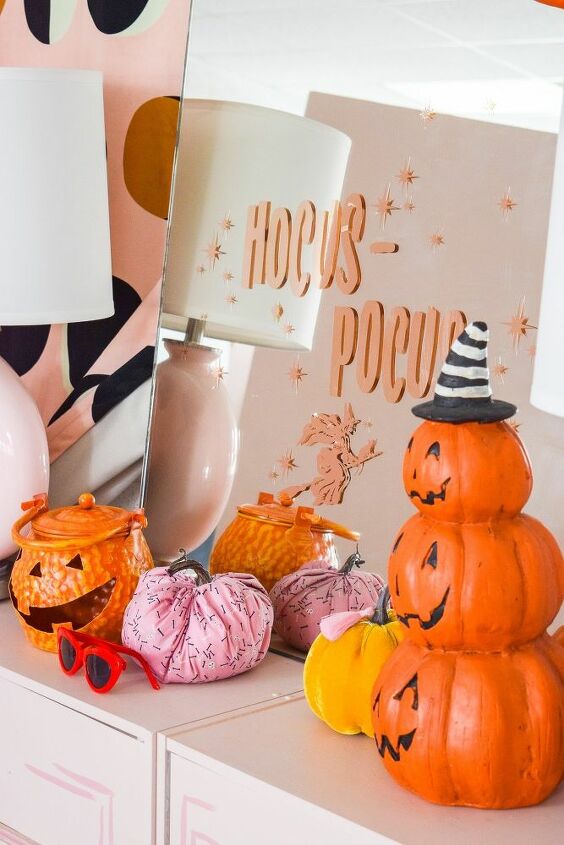
DIY Hocus Pocus Mirror

It’s just a bunch of hocus pocus! It’s also time to get your witching Halloween essentials in order, and since fall is one big prelude to the spookiest night of the year, I thought I’d start introducing some witching content a bit earlier this year. You saw my DIY Hocus Pocus Mirror in my magical fall dining room , but here’s the DIY for it!
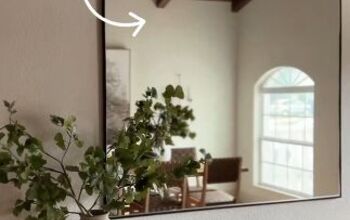
You could use any old mirror lying around, in fact, you can just make the vinyl decal to apply to something you’ve got up. In my case, when I swapped the mirrors in the bathroom at our new home, this big one came down. I didn’t want to get rid of it just yet, and I’m glad I didn’t because it found its way to this project!
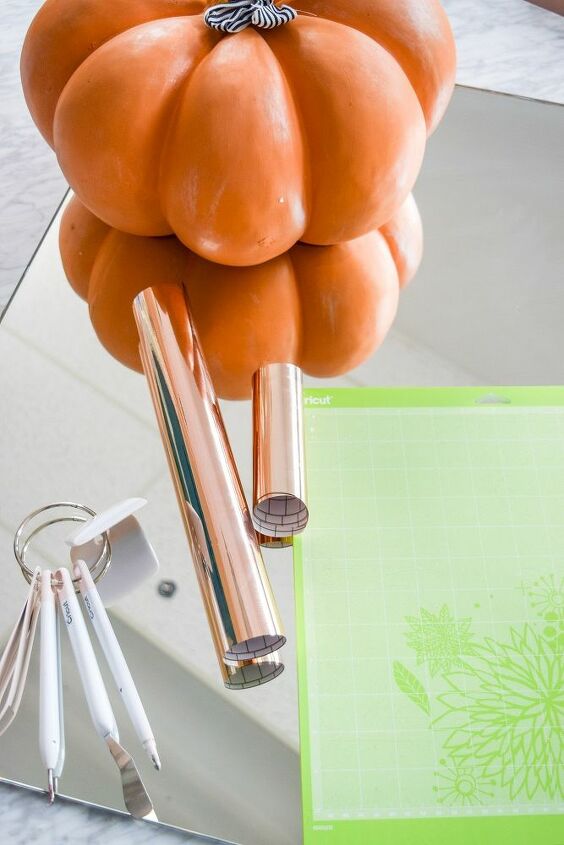
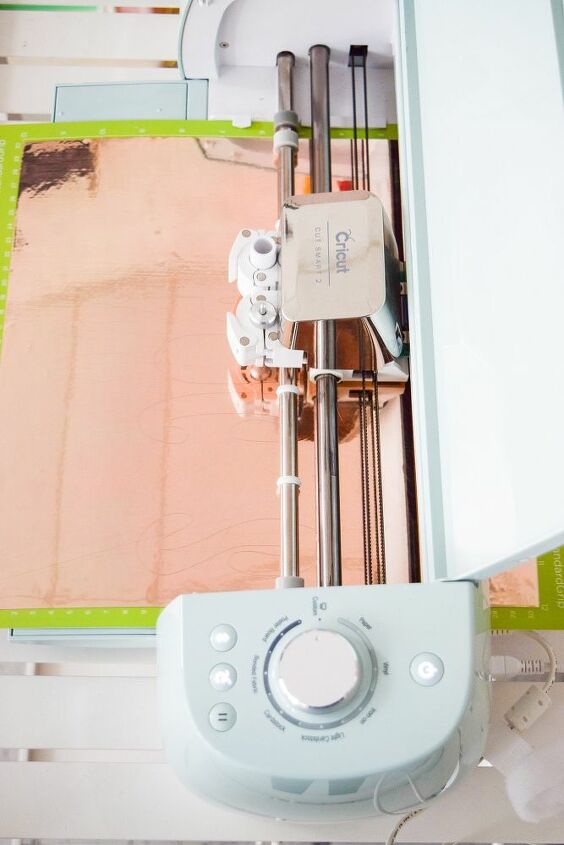
Just a Cricut Explore Air™ 2 machine, a cutting mat, rose gold vinyl, and a mirror! Oh, and Cricut Access (Standard) for the image files.
You can check out the rest of my Cricut projects, my guide to the Explore Air 2, and check out last year’s Bitchin Witchin Cape on the blog.
You can apply the hocus pocus decal to the mirror any way you’d like, but I wanted mine to be sort of centered. I used masking tape to mark the centre of the mirror.
Using transfer tape, I transferred over the text, then the witch, then the stars.

Once you’ve got everything on the mirror, don’t forget to wipe it clean from all your fingerprints! My mirror was covered in them, so I gave it a good clean. That's all there is to it.


Frequently asked questions
Have a question about this project?
Can these peel off when the holidays over?