DIY MIRRORED DRESSER!

by
Kimberly Quezada
(IC: vlogger)
8 Materials
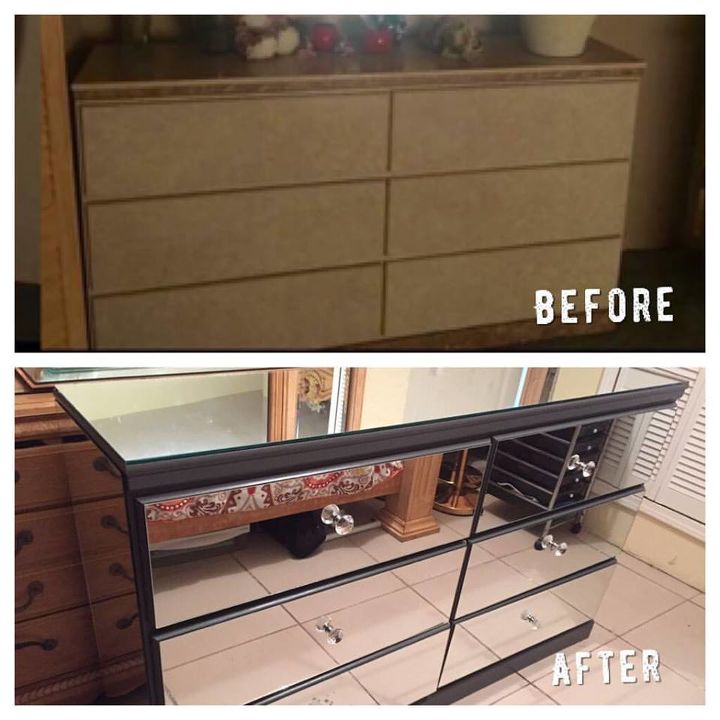
I've always wanted a mirrored dresser BUT they are extremely expensive at furniture stores. I decided to take matter into my own hands and DO IT MYSELF! I definitely saved a lot of money and i love the finished product!
I made a youtube video on how I made this, you can watch it with the link at the end of the post! please subscribe to my youtube channel if you'd like to see more of me and my diy projects!
I made a youtube video on how I made this, you can watch it with the link at the end of the post! please subscribe to my youtube channel if you'd like to see more of me and my diy projects!
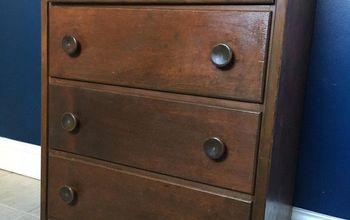
So for this project I purchased a used dresser from a garage sell!
The first thing I did was sand down the dresser and the drawers to prep them for paint. When I finished sanding, I wiped it down with a damp cloth to pick up all of the residue.
Then I began to paint the dresser and drawers with a satin finish paint. (2 coats) letting each completely dry before adding the next coat.
I then had the dresser and drawers measured and had mirrors custom cut and installed by professionals from a shop in my city.
I then glued on the knobs with the E6000 glue, using a napkin to clean up the excess glue.
Last step was to wipe it all down with some Windex!
Enjoyed the project?
Suggested materials:
- Used dresser (garage sell)
- Electric sander (walmart)
- Sanding sheets (walmart)
- Satin finish paint (home depot)
- Paint brush (hope depot)
- Custom cut mirrors (local mirror shop)
- Clear crystal knobs (amazon)
- E6000 glue (walmart)
Published November 16th, 2016 10:41 AM
Comments
Join the conversation
2 of 55 comments
-
-
 Carol Cole
on Mar 23, 2019
What a great job. Been wanting to do this and didn't have the nerve. Maybe I will find it in me now.
-











Frequently asked questions
Have a question about this project?
You said overall it cost $200. Does that include the money you paid for professionals to put the mirrors on the dresser?