


DIY Standing Bunny Reclaimed Pallet Wood
Spring is a time of new beginnings; for this reason, as soon as the temperatures start to warm up, I start new projects such as DIY crafts, gardening, and cooking. I had a stack of pallets, so I decided to make a pallet wood project; I also wanted it to be an easy project. I know how much fun my pallet bunny has brought my spring and Easter decor, so I wanted to make some to share.
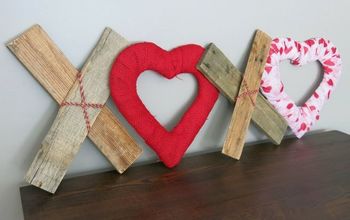
See how to make a gorgeous bow HERE. 
A DIY standing bunny from pallet wood would be a fun DIY Easter project. Therefore I made a pattern from the bunny I made last year. These standing bunnies are perfect to greet my family and guests. Therefore, I know these will make someone else happy too.
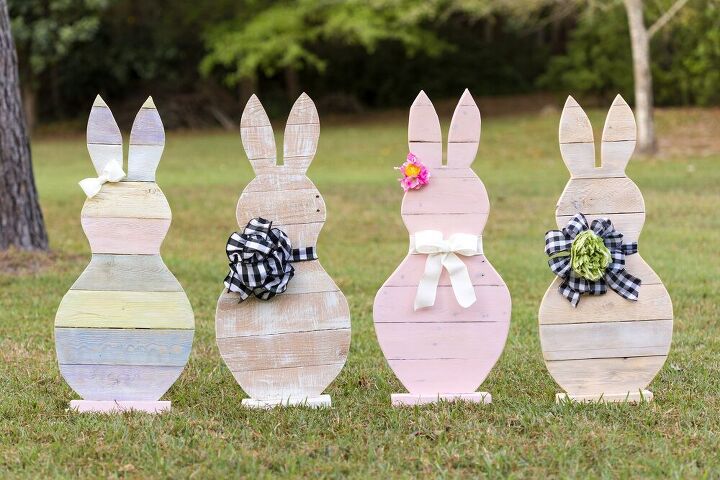
Wooden Easter Bunnies are the perfect Easter pallet woodcraft project.
This Easter bunny decoration project only takes a few minutes to build from the reclaimed pallet wood, however, taking apart the pallet does add another 10 minutes to the overall time.
How to Build a DIY Standing Easter Bunny
Supplies and Tools:
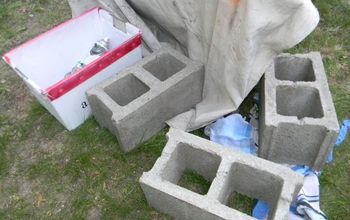
- Reclaimed pallet
- Wood glue
- 1/2 staples
- Battens (cut from a scrap 2 x 4)
- 10″ base (cut from a scrap 2 x 4)
- Drill
- Drill bit (countersink)
- Stapler
- Band saw
- Sandpaper
- Chalk paint
- Chalk paintbrush
- Wood pencil
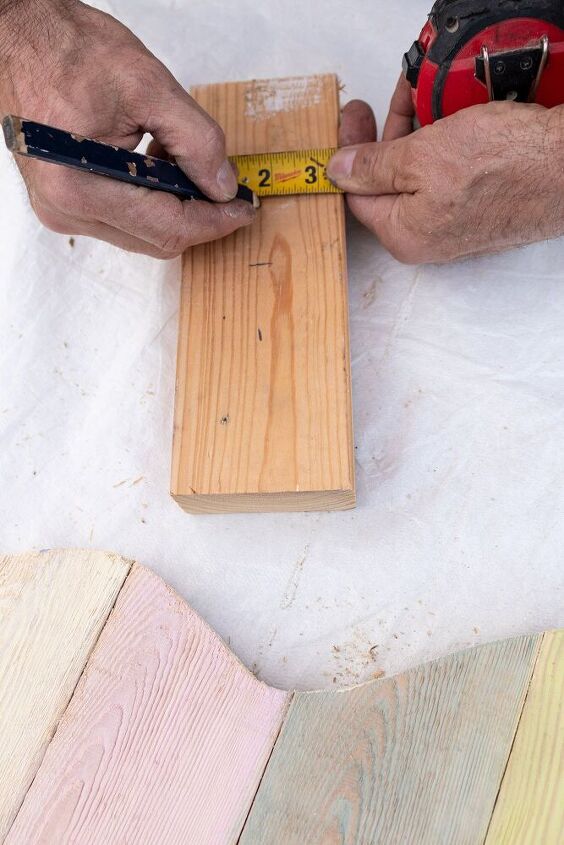
- Measuring tape
After gathering your supplies and tools, you can start building your Easter bunny decoration.
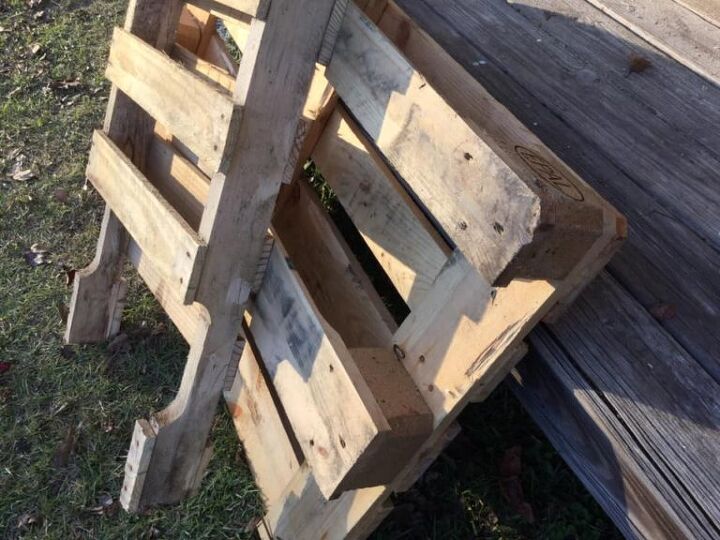
Reclaimed wood pallets
Assembling the bunny is especially easy if you set up a table since you need a flat surface to layout the pallet wood. I used boards placed over a sawhorse as my work surface.
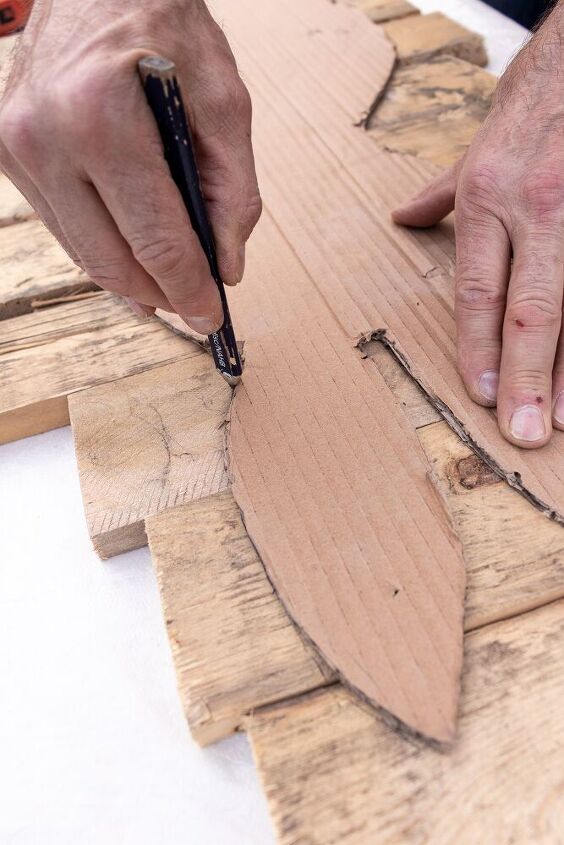
Tracing the bunny pattern on the wood
Once I traced the bunny pattern on the wrong side of the pallet wood, I used applied wood glue between the boards.
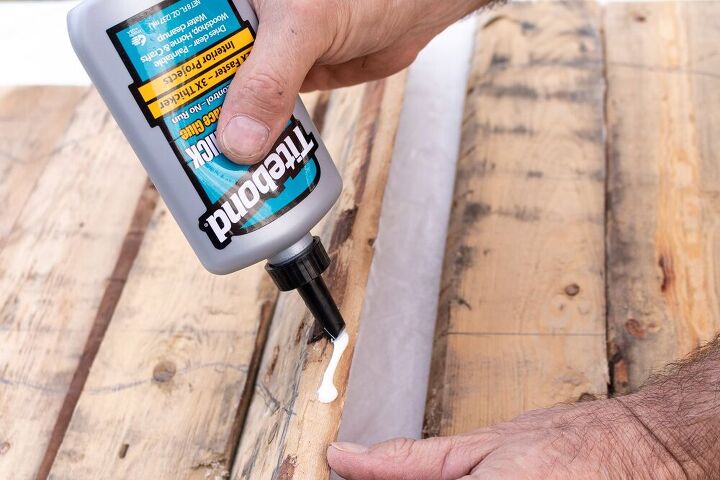
Gluing the boards together
Support Battens
Using a piece of scrap 2 x 4, I ripped them to make the support battens.
Marking the placement for the bunny
Note: It is easier to paint the bunny before adding the stand.
DIY home decor using reclaimed wood
Resources for this project:
See all materials


Comments
Join the conversation
-
Adorable!! Definitely a do-able project very soon. Thanks for the great photos and instructions. Wonderful job!! Keep up the good work with the simple projects.
-
Those are just too cute!


Frequently asked questions
Have a question about this project?