


How to Make Halloween Mixed Media Bottles
If you are new to mixed media, this technique is so creative. You can use items that you have laying around your home to decorate just about anything. I have only been using this technique for a few months and I am totally addicted. You would think you need to be very artistic, but surprisingly you don’t. I was told in school to give up art class because I did not have an eye for art, and I can do them. Saying that I only took art class because I thought it would be easy and I would not have to study. It is as simple as gluing items randomly to an empty bottle and painting it. Then highlighting the paint with coloured wax paste using your finger. There is so much detail on these bottle mentioning every item will make this post a mile long. Up close images will let you see what items were used.
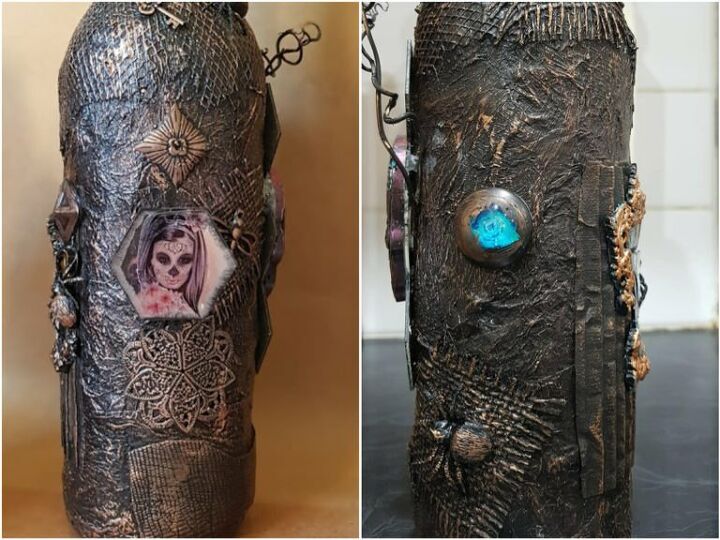
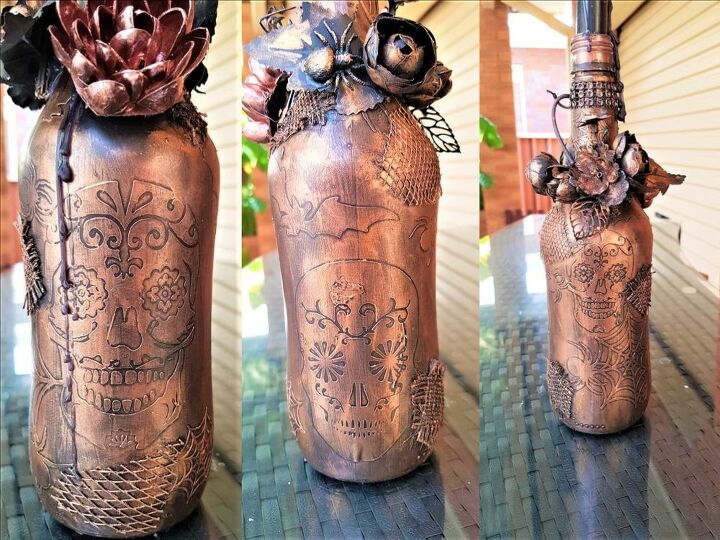
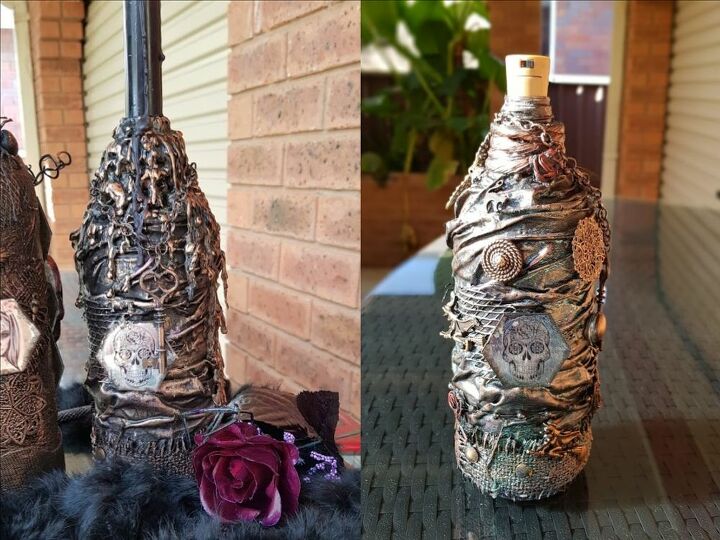
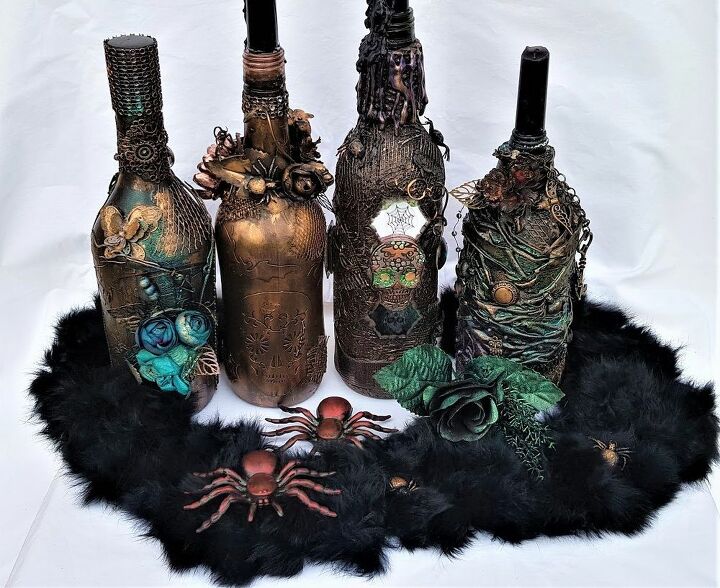
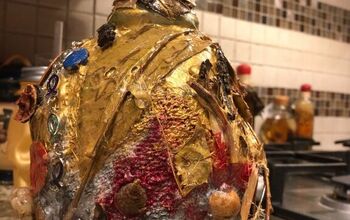
To duplicate the decoration on this bottle you will need. Off cuts of burlap fabric, plastic mirror, mesh from an onion sack, rhinestone mesh, twig from a grapevine and some charms, to mention a few. Many of these items can be found around your house.
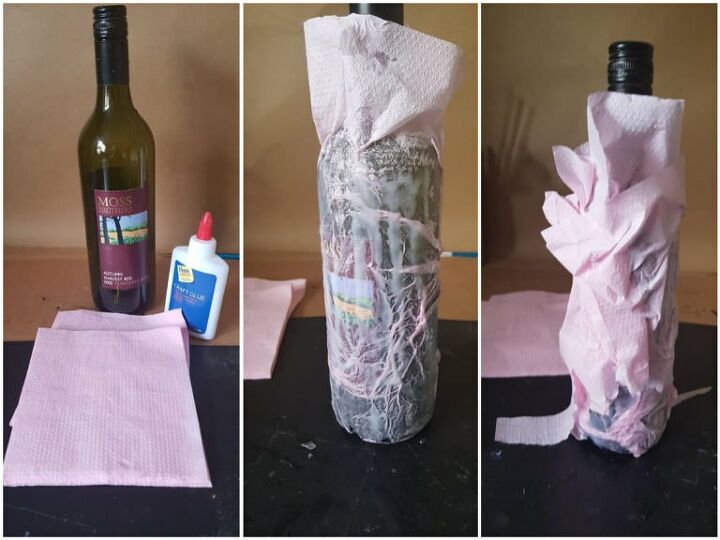
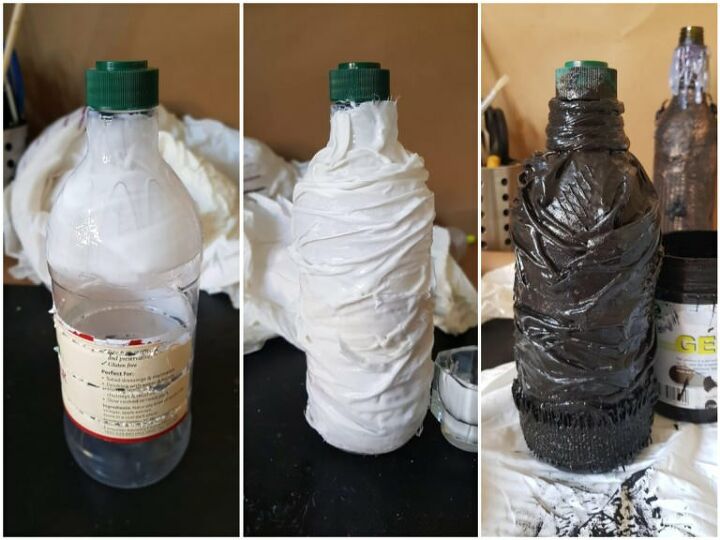
Find an empty wine bottle and add a thick layer of craft glue. Using paper towels, napkins or toilet paper whatever you have at home. Apply the paper towel to the glue and push it down and around to make creases. Apply multiple layers for more texture.
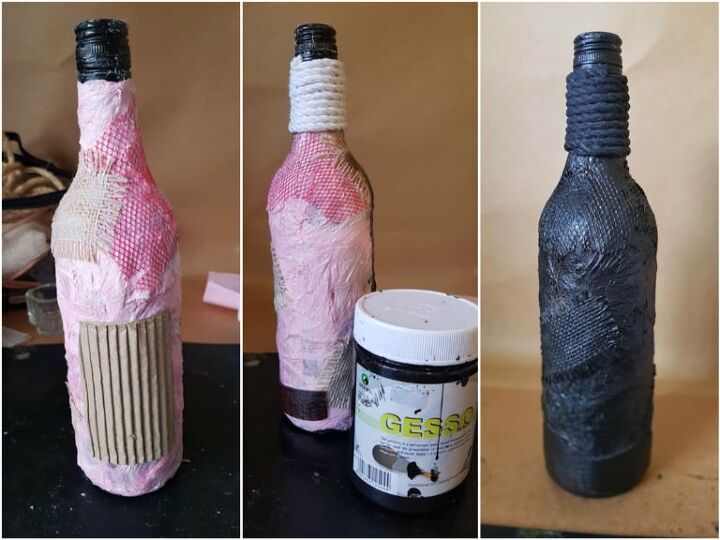
Randomly glue items to the bottle using E6000 glue or similar. Once dry add a layer of black gesso to the whole bottle.
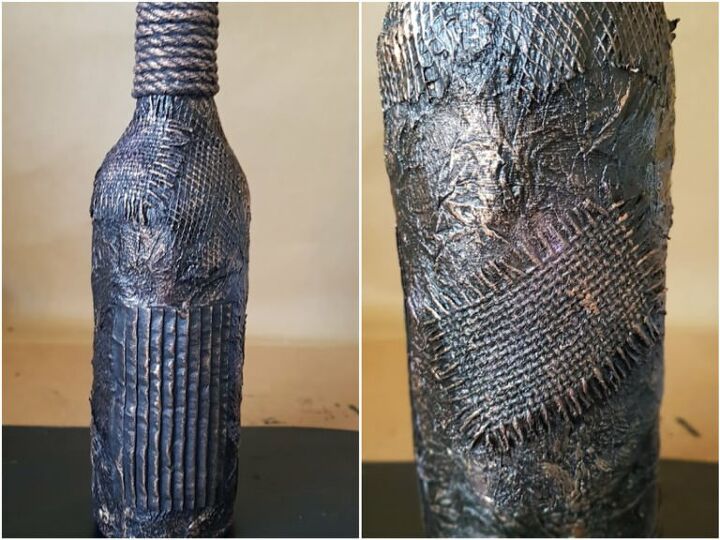
Use a coloured wax paste to add highlights to the surface. Dip the top of your finger in the wax and apply it to the surface of the bottle. Don't try and fill in all the nooks and crannies because that is what gives you the effect. Multiple colours can be used. I make my own, to see how you can find the information on my website.
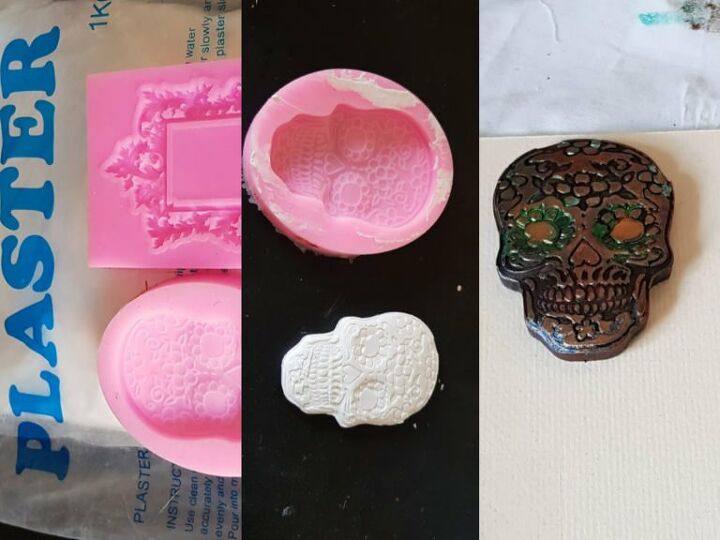
Using silicone moulds and plaster I made the frame and skull. Which were painted using acrylic paints. These elements can be bought online. The image was added to the mirror using temporary tattoo paper, see how here. When I was happy with the placement of all the charms they were painted black using gesso and highlighted with the wax paste as above.
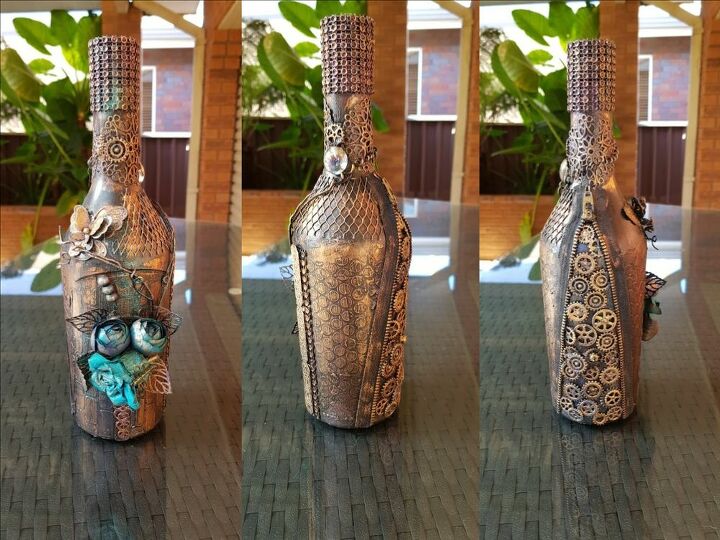
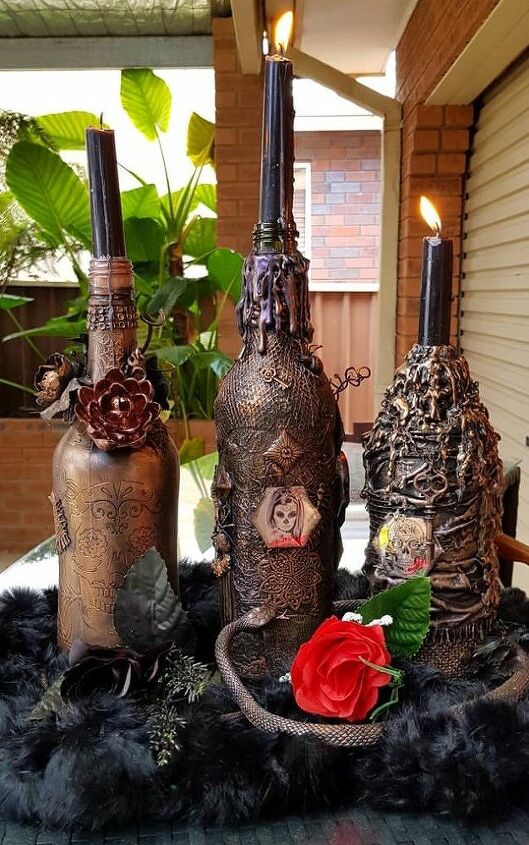
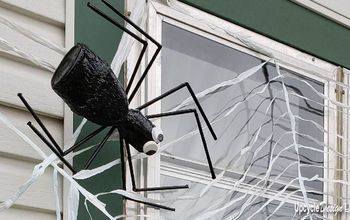
To achieve the effects on this bottle you will need vinyl decals. I made mine using a Cricut machine, but you can purchase the decals off the internet. Find the images you like, I get the images free from websites like pixabay.
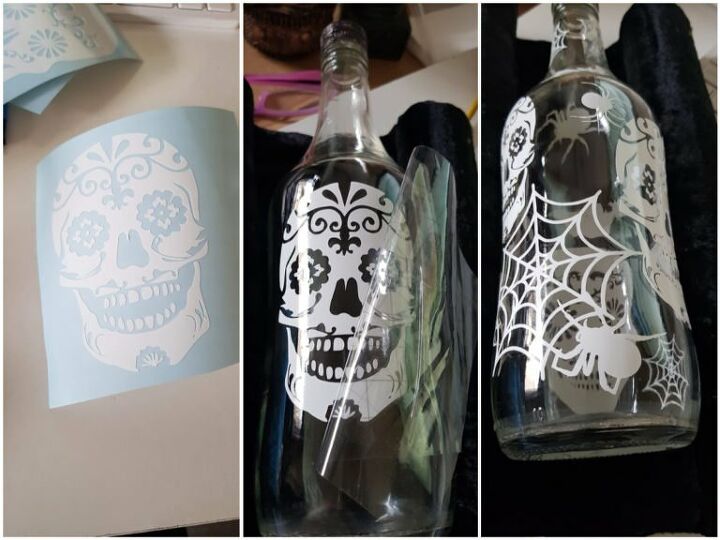
Add the decals to the bottle, then paint the bottle using black gesso. Using the bronze wax paste on your finger add it to the surface of the bottle as the bottle above. Random elements like the burlap and mesh etc, were glued to the bottle in the same way as above.
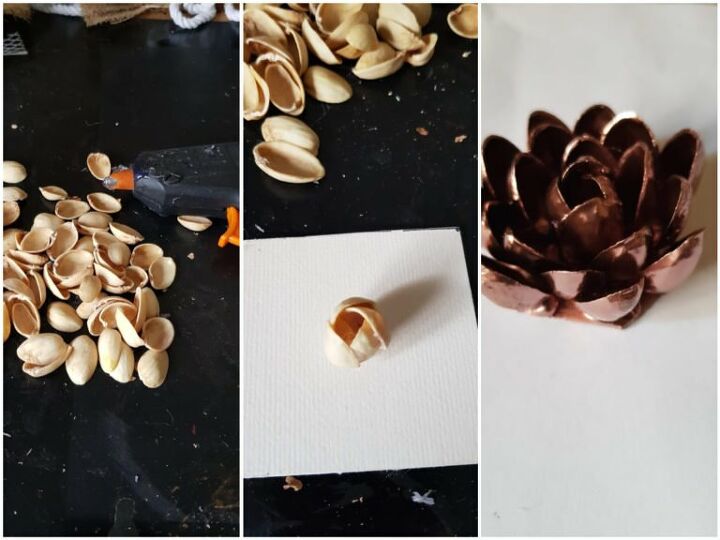
The flower was made from the shells of pistachio nuts. Using a hot glue gun start by glueing 4 shells in the centre and gradually work your way out. I was too lazy to paint all the nooks and crannies on this flower so spray paint worked great. The other flowers are artificial flowers that were painted and highlighted the same way.
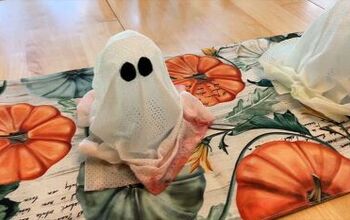
For this bottle I used and empty plastic vinegar bottle. I did add some sand to the bottom to stop it falling over all the time. I changed my mind many times with this bottle, I added the melted wax. But took it all off and added elements like the other bottles.
Add a thick layer a glue to the bottle. Using scraps of fabric, mine was an old pillowcase. Push the fabric onto the bottle and make some creases by pushing the fabric around with your fingers. Let the first layer of glue dry first, a hairdryer works great for this. Once dry add another layer of glue over the top to stiffen the fabric. The process for applying the elements was the same as the other bottles. Battery operated lights or candles can be added to the bottles for added effect in the dark on Halloween night.
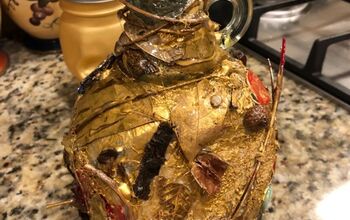
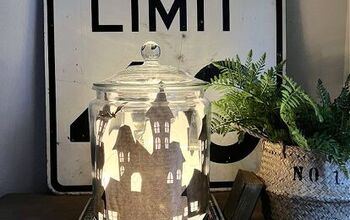
This was the first ever mixed media bottle I made, which I recently turned into a wine bottle lamp. This bottle has added texture to the bottles.
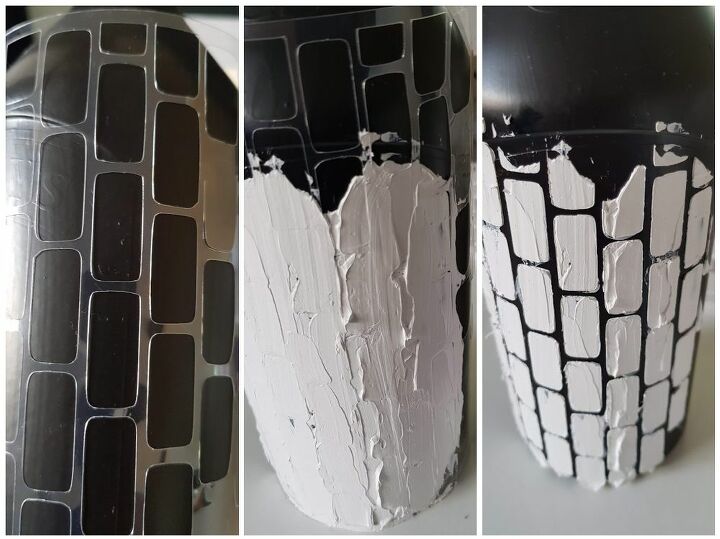
To get this effect you will need stencils and texture paste. Wrap the stencil around the bottle and add a layer of texture paste. Remove the stencil straight away and let it dry. Use different stencils for more effect.
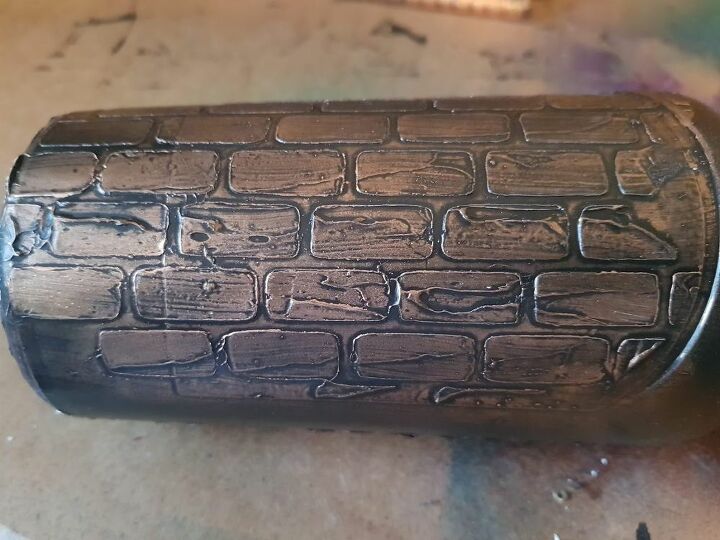
This the end end effect once the coloured wax paste has been added. This step does not need to be perfect. The uneven effect of the texture paste looks nicer once the gesso and bronze wax paste is added.
For more detail information on these bottle visit my website listed below.
Resources for this project:
See all materials


Comments
Join the conversation
-
WOWZA!!!
ASTOUNDING!!
Totally STUNNING!!
Thank you!!
-
these are great!! hope mine will turn out half as good as yours!


Frequently asked questions
Have a question about this project?
Your talent and imagination is mind blowing!!!! I've been decorating wine bottles for years and can't even come close to your level. Thank you for sharing your amazing talent.
Can’t wait to do this! I have wanted to make one to look like leather. Any ideas on how I would do this?
What brand of wax did you use and where did you find it?