


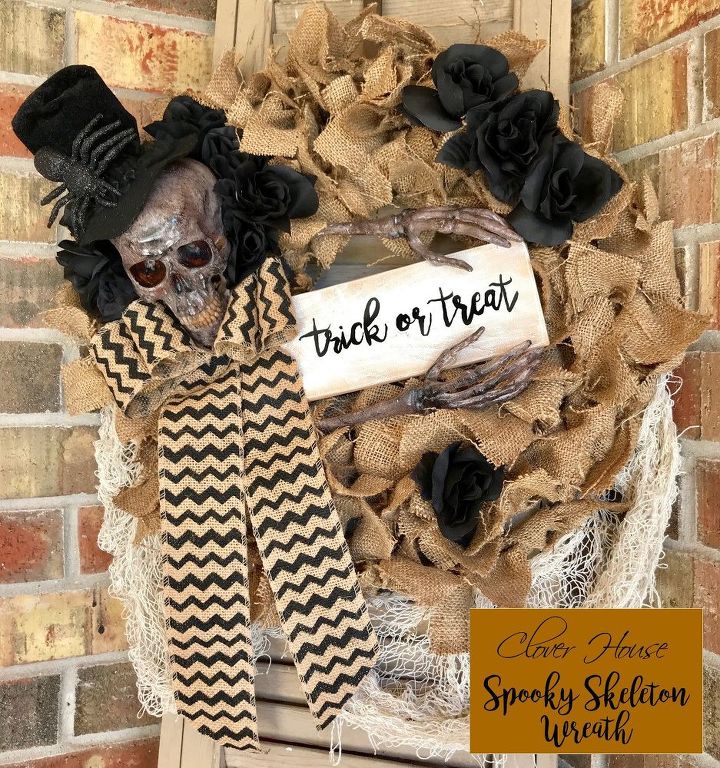
Spooky Skeleton Wreath

by
DeeDee
10 Materials
$20
4 Hours
Medium
Do you decorate spooky or cute? I use a little of both, but not too spooky...no blood and gore at our house! I love using lots of orange at Halloween time normally, but for this wreath, I kept it all pretty neutral with some black accents.
Halloween is almost here, are you ready? I think I am! I'm cutting it real close with getting this wreath posted before Halloween, but I had to share it with you because I am loving how it turned out.
You can just save it for next year, right?!
I saw an awesome version of this wreath on Pinterest and I was on a mission to make one of my own! Link to that one on my blog.
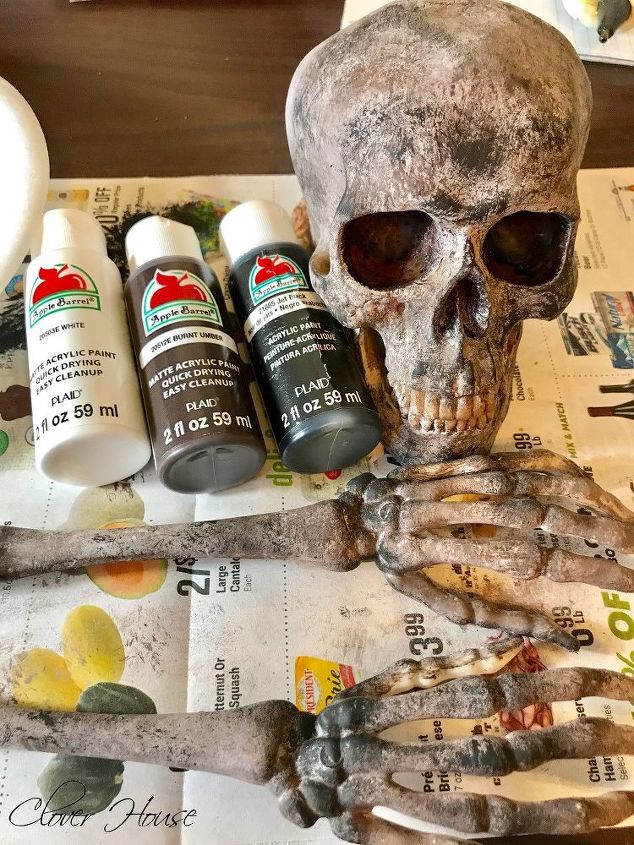
These arms are salad tongs from the Dollar General, yes, I said salad tongs! lol! They were stark white, but I used a combo of white, brown and black acrylic paints to make them look old and spooky. I used a dry brush technique with very little paint on my brush at all times. The skull is from Amazon and although it was ok looking, I wanted the skull and arms to match, so I painted it too. After the paint dried, I sprayed them with clear enamel to seal them.
NOTE: You may want to use a plastic primer on the arms (salad tongs). I did not and the acrylic paint would come right off at the slightest little bump.
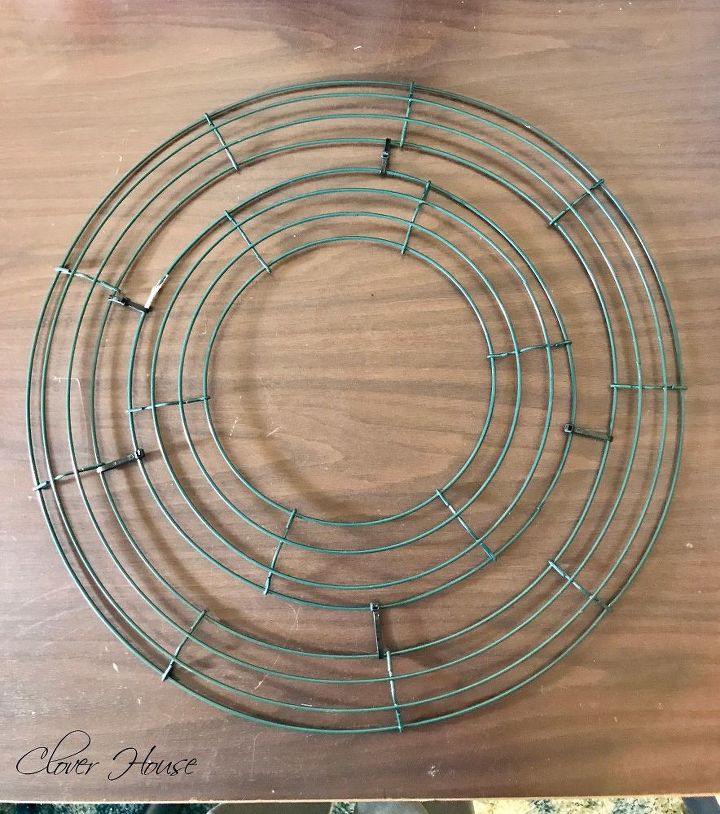
I used one 12" wire wreath form and one 18" wire wreath form to create my finished wreath. I did this because I wanted a smaller open space in the middle and more fullness on the wreath to work with.
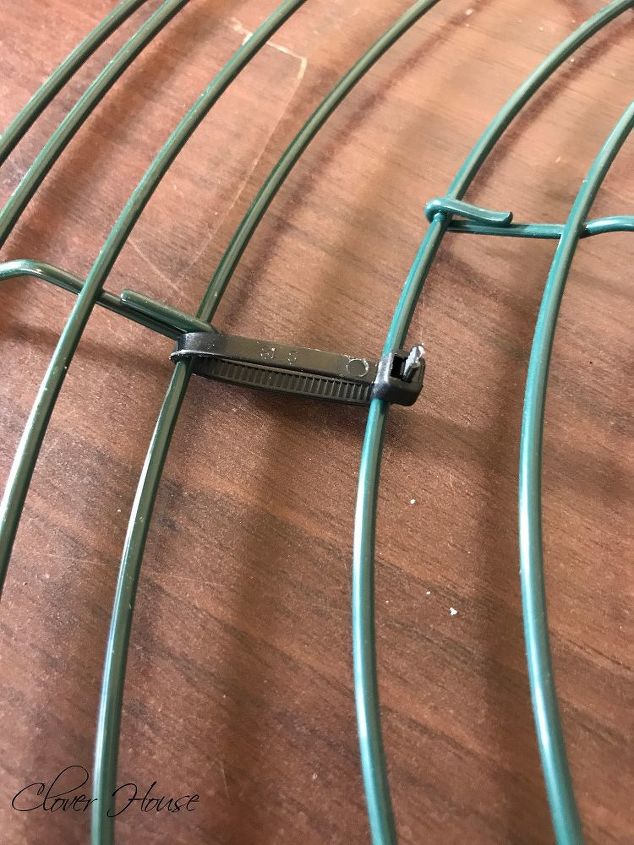
I connected the two wreath forms together using some small zip ties and tried to get them pretty tight, but not so tight that it would stretch the forms out of shape.
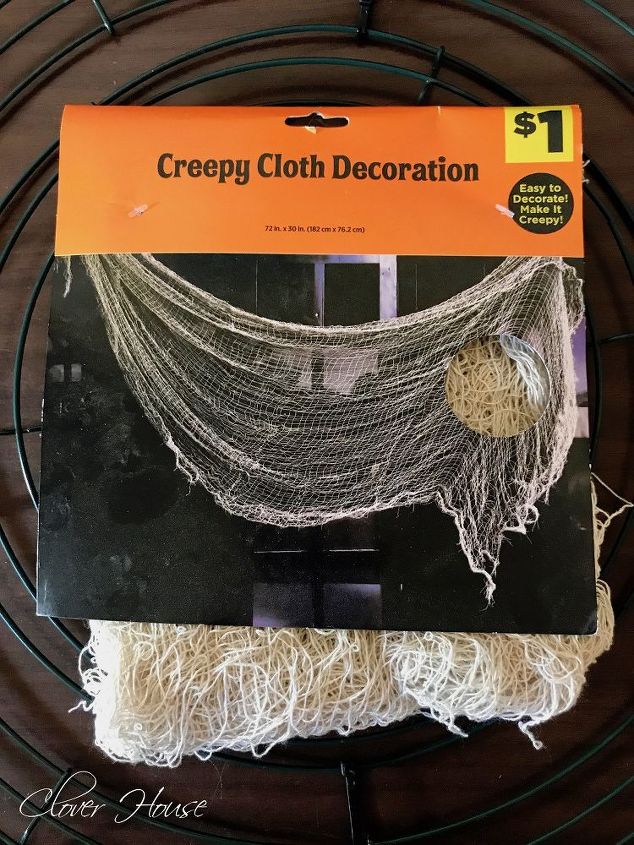
I'm pretty sure I grab at least three packs of these Creepy Cloth Decorations each year in this off white color and black too. They are great for decorating at Halloween. This is what you see along the bottom edge of my wreath.
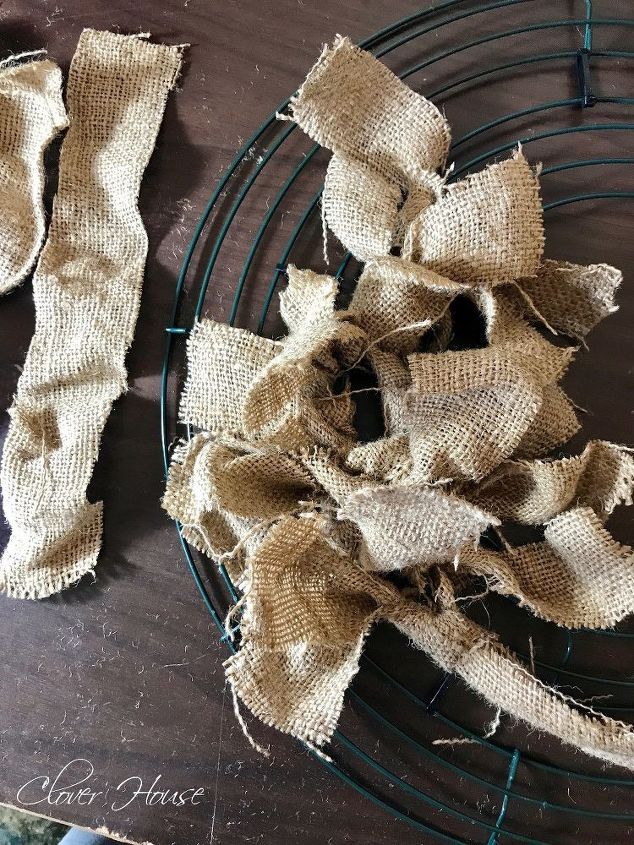
I used an actual feed sack from our local feed store for my burlap strips of fabric, but go to my blog a link for something similar if you don't have access to real feed sacks. Your strips will be about 1 1/2" to 2" wide by about 8" long. These do not have to be perfect either.
Start to add your strips one at a time randomly by tying the strip just one time. I always made sure I had two rows of wire under each tie, alternating the rows as I went along. Try and make it look full.
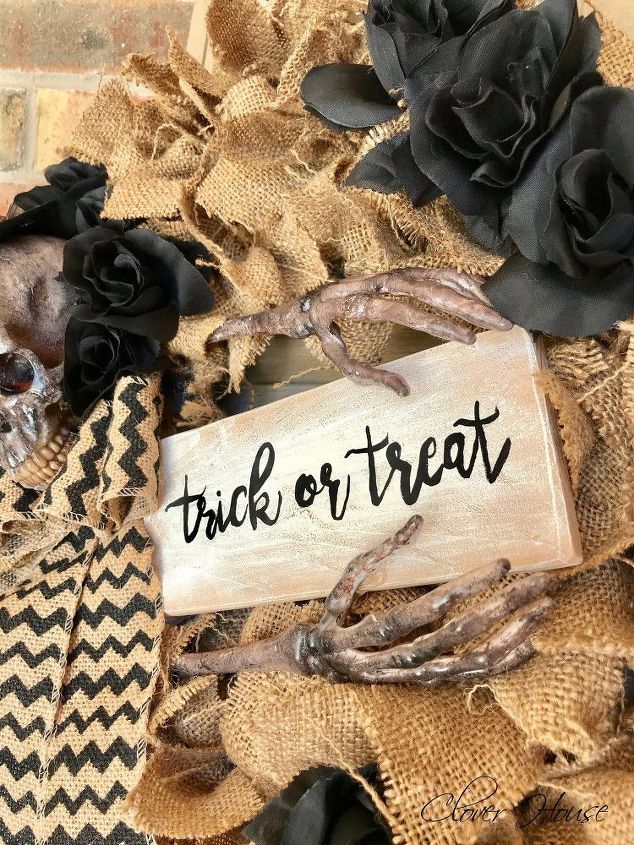
I made the sign as well using the same steps I used in my Easy to Make Fancy Hand Lettered Sign tutorial post. Let me just say that the smaller font was HARD to make look nice...but maybe that's just me over here with my old eyes! lol!
That cute burlap chevron ribbon that I used as his bow tie was from my craft stash, but you can find it at craft stores too.
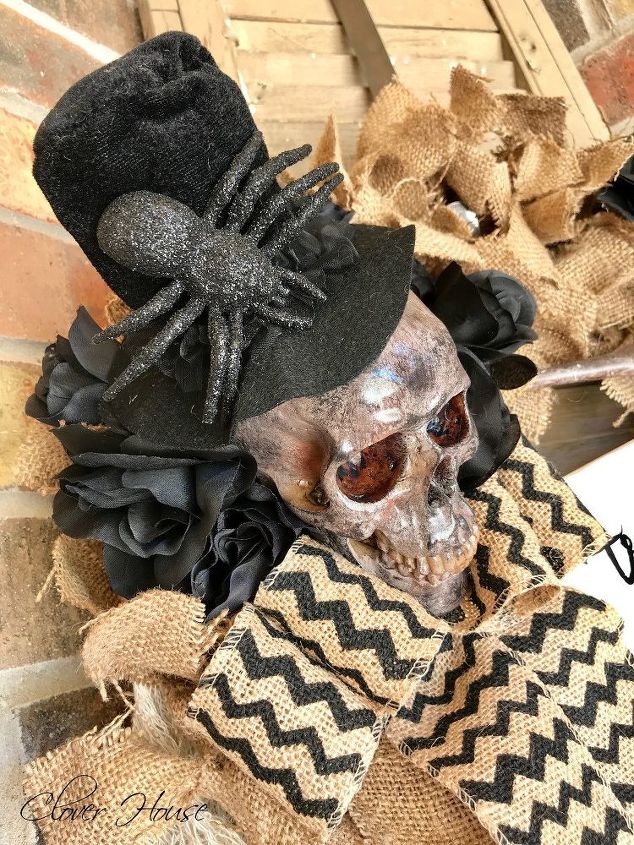
The creepy spider and his hat are both from the dollar store. The hat was one of those headband hats that I disassembled from the headband so I could place it on his skull. I found alternate hats online that were pretty cute, but way more spendy than the dollar store version.
The black roses are from Walmart. I got two bundles that were .97 each. I used all of the rose heads and leaves but not the stems...I threw those away. I used hot glue to add the roses around his head and then a few more around the wreath.
A hot glue gun with a low heat setting will be your best friend for this project.
To give you an idea of how I assembled the whole thing, visit my blog for step by step details in how I added each part to the wreath.
This wreath was very time consuming, but well worth it for how it turned out. I LOVE IT!
Want more details about this and other DIY projects? Check out my blog post!
Comments
Join the conversation
2 comments
-
I love this!! And OMG: the salad tongs!!

-
lol! Hi Kara! Yes, isn't that funny, but hey it works! Thanks so much!


Frequently asked questions
Have a question about this project?