


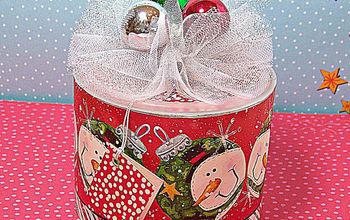
Christmas Gift Tags DIY
Christmas is a time for giving, and a great way to show others how much you care is to wrap their gifts with homemade Christmas gift tags.

These Christmas gift tags are easy to make and can be customized to fit any gift. Plus, they add a fun touch to your holiday decor. Today I also teamed with eleven other bloggers who are also sharing their Gift Tag DIYs. Be sure to scroll to the bottom to see them all.
Christmas gift tags don’t have to be boring! In fact, you can make them pretty fun and unique with a little bit of creativity. Here is a fun idea to get you started.
You might be aware of how much I enjoy making pillows using a technique calls Free Stitch Embroidery.
What is that?
It’s a technique you can use on most sewing machines where you can lower the “feed dogs” and move your fabric anywhere you want and stitch more decoratively with your machine.
When I first discovered Free Motion Stitch Embroidery, I decided to try something different. Everything I found involved stitching on top of scraps of fabric. So I made up a technique that uses paint and free motion embroidery.
Just tap on any link to see the DIY for the pillow.
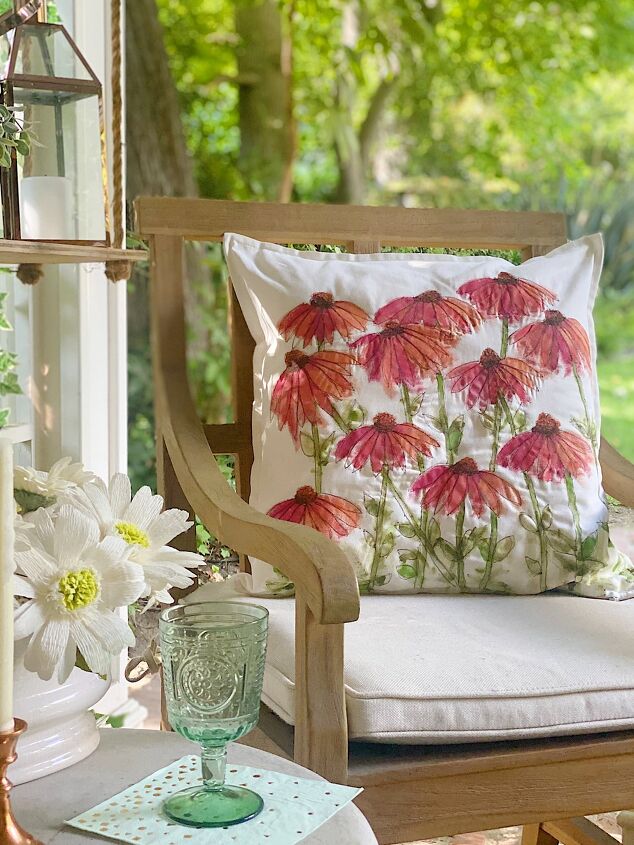
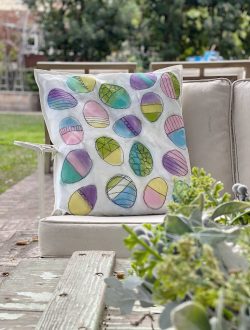
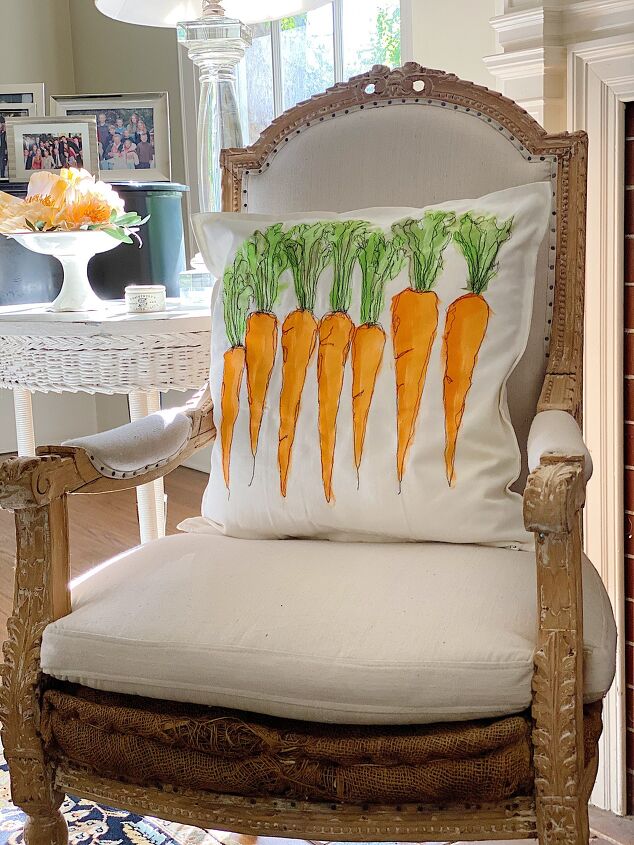
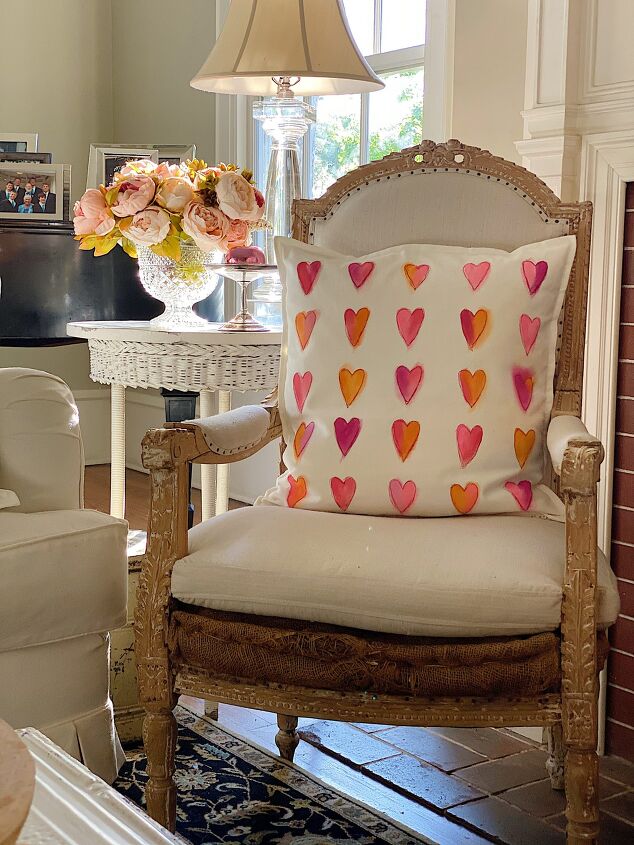
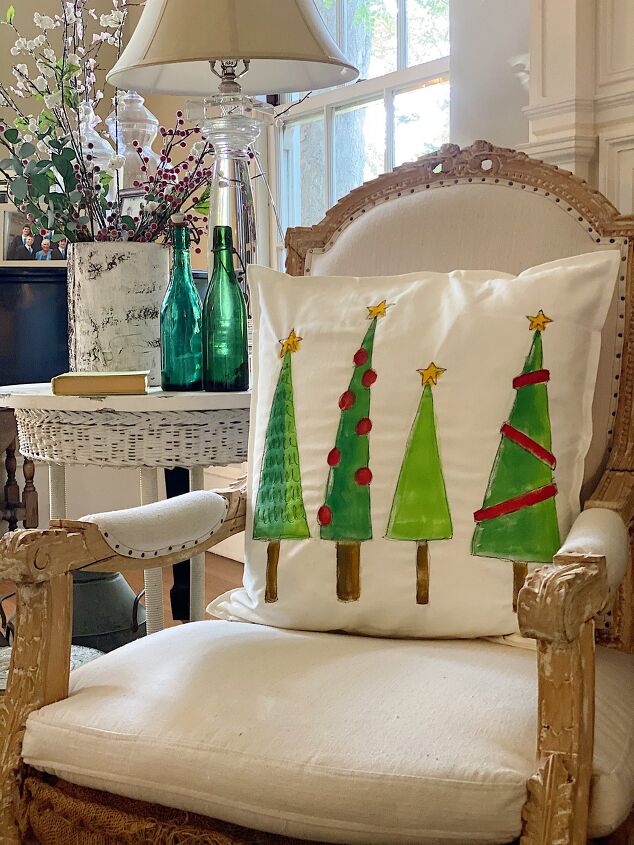
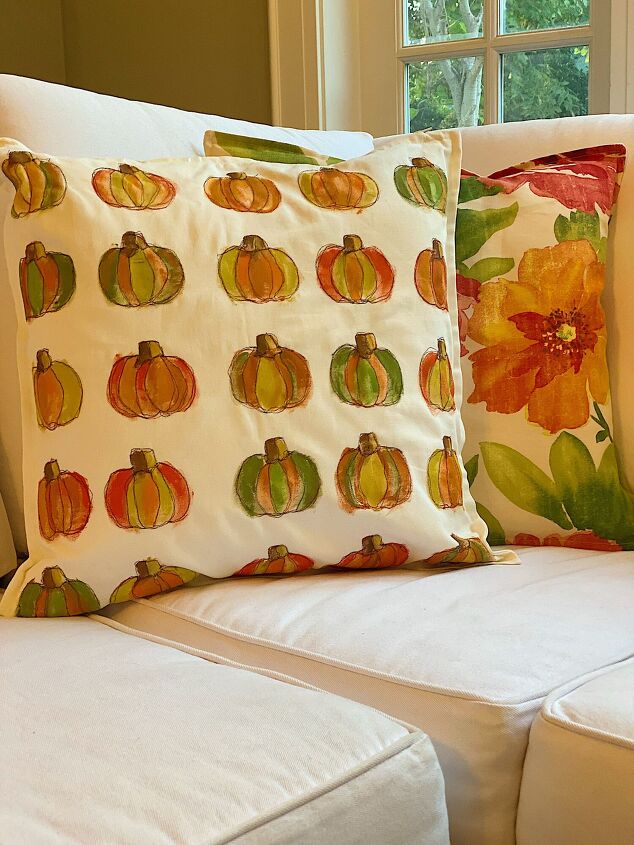
As you can see above, I have made a lot of pillows with free motion embroidery.
I got to thinking, what else could I make with free stitch embroidery?
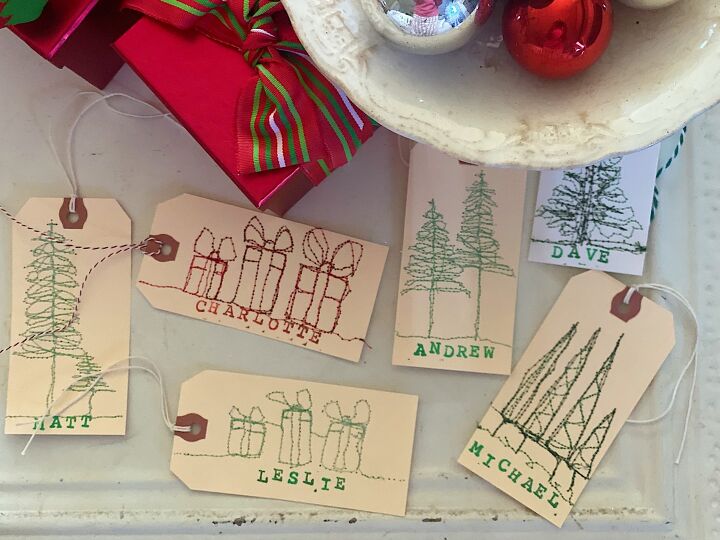
I decided to try making gift tags.
What is Free Motion Stitch Embroidery?
Free motion machine embroidery is very different from regular sewing but is done on a regular sewing machine. By using a special quilting foot and lowering the feed dogs on your machine, you feed the fabric wherever you want to stitch. It’s so much fun because you can move the material in any direction while sewing it on your machine.
A lot of free-motion embroidery is done slowly and perfectly. I love it when it is more free and outside of the lines. Can I just say how much fun these tags were to make?
Normally when you sew, the machine automatically moves the fabric forward. When you sew free motion embroidery, you get to move the fabric so you determine exactly where you want to sew. You can move sideways, forward, backward to create any shape you want. All you need is a quilting foot (or darning foot) and to lower the feed dogs on your sewing machine.
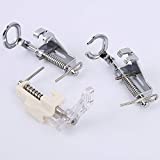
The Free motion quilting foot, sometimes called a darning foot, is designed so that the sewing machine needle passes through a small ring on the foot. Instead of hopping, these feet float over the fabric without providing pressure. The Foot releases the fabric when the needle is in the up position, allowing you to move the fabric freely.
This is a free-motion foot for your machine. This foot may vary based on tour type of machine but I linked a “universal” one. This means … you don’t need a special sewing machine to do this!
Why do you need to lower the “feed dogs” on your machine when stitching free-motion embroidery? Feed dogs are the little teeth on your sewing machine that feed your fabric evenly through the sewing machine. These are extremely important because they help us produce perfectly spaced, even stitches whenever we sew garments, piece quilts, or applique shapes on our machine. If you lower the feed dogs for free-motion embroidery, you can move the fabric freely.
For these gift tags, I lowered the feed dogs using a lever on my machine and it was easy. If you can’t find the feed dog lever on your machine you can leave the feed dogs up and use a Supreme Slider instead.
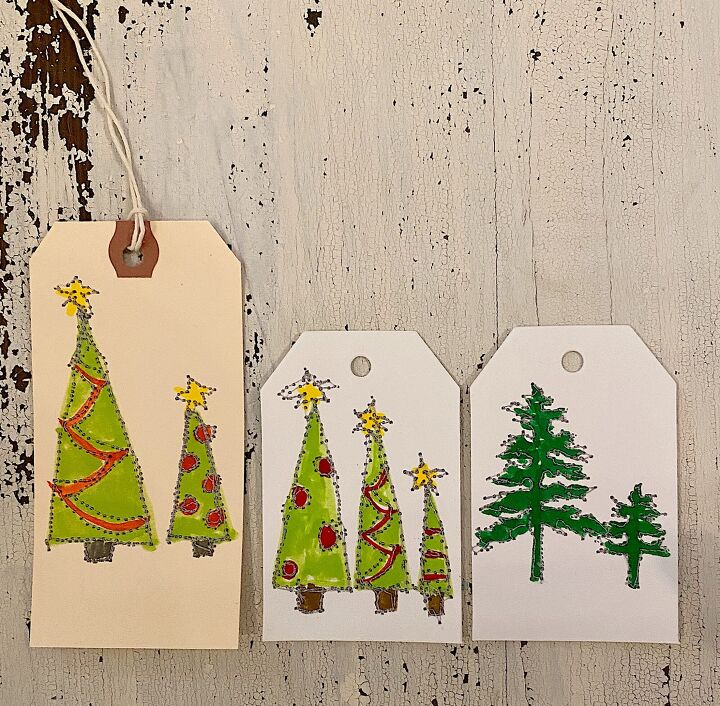
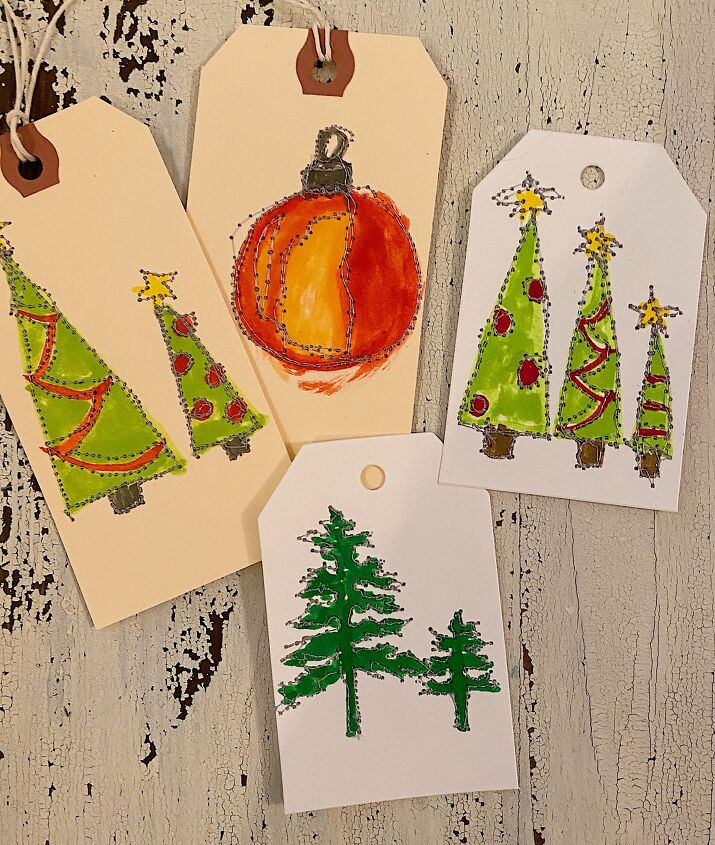
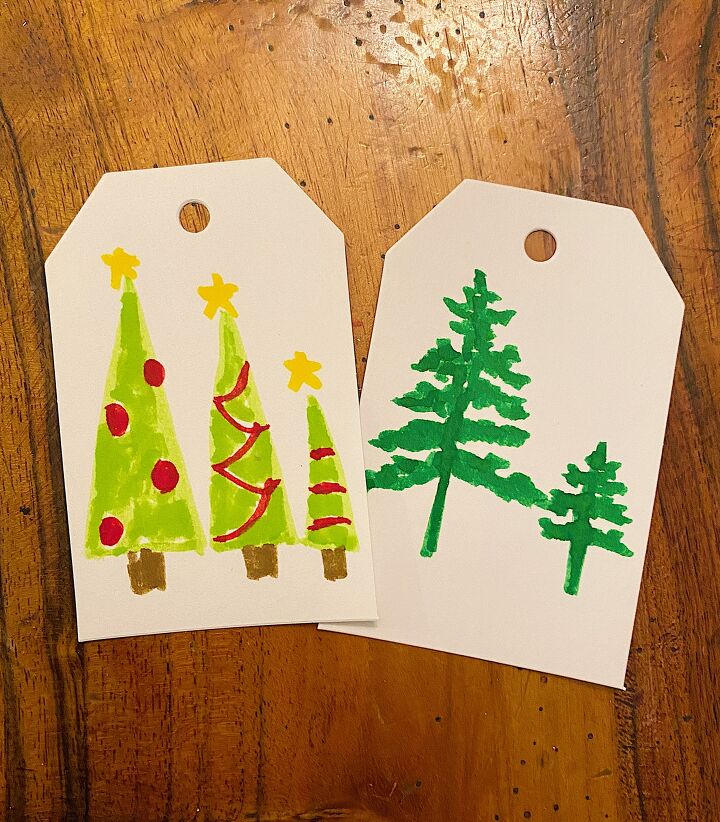
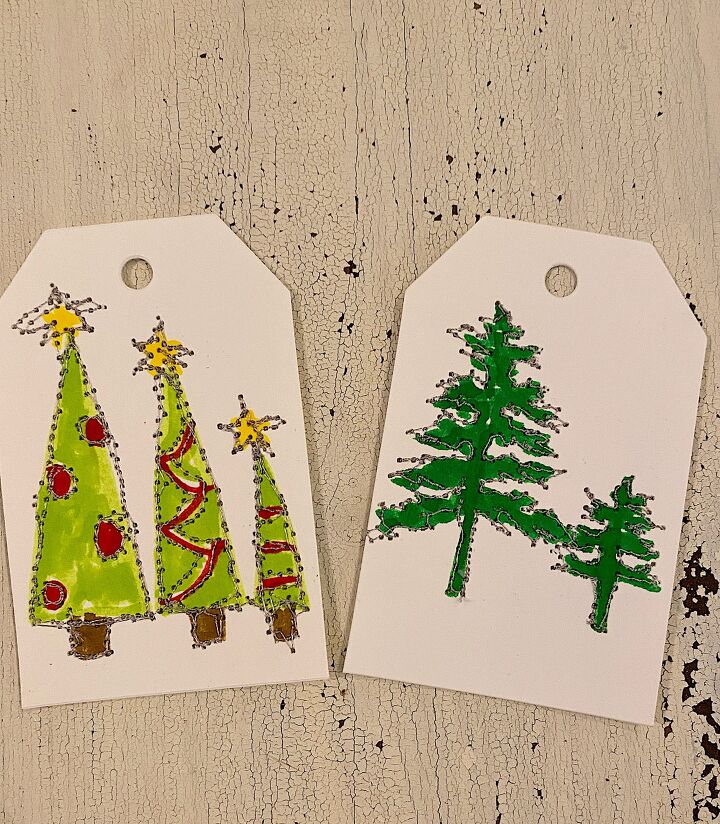
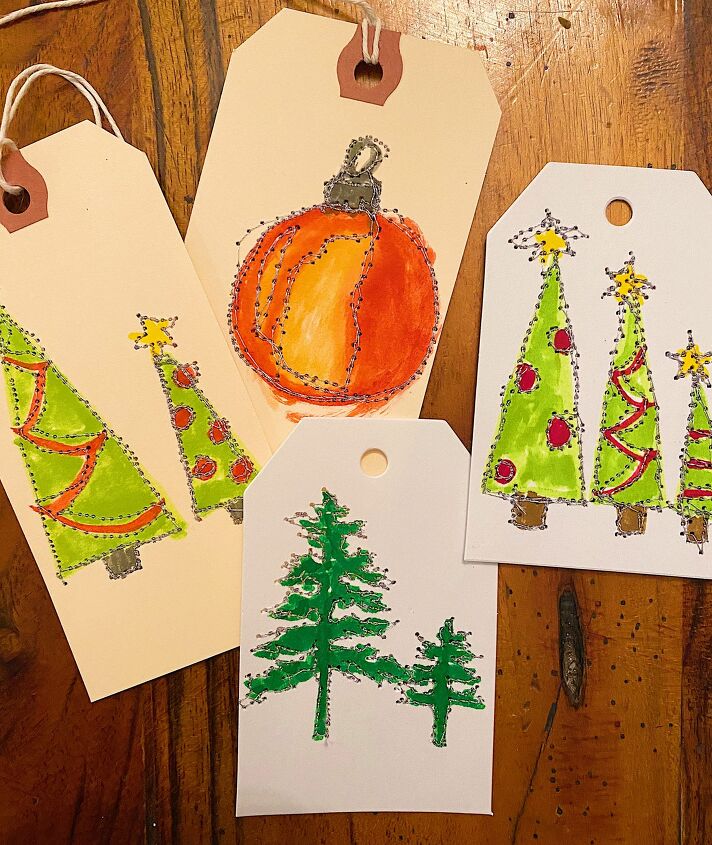
This time I did things a little bit differently. I used watercolor paint pens and thick paper tags, along with some thread and my sewing machine.
So what do you think?
There are literally hundreds of designs you can use to make these tags.
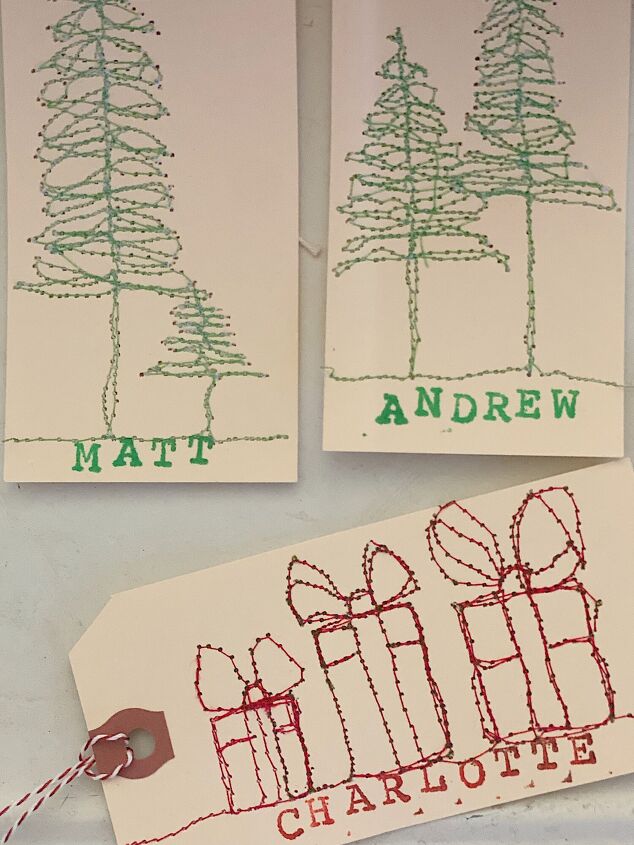
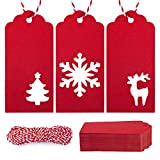
Obviously, I used a Christmas theme and I decided to try mostly Christmas trees.
Please know that this is not hard because this is free stitch embroidery and it isn’t supposed to be perfect. It’s quite “unperfect” and that is a good thing.
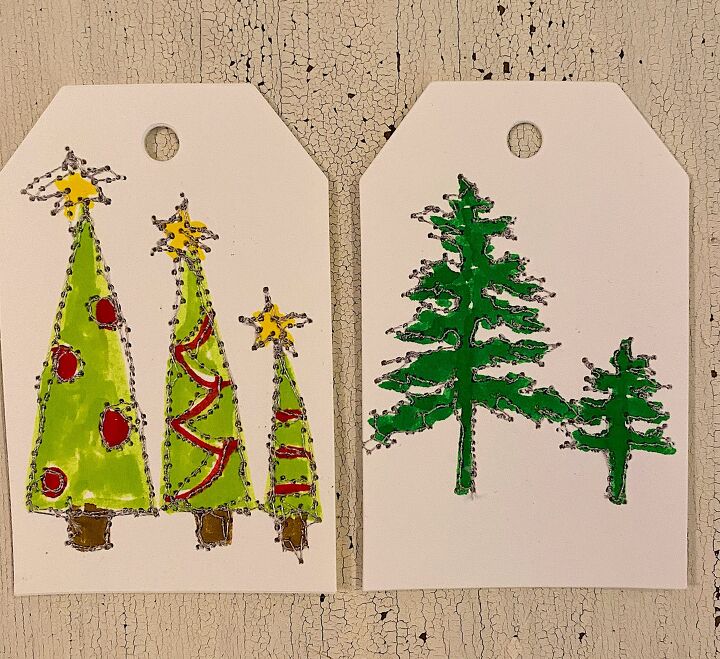
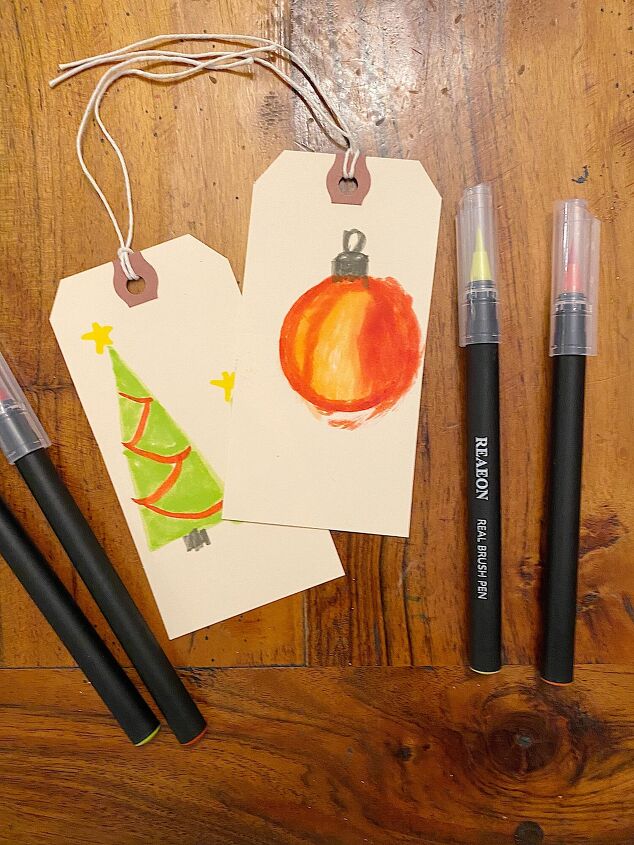
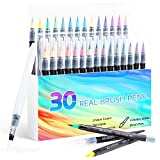
I also added some color and used watercolor brush pens. Why did I use watercolor brush pens? I used them because they are easy to use, the paint is thinner, and the stitching shows up better.
I did want to mention one thing. If you don’t want to sew, you can use a fine point pen in the same way you would stitch the design. Just place the pen on the tag and draw your design. Try not to lift the pen but of course, you can if you want!
I did learn something while I was making these tags. It is a bit harder to stitch on a small tag. That’s because it is harder to maneuver it around when it’s only a few inches wide. Just sew slower than you usually do and you should be fine.
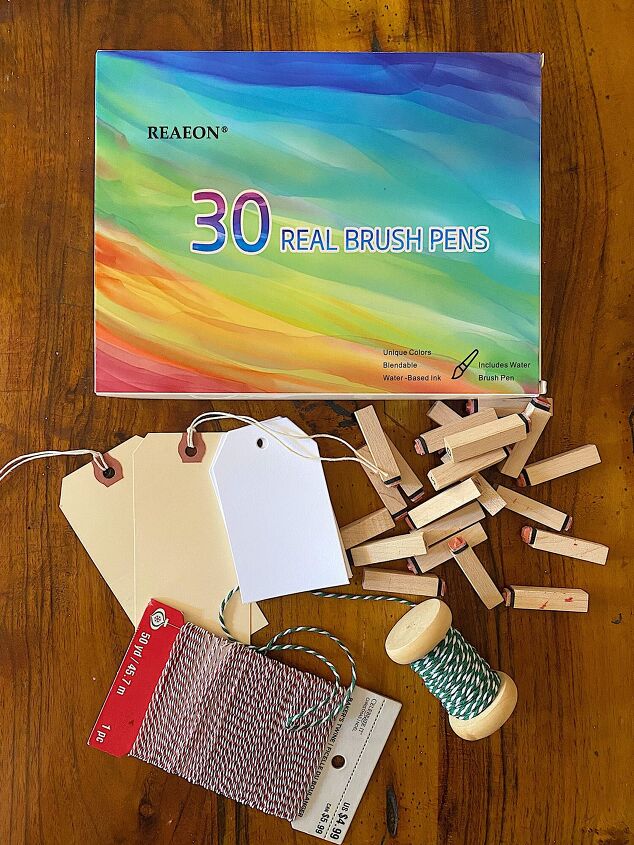
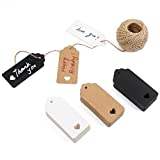
Pre-cut gift tags
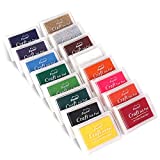
Watercolor Real Brush Pens
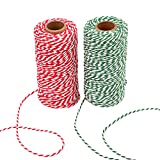
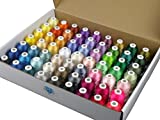
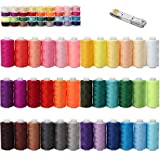
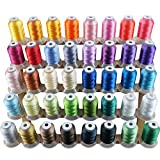
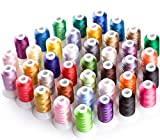
Embroidery thread
Sewing Machine
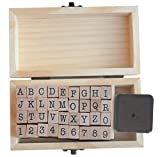
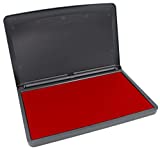
Rubber stamps
Free motion quilting foot for your machine (varies by sewing machine brand)
- Decide on your design. You can draw it lightly on the tag if you want. Otherwise just wing it.
- If you want to add color, go ahead and loosely paint with the watercolor brush pens. The more lightly you apply the pen, the better.
- Add the darning foot to your machine, and sew by moving the card with your hands in the direction you want to stitch. You will just add the stitching highlight using the free stitch embroidery technique.
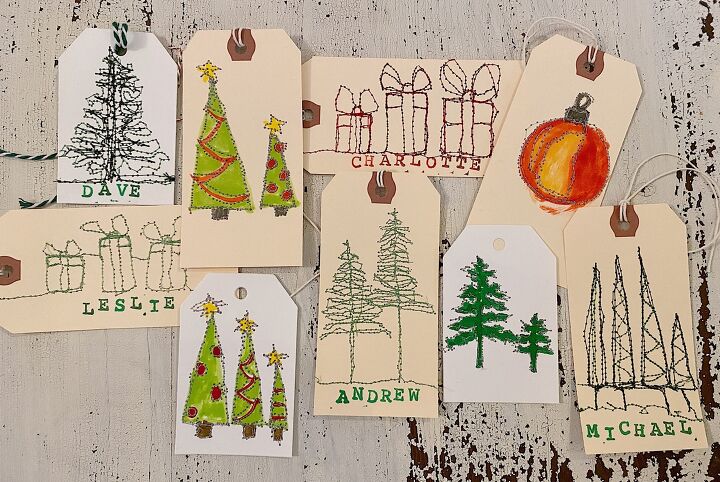
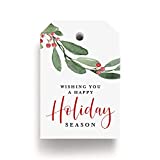
- If you want, you can add names on the tags too. I stamped some of the names on the tags for fun.
As you can see, I drew mostly trees, but I added in some ornaments.
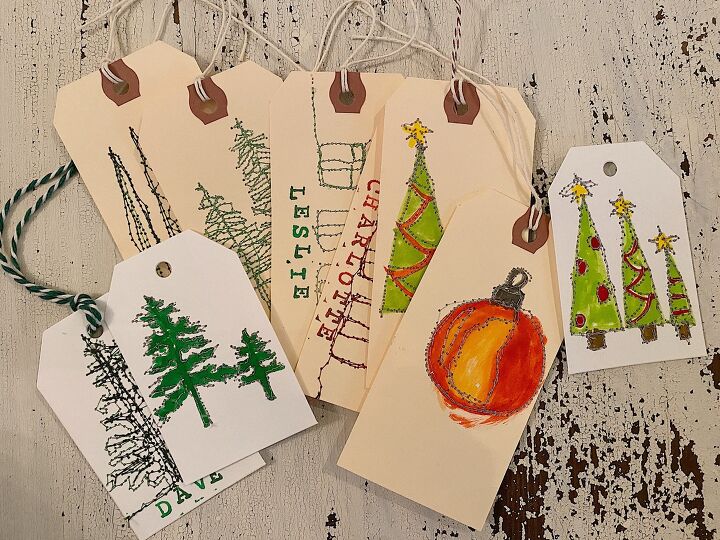
I also wrapped up a few of them in clear bags and gave them out as hostess gifts. As a fun twist, I added the names of their family on the tags which was such a nice way to personalize them!
Now it’s your turn to try these.
Let me know what you think.
I know you might not have any idea what Watch Me Live means, but I am sharing Amazon Live broadcasts that are so much fun!


If you are enjoying my blog, you can sign up to receive my blog updates here. .
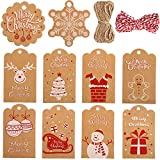
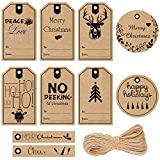
No time to make your own gift tags? No problem! Here are some really cute options that if you order today, will get there before Christmas!
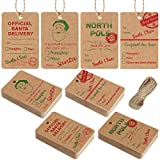

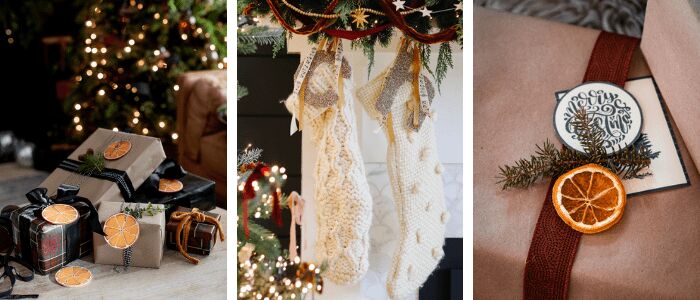
Hand Painted Orange Slice Gift Tags // Craftberry Bush
DIY Christmas Stocking Tags // Modern Glam
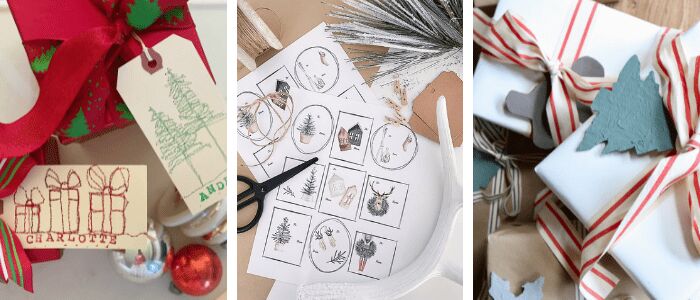
Free Printable Gift Tags Perfect for Christmas // Twelve On Main
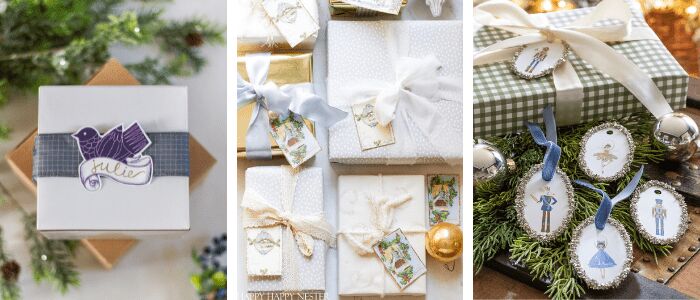
Christmas Dove Gift Tag Printable // Zevy Joy
Free Printable Gift Tags // Happy Happy Nester
DIY Printable Nutcracker Gift Tags // Sincerely, Marie
DIY Christmas Gift Tags // My 100 Year Old Home
Scandi Farmhouse Free Printable Christmas Gift Tags // The Happy Housie
DIY Gift Tags With Cardboard, Paint, and Baking Soda // My Sweet Savannah
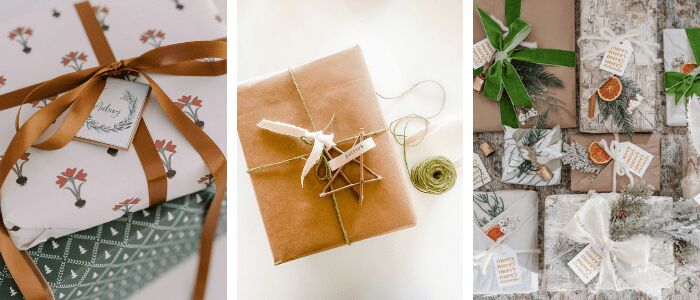
Christmas Gift Tag Printable // Finding Lovely
Rustic Twig Stars // Most Lovely Things
Free Printable Christmas Gift Tags – Carol of the Bells Tags // The DIY Mommy
Pin the image below to your decor boards on Pinterest (just click the Pin button in the top left corner). You can also follow along with me on Pinterest!
For more real-time updates, follow me on Instagram @My100YearOldHome

ABOUT LESLIE
Welcome to My 100 Year Old Home. I started my blog so I could share my passion for entertaining, décor, cooking, and crafts. You will find all this and more right here. Read more…

Comments
Join the conversation
-
This is one project that you could work on at a time of the year other than during December (to get ready for the next Christmas!) as it is not messy, takes little room, and does not require digging out 'all your holiday craft stuff' to complete.🎁 TFS


Frequently asked questions
Have a question about this project?