


How to Make Colourful, Recycled Gift Bows.
A beautifully wrapped gift is always a delight to receive. But pretty packaging comes at a cost to both our pocket and the environment. As awareness grows of the impact our waste is having on our planet, many of us are looking for more environmentally friendly forms of packaging this holiday season. Our colourful, recycled gift bows are one small way to cut the cost of packaging this Christmas. Made from junk mail and old magazines they are super simple to make but look just as fabulous as anything you might buy in the shops.
What you need to make colourful, recycled gift bows.
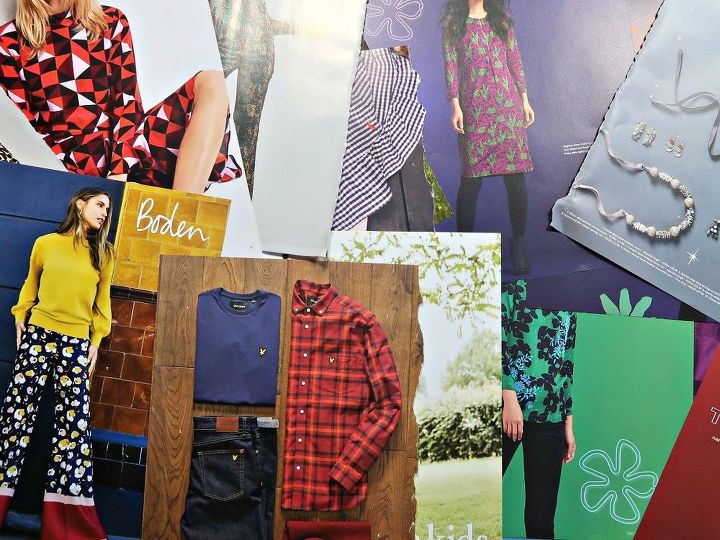
*Pages from old catalogues and magazines
*Scissors
*Stapler
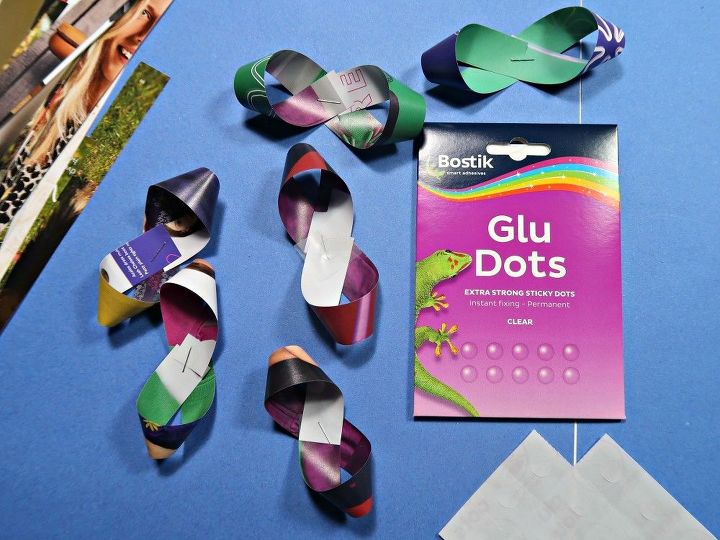
* Bostik Extra Strength Glue Dots
Start by tearing colourful pages from an old magazine or catalogue. The height of the page will govern how big the completed bow ends up.
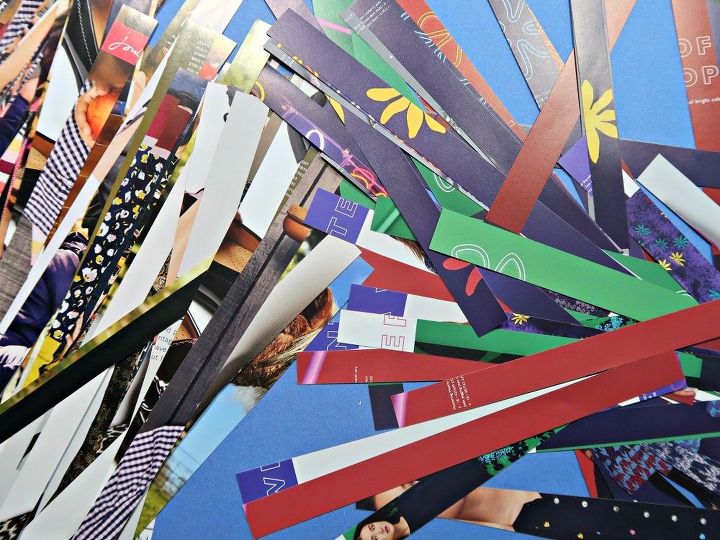
Cut the pages you have selected into strips 2cms wide.
How to make colour, recycled gift bows
For each recycled gift bow you will need 3 strips of paper at their full length to make the outer rosette. 2 or 3 more pieces 2cm shorter than the first for the inner rosette, plus a short length for the centre. Don’t worry if that sounds confusing, it should make more sense once you work through the steps, and your first bow comes together!
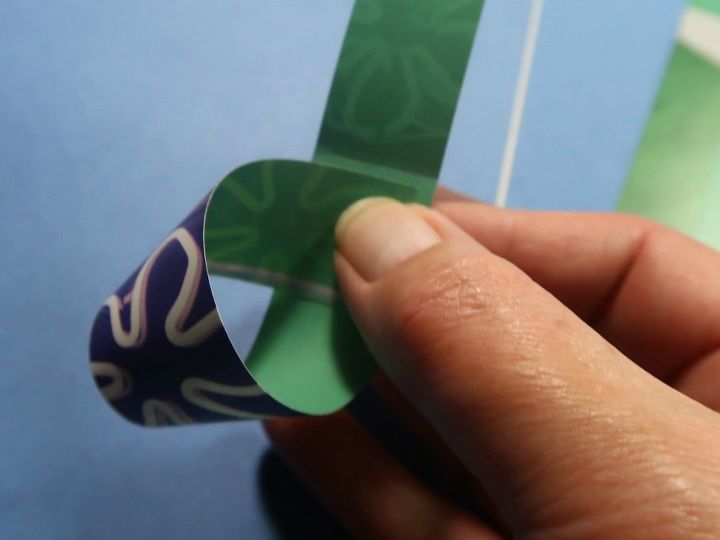
Take the first strip of paper and turn one end over looping it into the middle as shown in the photo below.
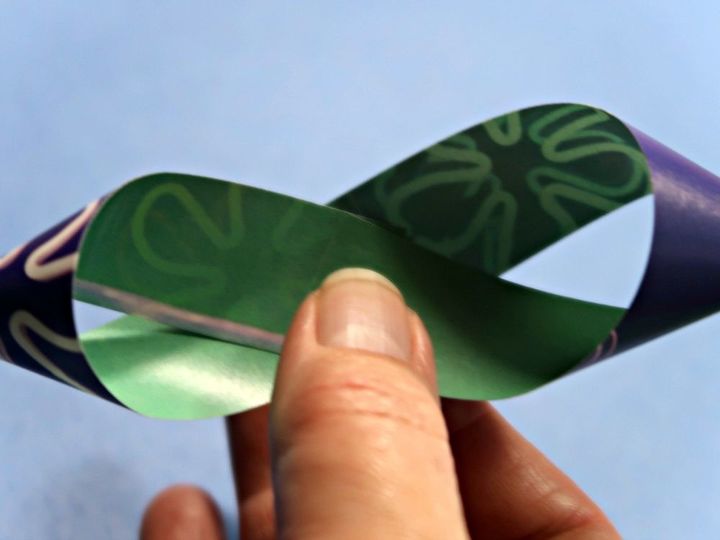
Repeat with the other end, so the two ends meet and staple into place. Repeat with all the other strips apart from the middle one which you just use in a simple tube shape.
We used Bostik Extra Strength Glue Dots to assemble our gift bows. These double-sided glue dots are incredibly quick and easy to use and mess free. They provide a secure, instant bond between each element of the gift bow which is makes this stage so much easier than trying to use traditional glue.
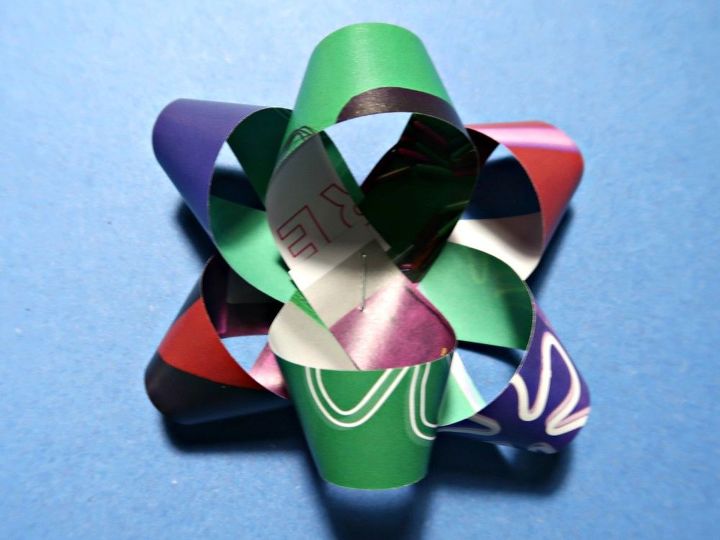
Use the Glue Dots to secure the first three looped strips into a rosette as shown in the photo below.
Then repeat the process with the next size down looped strips. The size of the paper you started with will govern how much space you have to fill and how many you will fit in. We fitted three in on our larger size bow but only two on the smaller.
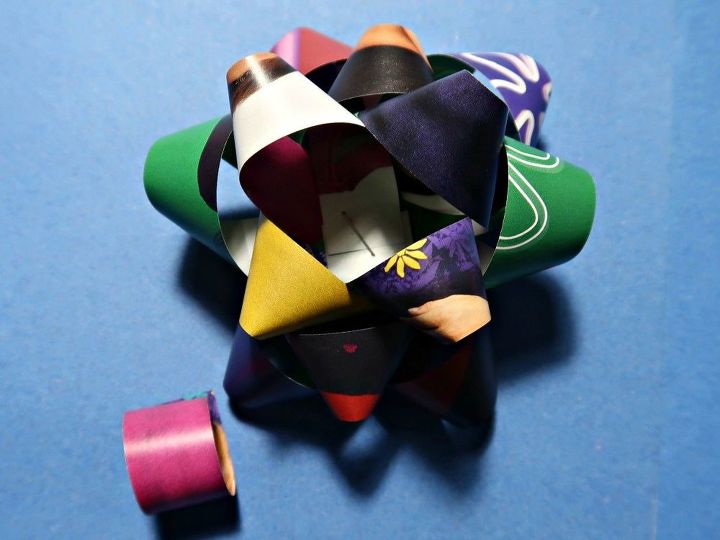
Finally, roll a tube of paper and stick it in the middle of your recycled gift bow to finish, and that’s it!
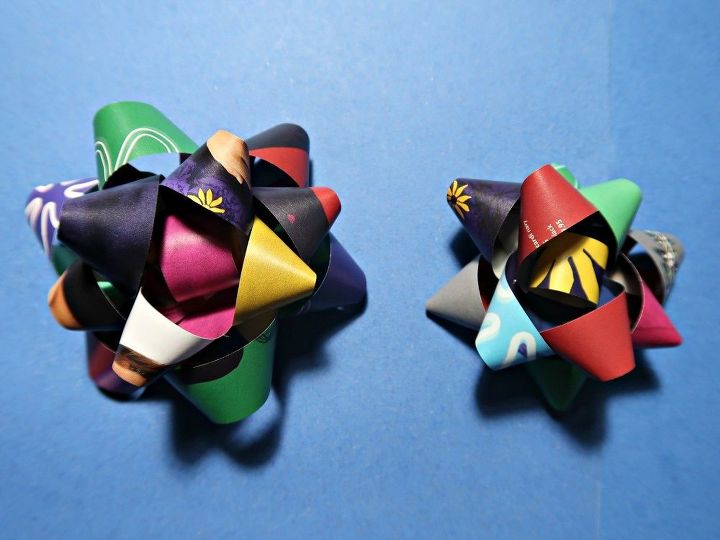
We used 3 strips of paper 25cm in length, and 3 strips 23cm in length plus an 8cm piece for the middle for the larger gift bow on the left. For the smaller bow, our lengths were 3 strips at 21cm, 2 strips at 19cm and one 6cm for the middle.
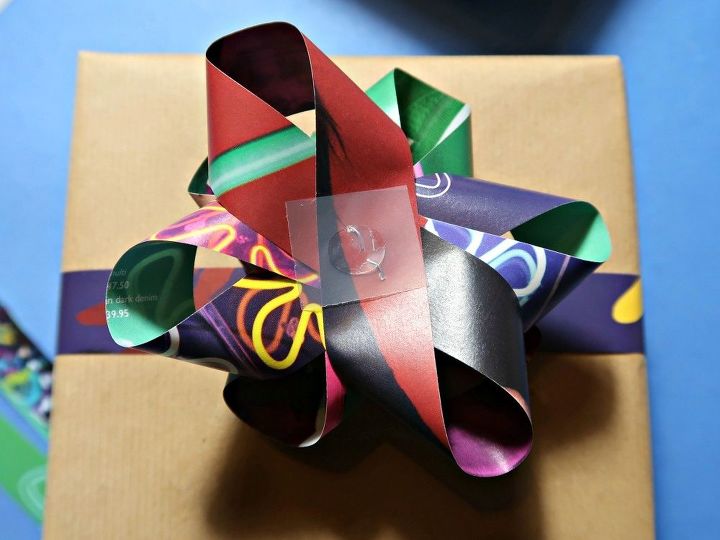
We also popped one of the Bostik Extra Strength Glue Dots on the bottom of each of our completed bows (with the covering left on), so they are ready to use just like the ones that you buy from the shops!
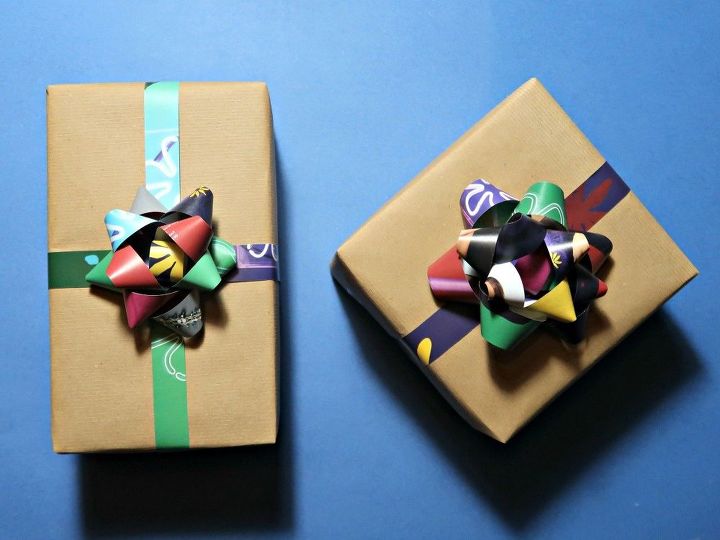
And here are our completed bows. We think they look so good that you might actually have to point out that you made them yourself! For more recycled magazine ideas check out our recycled magazine baskets.


Comments
Join the conversation
-
Very nice. They look great. Simple and easy.


Frequently asked questions
Have a question about this project?