


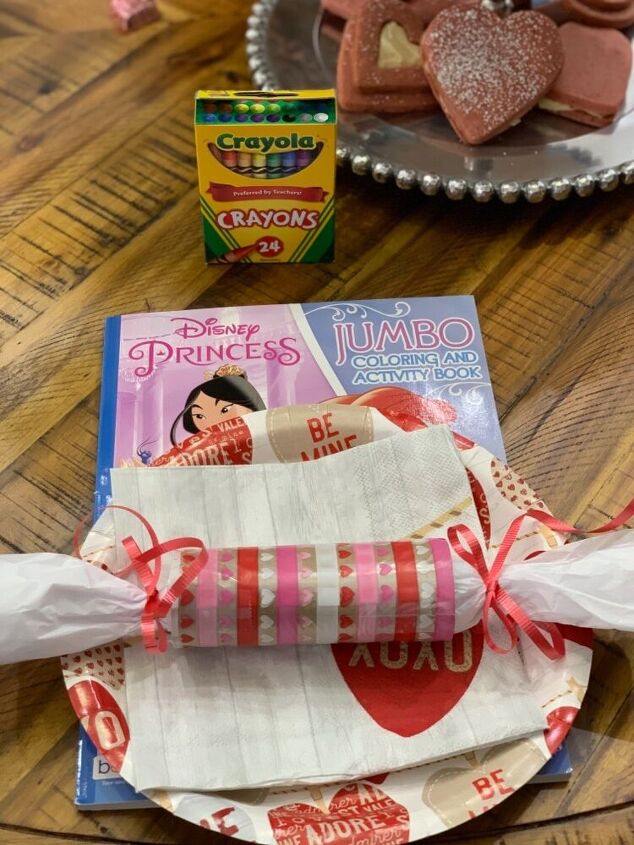
Kids Valentines Treat Poppers

Ever wonder what to do with those empty toilet paper rolls? This is a great idea and a great way to use them. I’ve seen this made more commonly into confetti poppers but I decided to turn these into cute treat and candy bags for my grandbabies. I will be having them over for a Valentines breakfast and each one will get a little surprise. It will be fun for them to open them by tearing each end apart to reveal their personal gift and candy.
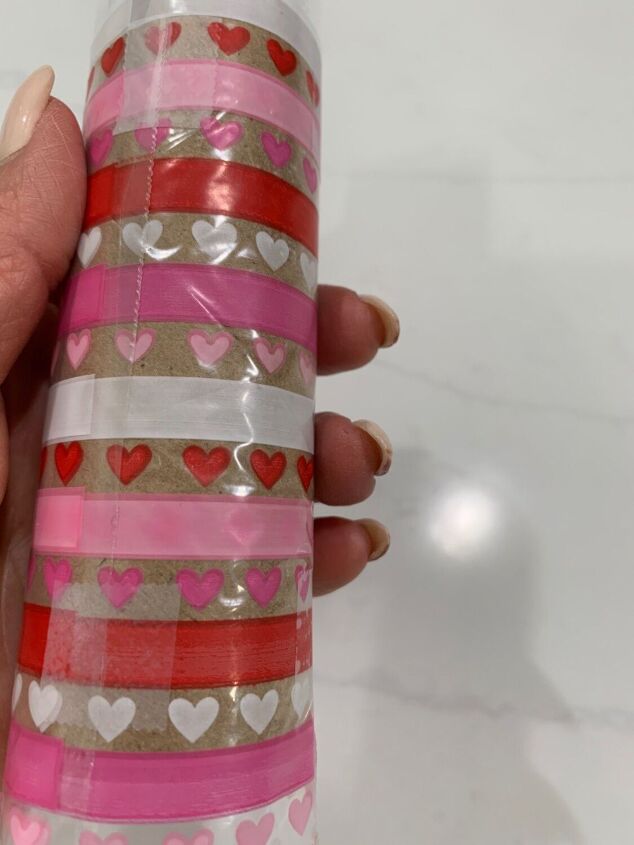
There are many ways to decorate your toilet paper roll, you can use paint, stickers, or anything that you like. I chose to keep it simple by using plastic heart treat bags that I picked up at Dollar Tree. I simply cut the ends off and the sides to leave only the side that included the pattern. In this case it was hearts. I used two bags for each toilet paper roll. It is seriously the easiest DIY that you can do. And a great way to hide surprises for your kids or grandbabies.
If you are looking for a last minute valentine gift idea, this is a great little DIY. You can fill these with anything from small toys, candy, or money. These are so versatile also, you can use them for any holiday. You can switch up the color or the pattern depending on the holiday that you plan on using them for. I made three of these but you can make as many as you want. The treat bags came in a 30 piece quantity. Thank goodness I didn’t have 30 grandkids 😂
Thank you for stopping by.
If you’d like to see more of what I love to do, please visit me at https://www.instagram.com/mycreativekneads/
Alright, let’s get to our DIY project!
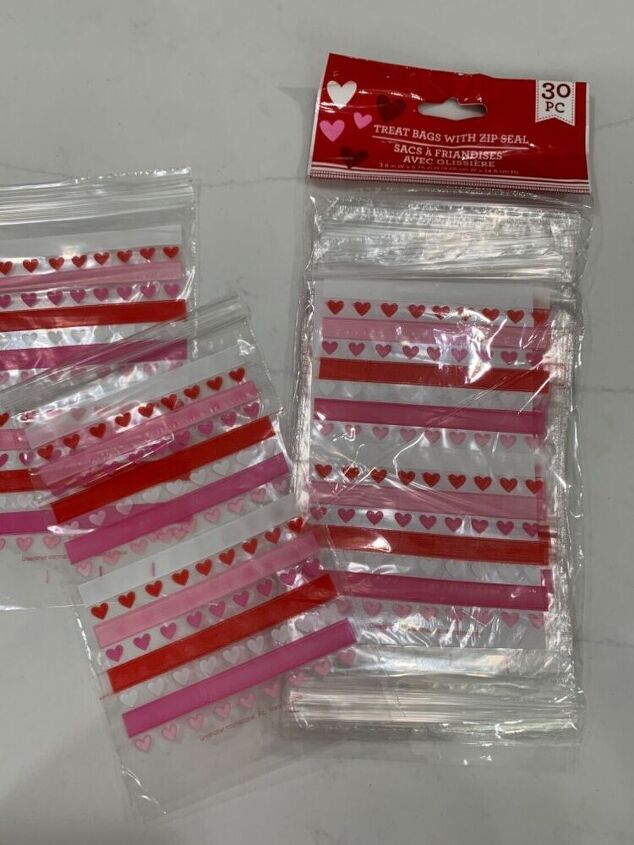
Dollar tree treat bags with zip seal.
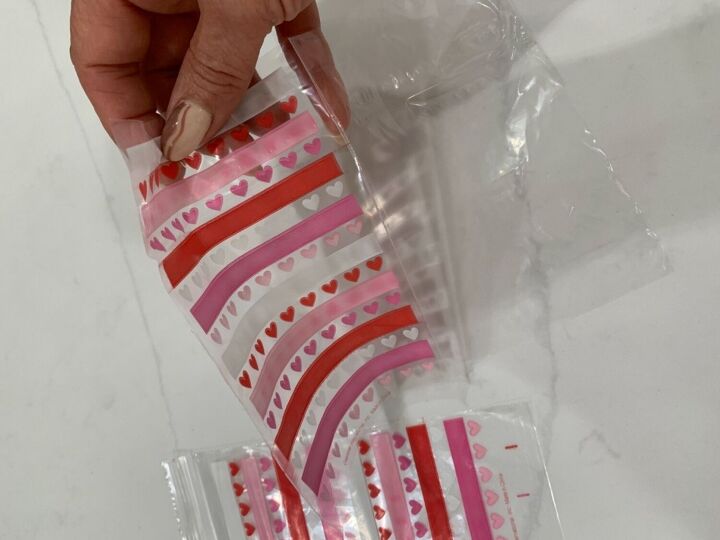
Cut the zip seal, bottom and sides of the bag, saving only the side that contains the colored pattern. You will need 2 colored patterns for each toilet paper roll.

Take one section of the bag and tape it onto the toilet paper roll. You will have approximately 1/4 inch or less excess at each end.
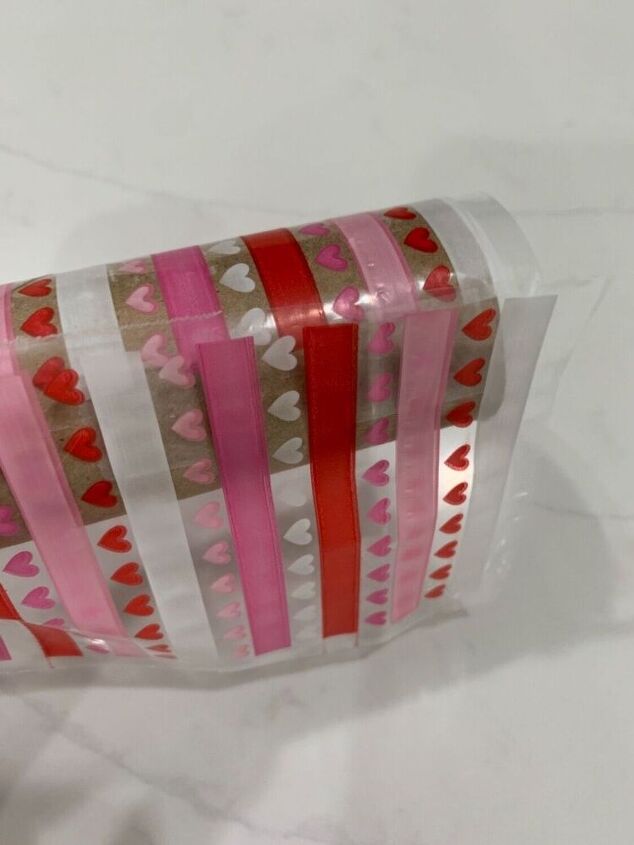
Using the second bag, overlap the pattern so that it matches and blends in with the end of the first bag and tape to secure. Try to match the patterns so that it all alines at the end.
Secure the ends of the plastic bags onto the toilet paper roll using tape to secure in place.
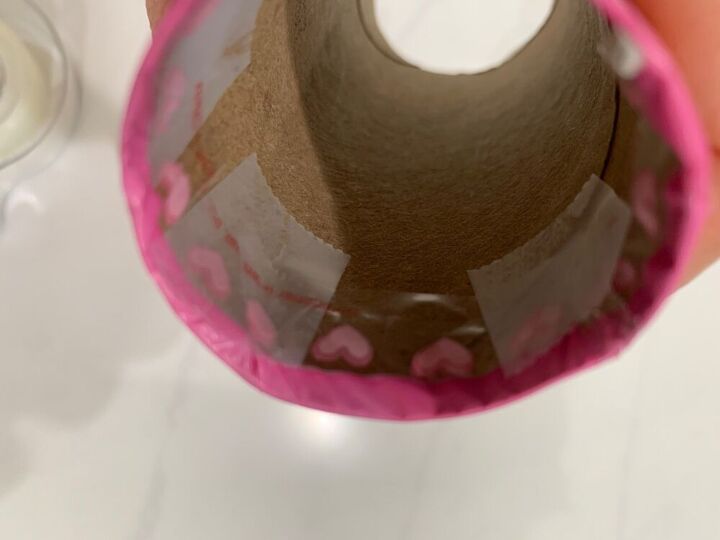
Tape the ends of the plastic bags into the toilet paper roll and secure the bags in place.
Place one sheet of gift wrapping tissue paper on a hard surface and place small toys and candy (small enough so the fit into the toilet paper roll) in the center of the bottom sheet of the paper. Begin rolling the tissue paper over the gifts until you reach the top of the tissue paper. Twist the ends.
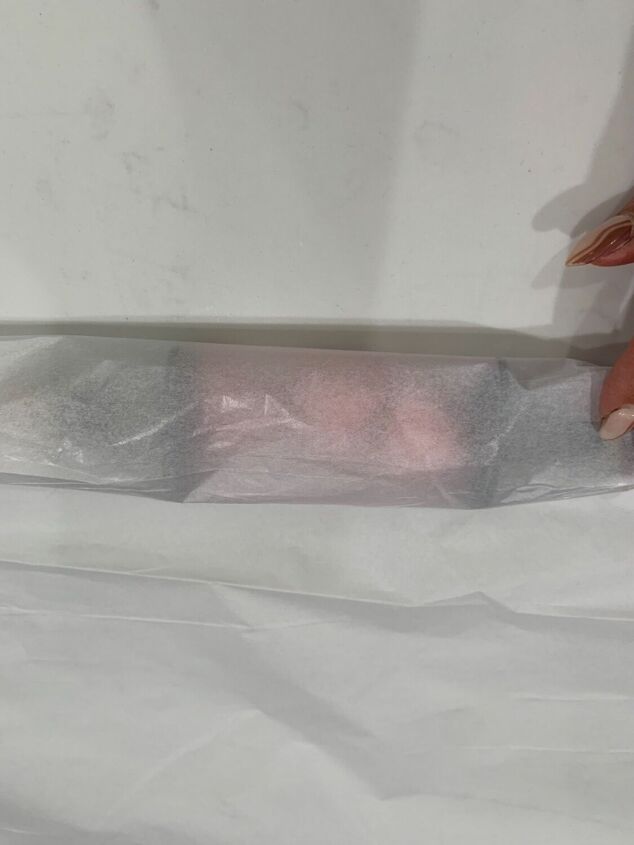
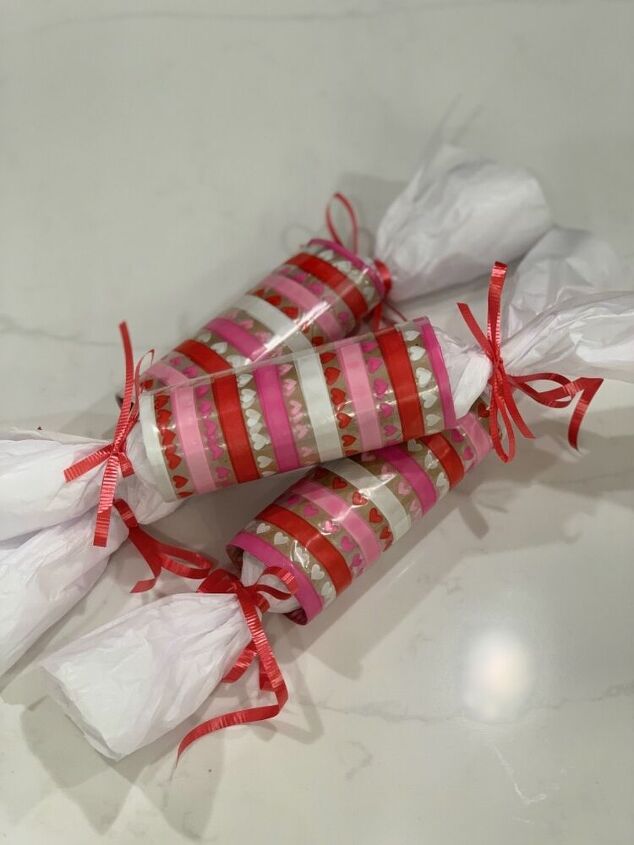
Insert the rolled up treats and candy into the tissue roll and tie the ends with ribbon.


Frequently asked questions
Have a question about this project?