


Make Photo Christmas Stockings That Light Up!

Looking for a way to personalize and take your Christmas stockings up a notch? Add photos and lights to make your mantel glow with the faces you love!

I am big on decorating for Christmas, everything gets dolled up. We use 2 sets of stockings, fancier ones just for looks in the formal living room and casual/durable ones for actual use in the family room. We have a very large family and I wanted our decor set to be unique and personalized too. Using leftover fabric scraps, holiday ribbons, and embellishments, and adding new photo frames and mini battery lights, the cost to make these came in under $5 each.
If you already have stockings you want to add photos and lights on, you can skip down to the frame part.
To create the stockings from scratch, grab your scrap fabric box if you have one, or hit up Hobby Lobby or Joann fabrics for all that you will need.
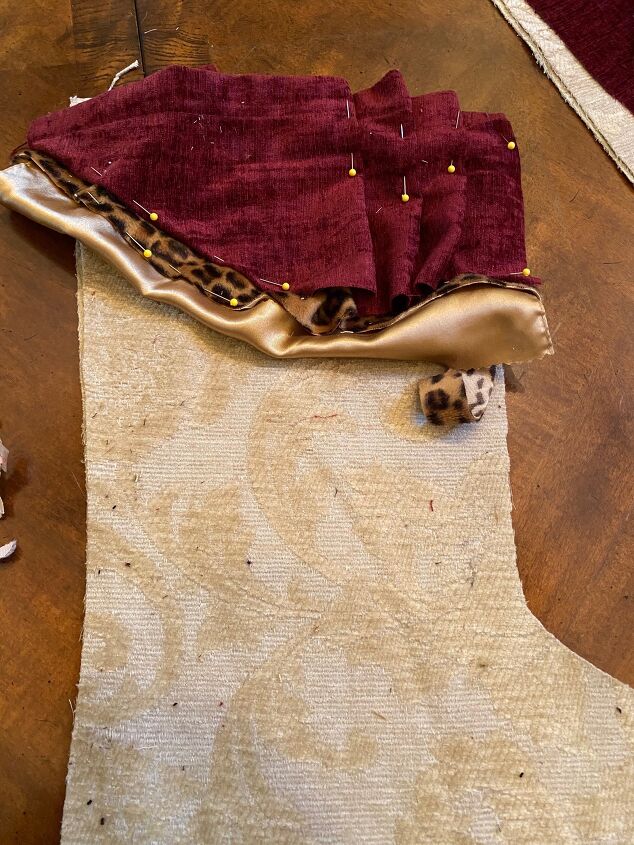
For this set, I started with a large piece of 60" chenille brocade fabric. Using a stocking from the last year as a pattern, I cut out 11 plain stockings front and back but did not sew them together.
I picked out several fabric remnants, trims, ribbons, and embellishments. Using the same fabrics and trims but in different combinations on all, I laid out different designs on the top of each stocking.
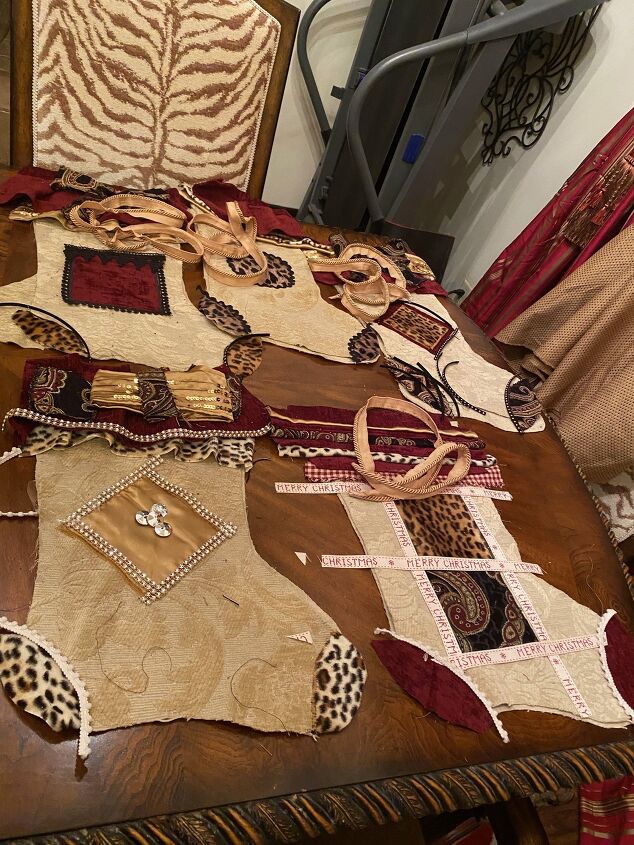
I let each one of the kids help with their stocking design. They are all different as day and night but each stocking had a little of their personality in them. Some were plain, others rustic, and some a little more glam. All the women in our family had bows at the top. It was fun laying them all out with them. I took a photo of them to remember how each should look when completed.
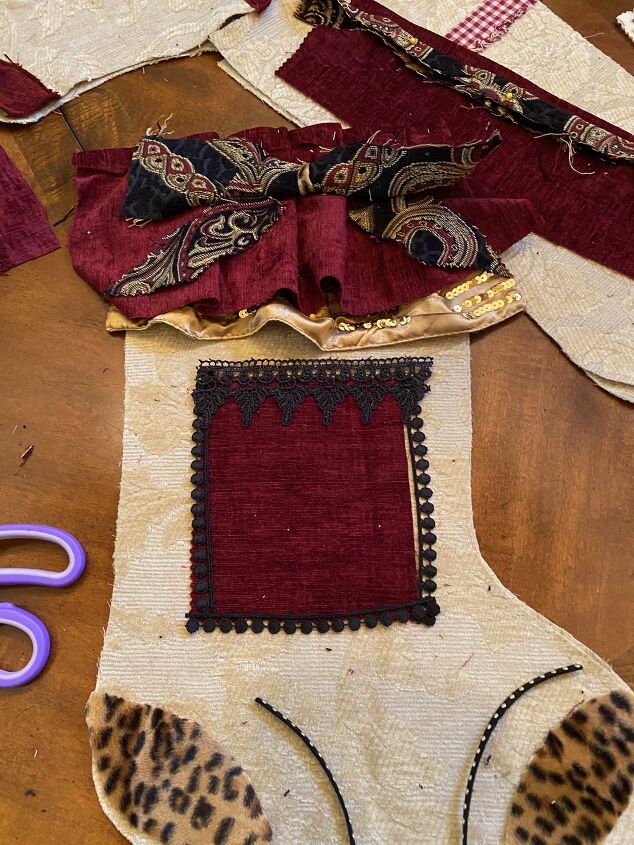
First, I sewed the center middle fabric squares on the front of each of stocking using the machine for durability to hold the snowflake ornament.
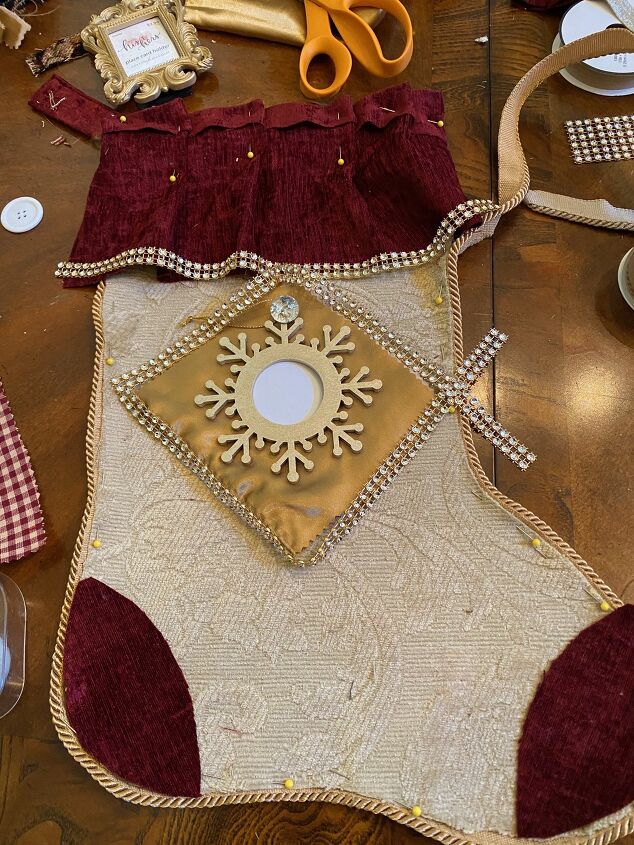
I pinned and sewed the front and back pieces of the stocking together with rope trim in the middle. I also sewed the individual pieces that would go on top of the stocking. I laid all the pieces back on the stocking when finished and used fabric glue to put the rest together.
A loop and matching button sewed on the left corners to attach them to the fireplace garland.
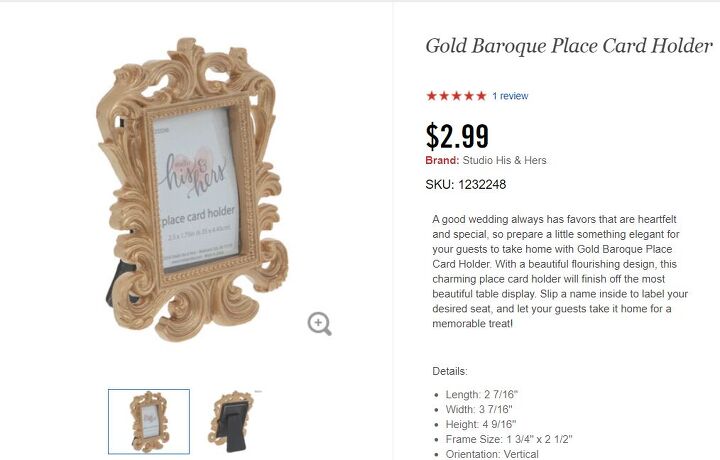
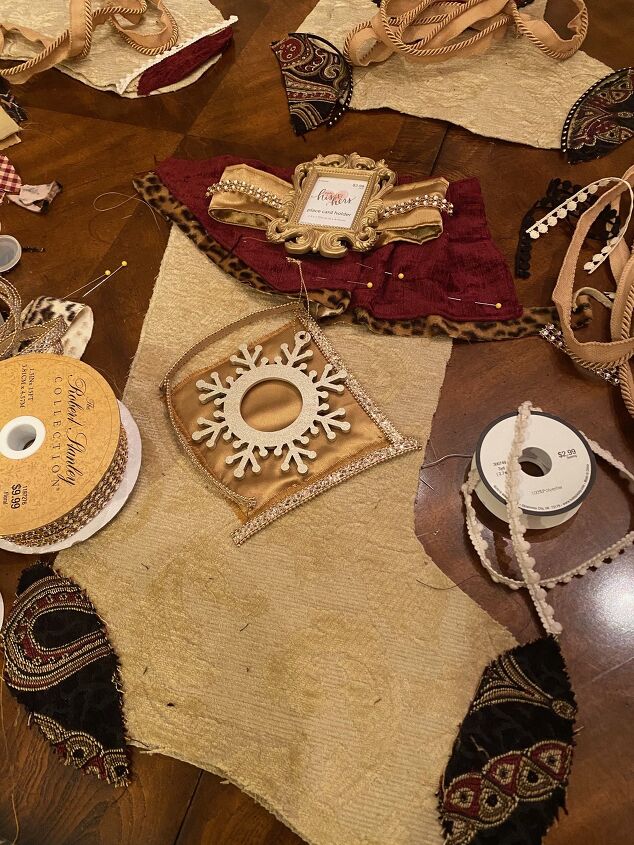
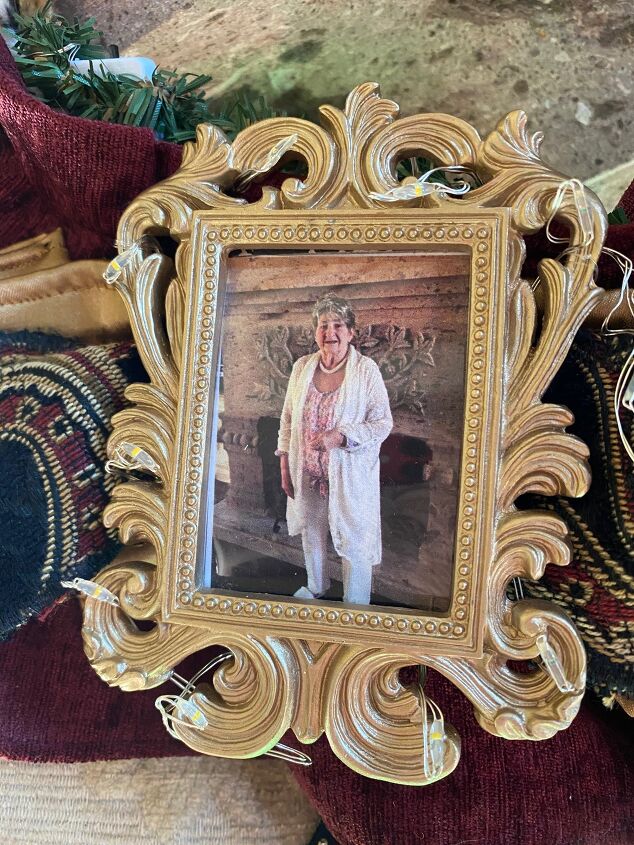
At the center of each top, I used these plastic place card holders that look like baroque frames from Hobby Lobby, (wedding section) they are 50% off every other week so they were only $1.50 each. I removed the easel part but kept the back so we can change out the photo. The photos were of the grandparents, then the parents, then each of our kids.
I let the kids pick the photos they wanted and printed them out to the size listed on the top and middle frames.
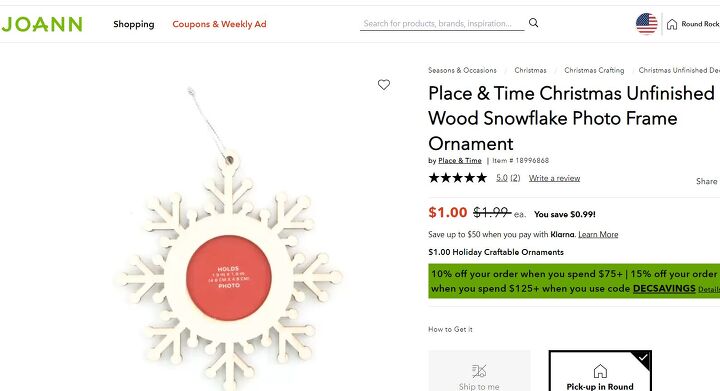
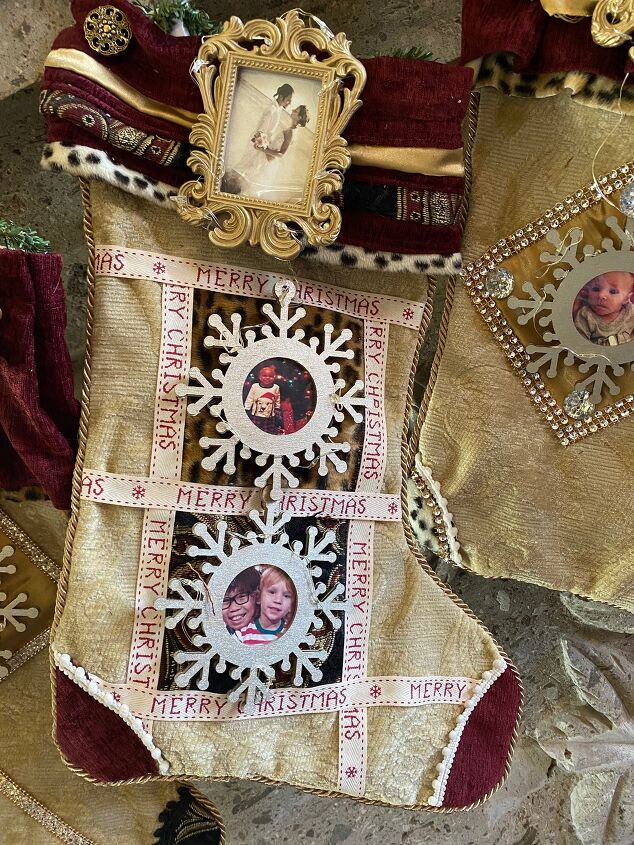
From Joann Fabrics, these cute photo wood snowflakes attached to the center square to hold photos of their kids (or future kids) which help to cut down on the number of total stockings. if they didn't have children we used their pets, or a photo of an accomplishment they were proud of.
After adding the photos, they were hand-sewn to the center fabric piece using a round needle with fishing line. Make sure you don't sew through the back of the stocking if you are planning to fill them.
These are very lightweight compared to the top frames, so you may just want to use them for both.
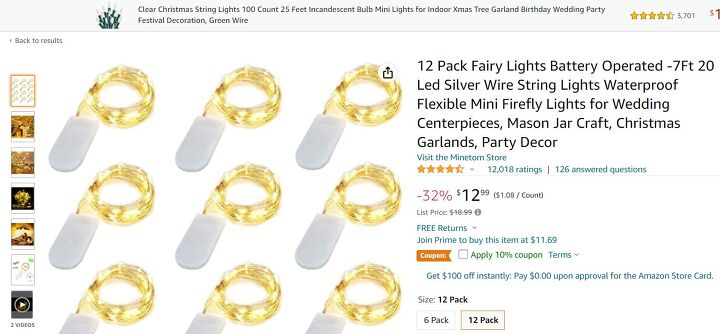
These are the fairy battery lights I used from Amazon. They come in different lengths. The battery pack hid perfectly in the top of the stocking. We did have one set that did not work when it came in so I would recommend getting a few extra.
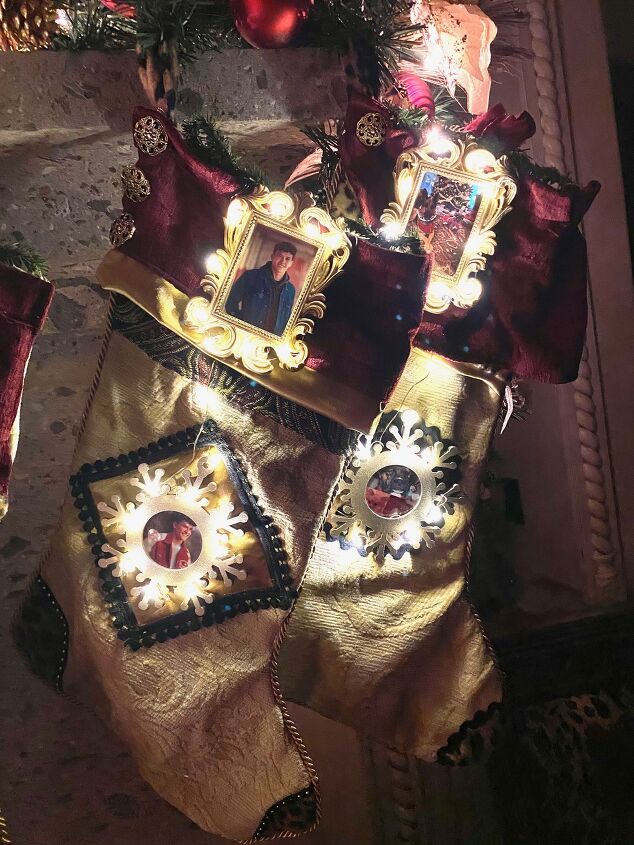
After adding the photos, I stitched the gold frames to the tops using fishing line so it would be heavy enough to hold them and still be clear. I fed the fairy lights through the frame and down through the snowflake making sure the battery pack would be long enough to be hidden in the top of the stocking.
Lights off...
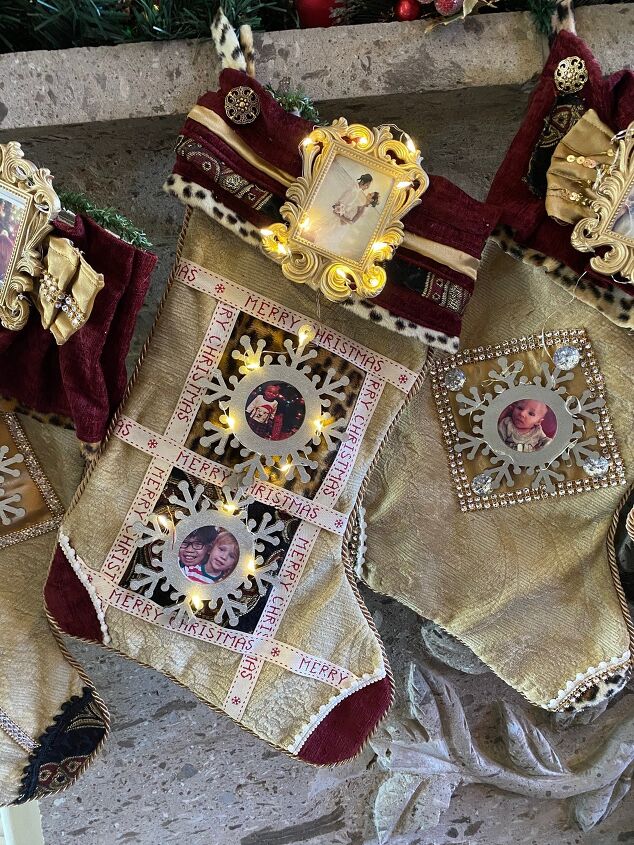
A click of the battery switch and you have glowing photo stockings. These are great conversation pieces and capture the current time in their lives. Almost all of our kids live in different states, I am happy to now see the faces every day of those who may not be home that year for the holidays.
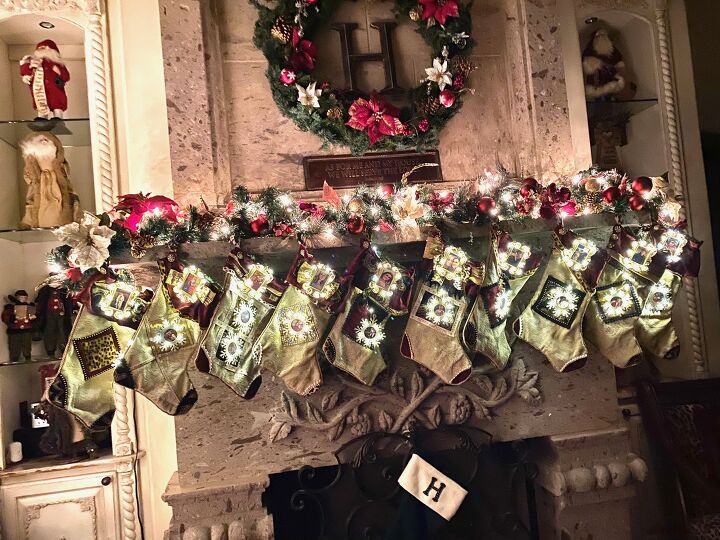
We are still a little overcrowded, but everyone is there. They are so pretty at night all lit up!
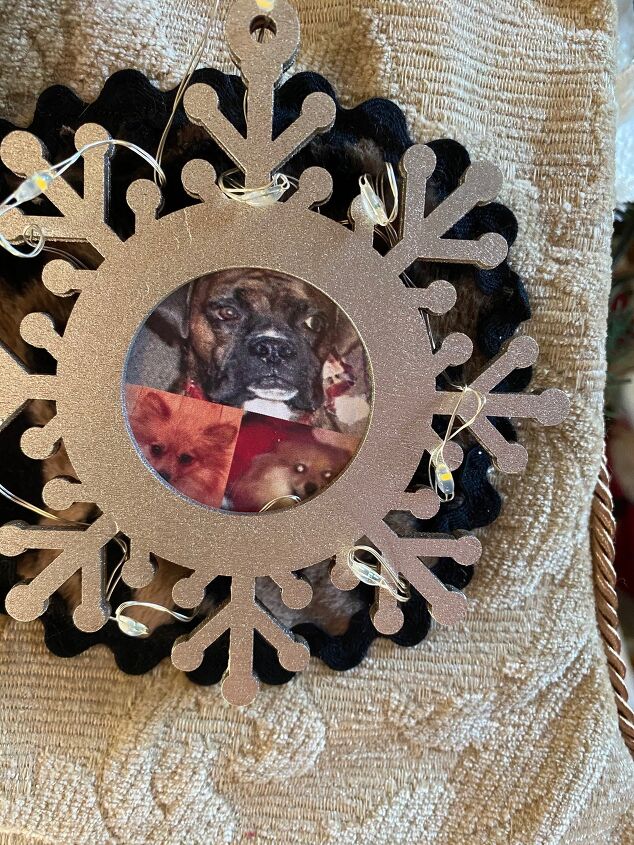
We made one for our dogs, and in the snowflake included our beloved pets that have passed.
It will be fun to see them grow through the years and change out the photos to add future family members. It's a fun way to create a one-of-a-kind Christmas memory!
May your holiday season be so very blessed!
Eden


Frequently asked questions
Have a question about this project?