


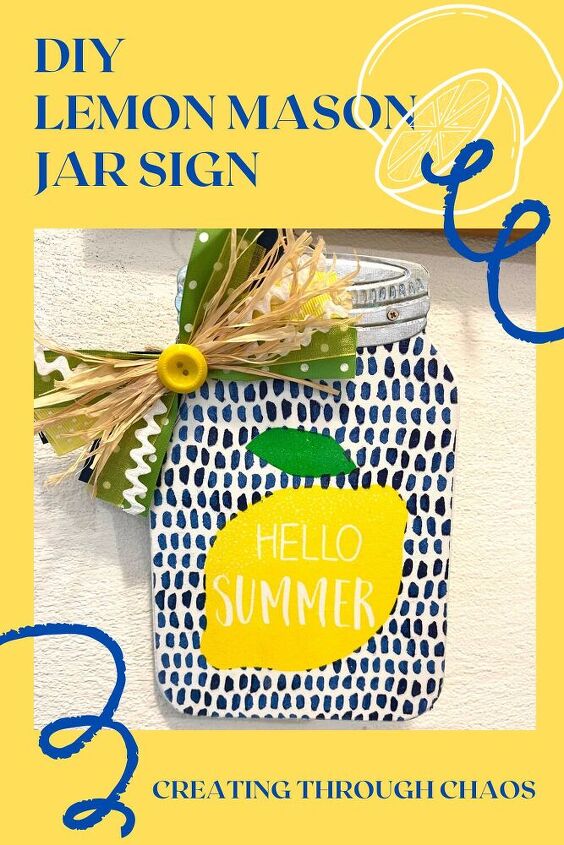
DIY Lemon Mason Jar Sign
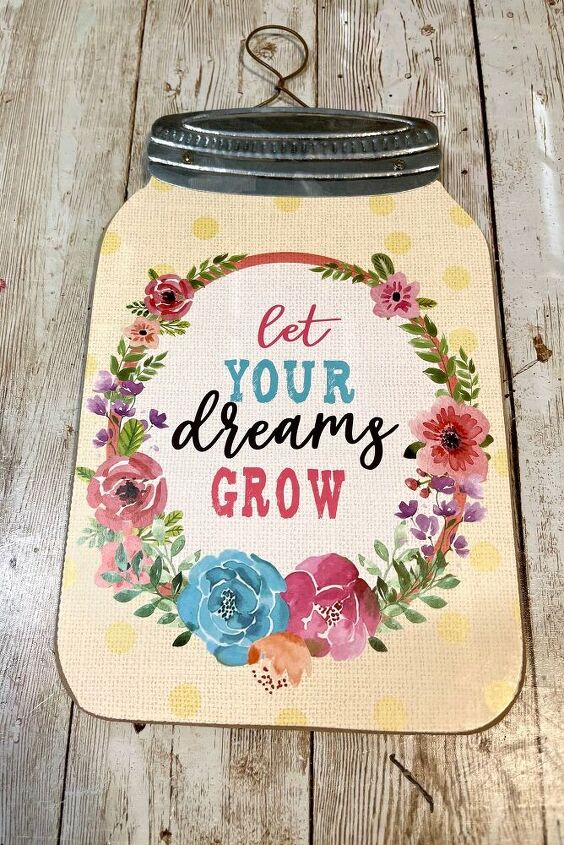
On a trip to Dollar General the other day and let me start off by saying they have some SUPER cute stuff! I could go broke in that store quickly; I was truly amazed by all the stuff they had for just $1.00 like this little mason jar sign. While I thought it was cute, it wasn’t my style. I bought a couple of them knowing I could make it into soemthing more my style! When I got home I got to work making it a little more my style. Follow along while we make this Dollar General mason jar into a cute DIY lemon mason jar sign!
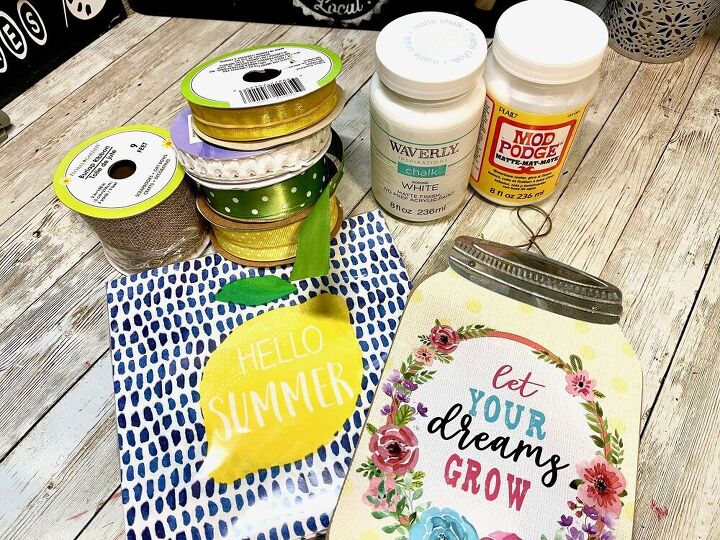
Dollar General Mason Jar Sign
Lemon Napkin (Mine came from my local grocery store, you can use any one you can find!)
Ribbons to match whichever napkin you choose
White Chalk Paint
Mod Podge
Iron, Parchment Paper, Small Screw Driver, Button

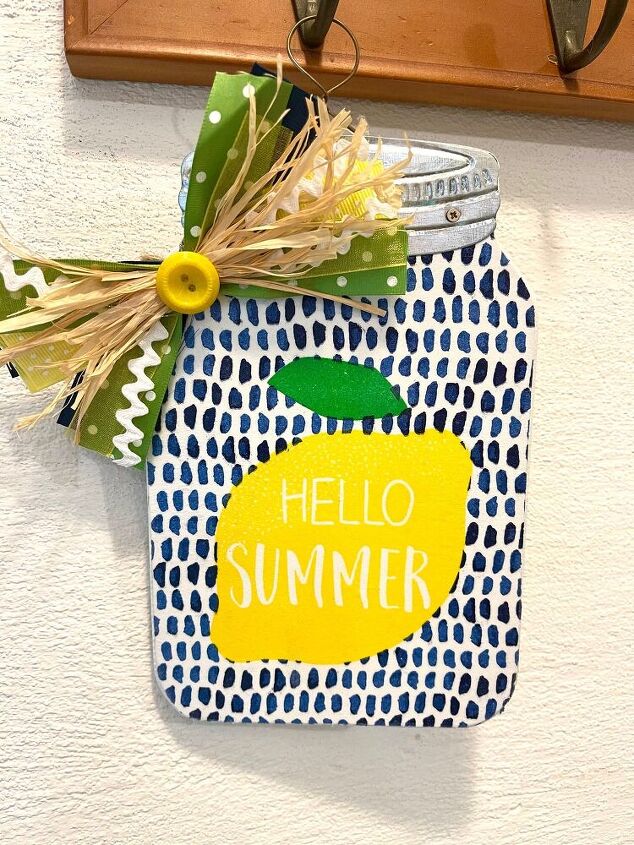
First thing I did was remove the metal piece at the top, it is held with two small screws. Keep these and the metal piece we are just getting it out of our way for now. This part is optional, however with it off you don’t have to worry about getting paint or Mod Podge on it, or cutting the napkin around it.
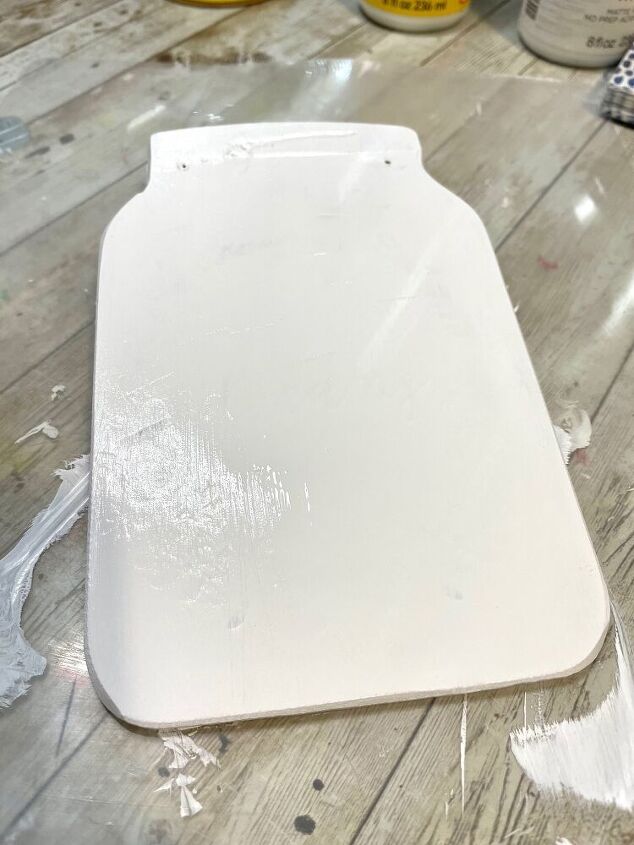
Second step, I painted the whole jar with two coats of white chalk paint, allowing to dry in between.
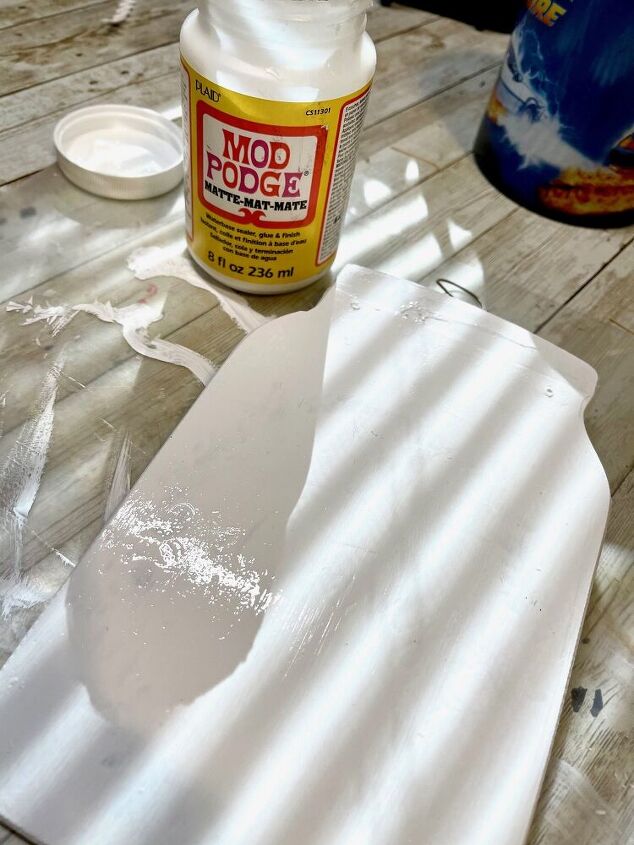

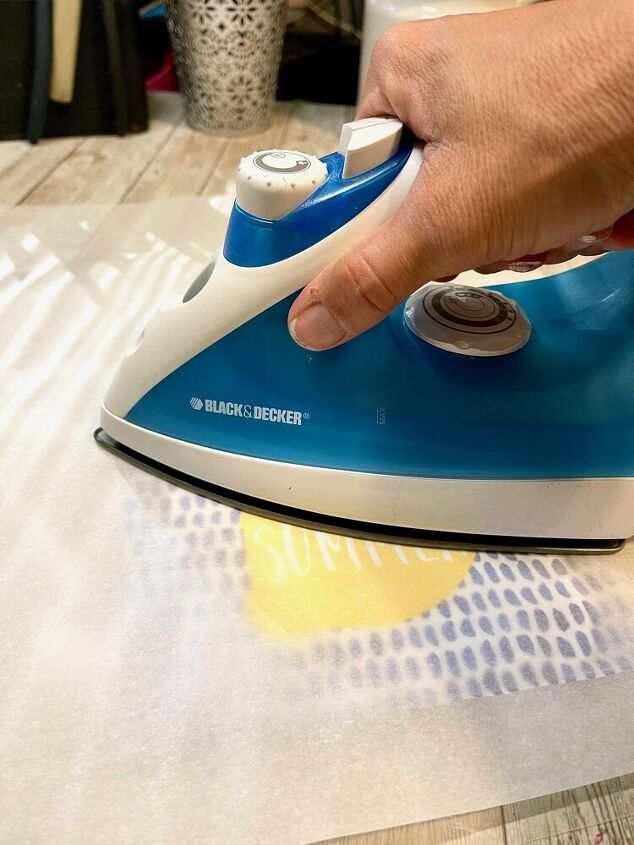

Once the paint was dry I added a coat of Mod Podge and let it dry, then I laid my napkin on my jar, placed the parchment paper over it and ironed it on. the heat from the iron reactivates the Mod Podge and you get less wrinkles. Then after it cooled I added another coat of Mod Podge on top of the napkin. Let dry.
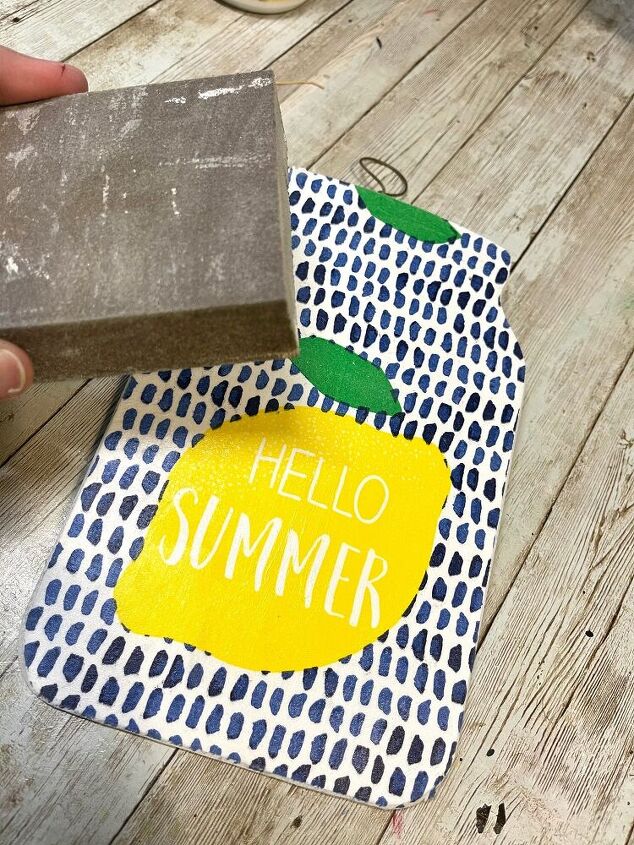
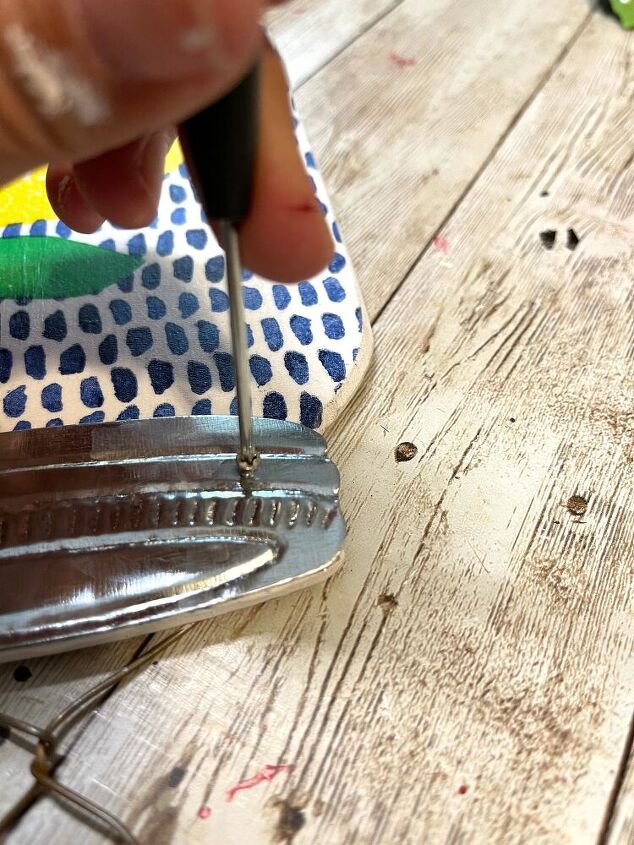
After the Mod Podge had fully dried I sanded the edges to remove the excess napkin. Now we can add the led back on the mason jar, just place it back on and screw back in the screws, if you want to add glue also you can.
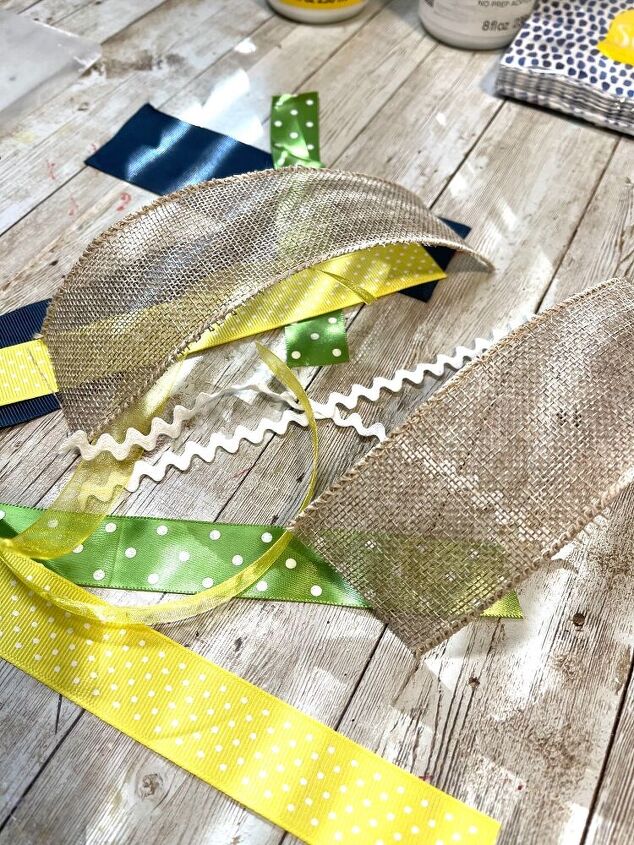
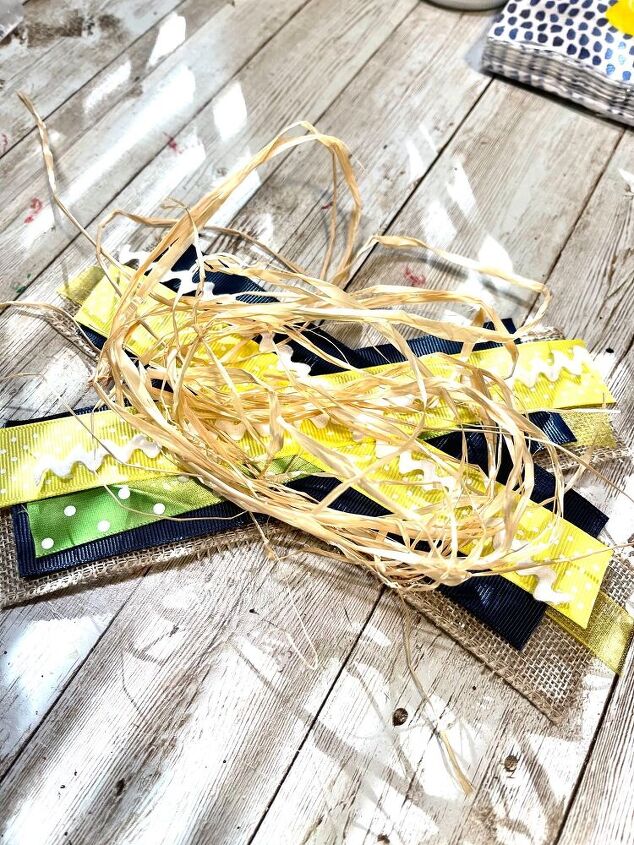
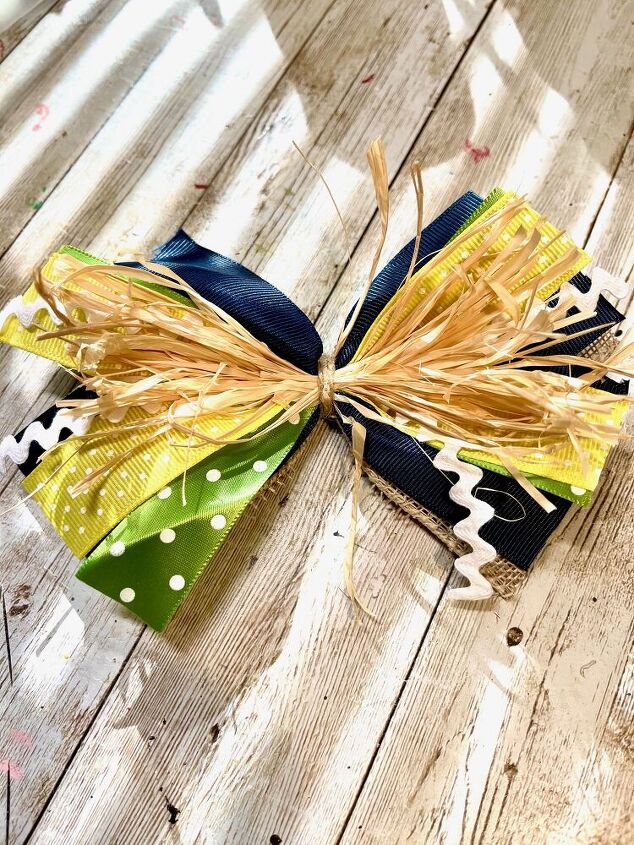
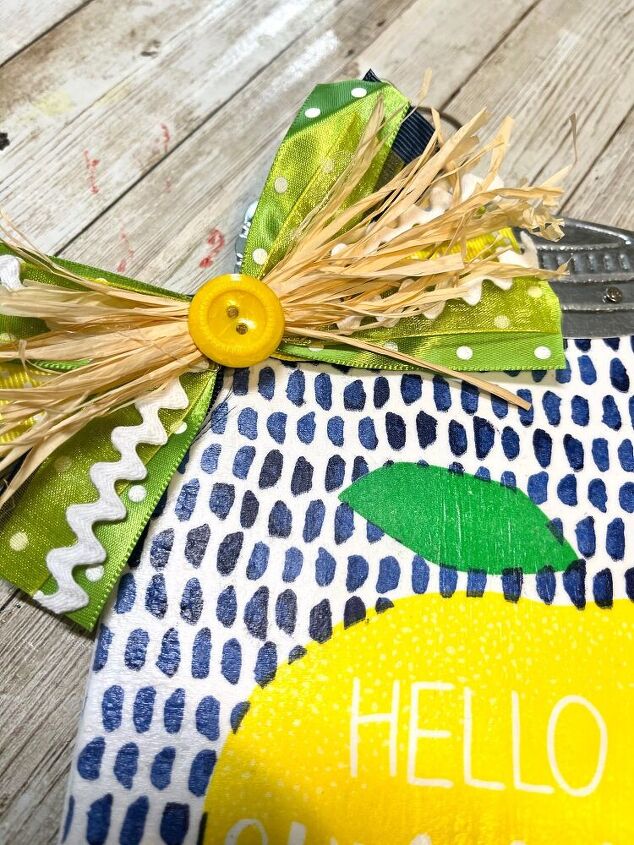
Finally we can make our bow! Grab your choices of ribbon and cut a bunch of it all the same lengths. Layer them all crisscrossed and then use twine to tie them off in the center, add a button to the center of your bow or any other embellishment you’d like. You can place the bow wherever you’d like, I placed mine on the top left corner, I did contemplate placing it on the hanger it looked super cute there too.

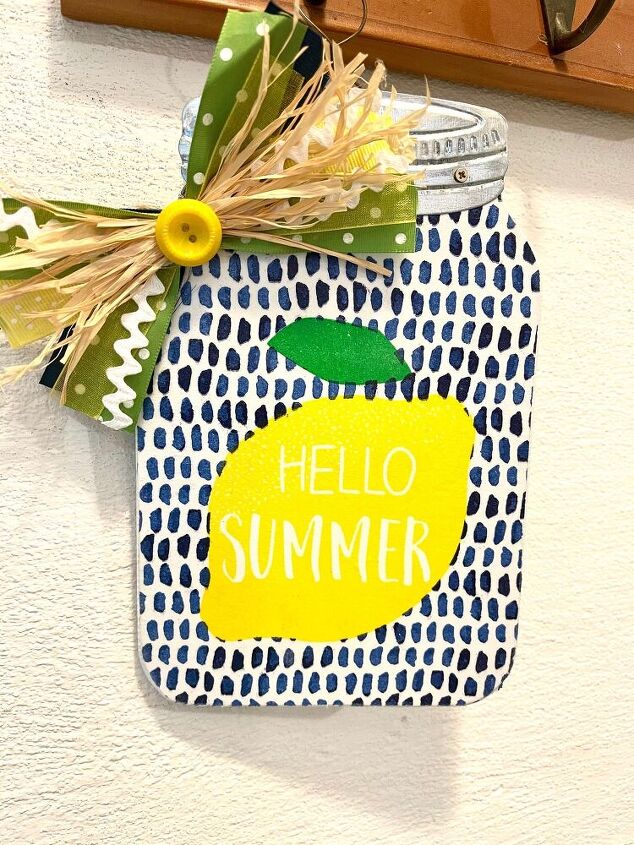
All finished! How stinkin’ cute is this?! I absolutely LOVE IT!!
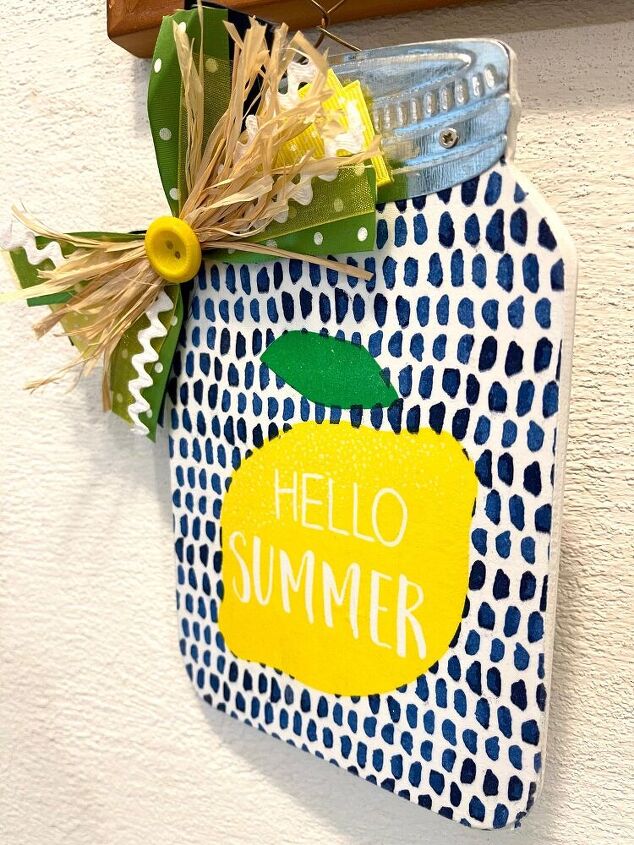
I’m totally loving the yellow and navy blue colors together, they really contrast each other nicely! It makes me want to redo my whole house! HAHA!
I really hope you enjoyed this DIY Lemon Mason Jar Sign! If you did be sure to check out my other DIY’s and follow me on social media below! Just click the links!
- DIY Lemon Mason Jar Sign
- My Thrift Treasures
- DIY Grow Garden Sign
- DIY Uncle Sam Hat
- DIY Watering Can Makeover

Comments
Join the conversation
-
Love this! Turn out great 👍 I need to go get more of these cute Mason jars 😃 I just love decopage diys! TFS 💛
-
this is so adorable. very good work. I love it.


Frequently asked questions
Have a question about this project?