


Easy Fall Craft: Vinyl Cutouts With Free Maple Leaf Clipart

Finding time to craft isn’t always easy. Sometimes I just need a simple idea to sneak in a few moments of creativity. This easy fall craft with vinyl cutouts fits the bill. They add a cute seasonal touch to your fall home decorating.
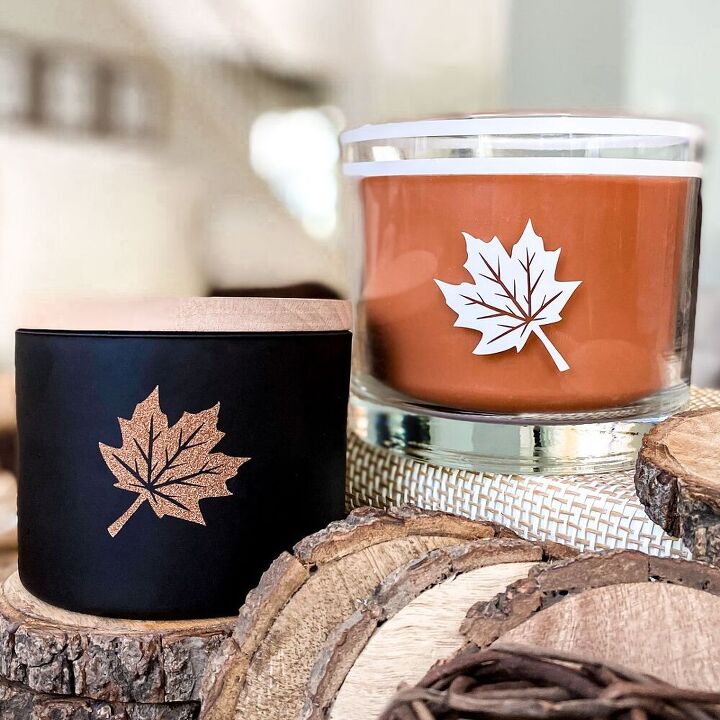
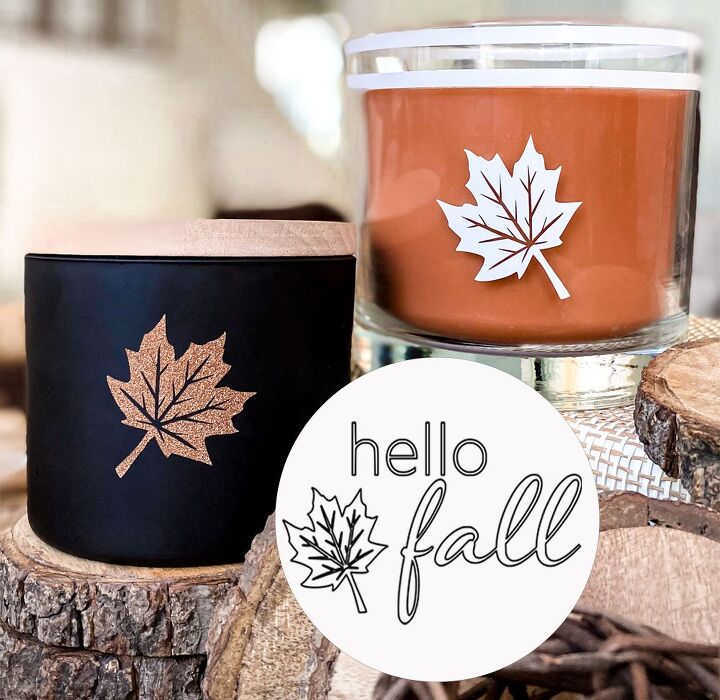
But, don't limit yourself to candles. Try them on dry-erase boards, cups, glasses, folders and notebooks. It's a quick way to add a little Autumn to your every day life.
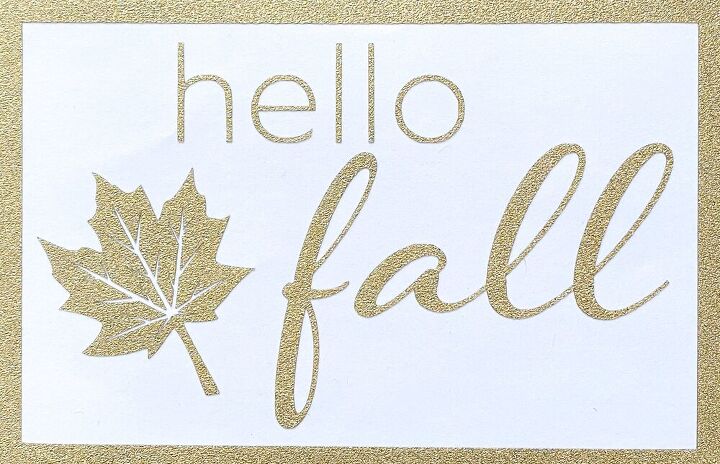
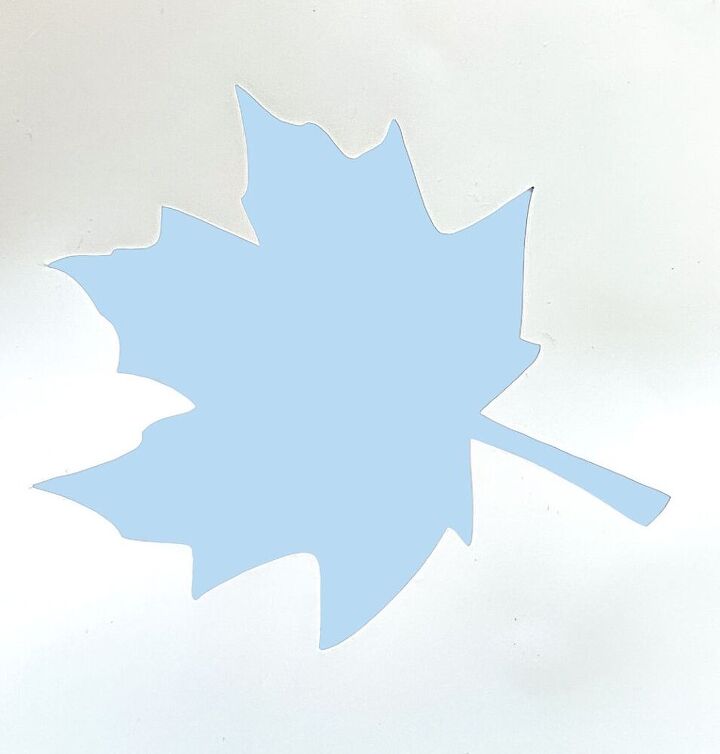
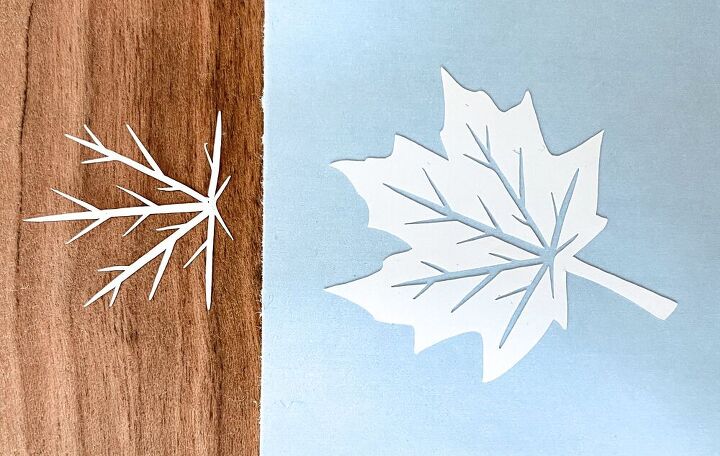
I designed this maple leaf clipart so the color of my candles show through the vein cutouts. I also included a sweet “hello fall” file to go with the clipart. It's available as a SVG, Silhouette File, PNG and PDF. If you'd like a free copy of it, you can visit this post for specific instructions to download and cut the file.
If you're not familiar with the process, to create vinyl cutouts you need an electronic cutting machine (i.e. Silhouette Cameo or Cricut). But, I did also provide a PNG and PDF version for any hand crafters or those who want to use it as a template for other types of crafts.
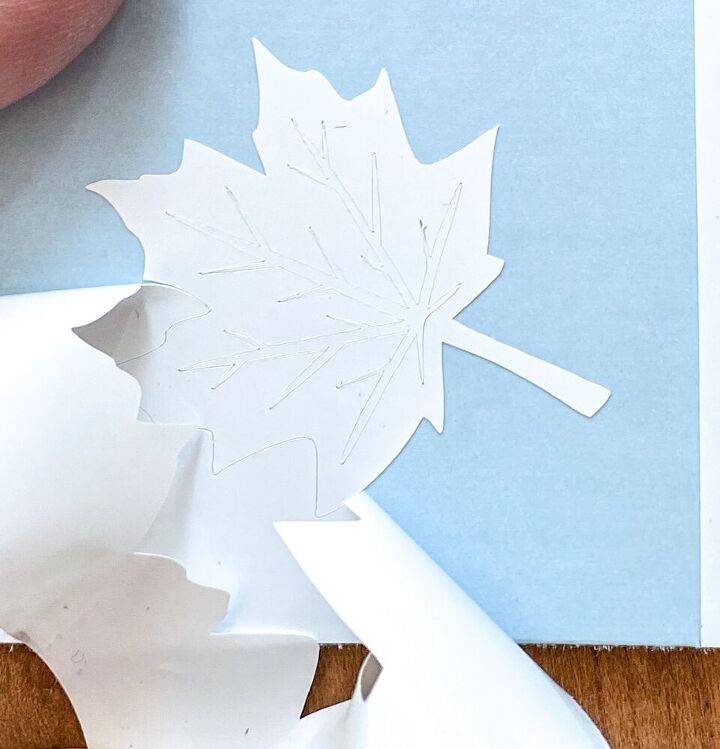
Once your file is cut, you’ll want to weed away the extra vinyl. This is just removing the vinyl you don't need. I use the tip of an X-Acto knife when I weed vinyl. It’s just what I’m use to. But, the vinyl weeding tools work perfectly well and they’re a little bit safer. It’s best to work in a well lit area for this process. I find it easier to leave my project on the cutting mat while I remove the extra vinyl.
The outline of this maple leaf would also work well as a stencil for painting.
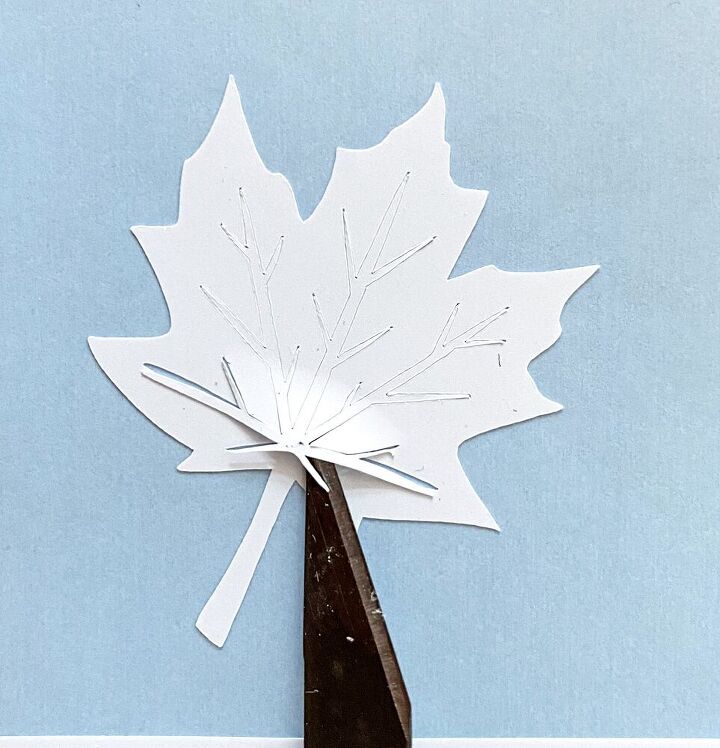
Next, remove the veins of the maple leaf. Start near the stem and slowly pull it towards the top of the leaf. Note: if you’re using glitter vinyl, you may need to hold the leaf parts down as you lift the vein part up. My glitter vinyl needed a little help separating.
There you have it. A really cute vinyl decal for your candles. If you plan to remove these when the season is over, use removeable vinyl instead of permanent vinyl.

If you are just using the maple leaf, you can peel it off and position it on your candle by hand. But, if you are using the “hello fall” file, you’ll want to use transfer tape or paper to keep your vinyl aligned nicely. To do this, peel the backing off your transfer tape and stick it on your vinyl decal. Use a burnishing tool to rub the transfer paper onto your vinyl well. Then slowly remove the backing from your decal. Work from one corner and make sure your whole decal is remaining on the transfer paper. Then, line up your decal on you candle and burnish it in place. Finally, remove the transfer paper.
When working with glass or ceramic, I find it helpful to clean the surface with rubbing alcohol and let it dry. Then apply your vinyl decal.
Hopefully this easy fall craft adds a little joy to your holiday season. If you're looking for more Autumn inspiration, check out these ideas. Thanks for following along!
Laura
Resources for this project:
See all materials


Comments
Join the conversation
-
So simple yet expensive looking.. great idea! Would make a really nice gift for any occasion..


Frequently asked questions
Have a question about this project?