


Grapevine Burlap Wreath
Learn how to make an absolutely gorgeous grapevine wreath that will surely impress any of your neighbors and guests!
You will need:
- 2 Rolls 5.5" 10 yard burlap
- 25+ Beige Pipecleaners
- 18" Grapevine Wreath
- Scissors or cutting mat/rotary cutter
- Self-Healing Mat
- Hot glue
- Staple gun
- Letter of your choice ( 10")
- Florals (we used a sunflower and 2 hydrangeas)
Start by cutting both rolls of burlap into 9"-10" pieces. If you want the wreath to be tighter, cut 8". Make sure you cut them cleanly so that you don't end up with frayed ends. Set them aside.
Now begin with your beige pipecleaners. I recommend you use beige so that it matches your burlap. You don't want the piepcleaners to stand out against the burlap. You want it to blend smoothly. Take the pipecleaners, feed them through the grapevine, bend them back so that both pieces are facing towards the surface of the wreath. Do this every 2-3 inches. I would recommend 2" so that the burlap is tighter. The amount of pipe cleaners depends on how thick and wide your grapevine wreath is. It can vary drastically between grapevines.
Next gather your burlap into little bowties. I like to evenly gather the burlap TOWARDS me. It can also be called a " Ruffle". I apply two pieces per twist. You may be thinking " Why cant I just start with one 20" piece?" I don't think it has the same ruffling look to it, so I recommend you cut them into two separate pieces.
After this, you will want to make sure the pipecleaners are twisted securely. I always give a few extra twists to ensure that they are fully attached. Then use your wire snips to snip them off. I do NOT recommend using scissors as that is how you dull the blades fast.
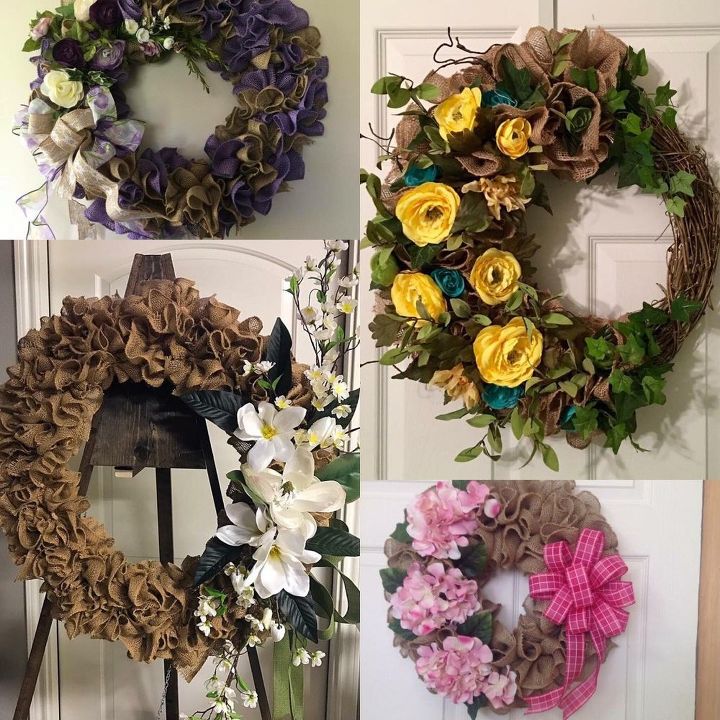
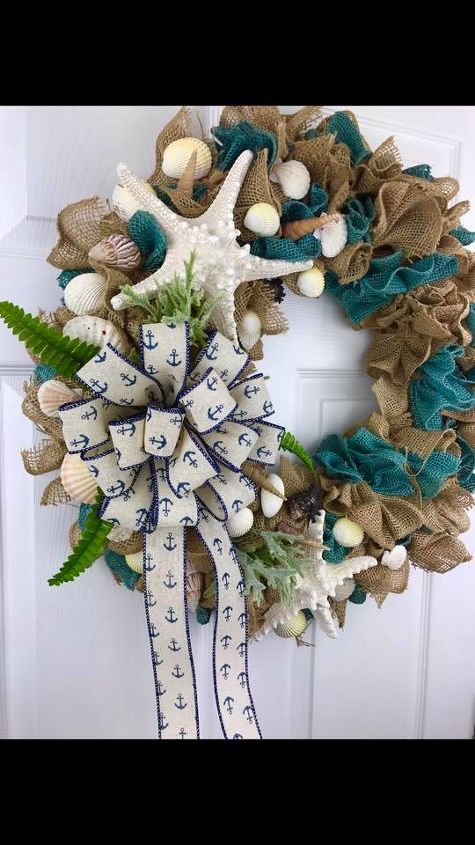
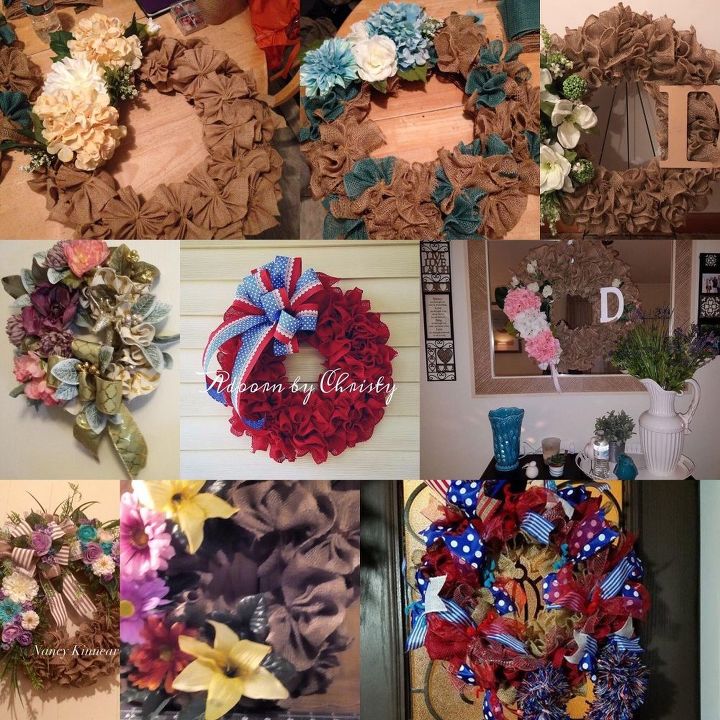
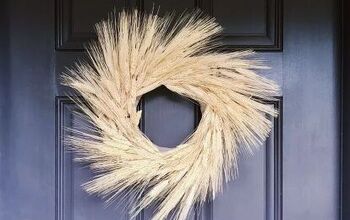
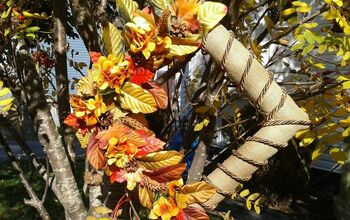
Attach florals with hot glue to your desired effect. See pictures below for some designs. ( Some photos were sent to me after using my technique) To attach the letter, flip it backwards, apply a pipe cleaner with your staple gun, and then dab some hot glue to ensure it is secure.
Feed the pipe cleaner once the glue is hardened through the grapevine, and then cut ties in the back. Voila! You have a beautiful burlap wreath to use on your home!
We want to help you DIY, so some of the materials in this post are linked to sellers. Just so you know, Hometalk may collect a small share of sales from the links on this page.


Comments
Join the conversation
-
Wonderful idea! I would like to try this! Thanks for sharing!


Frequently asked questions
Have a question about this project?
Was it necessary to use 2 lengths on each or would a double length work as well?
do I need a total of 20 yards of burlap
Could you use wired burlap ribbon?