


Quick & Easy Winter Wreath
Hello, I'm Cindy from Cloches & Lavender where I share painted furniture, DIY crafts, decorating ideas, upcycling and the occasional recipe.Today I want to share quick & easy winter wreath it took 15 minutes, really!It seems to be a great time to share a quick & easy winter wreath on a great budget.I am in love with bottle brush trees. I'm talking serious obsession. After receiving more bottle brush trees last Christmas I knew this year I was I was going to make a wreath using some.So then, the search began a few months ago for white feather boas. As a result, I found white feather trim with tape at JoAnn. I ordered it online for curbside pickup. Getting 40% off also made me happy and kept the budget at $9.00.
Making the Quick & Easy Winter Wreath
Items Needed
- 3 white feather trim with tape or 3 white boas (I trim and one boa)
- 10" white foam wreath form
- white or ivory burlap or ribbon to wrap wreath
- 1 inch Heat n Bond ultra hold
- 18 gauge stem wire
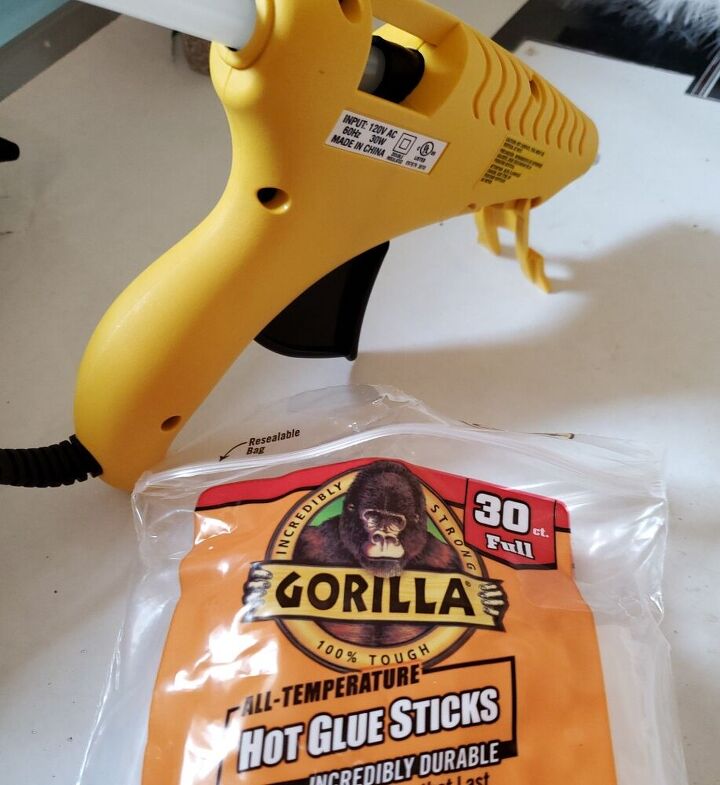
- glue gun and glue sticks
- scissors
- village size white bottle brush trees
- ribbon for hanging
This wreath is also easy to make and took about 15 minutes. Begin by laying your pieces out and plug in the glue gun.
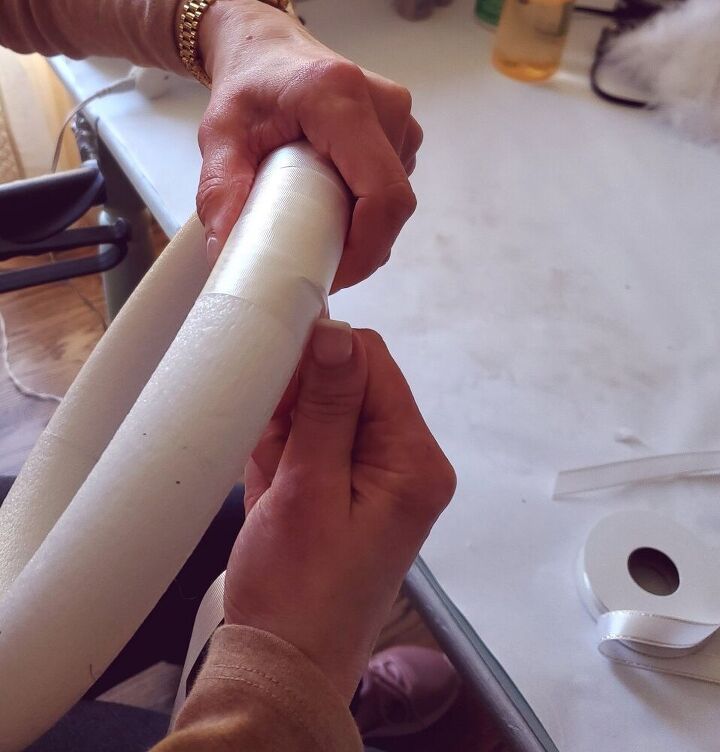
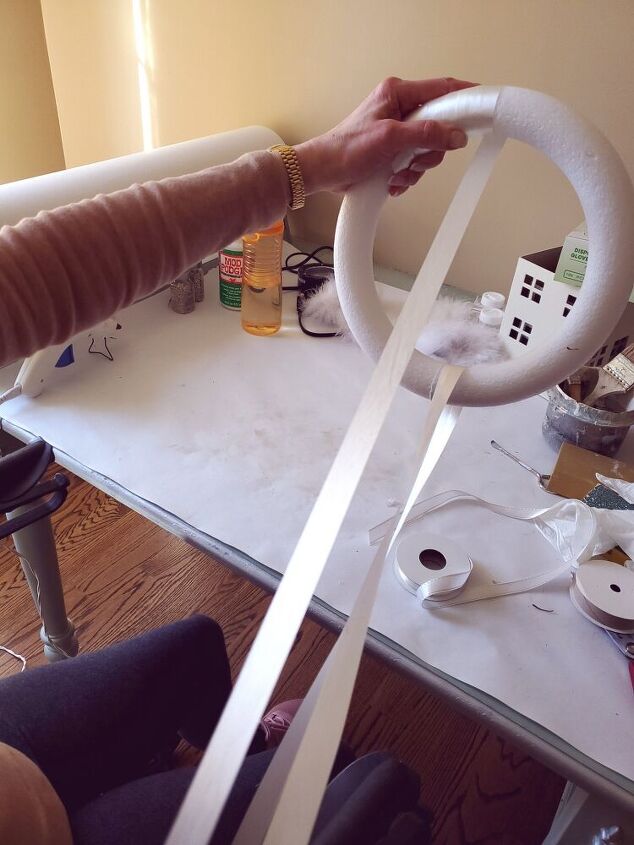
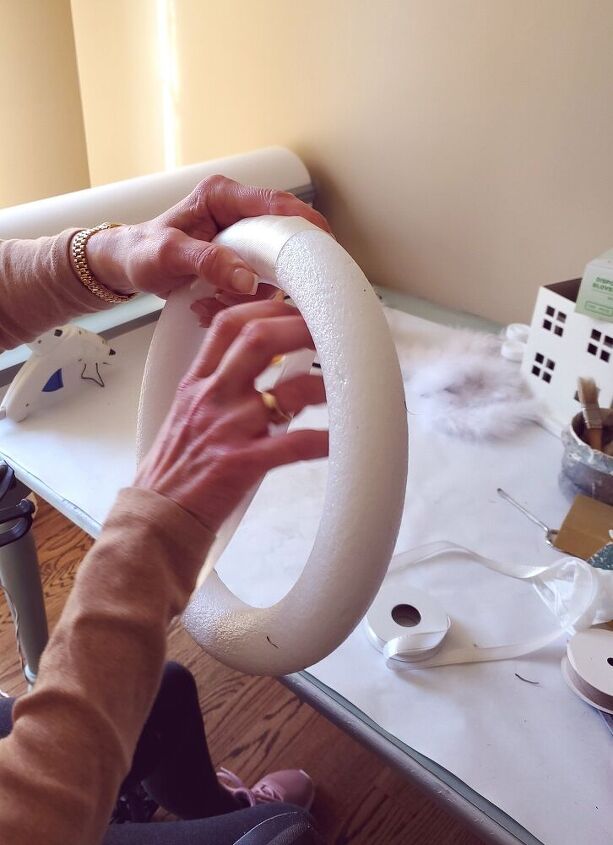
Next, take your your Flora Craft white foam wreath. This link takes you to Amazon but I bought mine from Michael's. They don't have any left to use as an example. Begin wrapping your wreath with burlap or ribbon. I used white ribbon I had in my ribbon drawer. Wrapping the wreath is important so the hot glue will not melt the wreath.
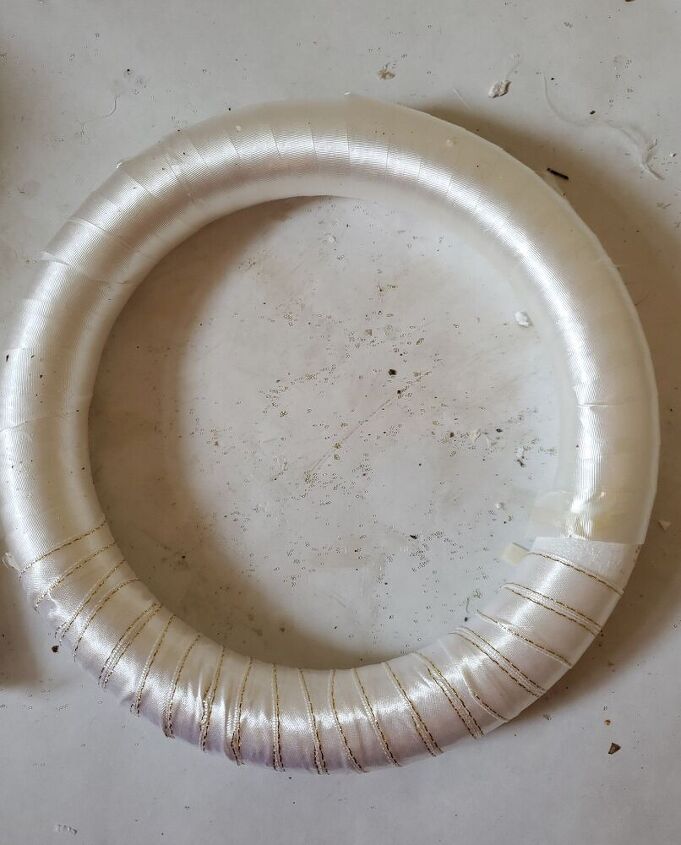
After your wreath is wrapped begin adding your white trim or boa. As you wrap glue the section. I'm happy I used the two trim with tape instead of three boas. Especially because, the tape kept me from getting burned with the hoot glue and also it's easier to work with.
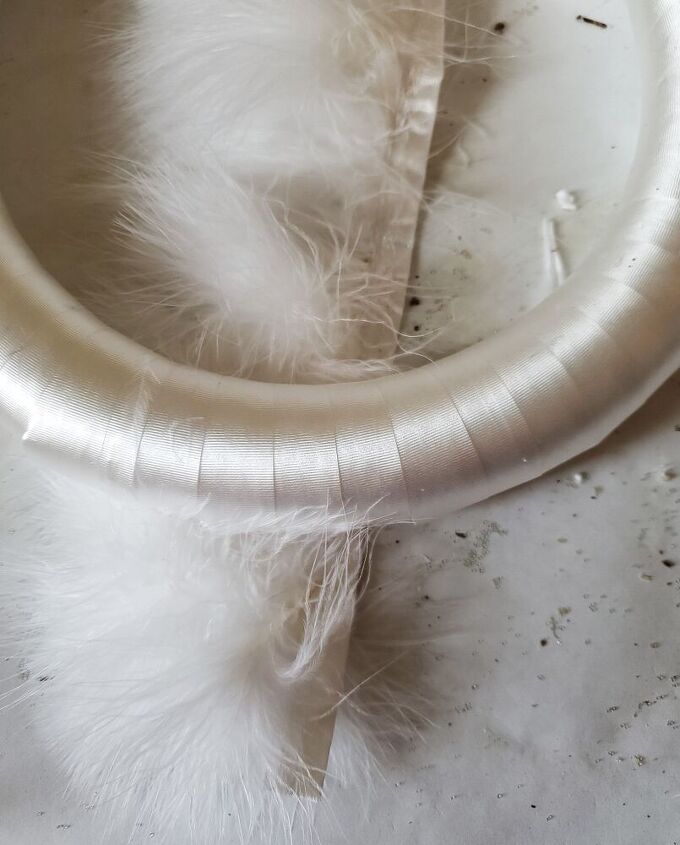
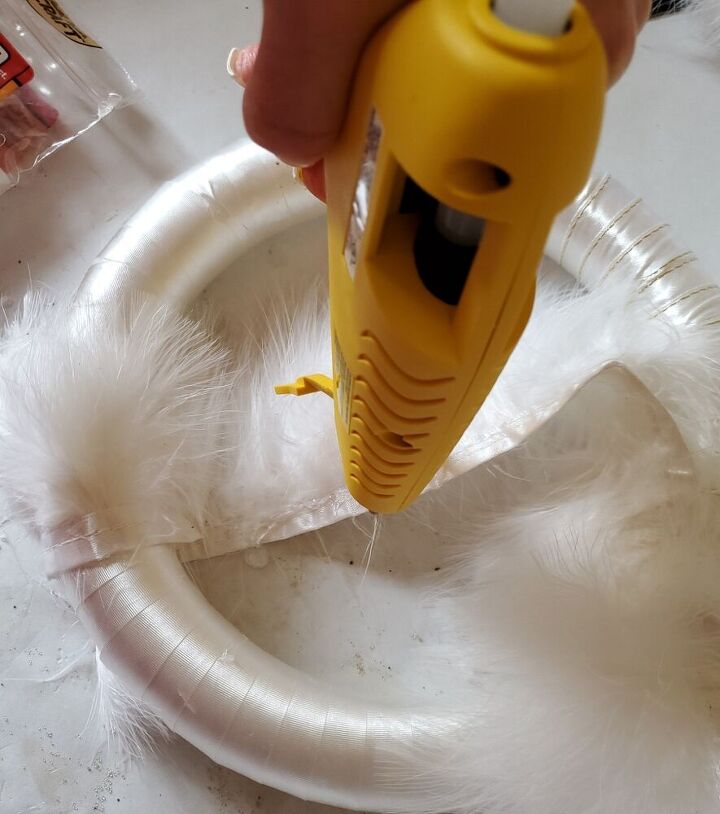
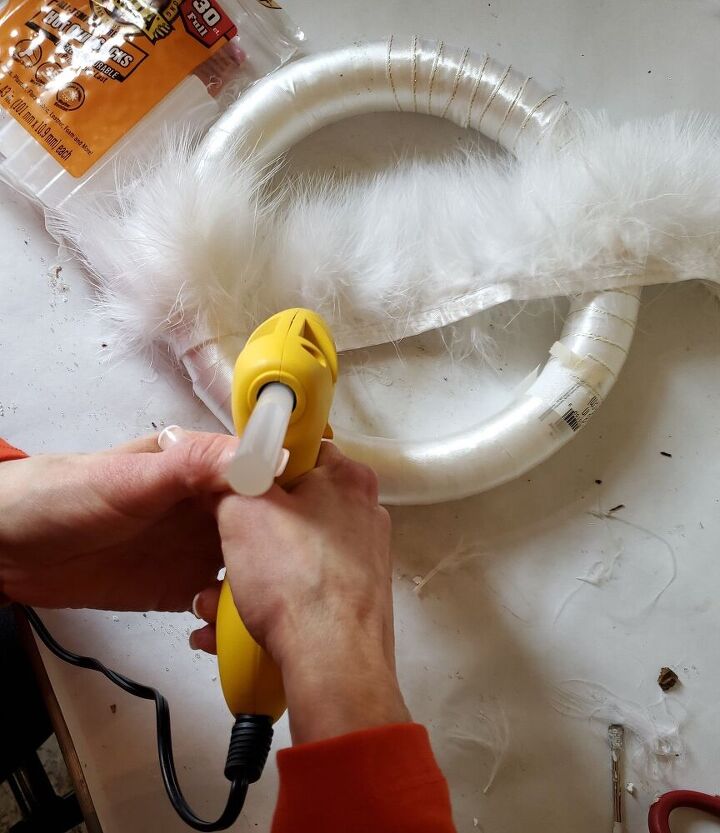
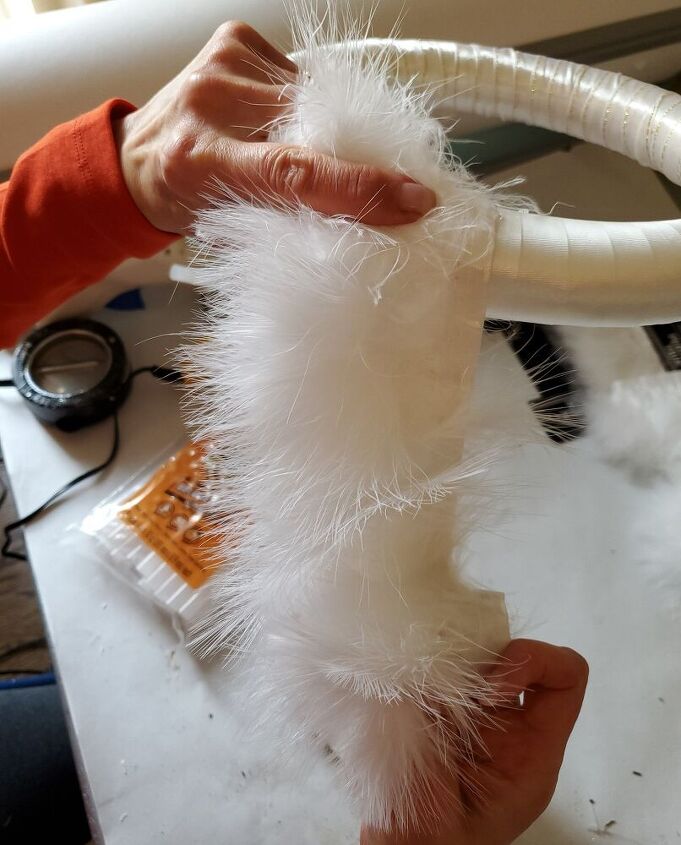
It took the two white feather tape trims to cover the wreath.So then, because I wanted my wreath a bit fuller I added the boa. By the way, this is when I was happy I didn't use all boas, I did get a tad burned once and once was enough for me.
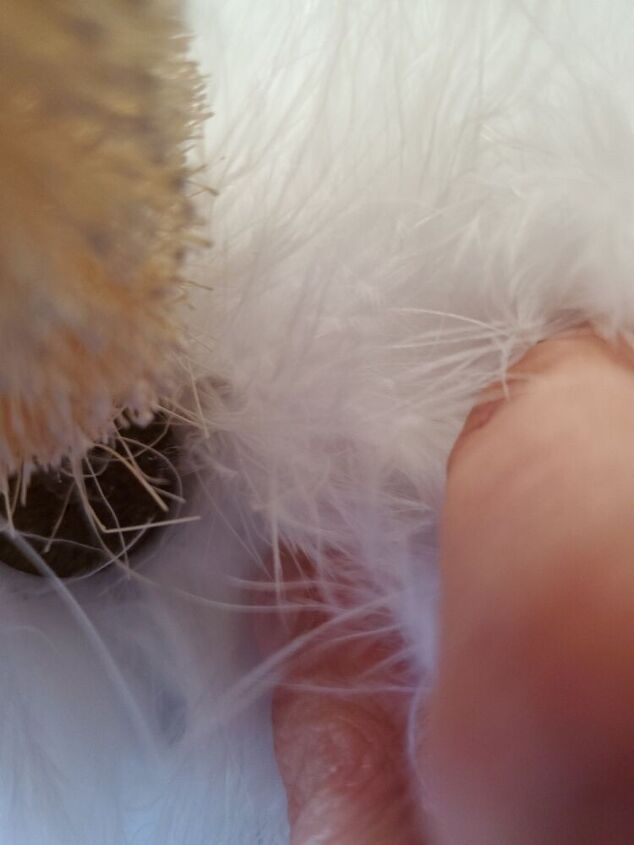
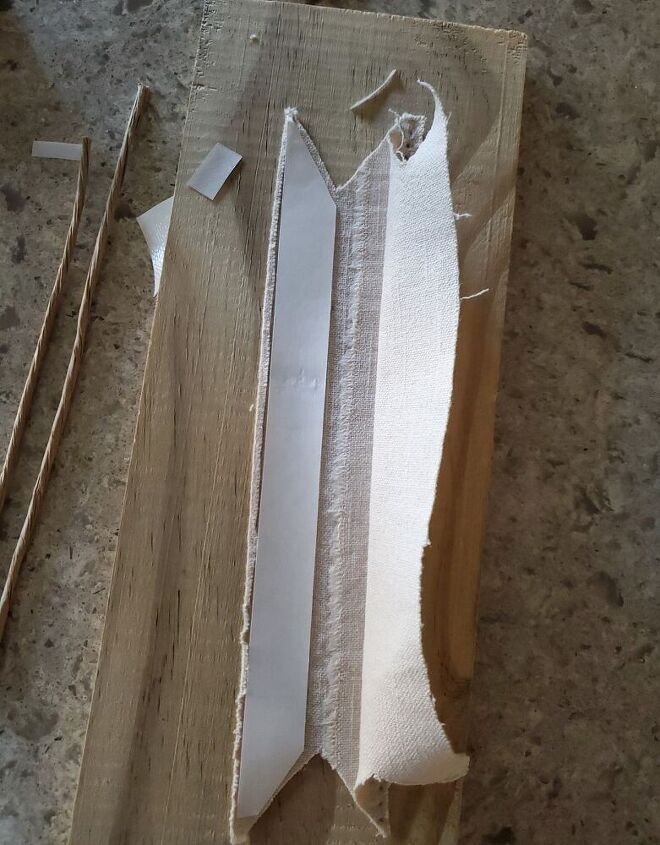
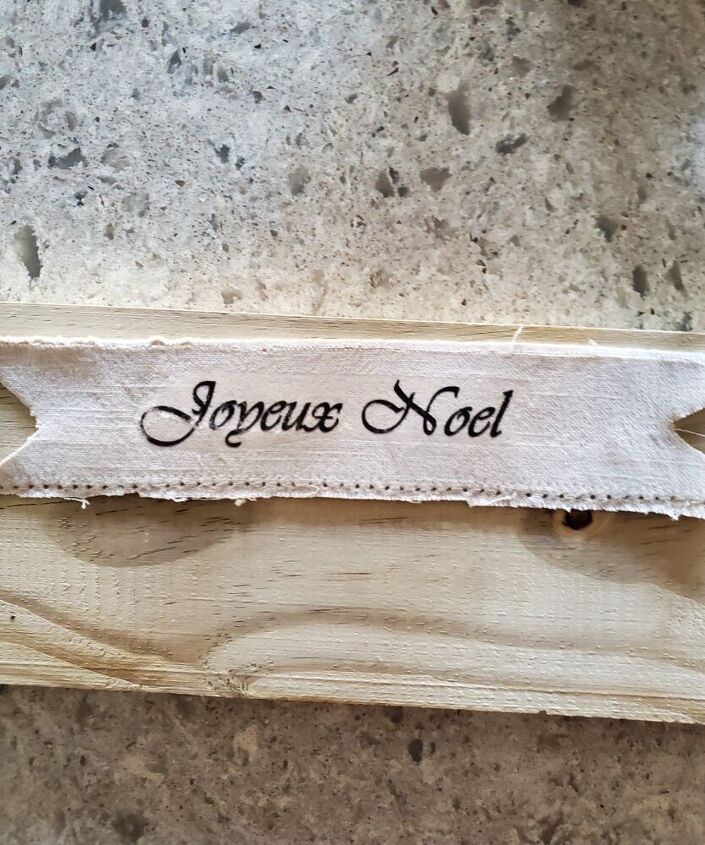
Next, I added the small bottle brush trees I received as a gift.Finally, I printed out a, Joyeux Noel banner to add to the top section of the wreath. Adding a French touch. In this case, I wanted to create my own banner, I used a Word document. The first step is to choose the correct size and the font of your choice. Before printing your image it's important reverse the image on your computer.
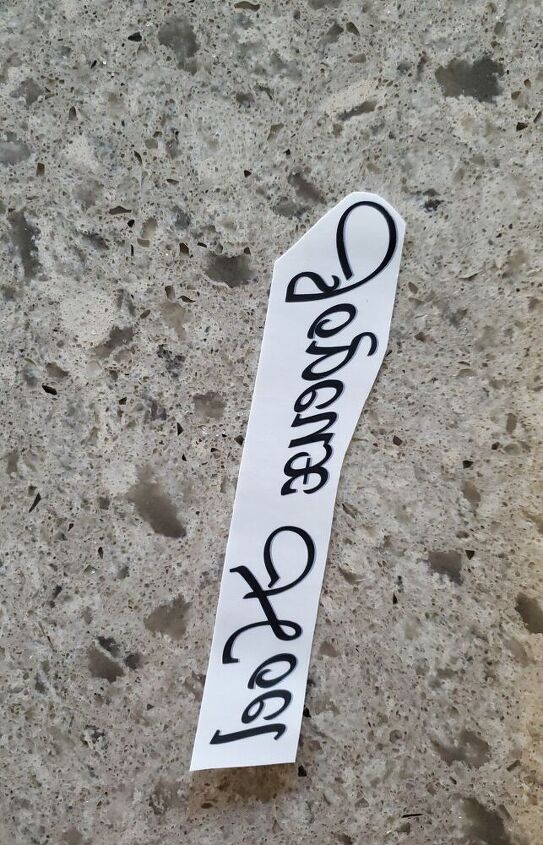
After being pleased, I printed my image on easy image transfer sheets found at Michael's. Also, while cutting your image get closed to the image.
When choosing your fabric it's best to choose a light fabric for these transfer sheets. In short, luckily I had an old tablecloth for my banner.
Assembling Your Banner
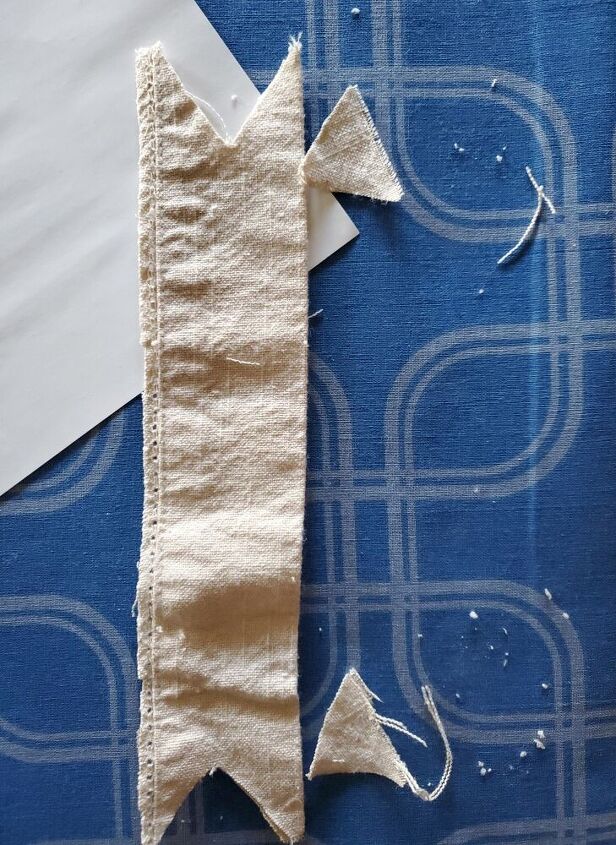
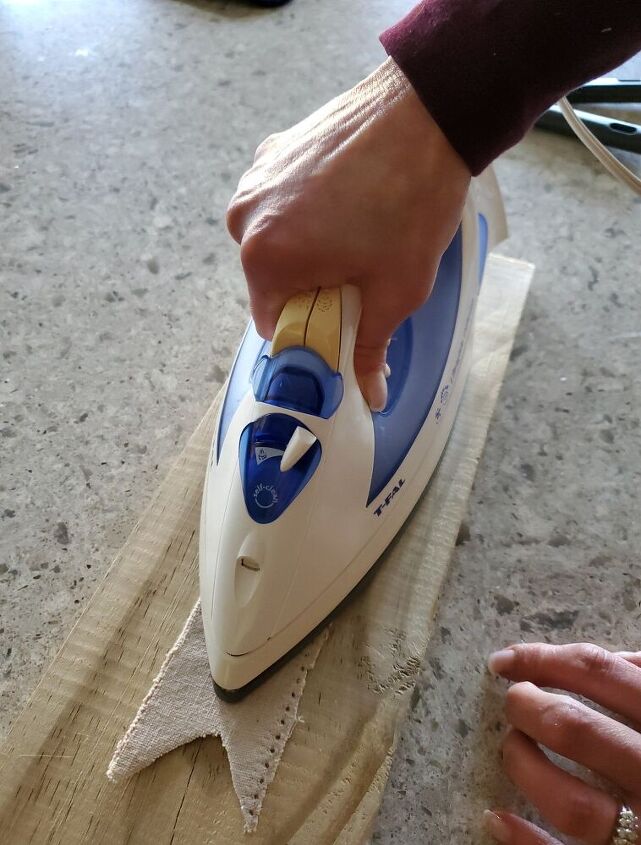
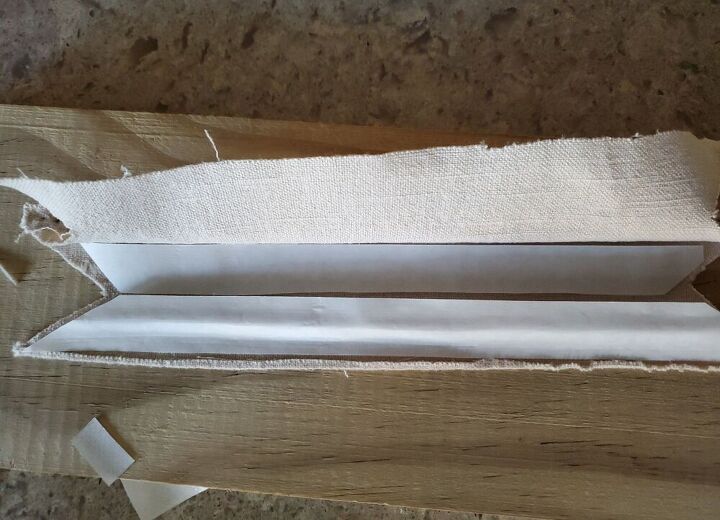
Ironing the fabric after cutting into a banner shape is best. Make sure you don't use an ironing board when ironing.
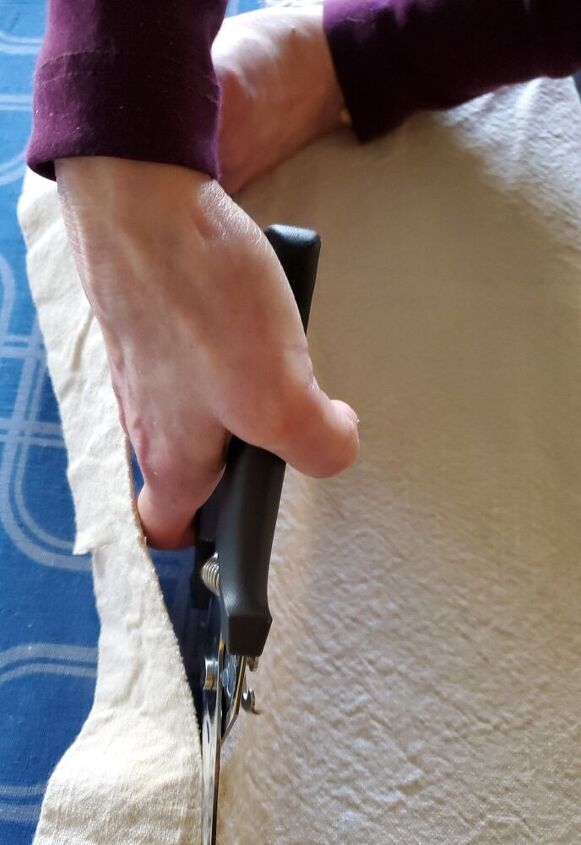
Also, to keep the banner shape two pieces of 18 gauge stem wire purchased from Michael's is necessary. The link provided is from Amazon. Needing only two and keeping to budget I bought one pack.By the way, I decided using two stem wires would give the ability to create a better banner shape. I have seen it done with one on Pinterest and it is too floppy. Cut to size using scissors.
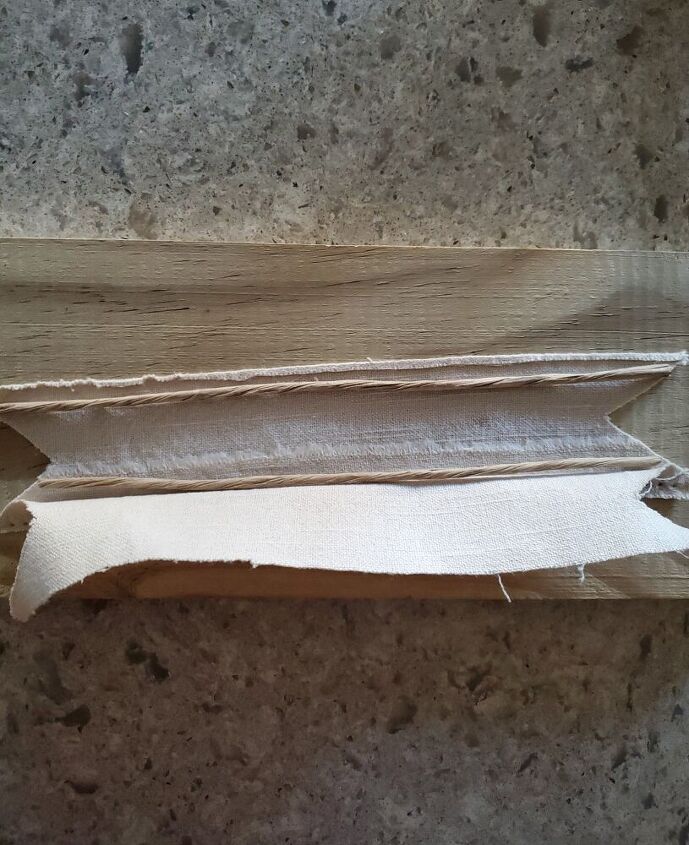
Before apply your Heat n Bond cut and form a shape around the wire. This allows for a clean look.
Next apply your Heat n Bond following the directions on the package.
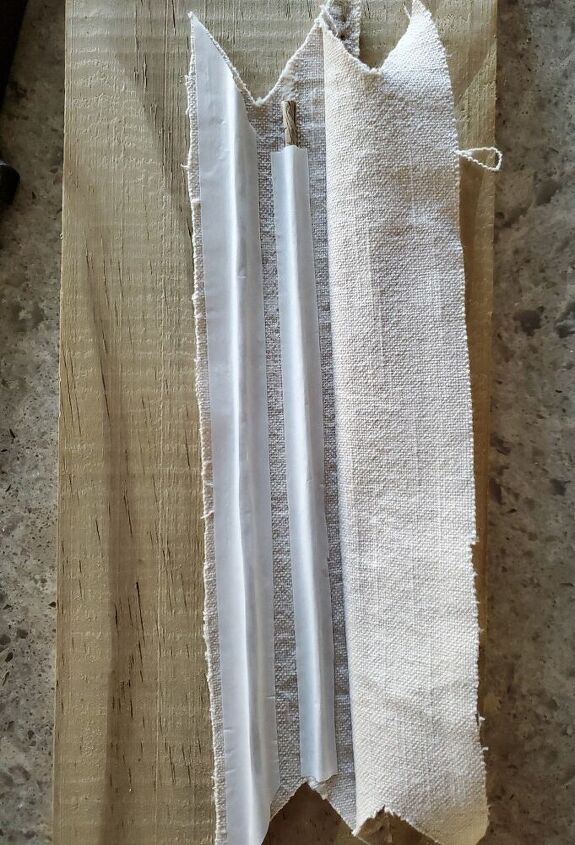
Connect your fabric together and bend to form the shape of a banner.

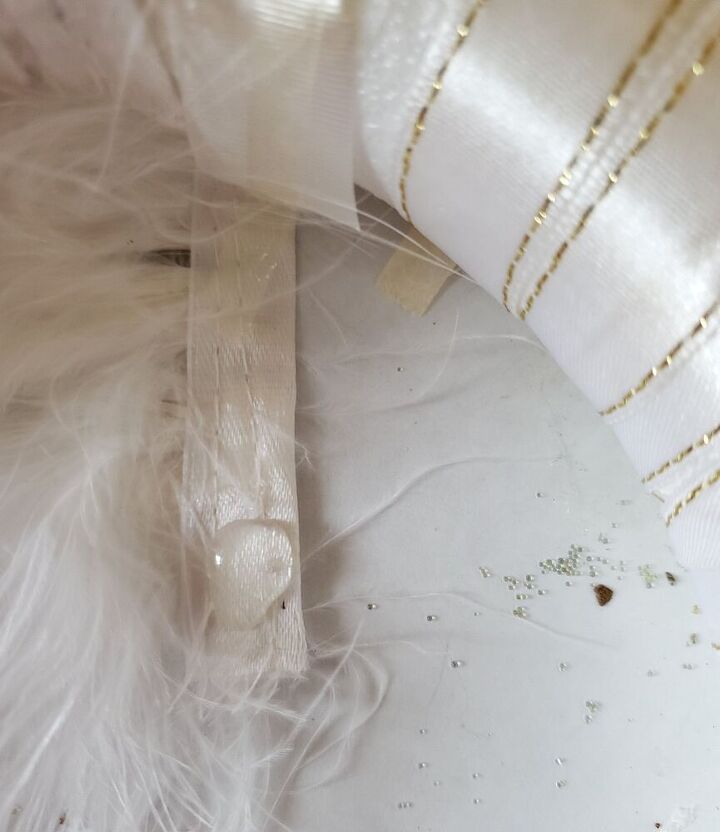
I decided to use a dot of hot glue and attach the banner to my ribbon since it is wide enough.
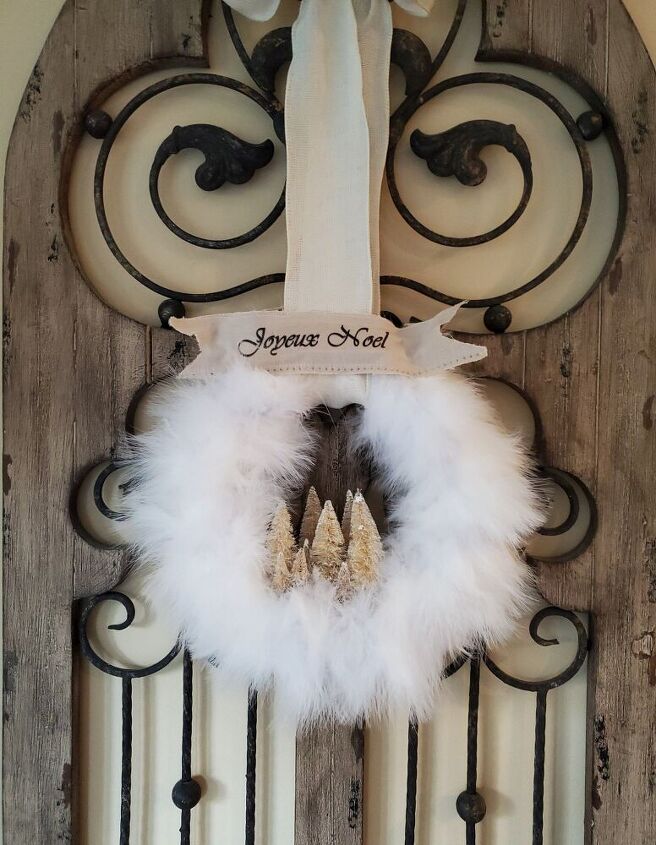
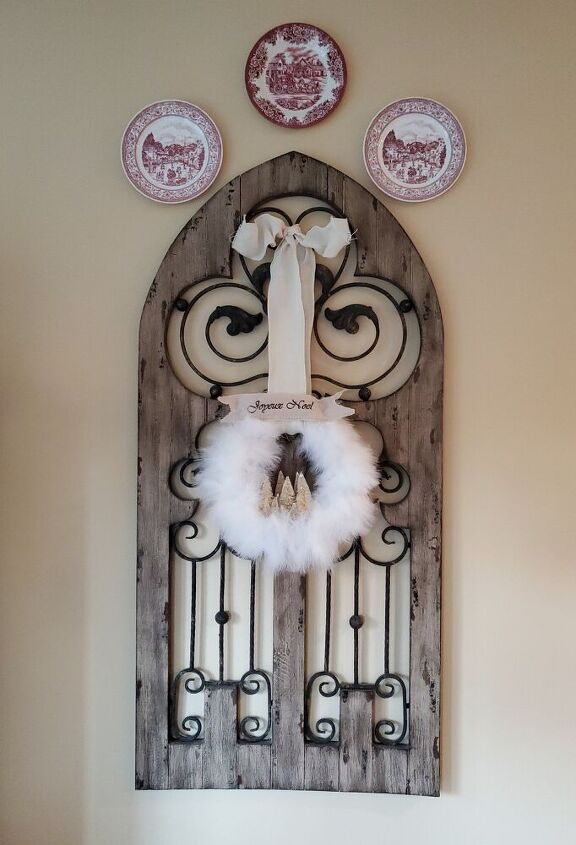
Isn't this wreath fun for Christmas and the winter season?
Resources for this project:
See all materials


Comments
Join the conversation
-
It is quite lovely, my style too, very pretty indeed !
-
Makes your door look like a Christmas Yeti... and the trees make the teeth in the smile


Frequently asked questions
Have a question about this project?
So you just plopped the bottlebrush trees in there or what because you never explained about that..?
It looks like an owl, was that your intention?