


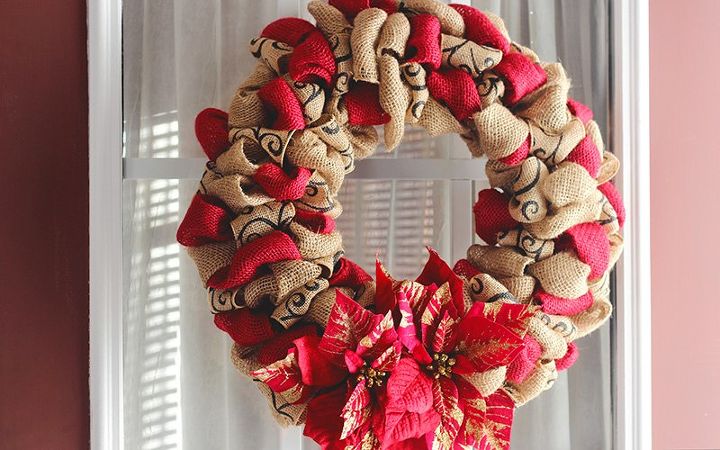
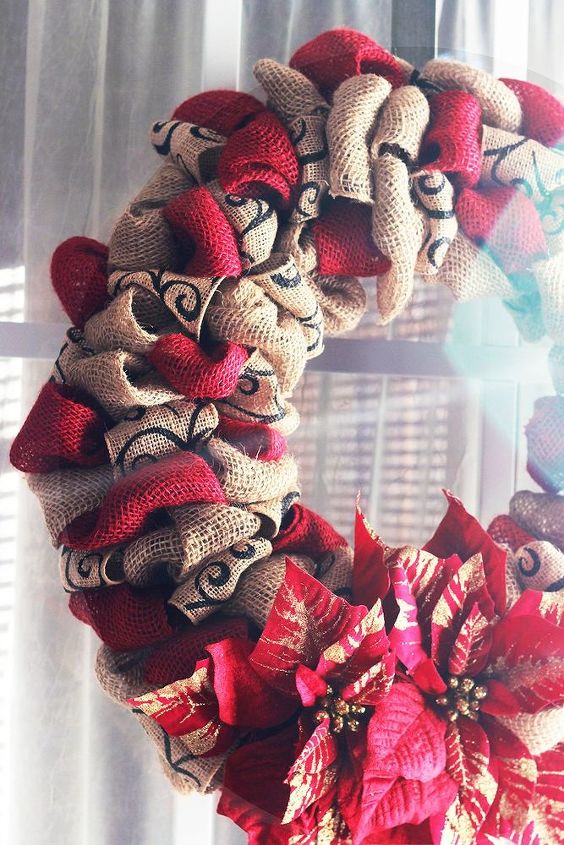
DIY Burlap Christmas Wreath
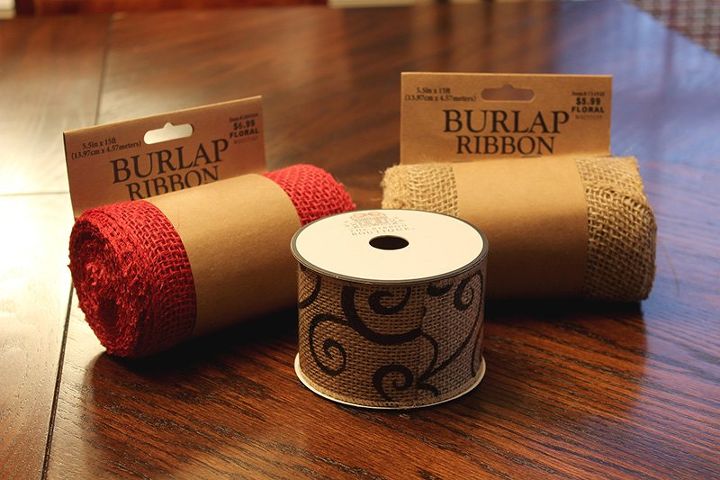
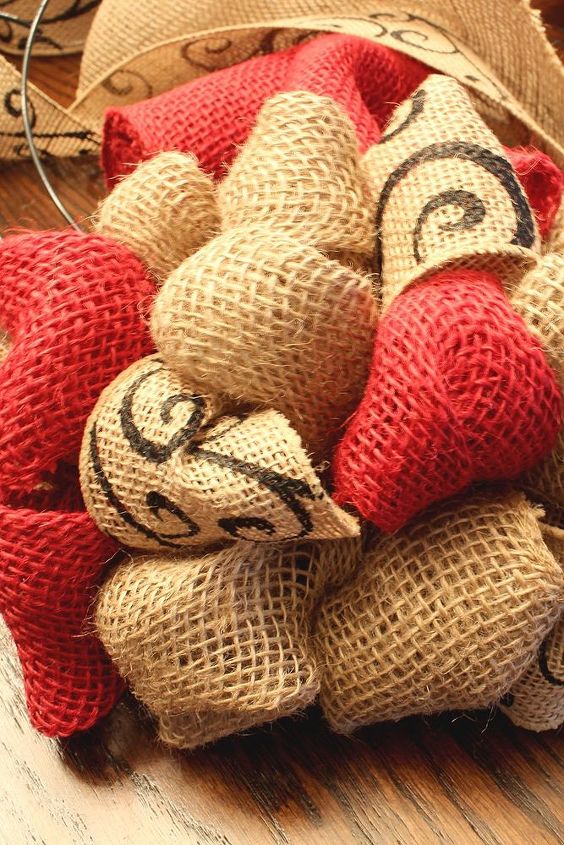
This wreath making tactic can be used for any season really depending on our color choices. For this one I started with Three different ribbon/burlap choices - basic burlap, red burlap, and a patterned burlap ribbon.
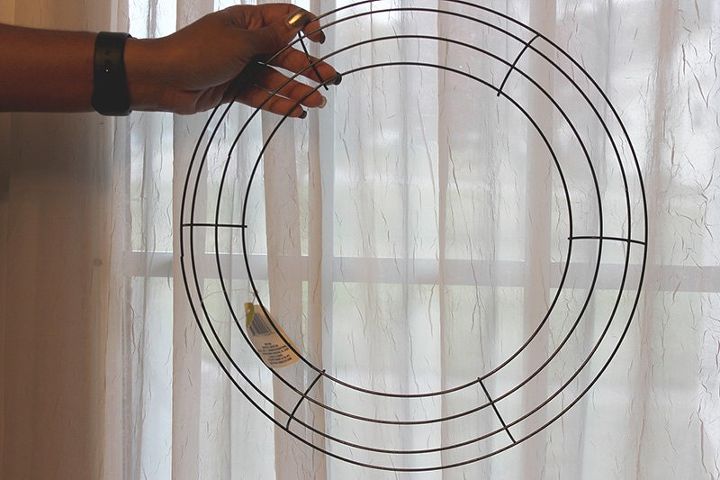
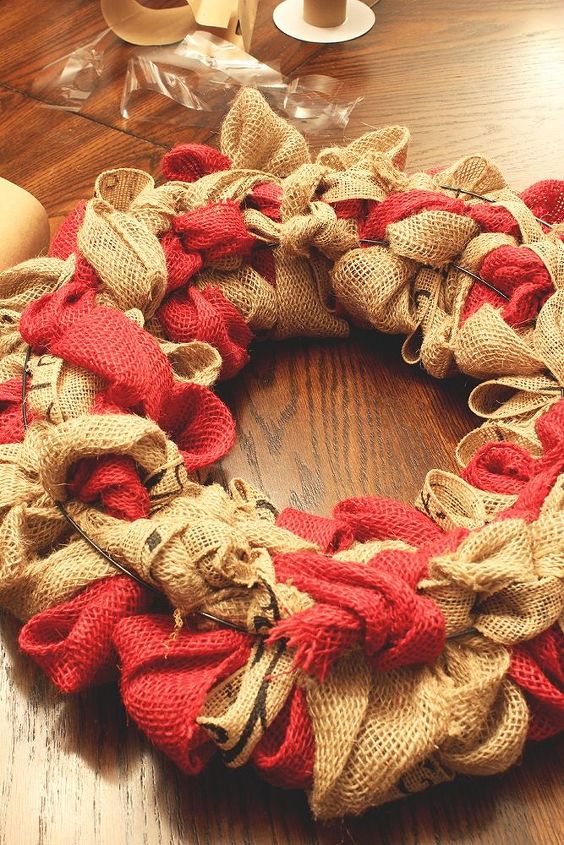
Using a wired wreath form that I got from the dollar store, I attached all three ribbons to the wreath form by tying a know near one of the splits in the wreath form.

From there I started making loops with the burlap/ribbon making sure to not bunch them together to create a more staggered look.
This is done by pulling a folded piece through to form a look and then twisting it before creating another loop so each loop doesn't come undone.
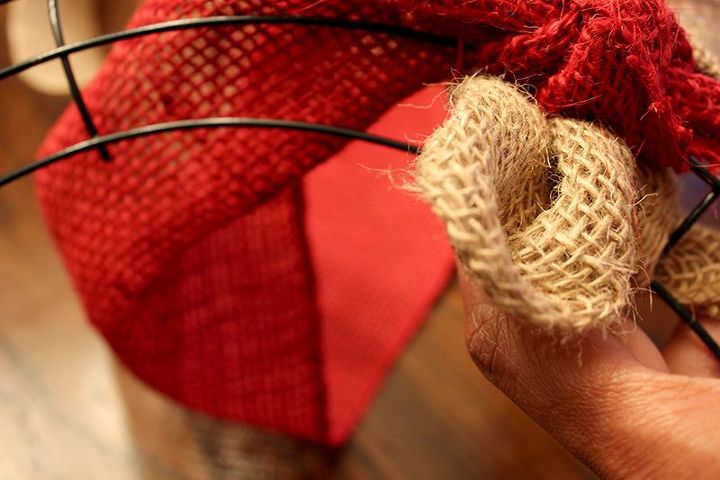
I do this all the way around making adjustments as necessary and moving for spacing as needed.
If you run out of a color you have to allow yourself enough material to tie it to the back of the wreath form in the same way you started it and then start a new piece next to it in the same manner. The ties should only be present on the back of the wired wreath form.
This is what the back looks like when finish.
After finishing the burlap and making spacing adjustments, I prep the flowers for attachment.
To attach the flowers, I remove them from the stems, and glue on a zip tie.
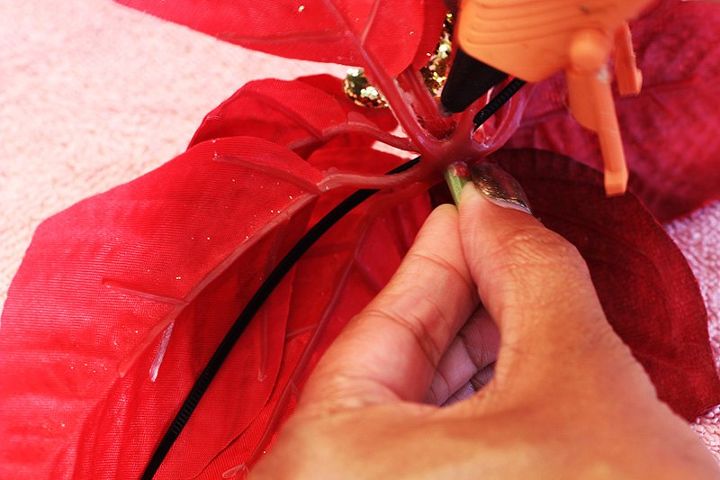
I let it dry and then attach the flower by tightening the zip tie and cutting the leftover.
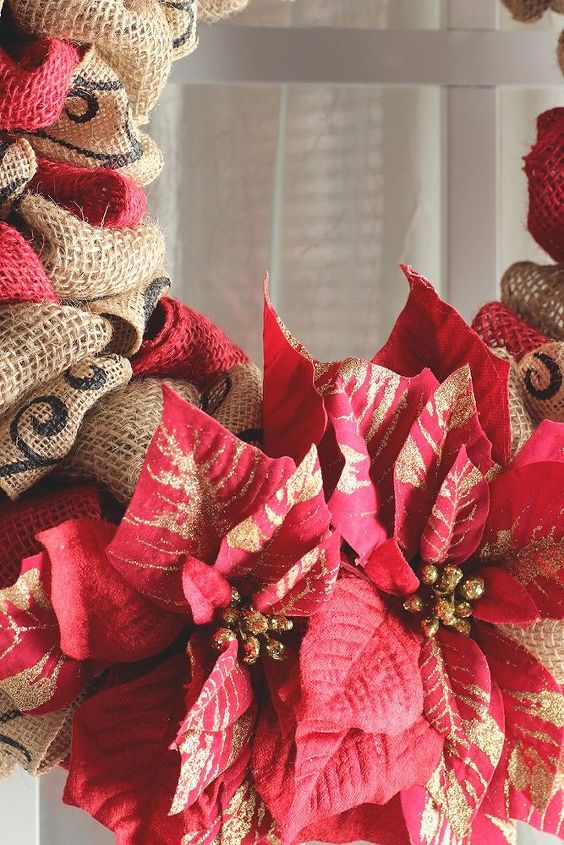
For this wreath, I attached two flowers.
To get more details on how I completed this project, plus a list of other DIY wreath ideas please visit my blog post here.
Resources for this project:
See all materials


Comments
Join the conversation
-
Great job! Looks lovely!
-
I LOVE burlap and bindertwine......My favorites......".I'm from the country and I like it that way." Your wreath gets the Blue ribbon.....YES!!! Merry Christmas!
 Buon Natale'


Frequently asked questions
Have a question about this project?
Thank you for sharing.
Any idea how much length of burlap was actually used to create the wreath?