


Dress Up A Dollar Store Wreath With DIY Felt Poinsettias
From December 1st to December 23rd I’ll be sharing three Christmas projects per week on my blog Color Me Thrifty, for Twelve Days of Christmas Projects.
Welcome to Day Three of Twelve Days of Christmas Projects!
So last week I was in a local dollar store looking for some inexpensive Christmas inspiration.
And even though, in my neck of the woods, there’s no such things as a true dollar store anymore, you can still find cool things to use in projects.
Like what I found.
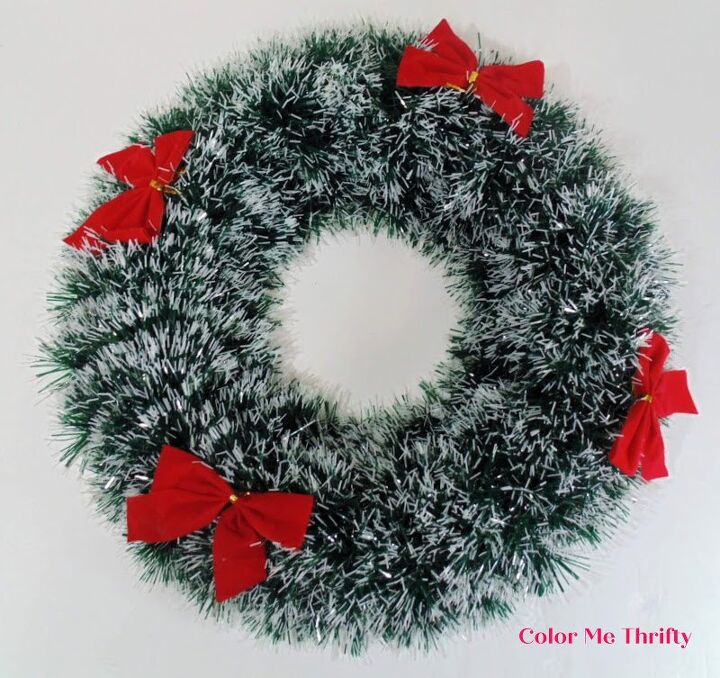
This $3 Christmas wreath with four little red bows.
I loved how the red really popped against the very faux greenery. It’s more like a garland than greenery actually, but it’s pretty none the less.
This wreath weighs almost nothing, and will be the perfect backdrop for some lovely Christmas poinsettias.
So I continued on to the craft section of the store where I came across felt, and I found sheets of red and white for $1 a piece.
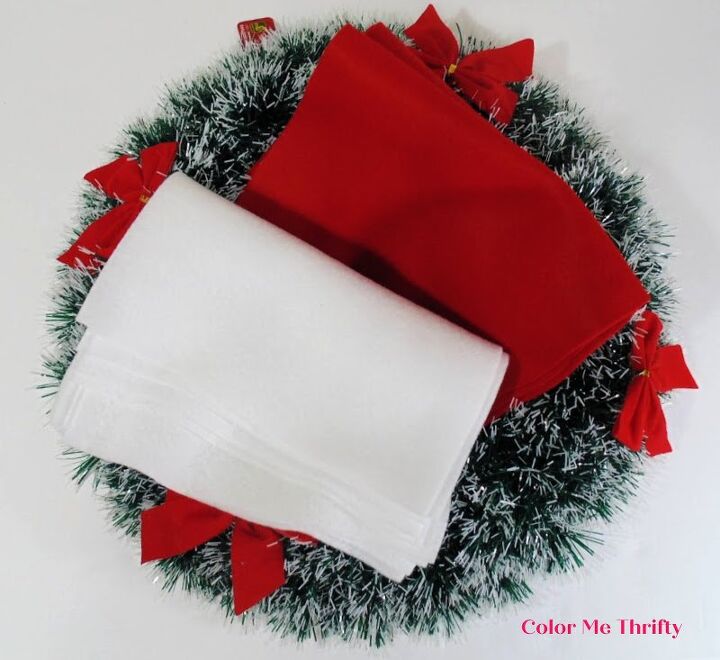
There are some things still cost just a dollar. Yay!
Not knowing how many sheets I would need I bought six of each color.
I used to make paper flowers back in the day, way before blogging, but it’s been quite awhile.
But felt flowers? Never.
But how hard could it be? I thought to myself.
Cutting petals is cutting petals, no matter what you’re cutting them out of.
So, this is where the fun starts.
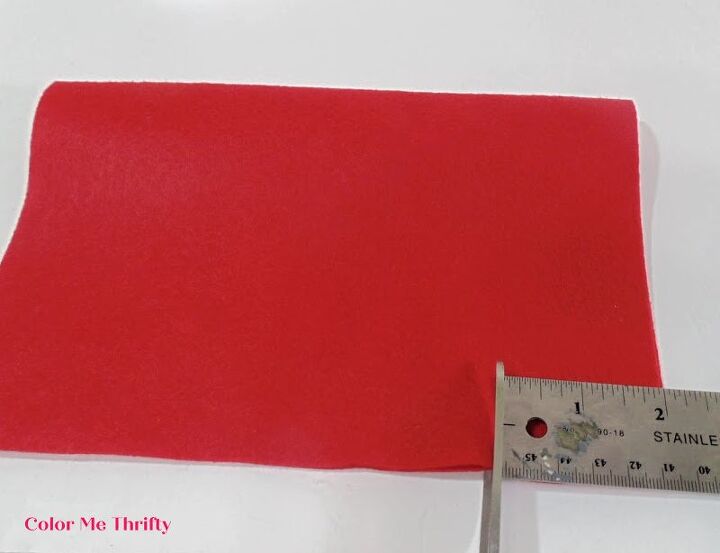
I randomly decided that my largest petals would be roughly 2 inches long.
So I folded a red sheet of felt in half and measured.
No need to draw a line, I just eyeballed and cut.
The reason you fold the felt is so you can cut two layers at the same time.
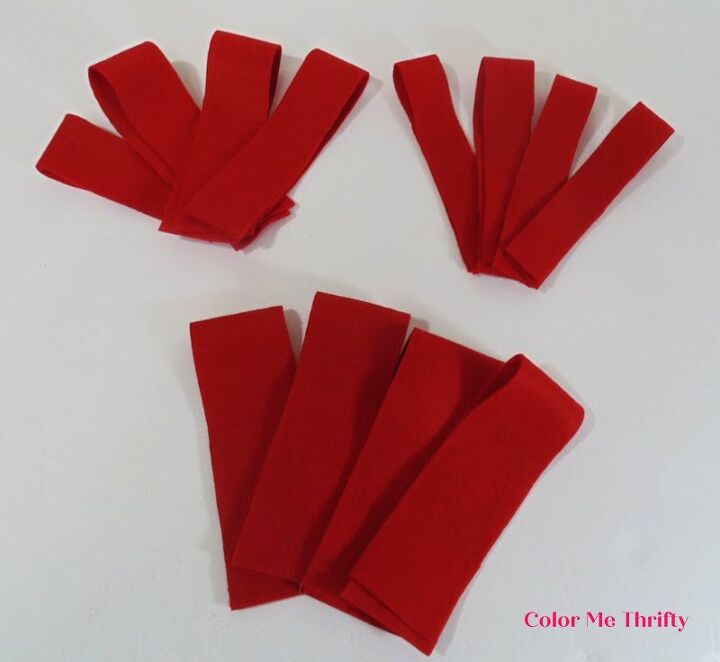
Here you can see my felt strips that I cut in three different widths; 2 inch, 1 1/2 inch, and 1 inch.
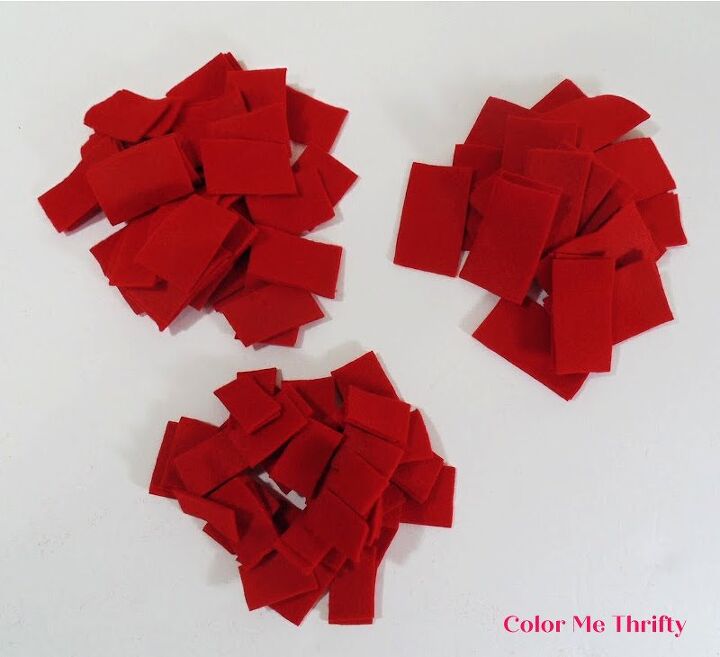
Next I cut the felt strips into lengths. These are roughly 2″x1″, 1 1/2″ by 3/4″, and 1″ by 1/2 inch. I just eyeballed everything.
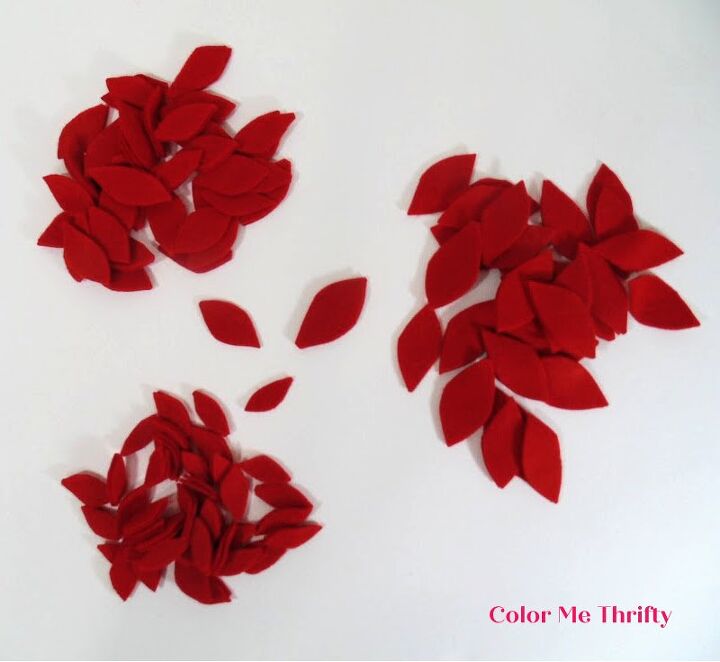
And here are my felt petals cut out of those felt pieces.
This felt is rather soft and flimsy, but it still cut very well. Even through two layers.
I did most of the cutting of my poinsettia petals while watching a Hallmark Christmas movie, so it didn’t seem to take me very long.
All I know is by the end of the movie I had a ton of red and white petals to create my poinsettias.
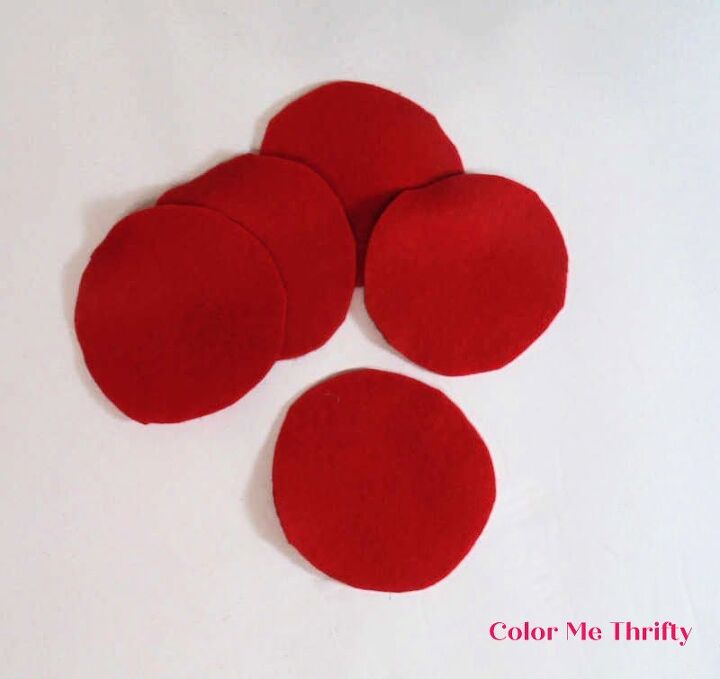
To create my felt poinsettias I needed something to attach the petals to, so cut out some 2 inch circles. I just used an air freshener container as a template.
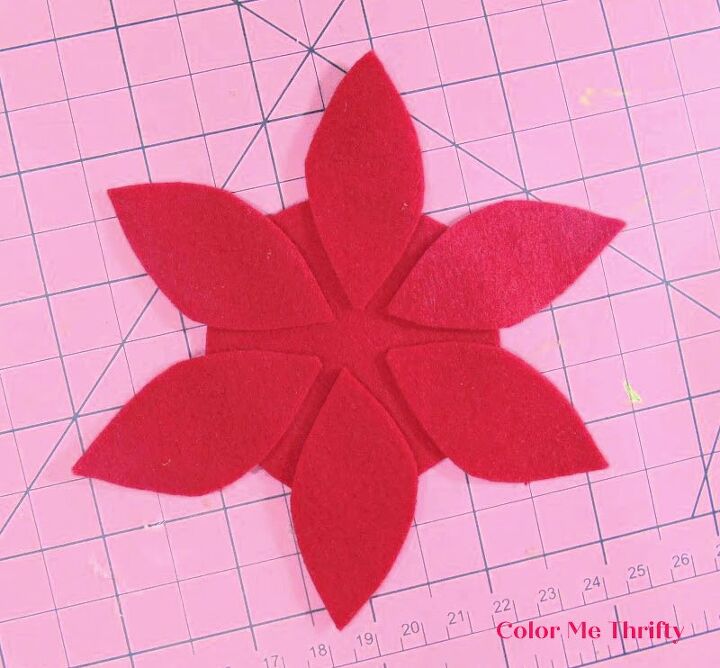
For the first layer of my poinsettias I glued down six of the large petals, trying to space them apart somewhat equally.

Then a second layer of petals was glued on to fill in the gaps.
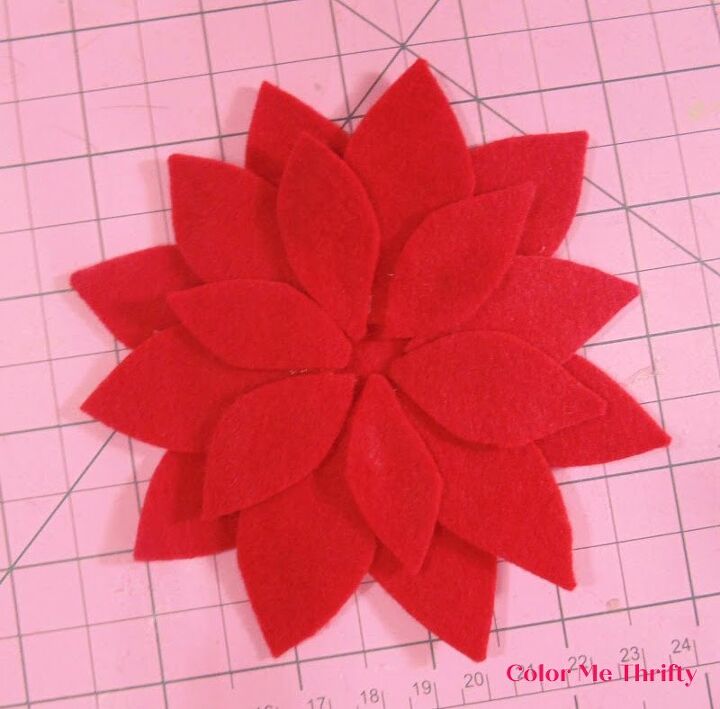
Then medium-sized petals were glued on top of those.
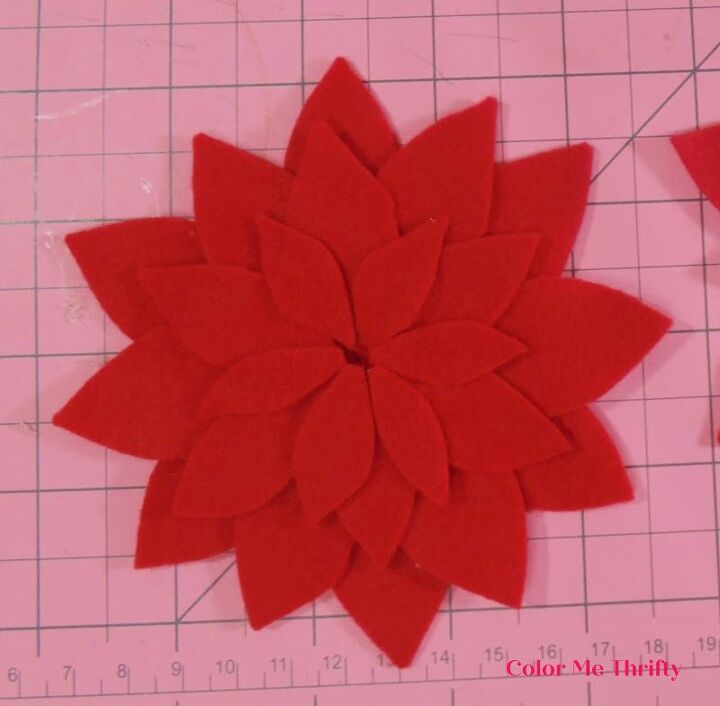
And then the smallest petals were glued on the very top.
My flowers ended up being about 4 1/2 to 5 inches across.
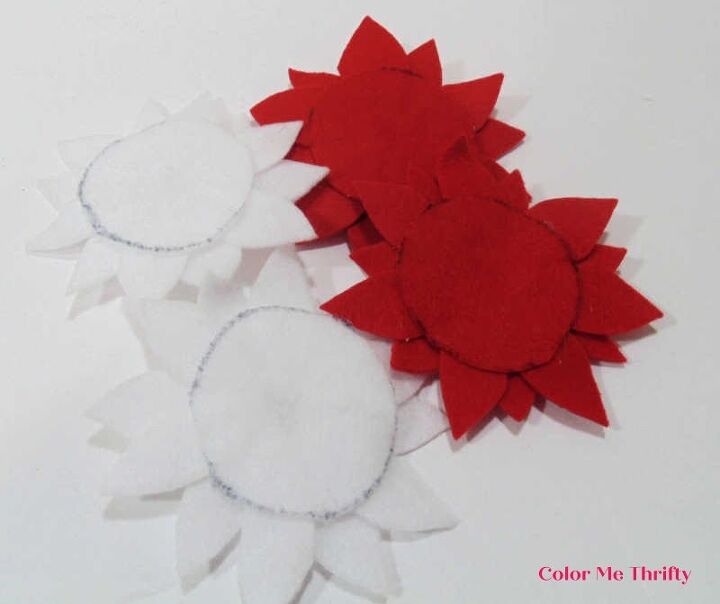
Here you can see the backs of the poinsettias.
I made five white poinsettias in exactly the same way as the red, and then I removed the red bows from the wreath.
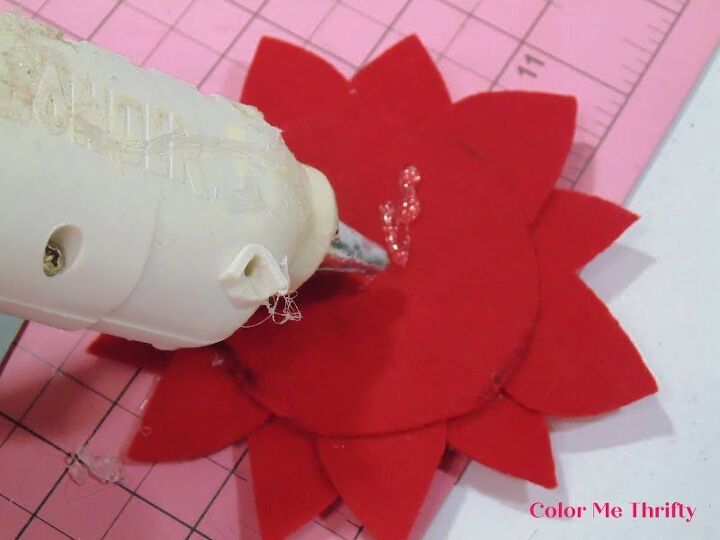
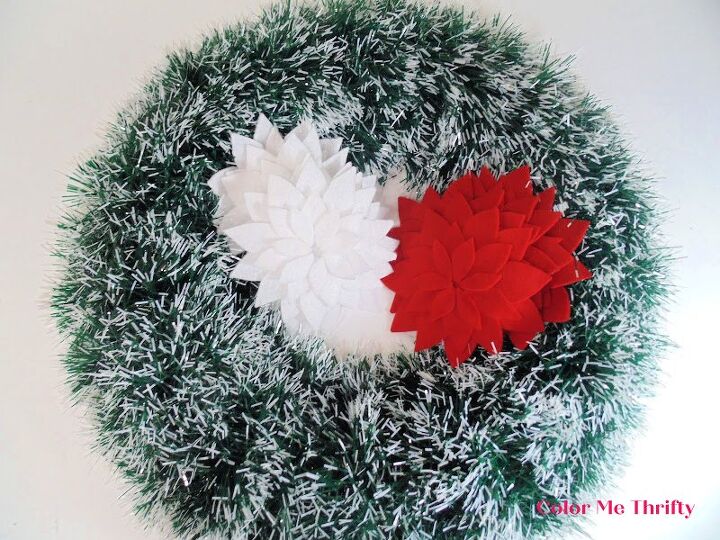
To attach the poinsettia flowers onto the wreath it just take a bit of hot glue.
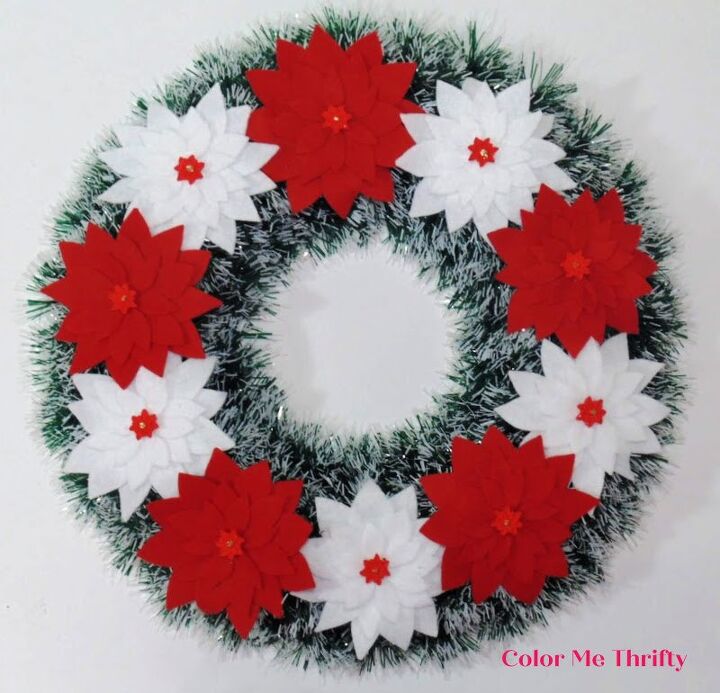
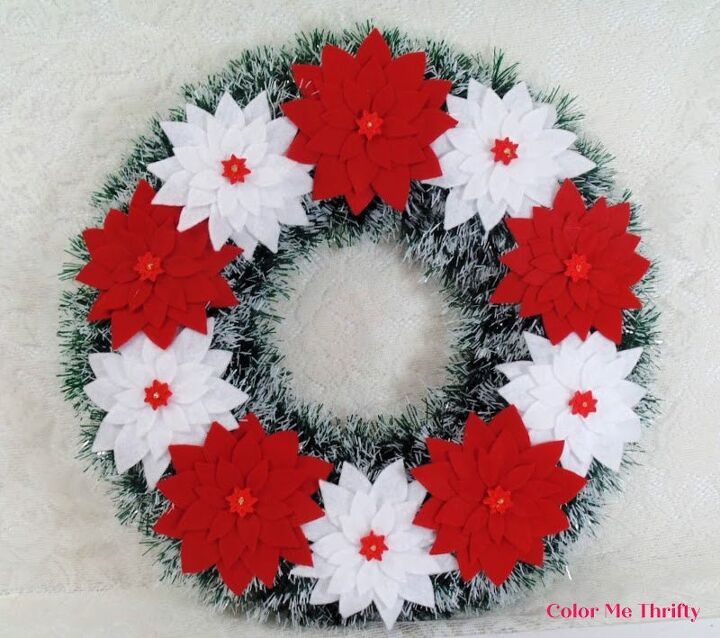
And here’s my felt poinsettia wreath, ready to be enjoyed for years to come.
As a finishing touch, I added a little poinsettia flower bead that I found at the dollar store last year, but anything that you have could be used.
I only applied glue to the middle of the backs so that the poinsettia petals can be rearranged a bit, if wanted.
Making flowers is one of my favorite things, and these easy DIY felt poinsettias were such fun to create.
It reminded me of how much I enjoy traditional flower-making, and not just repurposed flower-making.
I ended up using 3 sheets each of the red and white felt, so this project cost me $9. I’m pretty happy with that because I love how my poinsettias turned out.
And I love that a basic dollar store wreath can easily be made to look so elegant.
You can find more DIY Christmas projects on my blog here.

Comments
Join the conversation
-
I love your creativity ,simple to follow instructions and adorable wreath !


Frequently asked questions
Have a question about this project?