


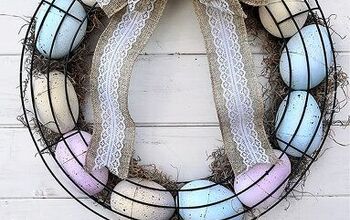
EASIEST EASTER EGG WREATH
Do you love those Easter Egg Wreaths?
I do and I am sharing how to make the easiest Easter Egg Wreath ever.
Yes, I am excited to finally have an Easter Egg Wreath. I’ve always admired them but I can’t even begin to tell you the last time I bought a ready made wreath.
Between the cost and the amount of faux flowers they typically have – I’ve never gotten one.
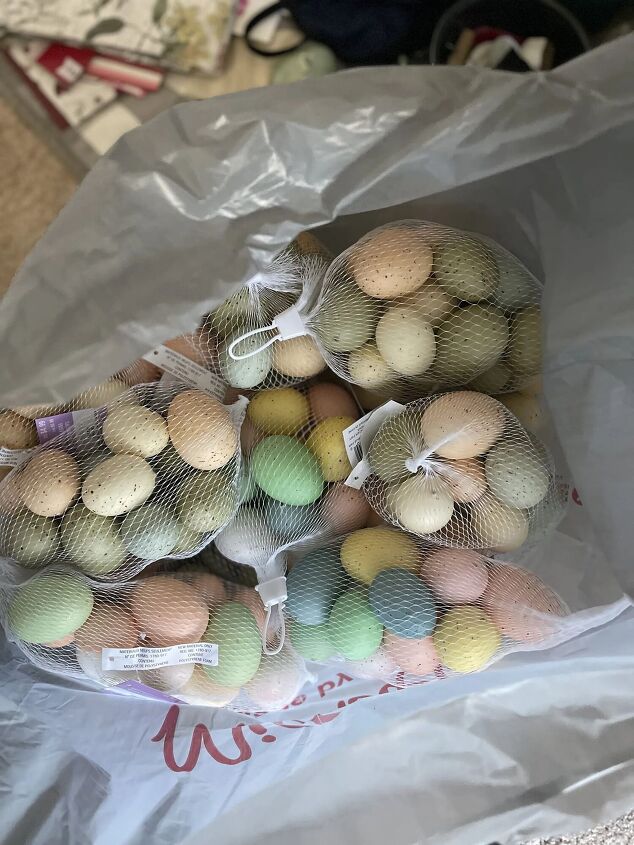
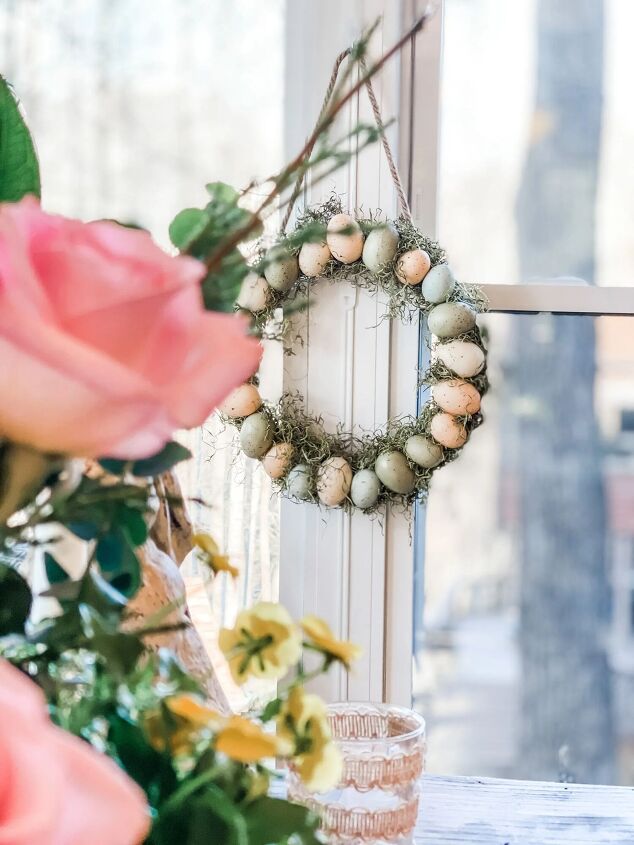
Michael’s had these eggs, the colors appealed to me and they already had flecks on them and I love that look.
They were on sale and so I scooped up 3 bags. They were $3.49 for 14 eggs.
STEPS TO CREATE THE EGG WREATH
I purchased a pressboard ring and used that as my base. I also found that at Michael’s.
After I started, I realized that I could have easily cut up a box and used corrugated cardboard instead.
The eggs were so light I didn’t need the strength of the pressboard ring. I wasn’t going to return the ring, but made a mental note to use a cardboard box for the next one.
Now it was time to begin gluing the eggs on.
I started with one and glued them down, 21 eggs fits perfectly.
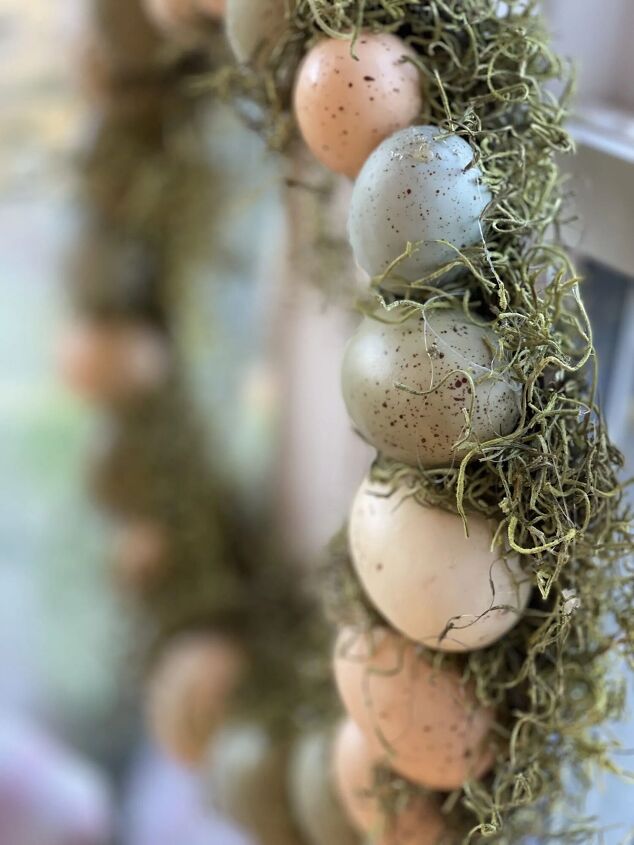
After gluing on the eggs, I took my Spanish moss and began tucking it in between the eggs and attached with more hot glue.
Next I glued more moss on the inside and outside edge to cover any visible wreath frame.
I couldn’t find the staple gun, so after cutting the twine, I hot glued that onto the back and hung!
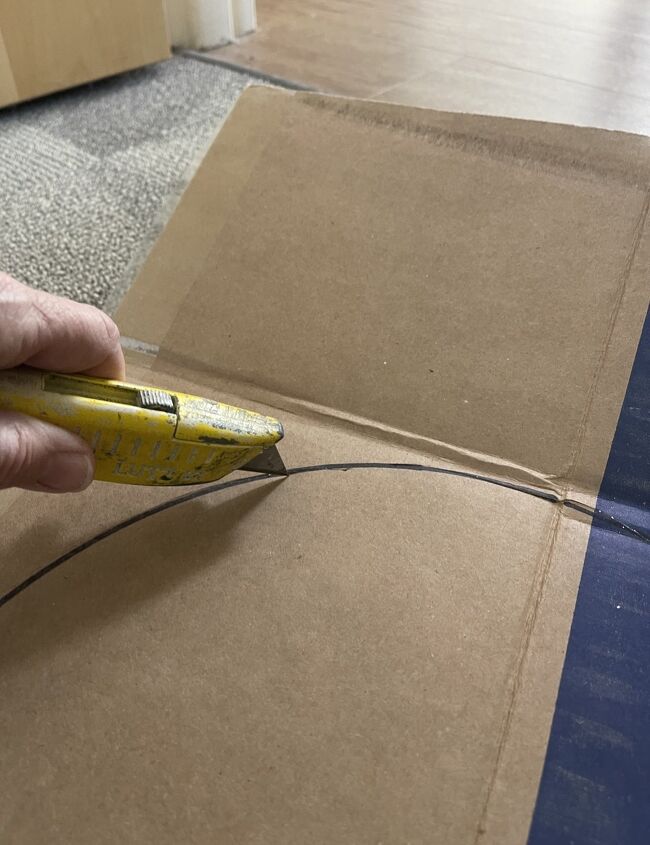
Cutting cardboard for the wreath frame.
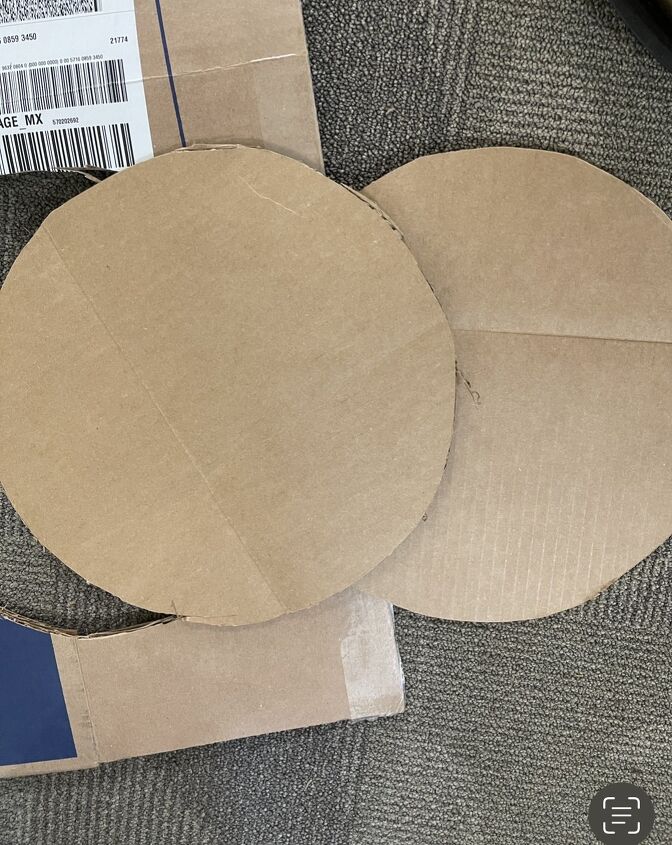
AFTER CUTTING THE CIRCLES, I CUT OUT THE CENTER
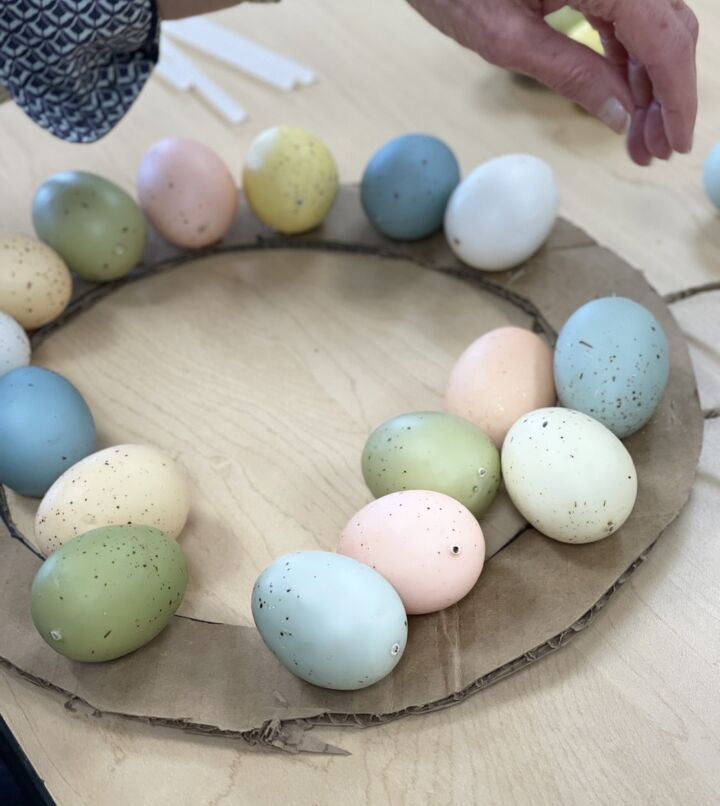
TIME TO GLUE ON EGGS WITH A GLUE GUN

NEXT TO GLUE IN THE MOSS BETWEEN THE EGGS
GLUEING ON THE EGGS
ADDING THE MOSS BETWEEN THE EGGS
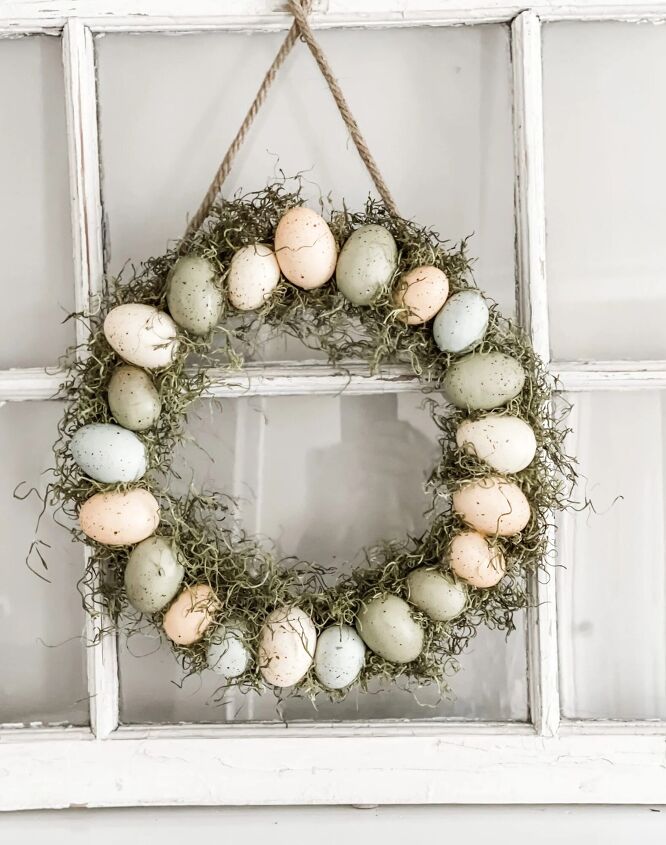
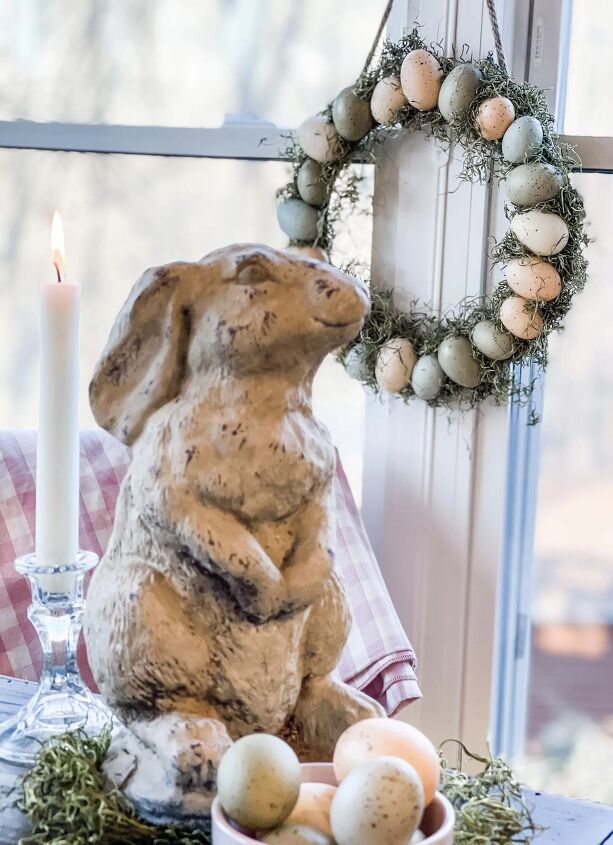
The muted colors of these eggs next to the the Spanish Moss is so pretty. The good news is it weighs barely anything.
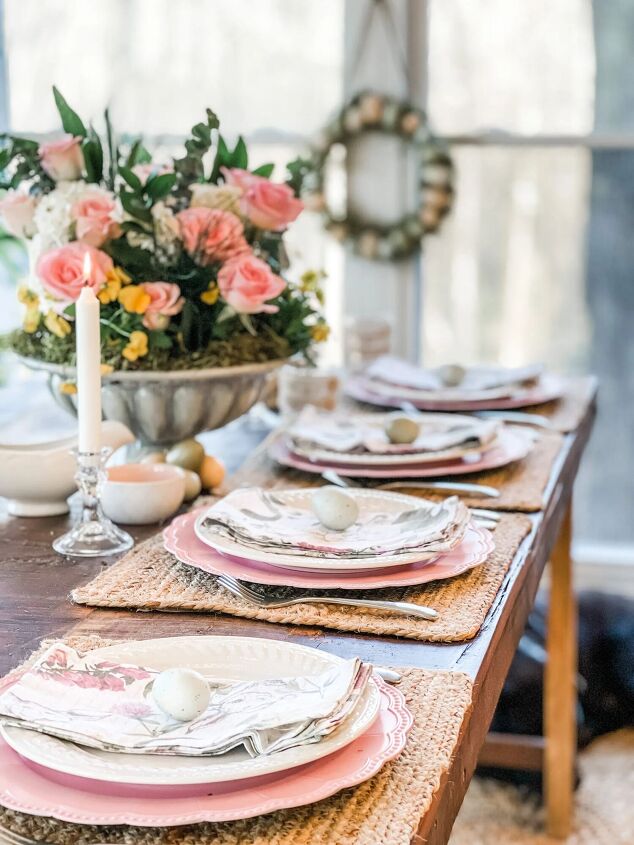
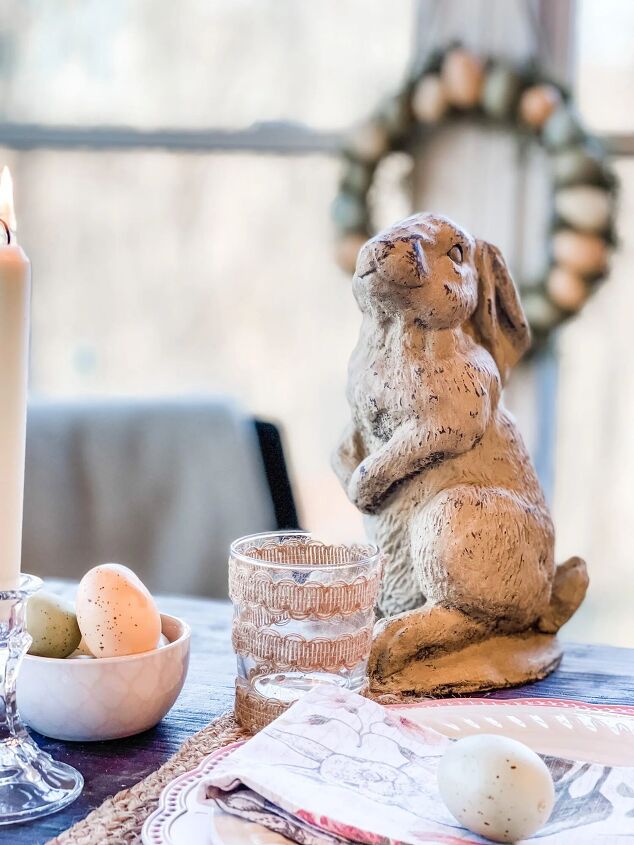
After that I made another to put in the dining area by my table, and used the extra eggs to place on top of the napkins.
SUPPLY LIST
Eggs (I used 1 1/2 bags. 14 in a bag)
Corrugated Cardboard
Pressboard Wreath Ring
Spanish Moss
Glue Gun
Glue Sticks
Twine
I hope you enjoyed some Easter inspiration. Click here and here for additional Easter Inspiration from my blog.
Maybe you don’t need decor ideas but I’ve also got some super cute ideas for gifts for guests or a host.
You can see that here.
I really appreciate you stopping by – I invite you to subscribe to the blog and receive inspiration directly to your inbox!
XO, Regina
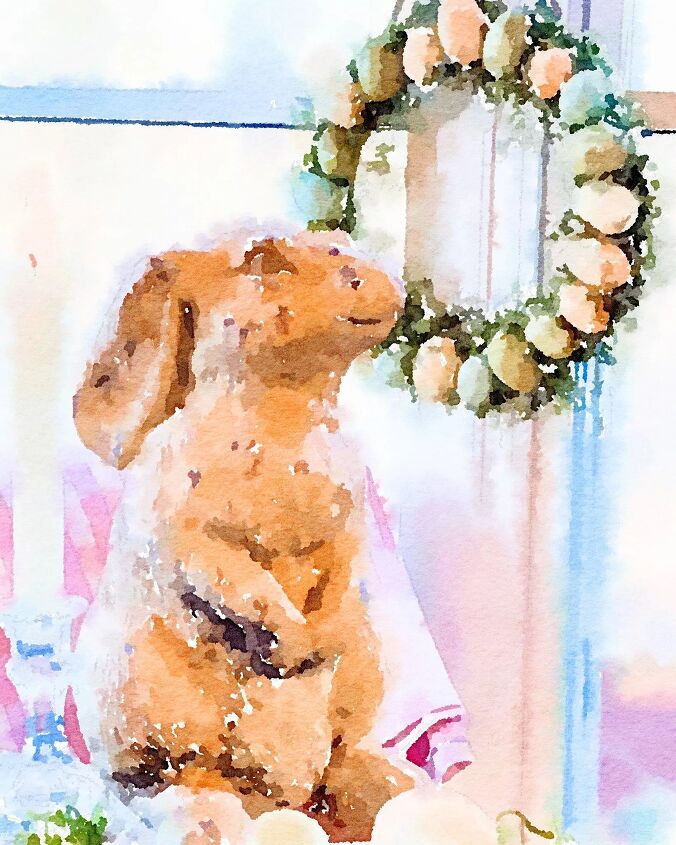
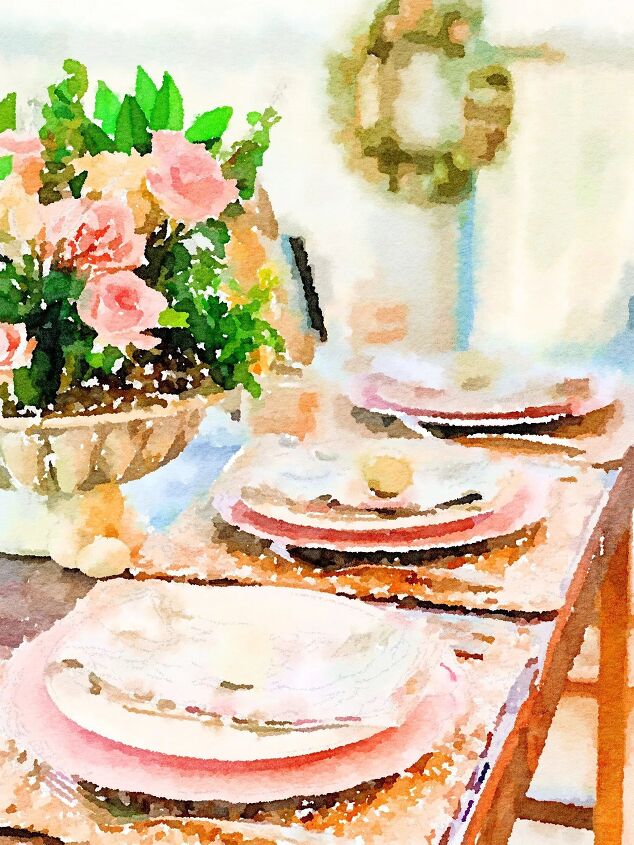
REMEMBER I’VE SHARED HOW CUTE THINGS CAN LOOK WHEN YOU PUT THEM THROUGH THE WATERLOGUE APP?
HERE ARE A FEW PICS FROM MY PROJECT AND TABLE RUN THROUGH THE APP.
SO CUTE RIGHT?


Comments
Join the conversation
-
Hello, is the wood ring you used for the wreath 12" across? I saw it in Michaels. Thanks I'm making 2 wreaths tomorrow, giving one as a gift!
-
Yes! But a cardboard box worked perfect too


Frequently asked questions
Have a question about this project?
I'd like to make this for my daughter and son-in-law. Can you please share the dimensions (inside and outside) of the cardboard circle that you cut out? Thanks.