


DIY Christmas Gnomes From Repurposed Air Freshener Containers
From December 1st to December 23rd I’m sharing three Christmas projects per week on my blog Color Me Thrifty, for Twelve Days of Christmas Projects.
Welcome to Day Four!
There’s nothing I love more than to repurpose something that would usually be thrown in the garbage or into the recycle bin without a second thought.
I think there are probably many things like that.
Things that we use everyday that, once we’re done with them, could be repurposed in fun and creative ways.
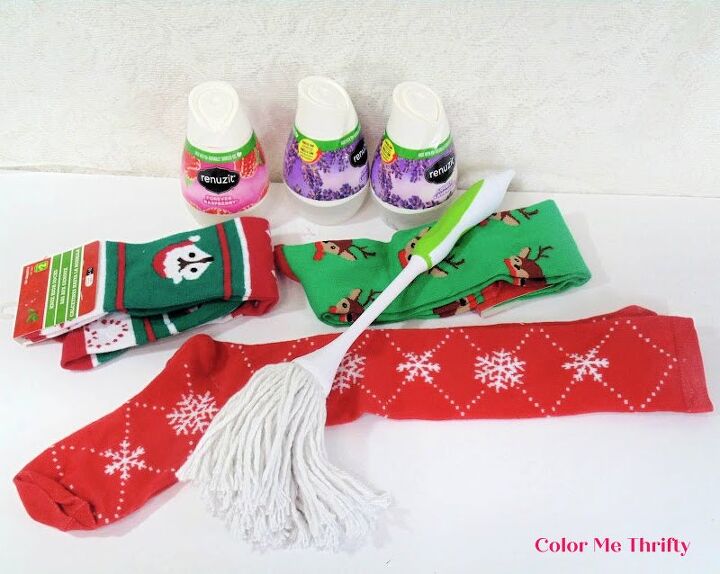
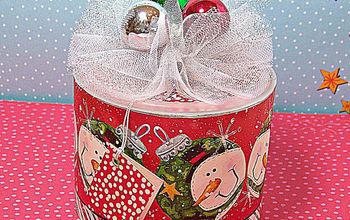
Like the air freshener containers that I’m using for this project to create some easy and fun DIY Christmas gnomes.
The other things I need for this project are some $1 knee socks, and a $2 dish mop. Both found at the dollar store.
My family is originally from Finland, and gnomes were always a part of Christmas growing up. Gnome ornaments, gnomes garlands, and gnome figures just to make a few things.
Gnomes, or Tontuu, as they’re called in Finland, are thought of as protectors of the home. To me they always meant good luck and glad tidings.
There’s something comforting about Christmas gnomes. I guess it’s because they take me back to my childhood Christmasses.
This is the first time I’ve made gnomes for myself, and I have to say it was very easy and a lot of fun.
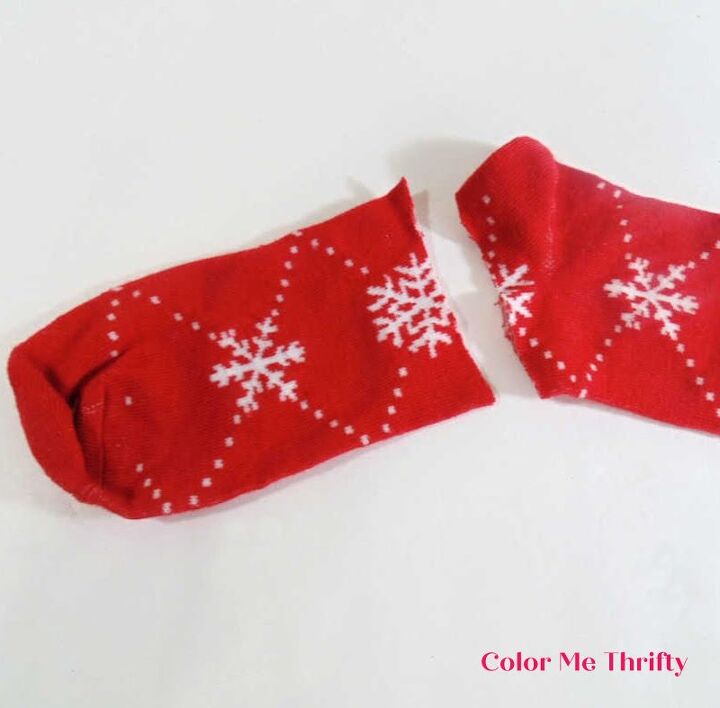
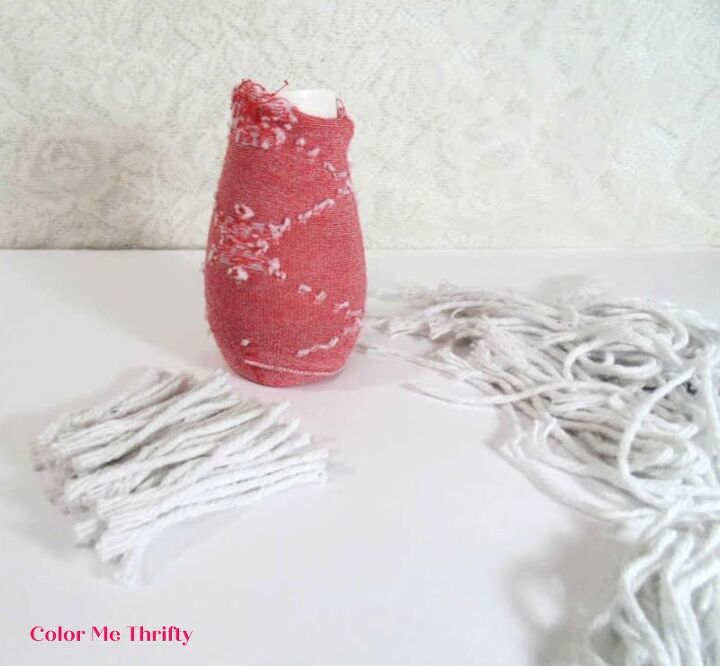
The first thing I did was cut the foot part of the knee sock before the heel. This will cover the air freshener container to create the body of the gnome.
I turned the sock inside out so it looks a little different from the rest of the sock. I just didn’t want to have to cut another sock for the body.
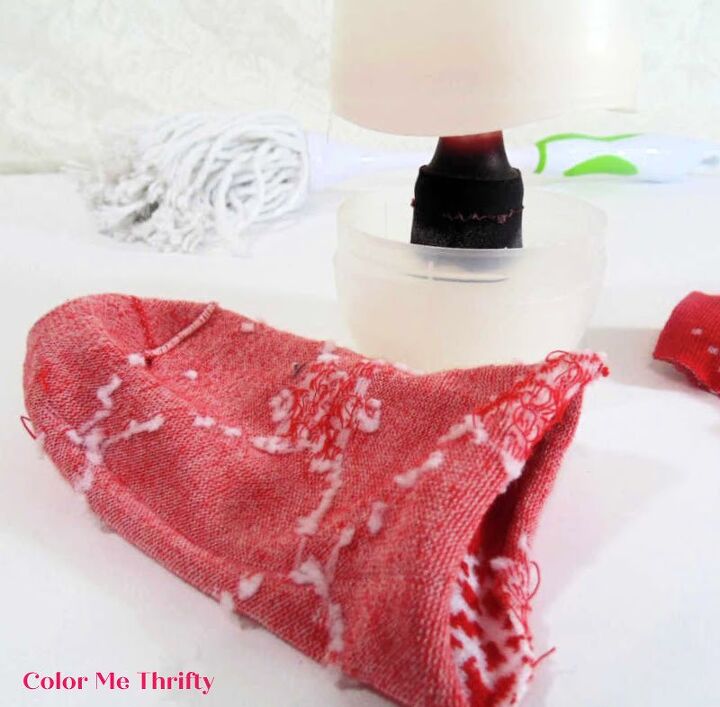
I kept the hard piece of used up air freshener in the container because it still smells like lavender.
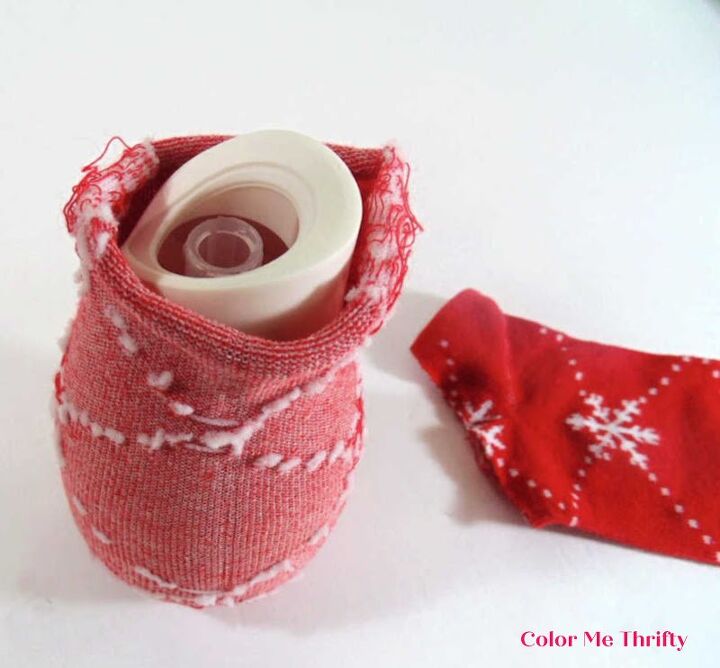
Then I just put the air freshener container into the sock. It fit perfectly.
Make sure to remove the plastic labels and close the air freshener containers. You shouldn’t have to glue them together.
I removed the top piece from the container so the lavender small can come through.
You could use a brand new air freshener with a Christmassy smell to make these gnomes also.
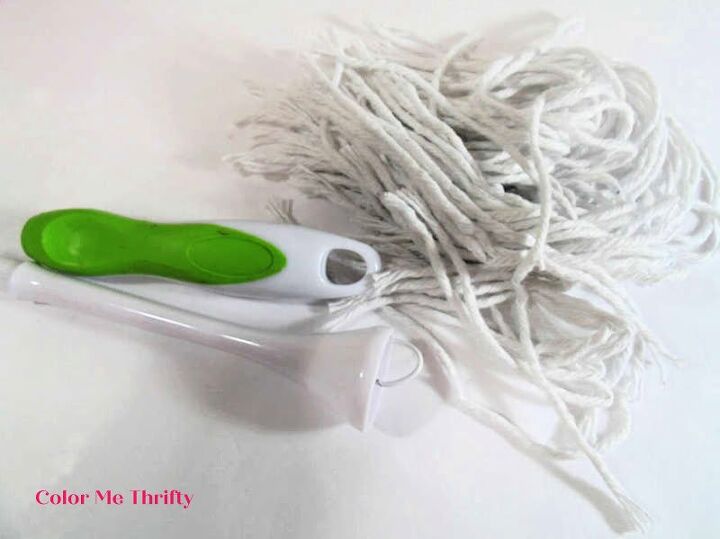
I didn’t have anything to use for a beard, so when I was shopping for the knee socks I wandered around the dollar store and I found the dish mop that you see in the first pic.
It looked like the perfect beard material to me. All I had to do to get the twine out was stick some pliers in there and twist to loosen it up a bit. Then I was just able to pull out the twine a few pieces at a time.
Then I just cut them into lengths. You don’t have to be too precise here because you can trim them once they’re glued on, but too long is definitely better than too short.
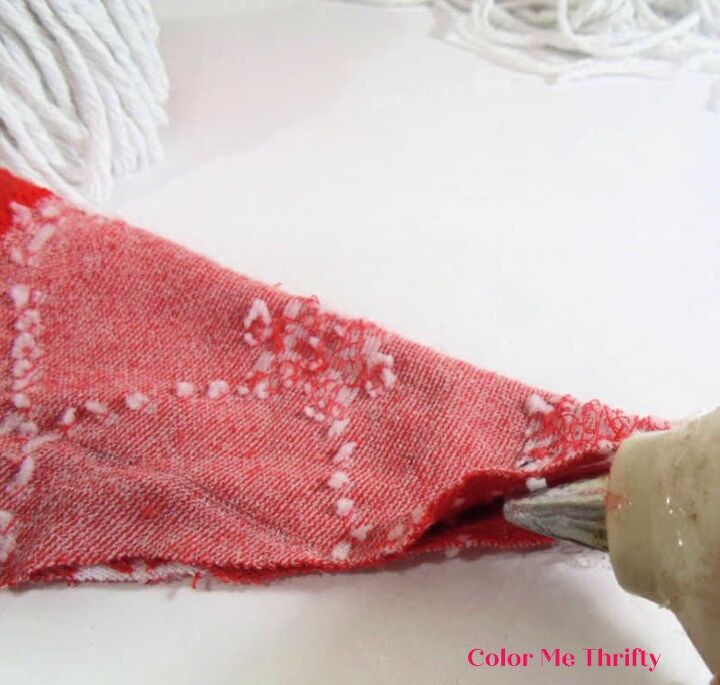
This was my first one and it was a little cumbersome with glue. I got much better with the second and third attempts.
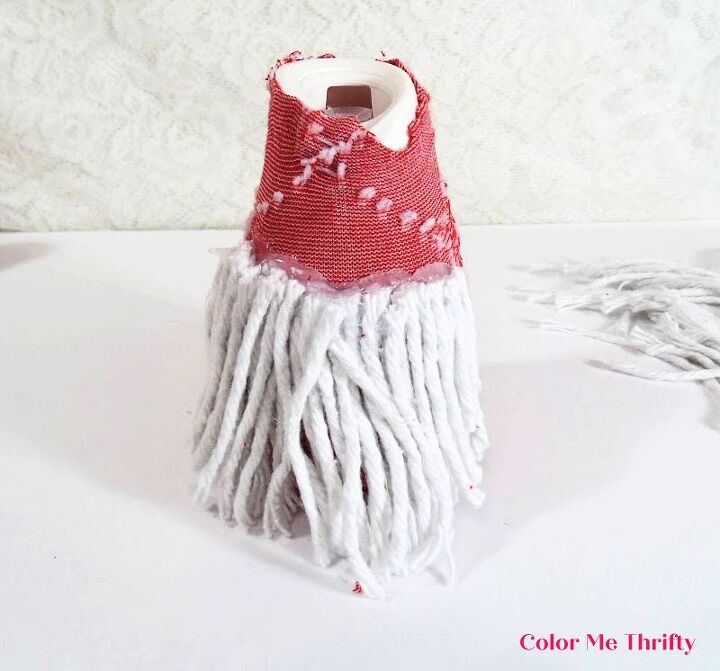
I glued the twine on in layers. Be careful about burning your finger here. You could use use a cool melt glue as well I think.
I used a popsicle stick to kind of push the twine pieces in place on the glue.
After I had my beard the way I liked it, I glued the sock onto the air freshener.
Here you can see a little better. On the right is one layer, and on the left is two.
I did three layers on each gnome.
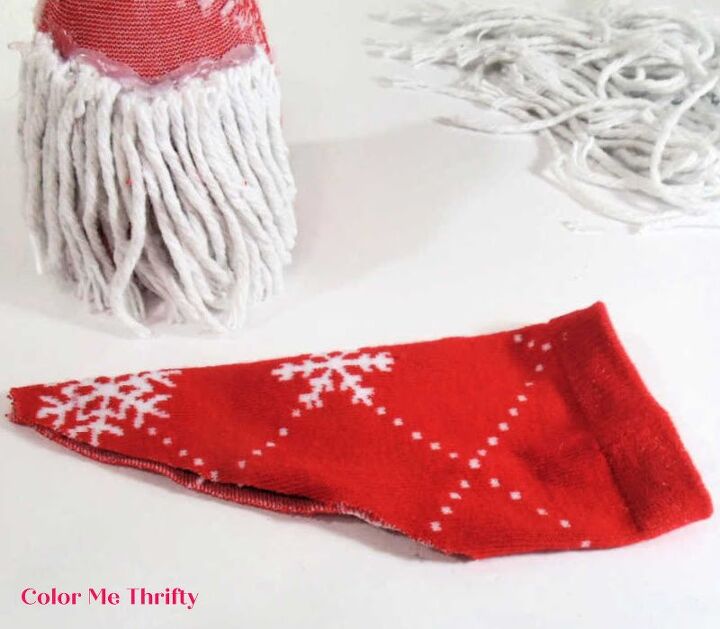
To create the hat I cut the knee sock into a conish shape in a length that I liked.
I turned it inside out and hot glued the right sides together at the seam.
You could also sew this if you like, but for me hot gluing was super quick.
Just make sure to get a consistent bead of glue along the seam.
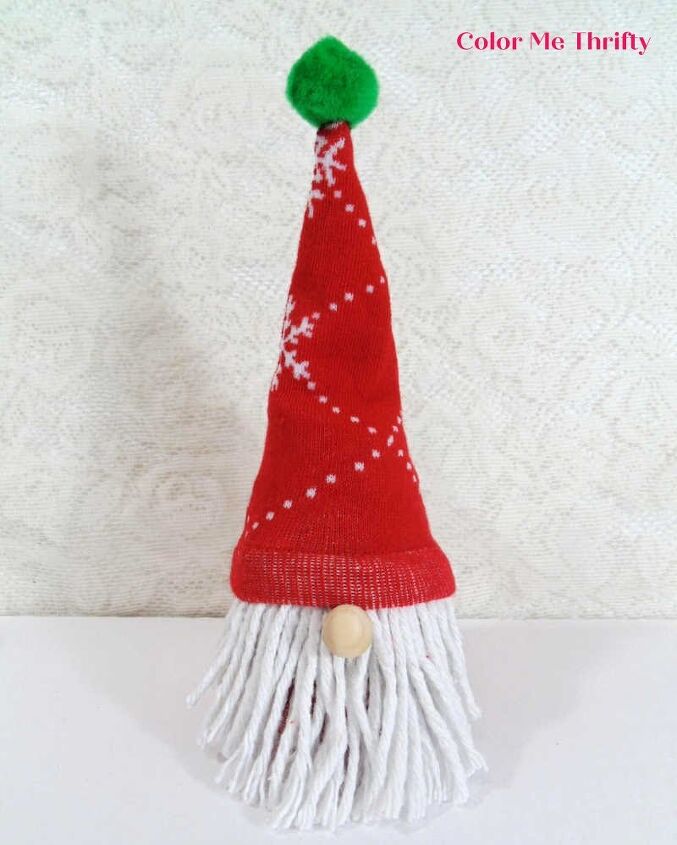
And here’s my first finished DIY Christmas gnome. He has a wooden bead for his nose, which is glued onto the beard. No matter what kind of gnome you’re making, the nose is really what makes the whole thing work.
The knee sock hat is pulled on over the top of the beard, and I added a green craft puff at the top for some fun.
Easy peasy!
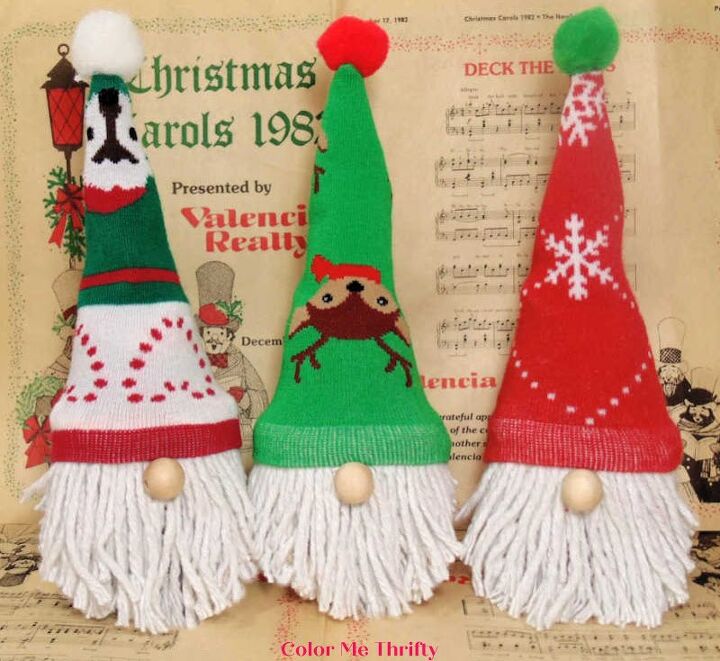
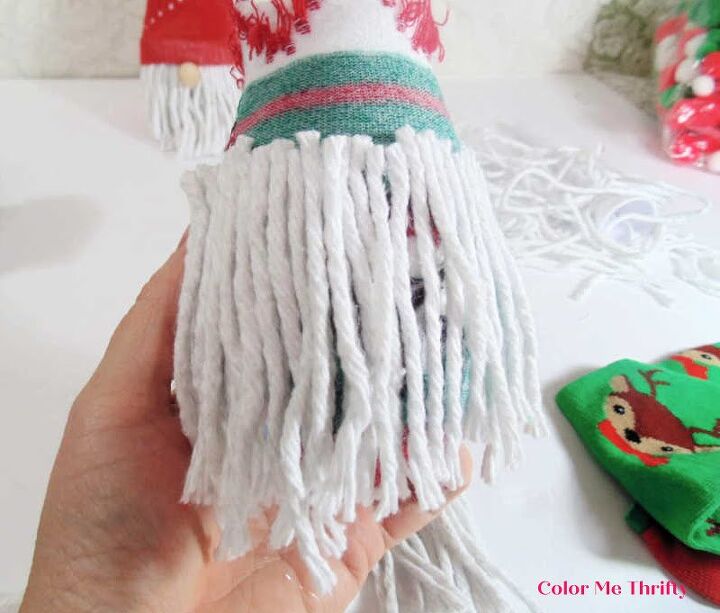
And here you see my DIY Christmas gnome with two gnome buddies.
I trimmed their beards with scissors in a way that looked good to me. This is entirely a creative judgement call.
I didn’t even notice until I was done that the reindeer that I thought was co cute on the knee sock is now upside down. lol.
Oh well. You just never know what surprises will be in store for you when you’re creating and repurposing.
And I don’t mind things being a little quirky. I embrace the quirky! 🙂
I hope my DIY Christmas gnomes, or Tontuu, have inspired you to make some for yourself.
You can find more Christmas projects on my blog here.
Resources for this project:
See all materials


Comments
Join the conversation
-
when using hot glue keep a bowl with ice cubes & a little water in it next to you - run a cube along a line of glue to make it set FAST - but use a cube on yourself if you burn yourself w hot glue! Limits the burn damage to have ice handy!
-
They are fantastic!
Very professional looking.


Frequently asked questions
Have a question about this project?
Absolutely LOVE gnomes! And there is NOTHING wrong with quirky! I too embrace the ‘quirky’ in life! Just adds spice! Did you stuff the hats with anything? I’m gonna make a few with new air fresheners…they can be a double bonus! Thanks for sharing!
I, too, want to know if you stuffed the sock-hats in order to make them stand up a little?