


Dried Floral Tree Top Bouquet

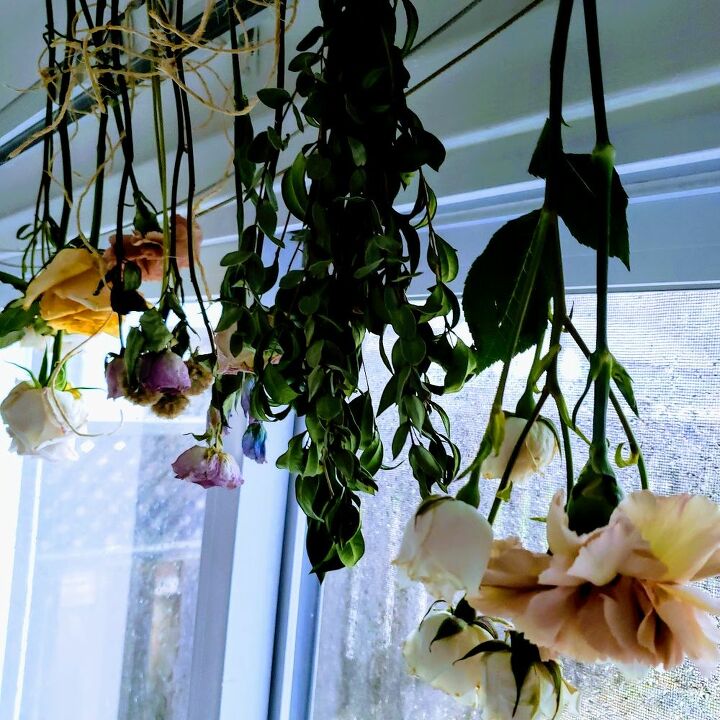
This post is a little late, as it’s close to Christmas I can’t imagine many of you have a plethora of pre-dried flowers around the house. I will take a moment to brag and say that Matt gets me flowers on the regular and it’s my favorite thing. And like most things in this house, they must have multiple lives. I started hanging them weeks ago over our back door to add a pop ofcolour. Our back door leaves much to be desired, so I it would help would help!
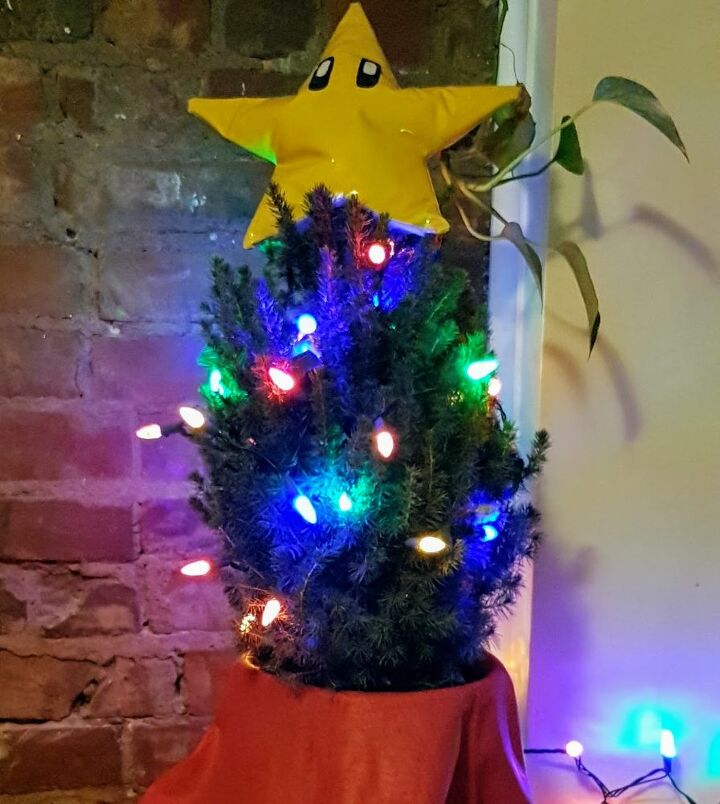
Our tree topper has always been an adorable Super Mario Brothers star kindly made from Matt’s sister-in-law. But with our evolving style and celebrating our first holiday season in our home, we decided to try something a bit different.
Things you will need for this project:
● A Christmas tree that is a bit sparse nearing the top
● String lights
● Lots of dried flowers still on the stems
● Dried greenery
● Floral twist ties
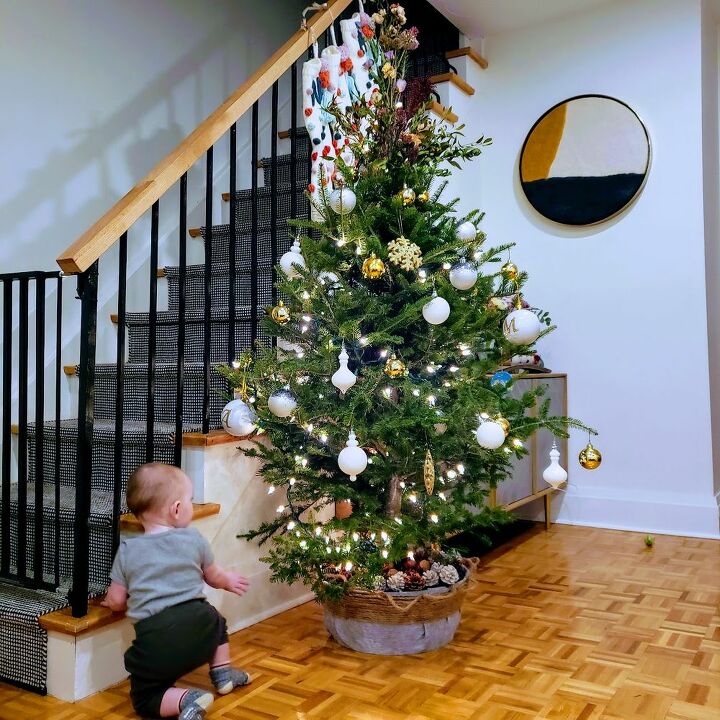
We made sure to buy a Christmas tree that was a bit bare at the top, if you can’t find one, you can always trim it down.
Firstly you will want to string your lights around the tree. Dried flowers are very fragile and will break if you try to string the lights over top of them. It also creates beautiful twinkling lights as I then began attaching the greenery I had previously dried. This was helpful to create a base and shape. You want to make sure the foliage you add still forms to the silhouette of the tree. Making sure to become more narrow as you move to the top. (trying to maintain the A-frame
shape of the tree is important for balance)they shine through the dried petals and leaves.
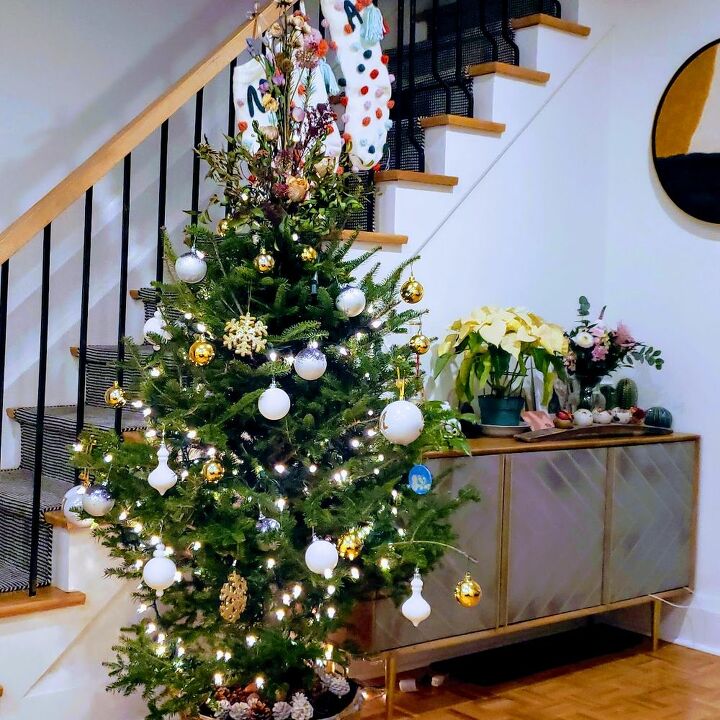
I then began attaching the greenery I had previously dried. This was helpful to create a base and shape. You want to make sure the foliage you add still forms to the silhouette of the tree. Making sure to become more narrow as you move to the top. (trying to maintain the A-frame shape of the tree is important for balance)
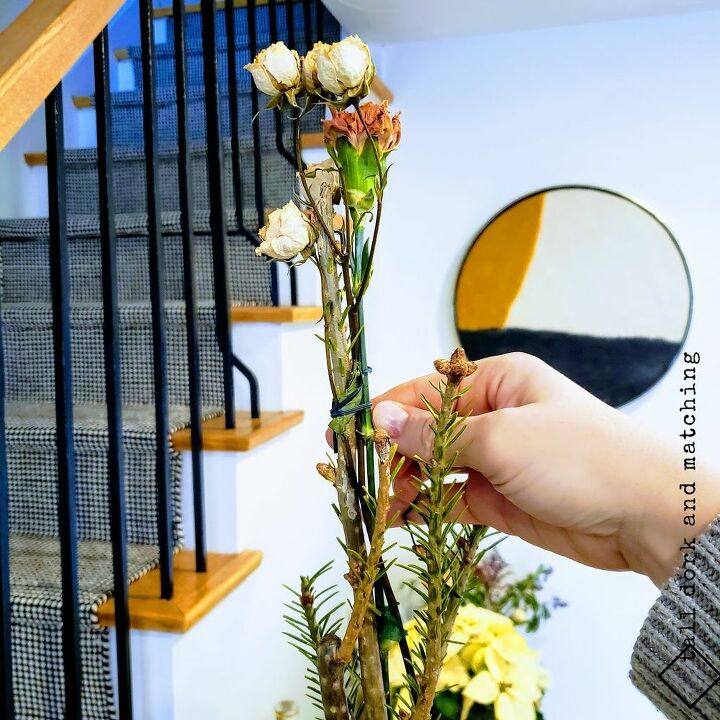
To attach, simply tie a floral (green or brown) twist tie around the stem of the greenery and the trunk of the tree. I started at the very top of the tree, adding more volume as I worked my way down to connect it with the tree’s own branches.
Once I had a perfect silhouette using the greenery, I began adding the dried flowers. Some I slipped in existing twist ties and some I added a new one. This part you will want to add a few at a time and then step back and have a look. This will allow you to really see where additional florals need to be added so you don’t end up with a patchy top.
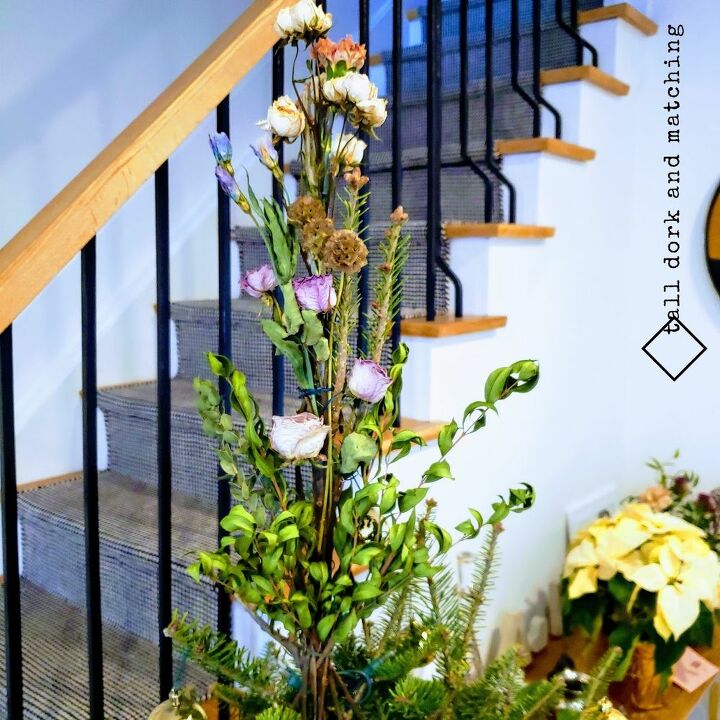

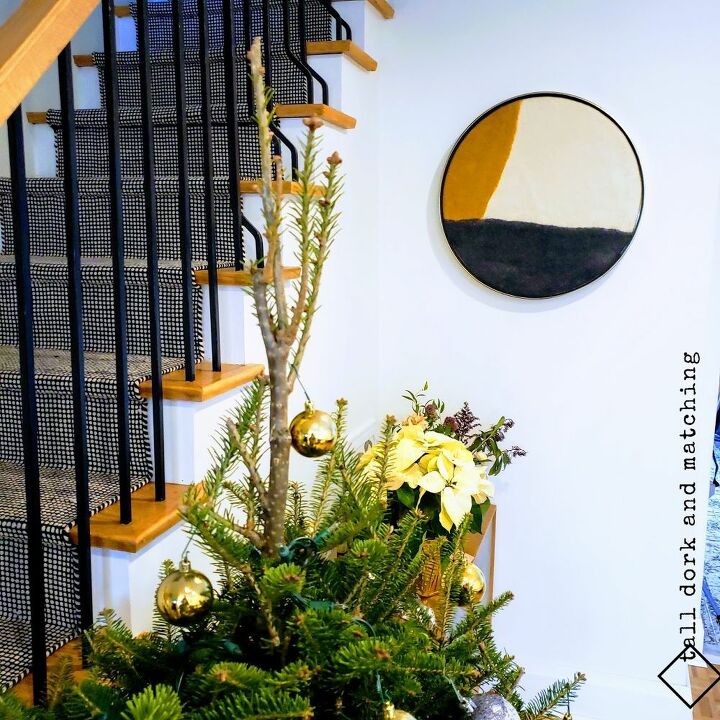
Easy peasy! I love how the lights twinkle through the petals and add a warm glow of pinks and purples to our tree.
pop over to our blog to see how we made the tree basket!
check out Tall Dork and Matching for more inspiration
Resources for this project:
See all materials


Comments
Join the conversation
-
Love it, and love your little helper! 💙
-
Gorgeous! Looks fabulous!


Frequently asked questions
Have a question about this project?