


How to Paint a Two Sided Vertical Sign

First today I'm going to show you how to create a sign I made a while back for the Fall. Then last year when I took down the Fall decor and got ready to put up the Christmas decorations... I had a great idea.
You may be wondering why I'm going to talk about Christmas today...
First you're going to want to create the original vertical Fall sign I painted a couple of years ago.
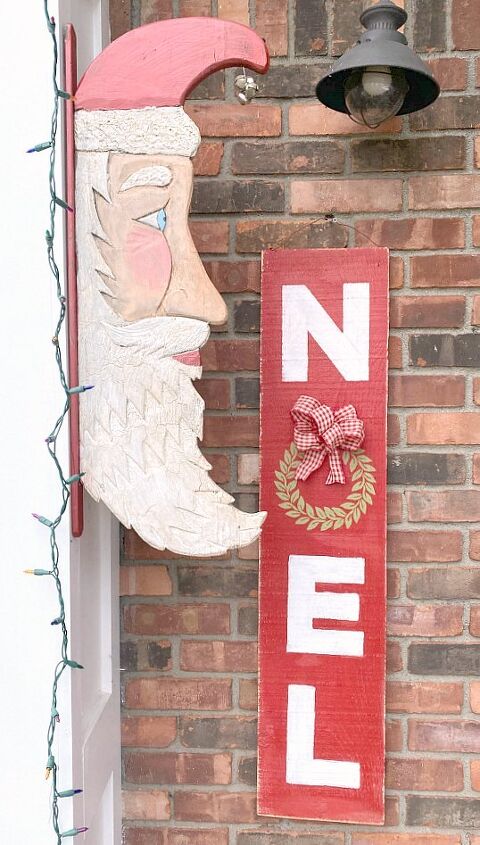
Then, instead of putting the sign away at the end of the season, you can flip it around and use the other side for a Christmas sign!
It can hang in the same place on the outside of the house where the Fall sign was but now it will have a Christmas message.
Great idea, right?
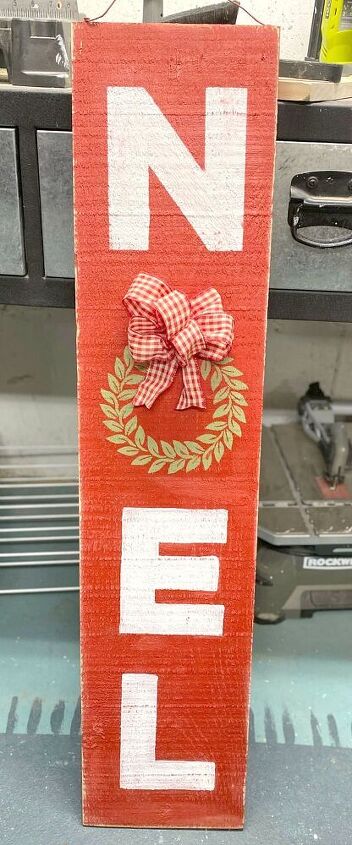
First, I painted the back of the sign in Fort York Red Fusion Mineral Paint.
It's a beautiful bright red color that covers in one coat.
It was perfect for what I had in mind for this sign.
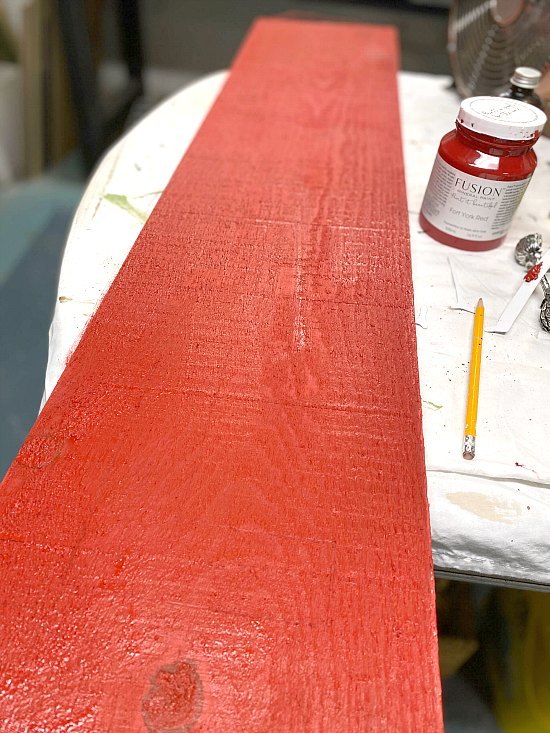
This board was originally a piece of rough hewn vintage siding so it had a great rough texture that works well for a rustic look.
You would never know that being a piece of siding it was thicker on one side of the sign than the other.
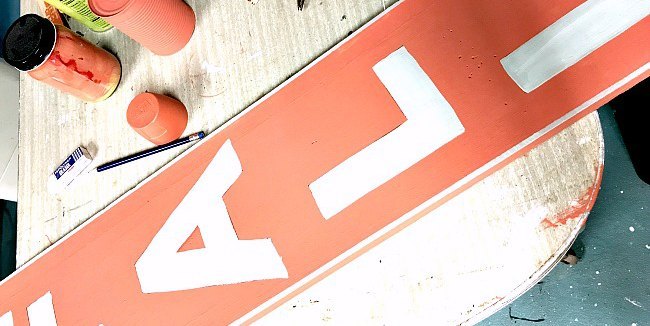
I used a set of cardboard stencils from Amazon for this project and a foam pouncer.
First, I spaced the letters to fit the board.

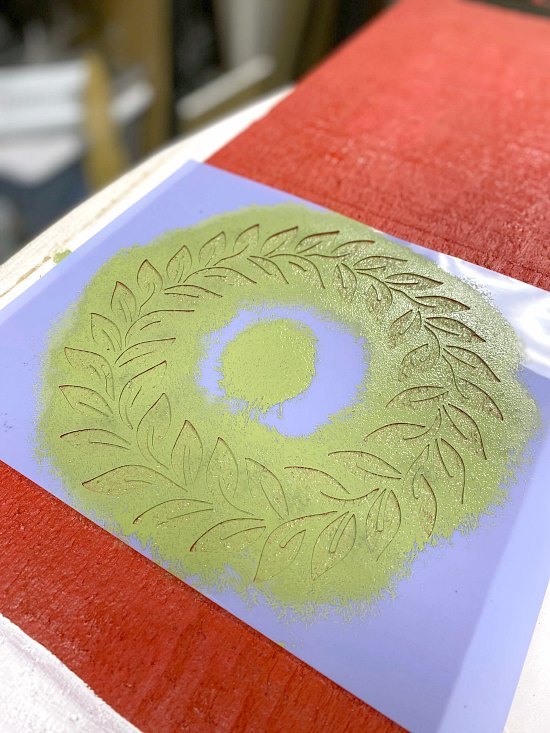
Before I stenciled the letters in white, I sprayed the red with a matte sealer so the red paint wouldn't bleed through the white letters.
This extra step worked great!

I used only one coat of white paint on the letters because I want to sand the board when it was finished to let the rough wood show through.
I left off the "O" in NOEL because I wanted to stencil a wreath in its place.
I used a beautiful green color by DecoArt for the wreath.
The next step was to sand the whole sign with an electric sander.
I gave the whole sign a quick once over then concentrated the sander on the edges of the wood to get a distressed look.
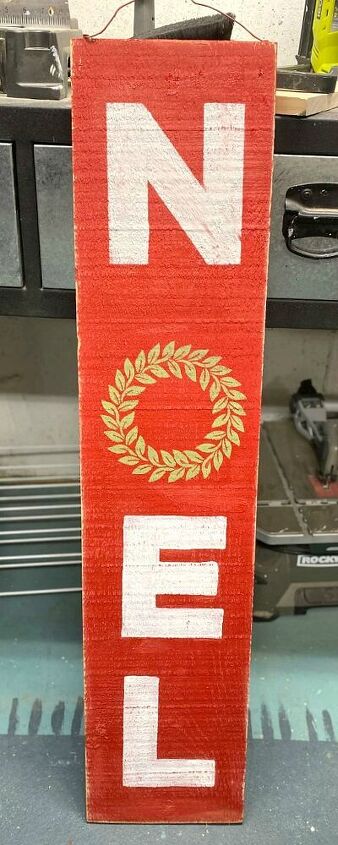
I think I like this side of the Christmas sign even better than the Fall on the other side!
Next, I made a bow from a red gingham wired ribbon and attached it to the sign with a push pin.
Now its ready to hang back outside for the Christmas holidays!
No need to store the Fall sign away this year!
You can read all about this fun Santa makeover on Homeroad.net too.
I made another vertical NOEL sign that is heavily distressed and beautiful, you'll want to take a look on my website.
Please visit the Homeroad Amazon shop for gift suggestions and craft ideas I recommend.
Thanks for visiting and please take a moment visit the GO BOX below to sign up for the Homeroad emails so I can send my next DIY straight to you!


Frequently asked questions
Have a question about this project?
What size letters