


How To "Stain" Wood With Cheap Acrylic Paint and a Baby Wipe
Here's an easy way to achieve a stained wood look on your wood sign projects. All you need are some baby wipes and some cheap acrylic paint. Yes, that's right! I said baby wipes! Let's learn how to stain wood with a few simple materials.
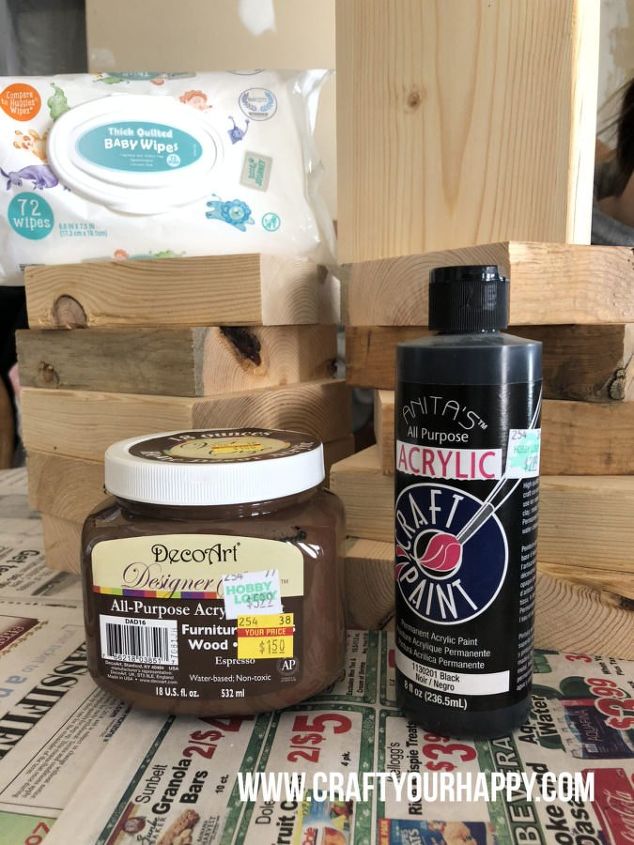
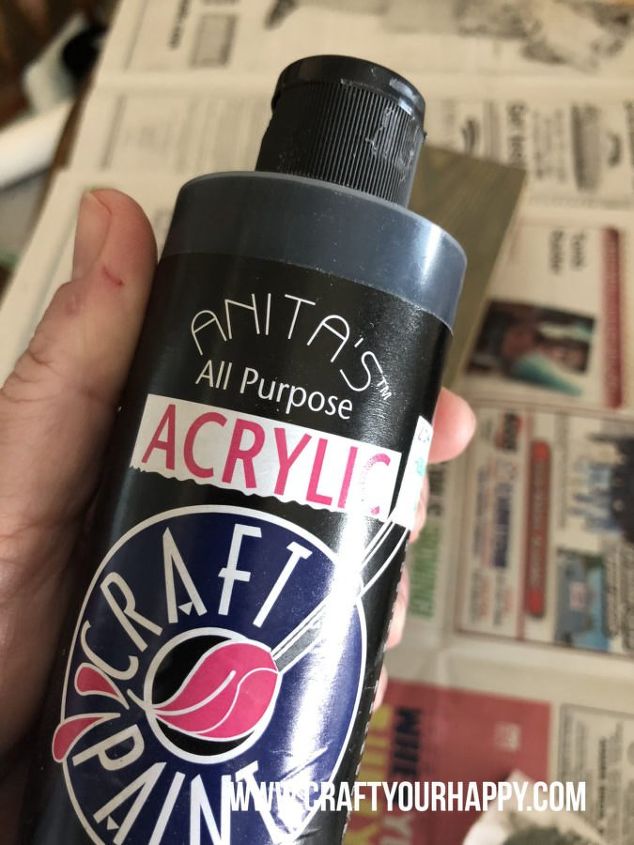
My friend texted me while I was sitting at my daughter's softball tournament and said she needed an engagement sign done by the next morning. I knew I would have limited time because of the tournament. I had read on different signmaking Facebook groups about people using the "Baby Wipe Method" to quickly get that stained look on their wood signs. I decided this sign was the perfect candidate for the "Baby Wipe Method" since I was short on time. For this project, I used two different colors of acrylic paint, espresso brown and black.
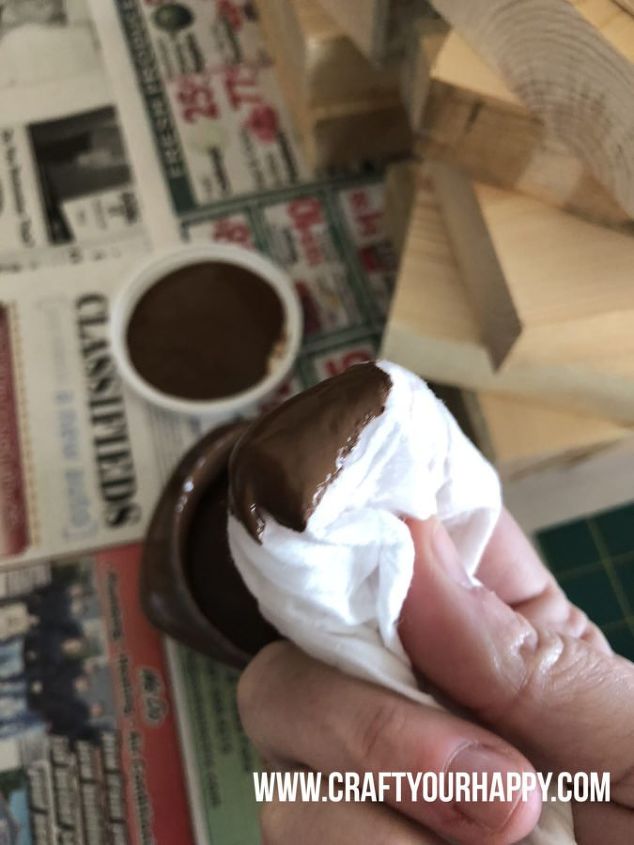
I dipped my baby wipe into the lid of the paint jar and put a dab of paint on it.
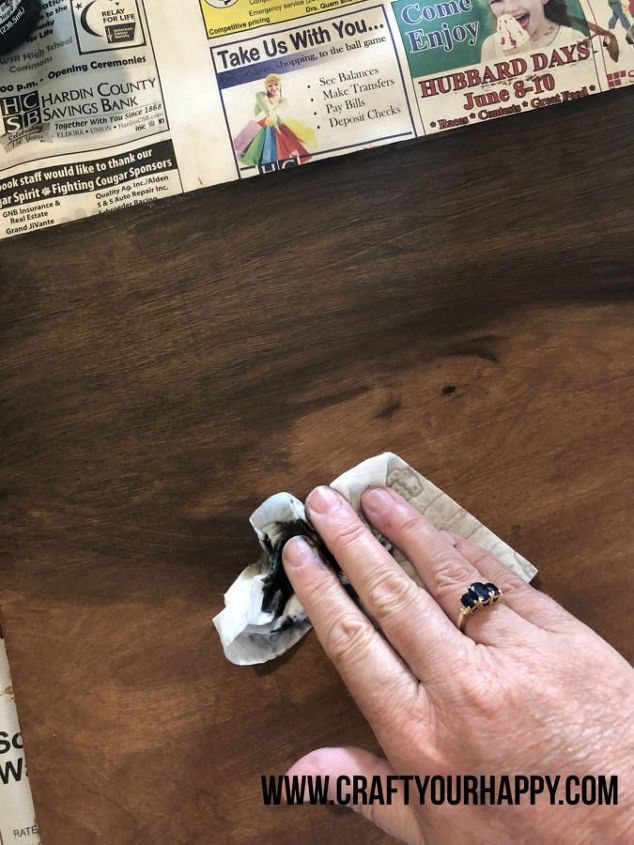
I began wiping the baby wipe onto my piece of wood. The wood I used was 12x18 - 1/4 inch piece of luan. My hands did get messy and I could have worn latex gloves. I chose not to since it's just acrylic paint and it comes off with soap and water. I kept dipping the baby wipe into the paint as needed (just as you would if you were actually staining or painting the wood). I used a couple of baby wipes since I felt like the first one was drying out.
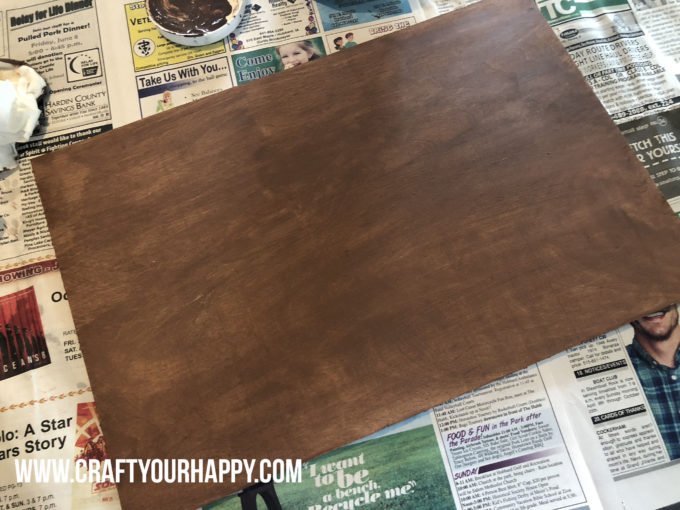
When I was finished with one coat, this is what it looked like. It was a good espresso brown color, but wasn't as deep of a color as I was hoping for.
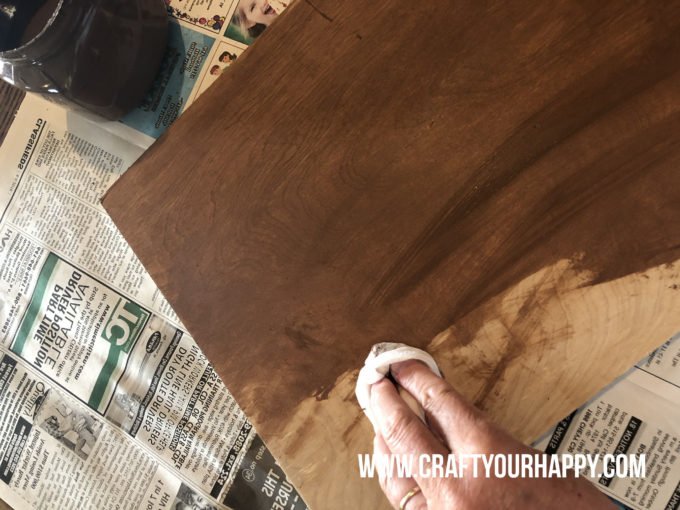
Since the color wasn't as deep as I was hoping for, I decided to try to blend a little bit of black into the brown.
I could tell right away, the black paint was going to give me the deeper espresso brown color I was hoping to achieve.
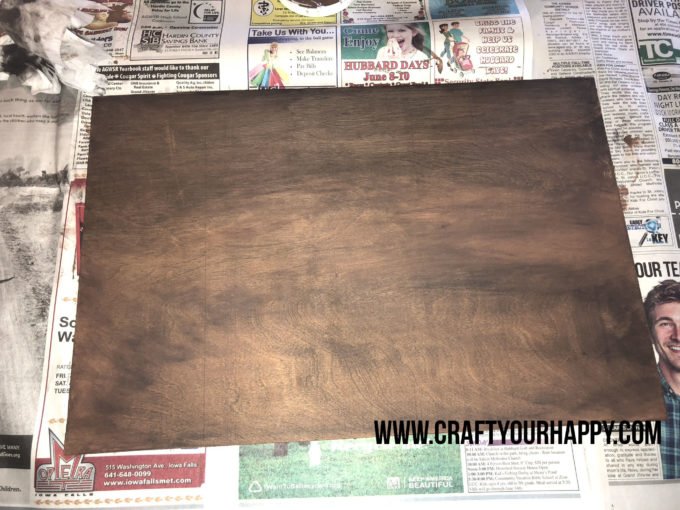
This is what I ended up with! Perfection!
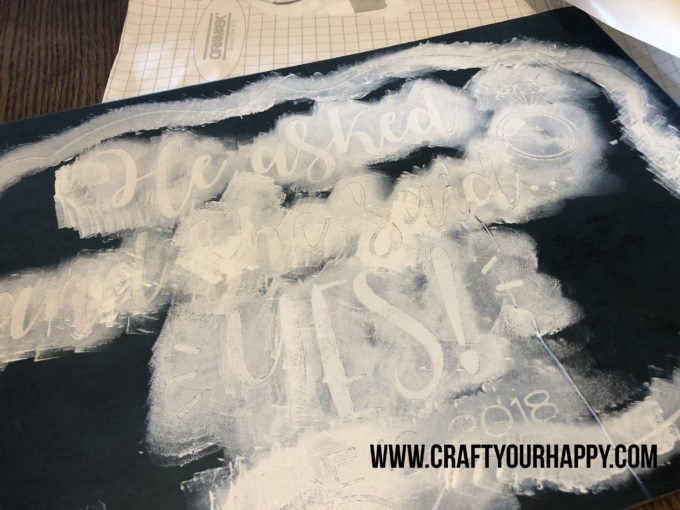
After I applied my stencil vinyl (I use Oramask 813), I painted the letters
white. I almost always use chalk paint when lettering my signs.
Don't know how to make signs? No problem! I have a sign making tutorial on my blog on this post.

After I removed the stencil, this was my finished sign! I was very pleased with how it turned out! I have since gone on to use this same technique on several different signs. It's a great way to get the stained look of wood quickly and without the mess (or the stinky smell) of stain.
If you'd like the SVG cut file I used for this project, it's available free on my blog. Obviously, the one I'm giving away doesn't have the date on it, but there is a place for you to put your own date.
To get the free SVG cut file, visit the blog HERE.
Craft Your Happy


Frequently asked questions
Have a question about this project?