


How to Repair Your Christmas Decorations
Christmas is behind us.
We’ve clinked the sparkly.
We’ve declared our intentions for the new year.
And now? Now it's time to pack away the Holly Jolly -- but only in good condition.
Including ALL Red Berries!
Here’s how to repair Christmas decorations, quickly & easily. Get more seasons of joy out of all those red berries.
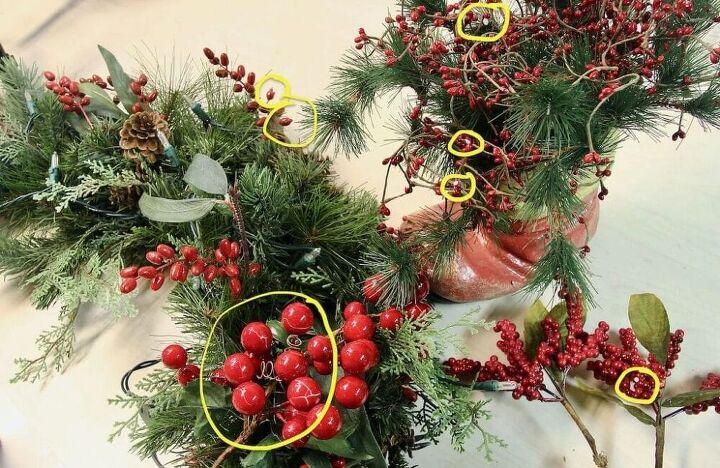
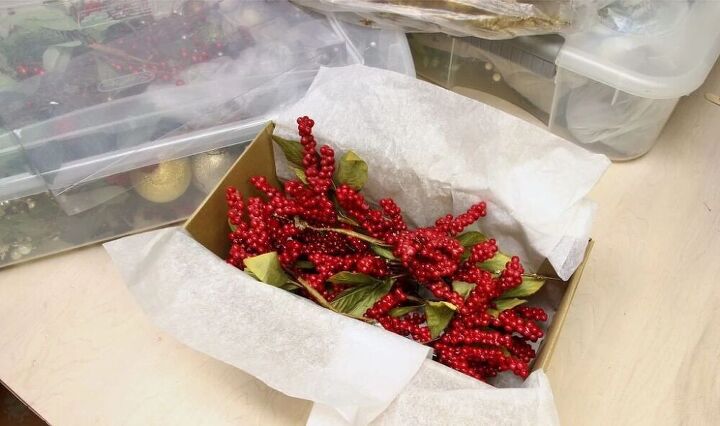
I've gathered all the red berries!!! Loose stems and in arrangments.
Including the swag over the front door. Those berries were so realistic, I think they even fooled some birds, (but how smart are these birds when they insist on nesting where we come in and out all day long).
The same basic technique is used on all four different varieties of berries. The large glossy berries (center, bottom) are the trickiest so they are featured in this video followed by the technique I used on the other three berry styles.
But if you prefer to scan a pictorial instead, let’s start with those two stems in the bottom right corner. Again, the same technique is used on the berries except the large glossy round ones.
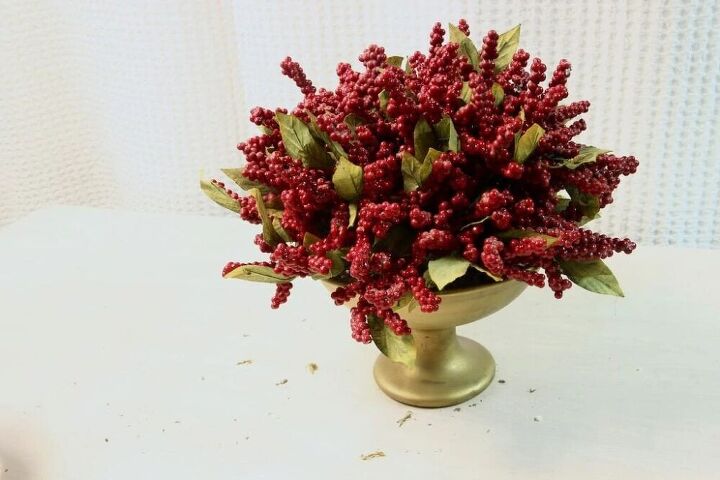
This is how they came to me. Very dusty, and I thought faded. But the bowl was $2 at a neighbors garage sale. That many red berries for $2!!! Score!
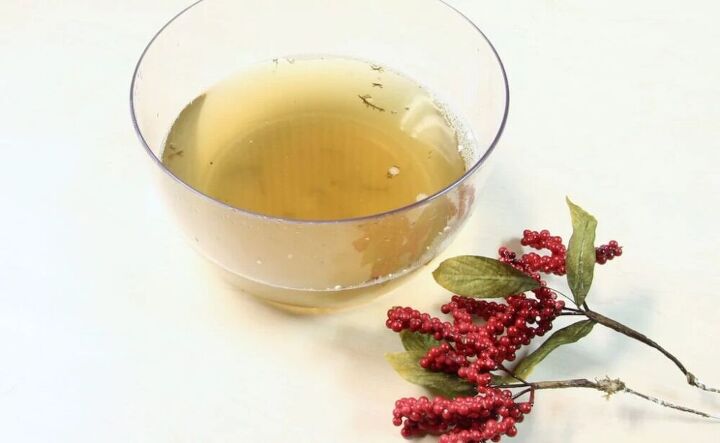
That bowl was full of clear, clean warm water! This picture is from about halfway through the 42 stems that came in the arrangement. I simply pulled them out one at a time and swished them several good times in the water and then laid them out on a dish towel to air dry.
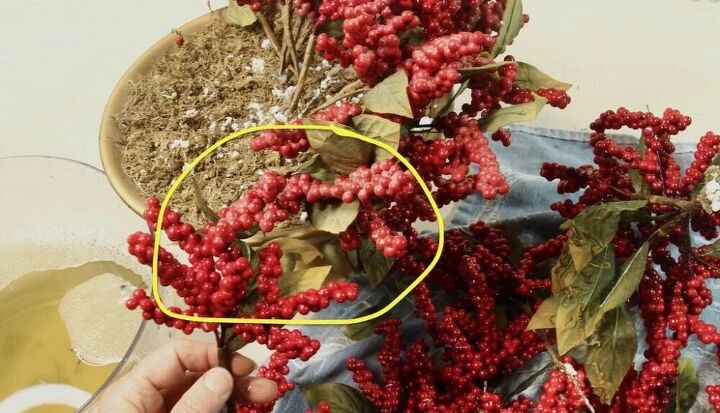
Look at the difference! With very little time and effort!!!
I could stop there, but in some places, there was a break in the coating of the berries where I stem had been twisted or bent. The white core was showing, so while I am refreshing them, I ought to repair them too.
There is an example of my touching up these berries at the end of the video. But really it’s the same procedure I used on the berries in the Santa boot I’ll show you now.
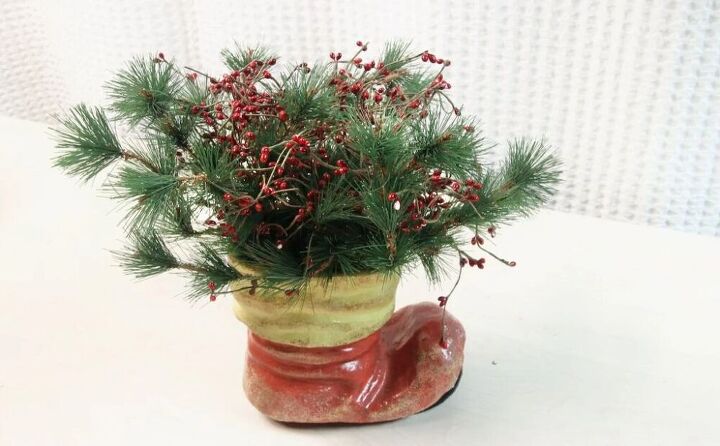
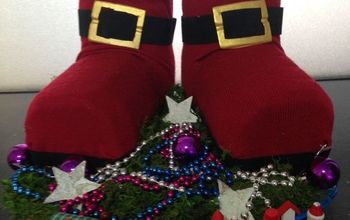
I still love this boot! I may be blind to it possibly being dated, because it has great sentimental value. The last year that my mother and I went for our annual day-after-Christmas-50%-off-holiday-decor-shopping-adventure, we found these and each bought one.
Mine sat on a large round coffee table with children still in the “Ruckus” age . . . and, yea . . . well, you know. So when my mother was downsizing into a retirement community, she passed her boot to us. And now that we’ve lost her, I love this boot all the more.
But a berry touch-up is required.
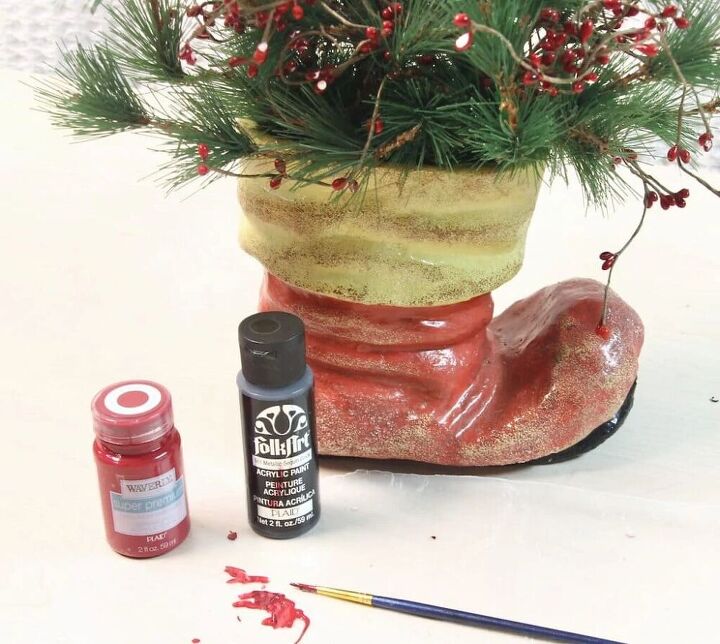
Have some damp paper towels at hand.
I always use wax paper as my palette:
- cheap and always on hand
- no seepage through
- paint glides for easy blending
- Little friction, so gentler on delicate brushes
For this berry project, I found these in my craft paint stash. Waverly Super Premium in color Lacquer and Folk Art Metallic Sequin Black, both from Plaid Enterprises. I Love Plaid products!!! You just can’t go wrong. This is not a sponsored post — just sharing products I love and trust!
These two were my choices not just for the color, but also because they have more shine than most craft paints. They are satin finish, not quite high gloss as the large berries in the video. But the finish matches that of all the little berries quite well.
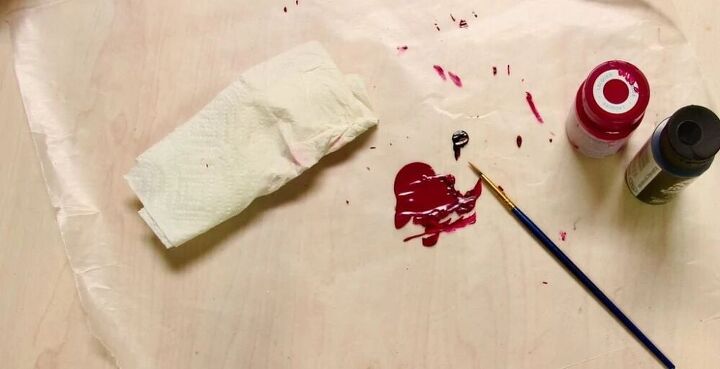
Start with a small splotch of red and then off to the side a tiny squirt of black.
Dip the tip of your brush in the black and then swirl in one corner of the red. It doesn’t take much, just w bit to knock down the pinkish tone of the red.
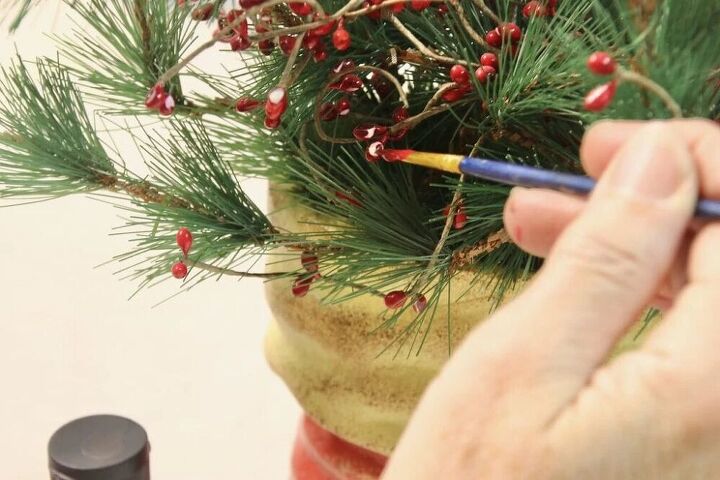
It just takes a quick swipe on any berries that have their inner white bellies exposed.
The closer you can match the red berry color, the better, and if not exactly, err on the side of darker — then it looks like shadow, or at least it doesn’t catch your eye as much. Remember, dark colors recede.
Keep those damp paper towels handy and wipe any particularly large berries as needed to keep most of the original shell paint free. Little itty bitty berries can handle just anything. Again, it’s really all about covering any exposed white bellies.
This is so easy. Actually a bit therapeutic. So treat yourself to a couple of episodes of Judge Judy — or in my case, Schitt’s Creek -- surrounded by berries.
You’ll thank yourself come November when you open the tubs to fresh berries for decorating.
So many refreshed and repaired red berries waiting for the next holiday season.
And how about this clever and easy way to store your faux floral stems for easy access!!!


Frequently asked questions
Have a question about this project?