


Winter Felt Trees

If you don't know yet, I love trees : ) Not only in nature, but I like to find ways to bring their likeness inside. I also love holiday decor and hate taking it down after December ends, so I am also always looking to create decor items that I can keep up all winter. These are another inexpensive and simple way to create a decorative tree you can keep up at least through the fall and winter months. This is something my daughters (9 and 12) helped with, so it's good for older children to help with as well.

These felt trees are inexpensive and easy to make, with a little searching around your home for supplies ; )
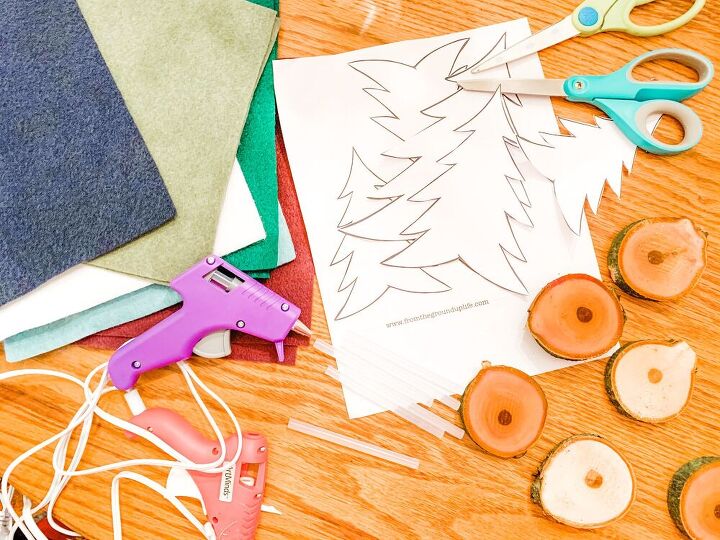
For this project you will need: Felt, scissors, glue and glue gun, pattern ( Download PDF Here), twigs, and wood discs.

For the sticks and bases, my girls and I went outside and found twigs around the house. You’ll want the twigs to be between 7-10 inches long, depending on your preference. I like to vary their height, so you'll want to plan the arrangement ahead of time and think about what the final height of the sticks, discs, and felt trees will be once assembled. My husband cut the wood discs from a large branch that had fallen, but they can be purchased at most crafts stores and online here. You’ll want the disc to be between 2.5-3 inches in diameter.
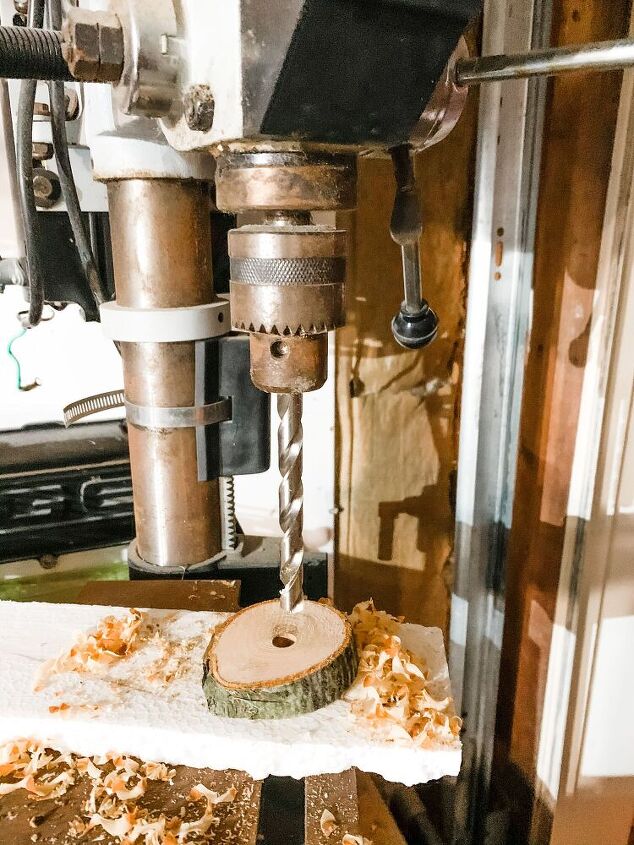
We then prepped the base and used a drill press to put small holes in the center of the discs to stick the twigs in and make it more stable.
Then, put glue on the bottom of the twig and put a little glue into the hole, and stuck the glued end of the twig into the hole. Without the hole in the disc it may not be very stable, so this step is a must IMO.
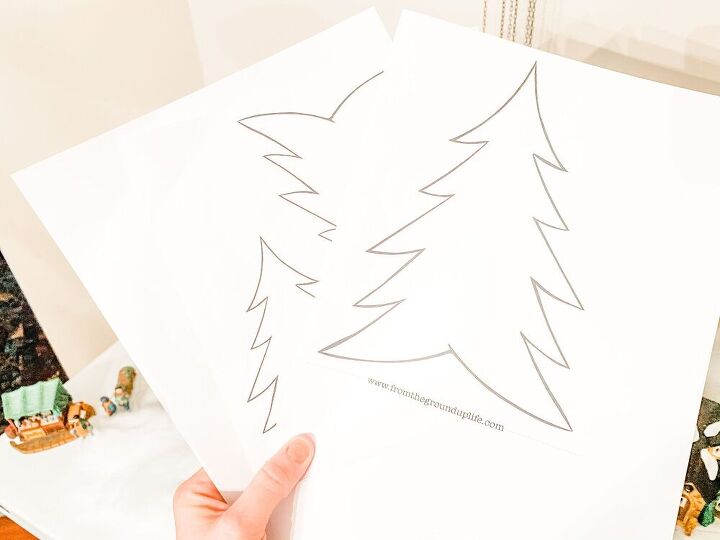
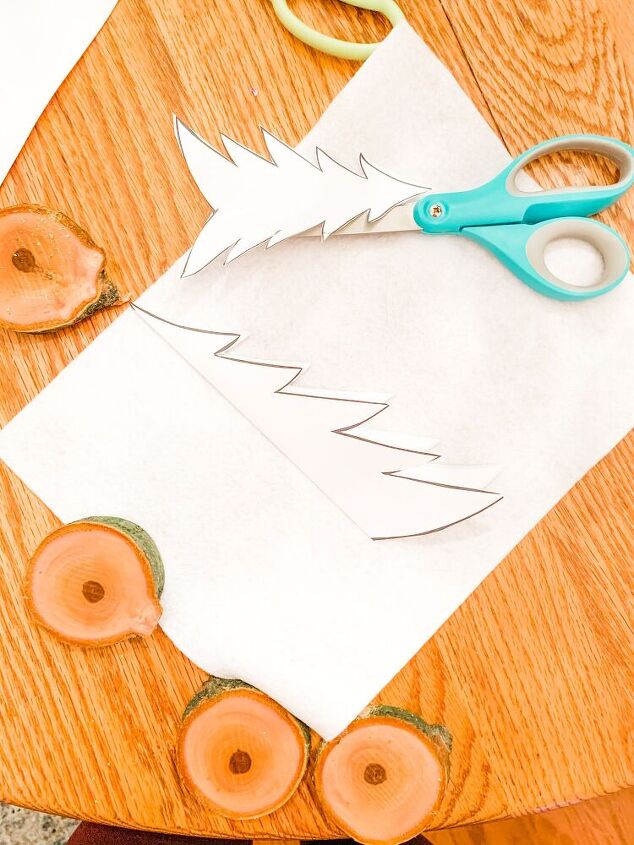
To make things easy, I created this pattern (PDF) you can download for free with 4 different sized trees, depending on the size you’d like to create. I'm using the three largest sized patterns for this tutorial.
The felt can be purchased at your local craft store or here online by the yard or in rectangle sheets. The felt comes in various colors, depending on whether you want them more natural and rustic-colored, or bright and fun. For this tutorial, I chose rustic and natural colors.
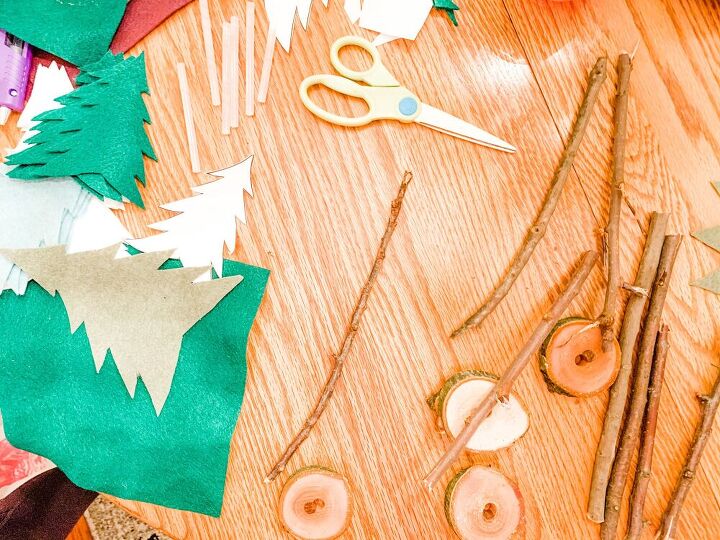
To start, fold the template in half, then fold the felt in half to cut each tree shape out. I used 6 felt trees for each tree, but you could use more of less depending on the fullness you're looking for.
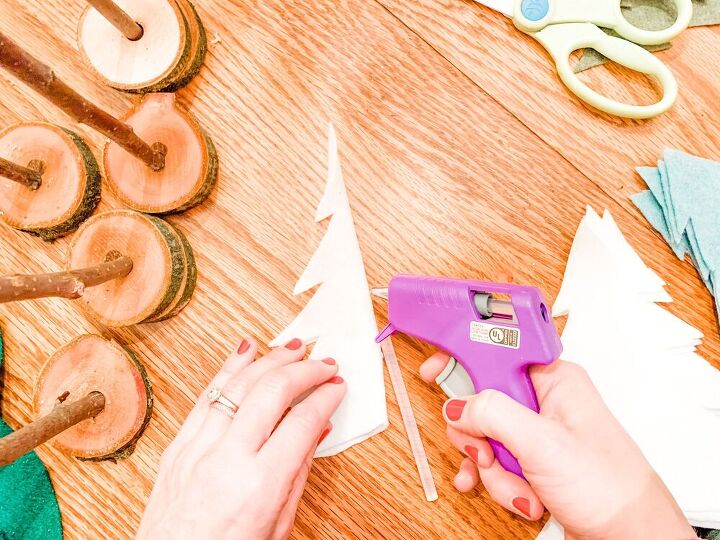
Next, you will glue the felt to the twig. Fold each piece of felt in half, apply the hot glue to the fold, then stick the felt to the twig leaving about a half-inch of the top of the felt past the top of the twig.
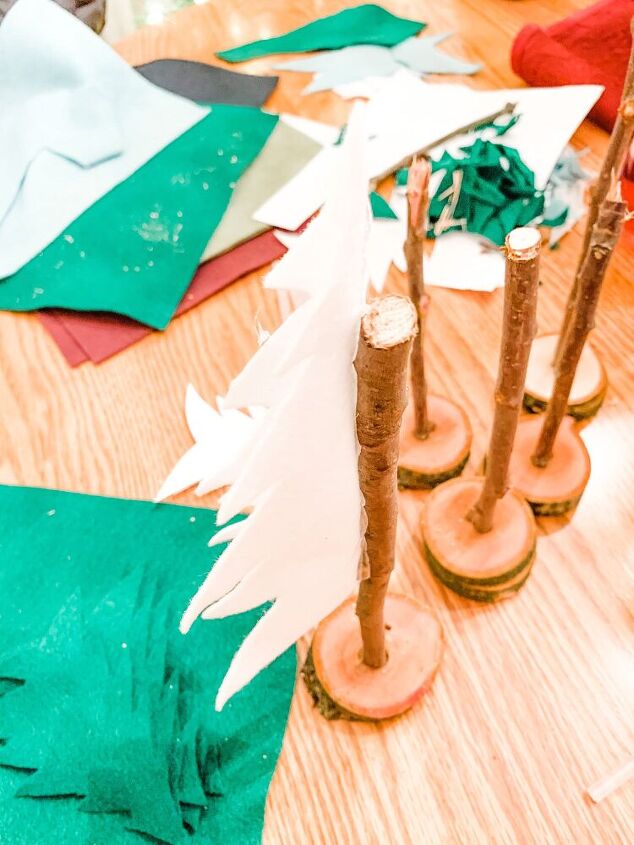
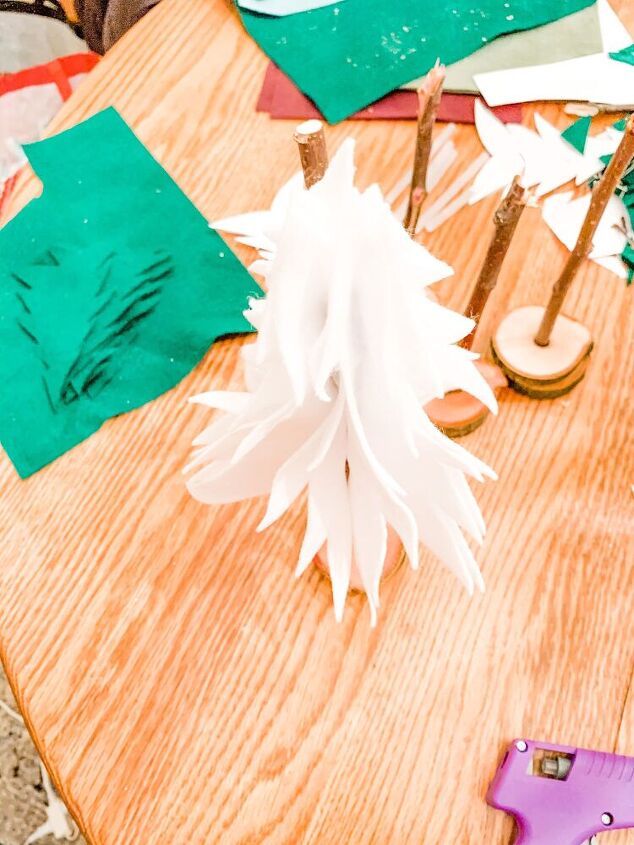
You’ll repeat these steps until the twig is covered.
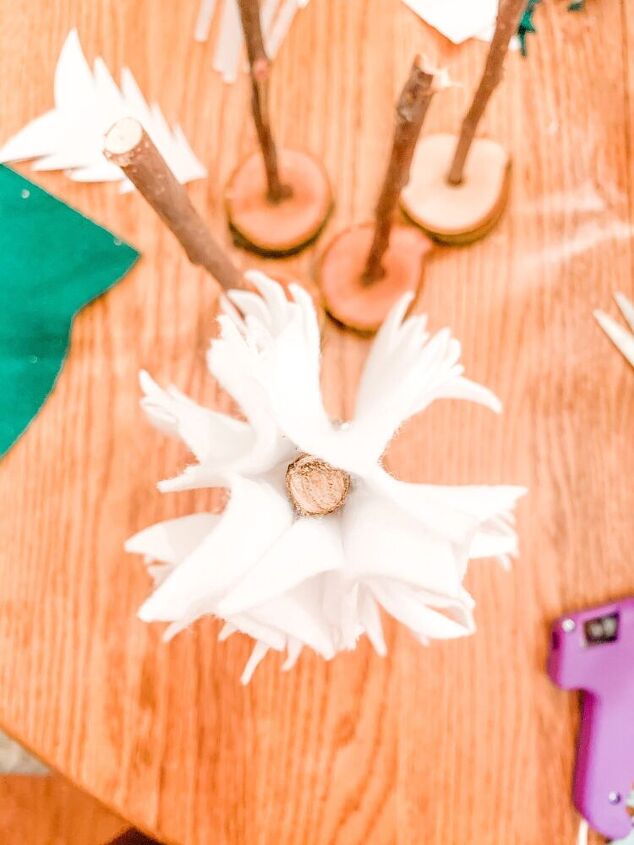
With the felt you left hanging over the top, you’ll glue those pieces together to create the tree top.
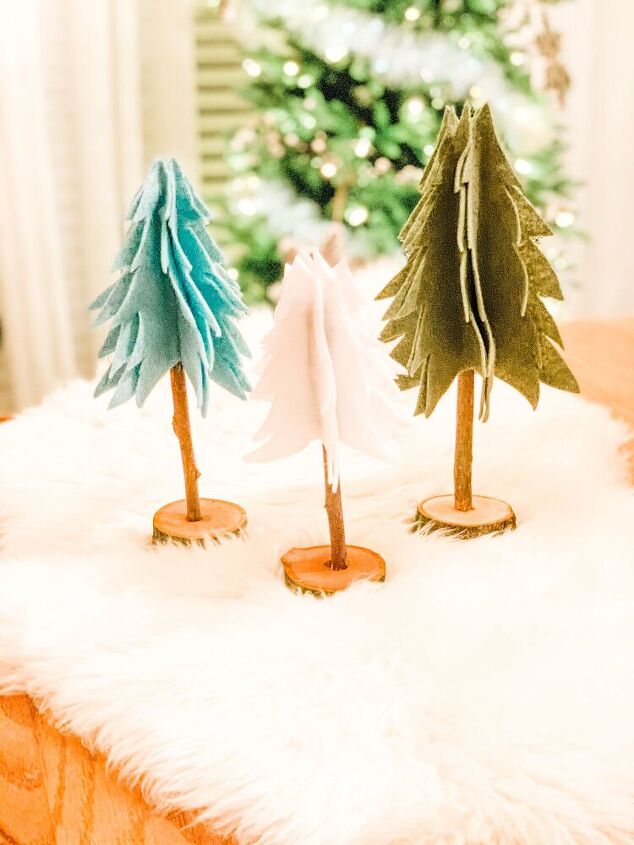
I like to put these in groupings of 3, as shown in the picture. Hope you have fun with this quick little craft!!
Some details that might be helpful:
White Tree: twig is 7.5 inches, third largest on pattern, base is 2.5 inches wide
Blue Tree: twig is 9 inches, second largest pattern, base is 2.5 inches wide
Green Tree: twig is 10 inches, largest pattern, base is 3 inches wide


Frequently asked questions
Have a question about this project?