


Yarn Christmas Trees DIY!
Sweet Friends, I’ve been crafting alot. I’ve been making wreaths and garland and ornaments and Christmas Trees and it’s been so fun and so easy. It's Cynthia at Create With Cynthia and hop on over to my website for more ideas and inspiration; www.CreateWithCynthia.com. Decorating your home doesn’t have to be difficult, take alot of time or cost a lot of money!
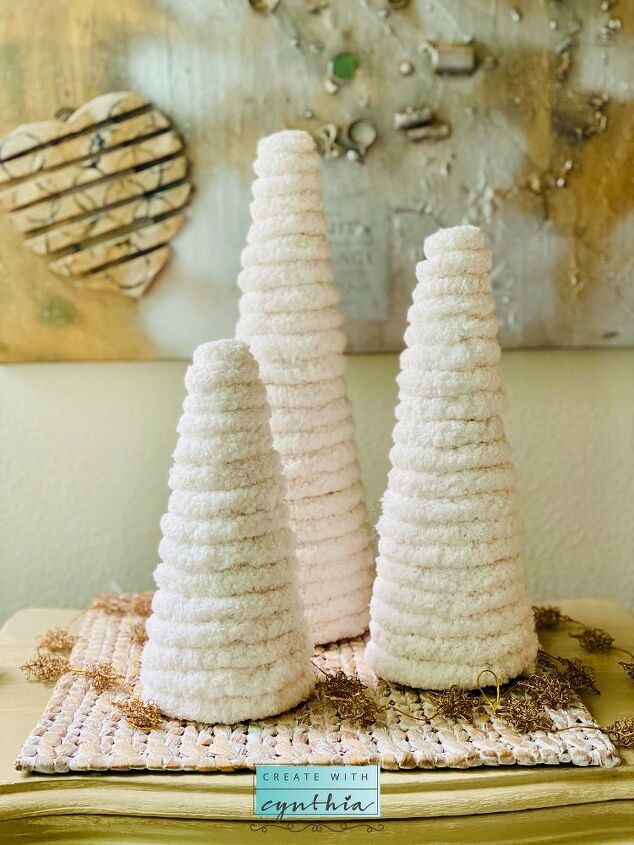
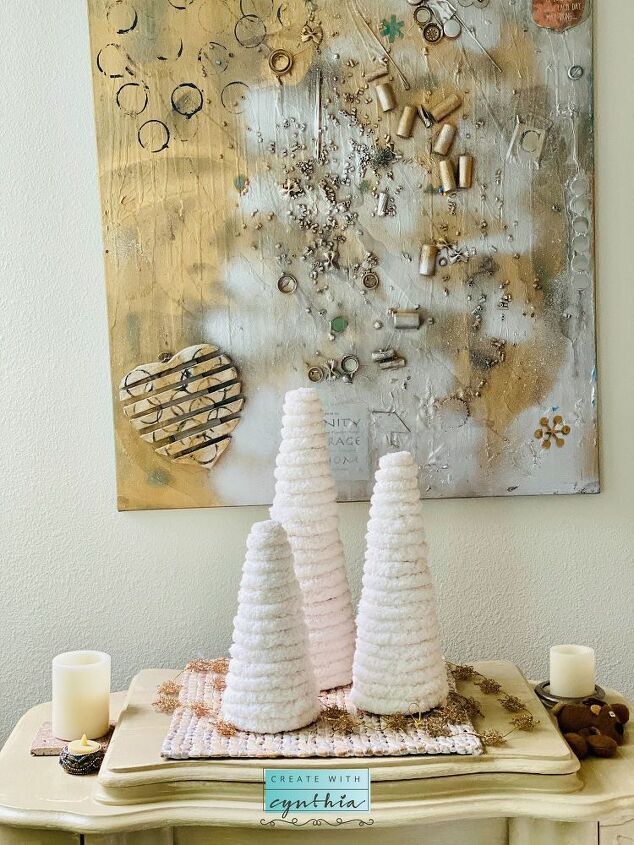
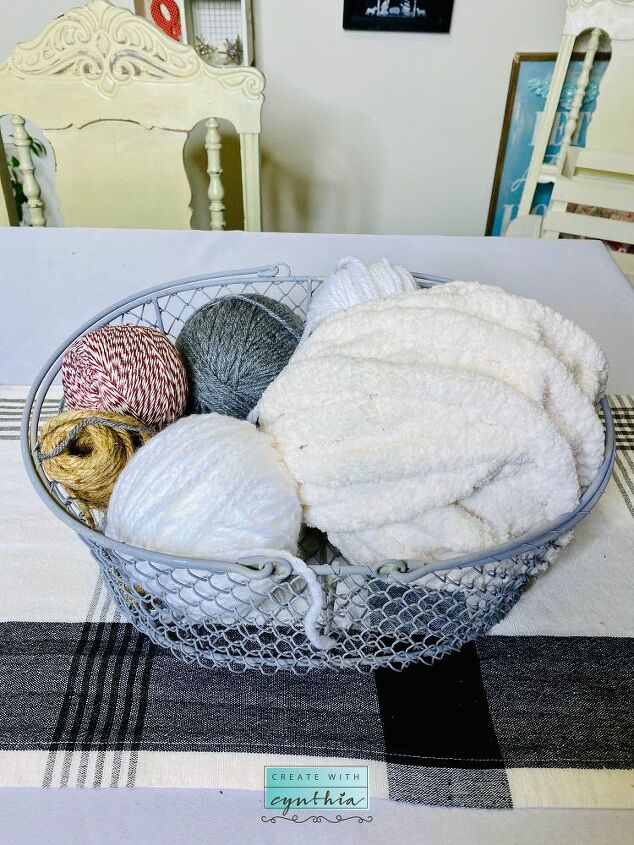
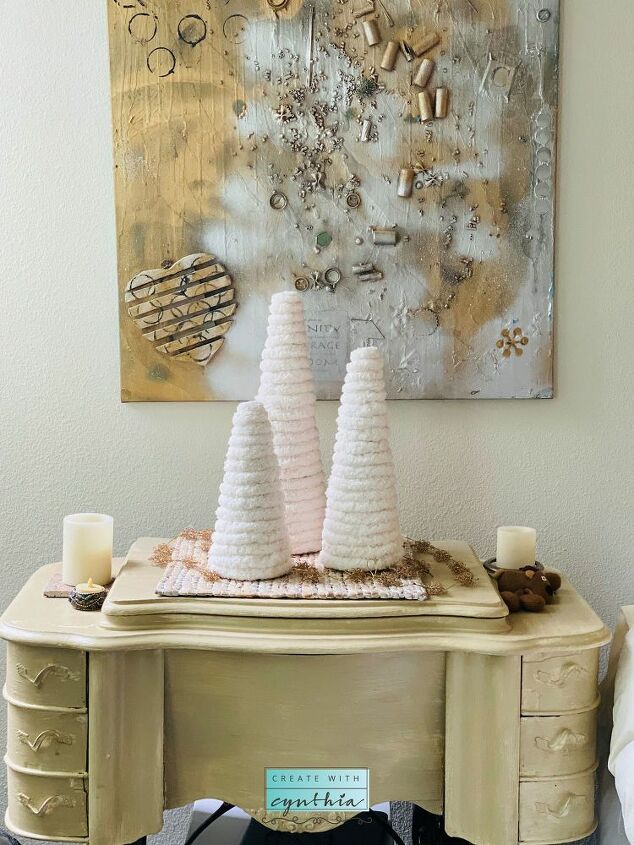
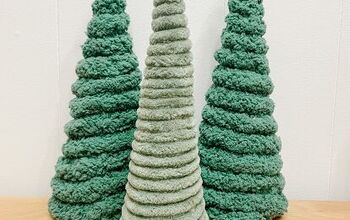
I love Christmas Trees!!! I mentioned it last week when I showed off my Mason Jar Lid Christmas Trees. Today I’m showing off my newest Christmas Tree, Yarn Christmas Trees. This DIY is so simple and inexpensive and doesn’t take long at all.
MATERIALS NEEDED FOR THE YARN CHRISTMAS TREES:
- Cones come in various colors, sizes and material type. I’d suggest using the FloraCraft Styrofoam Cone in White, 12 inch, 9 inch and 6 inch
- Yarn – I used the thickest yarn I could find.
- Glue Gun
- Glue Sticks
- Scissors
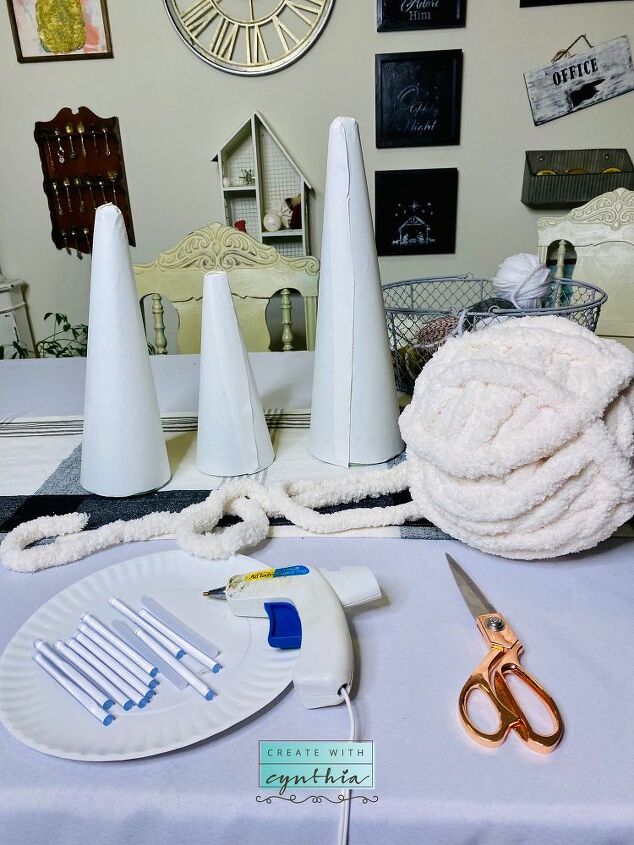
I had all of the items in my craft closet from prior projects. The items can also be purchased at your local craft store. My cones were green so I decided to cover them with white paper.

For this project I had three cones that I had purchased years ago for a project. Reusing is always my preference, but if you don’t have cones at home, I’d suggest purchasing the cone that is the color of your yarn, if possible.
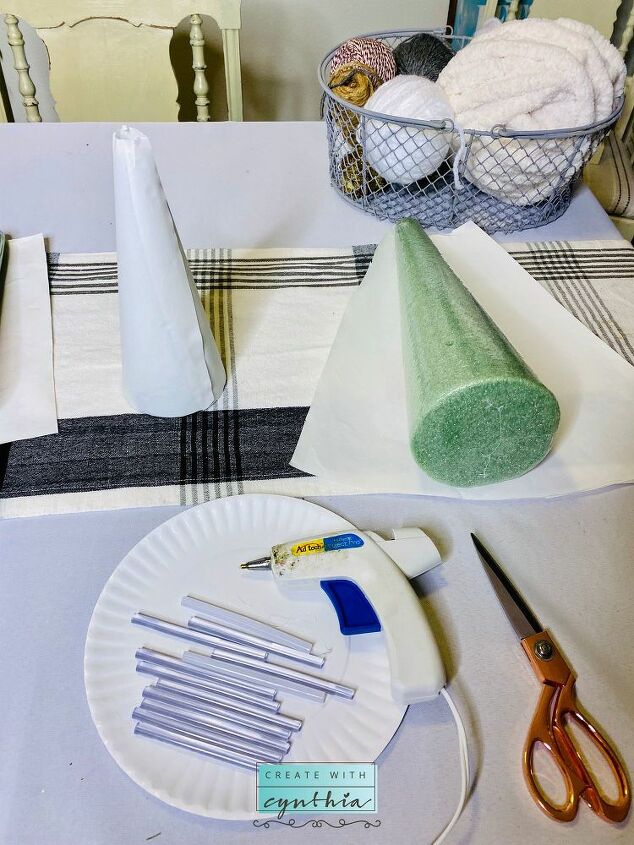
Covering your cone is an optional step. I covered my cones because I was unsure whether or not the green cone would show through, as well as, I wanted to reuse my cone. I can now easily slide the paper cover off the cone. Then I can reuse the cone for another project later. This idea saves on cost and storage!
INSTRUCTIONS FOR CREATING YARN CHRISTMAS TREES:
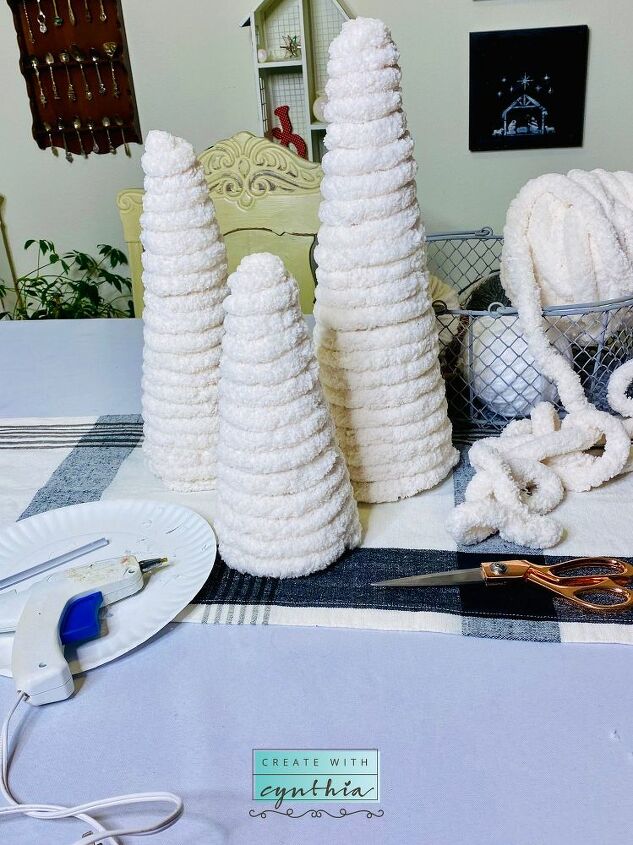
Choose your yarn. I went with the white thick yarn.
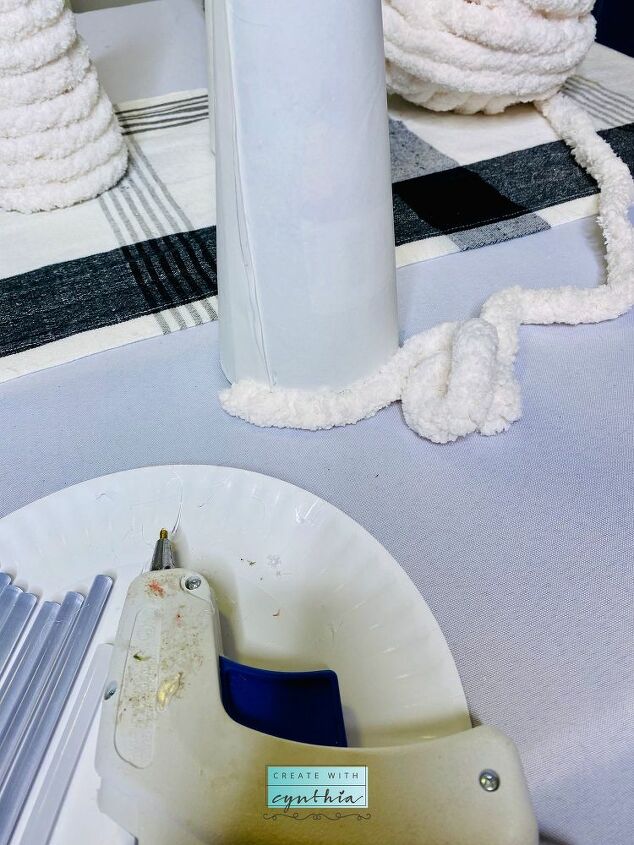
Starting at the bottom of the cone, wrap yarn slowly around the cone adding glue as you go.
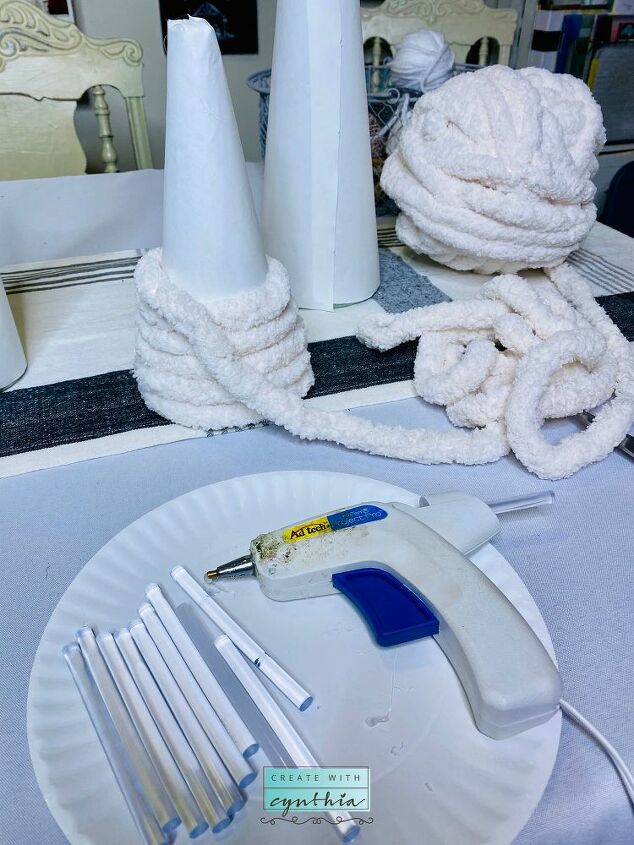
Push the yarn together as you are wrapping the yarn around the cone so there are no gaps. Be careful as the glue is hot.
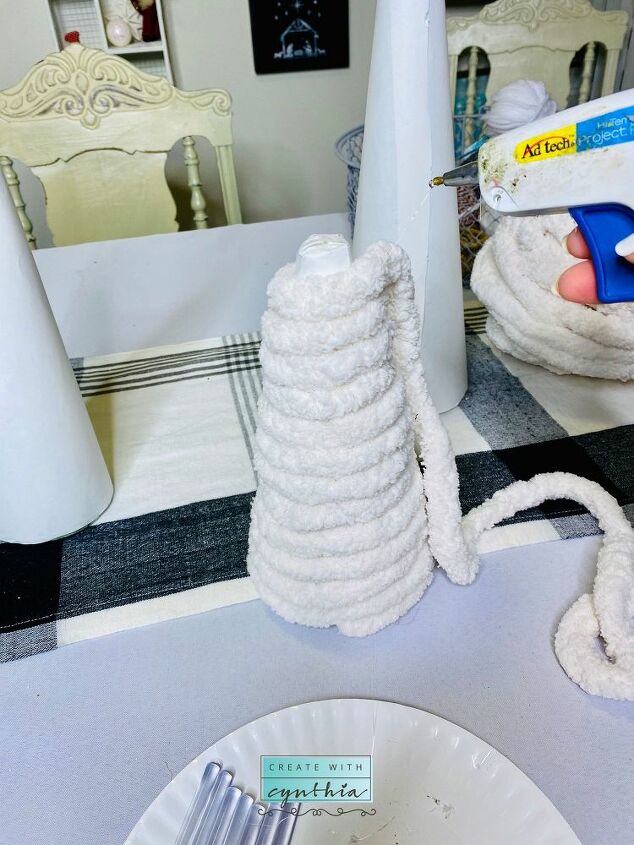
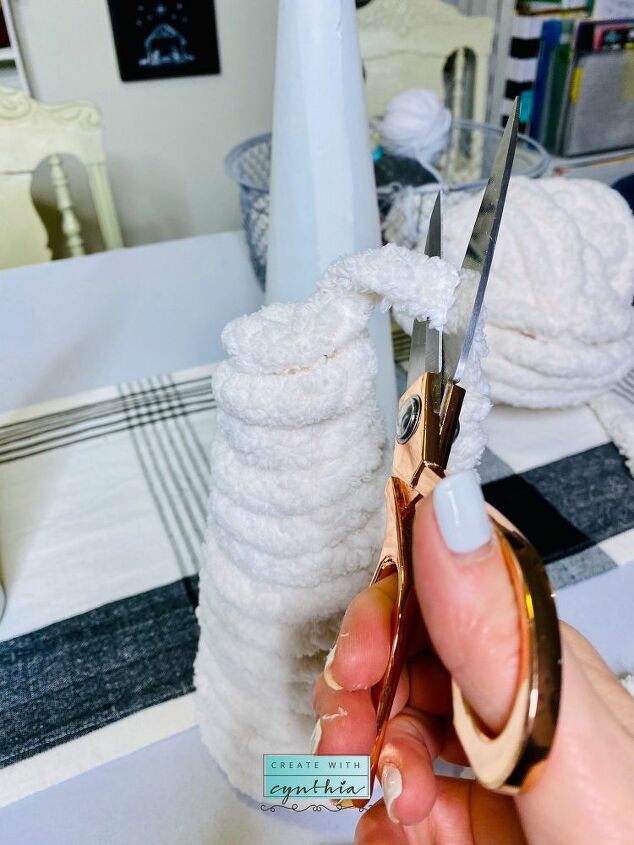
When you reach the top of the cone, cut the yarn extra long and tuck under at the top.
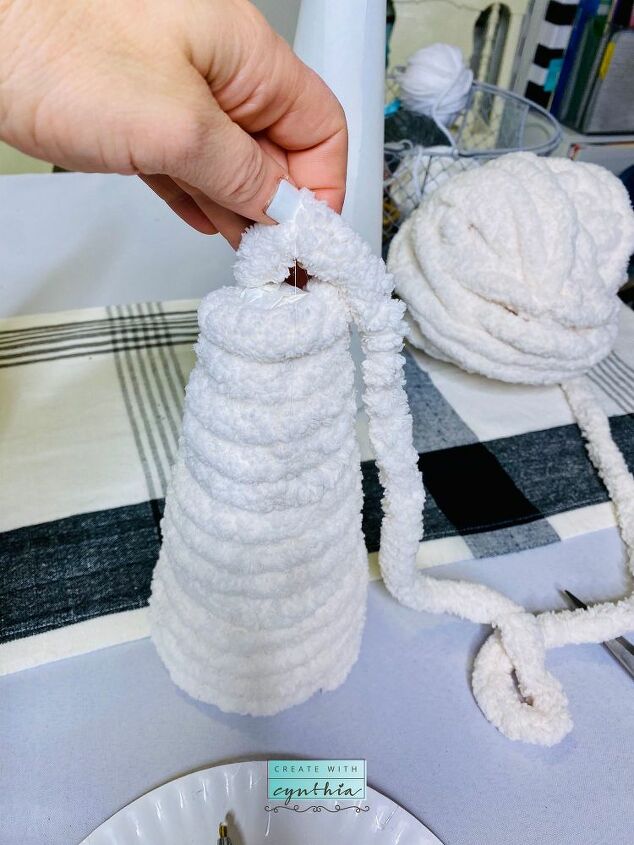
And add more glue.
You can always just make one Christmas Tree but for a bigger impact i’d suggest creating three, five or even seven. Think about your space and what would work well. Enjoy your Christmas Trees!
I hope you enjoy the DIY and are inspired to create something!
I’d love to see your creation, so post it on Instagram and tag me. You can follow me on Instagram here at Create With Cynthia.

Now go out there and create something.
Cynthia


Frequently asked questions
Have a question about this project?