


How to Make a GPS Coordinates For Address Sign
Here is an easy tutorial to make a GPS Coordinates for Address Sign and how to get the coordinates to make your own.
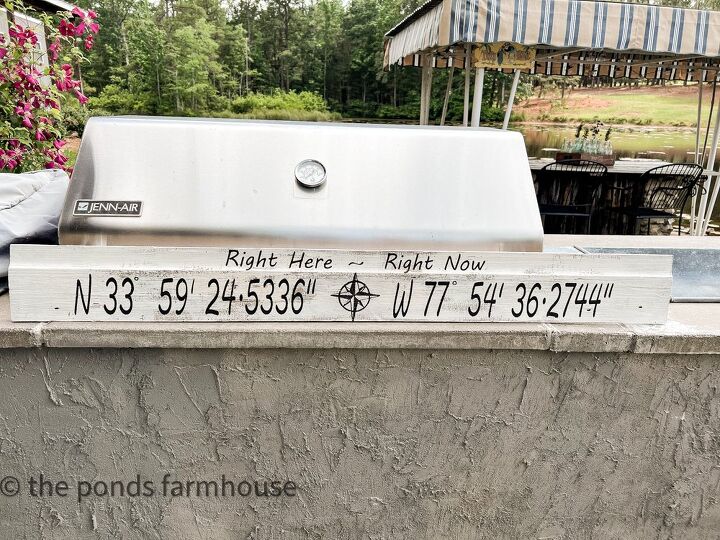
If you like the idea of using nautical coordinates for your address, here is a simple way to make a sign for your home.
What is Nautical GPS Coordinates? This is measure of latitude and longitude to identify an exact location on the earths surface.
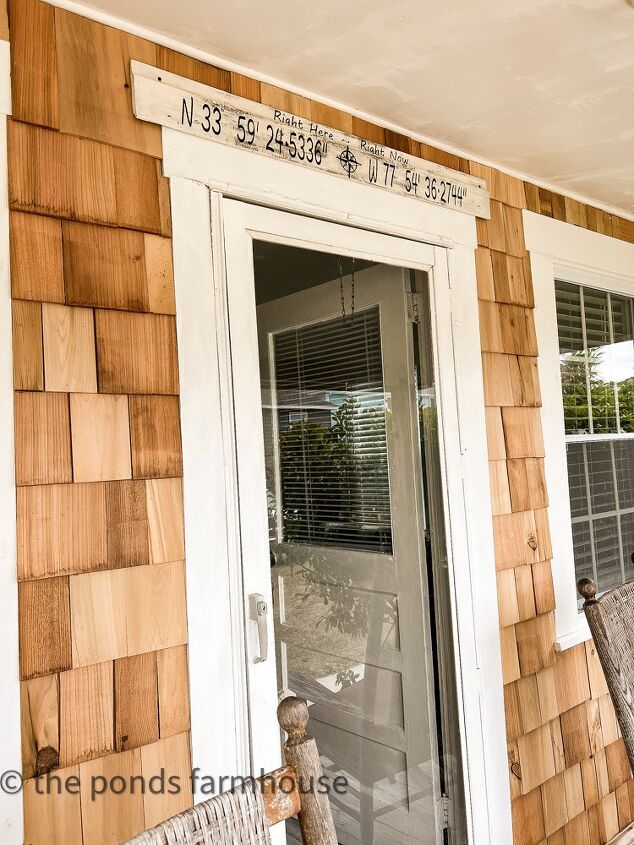
After adding cedar shake shingles to our remodeled beach cottage, I decided the porch needed a sign.
A friend suggested a Nautical GPS Coordinates sign and here’s how I found the information I needed to make the sign for our beach cottage.
How Do You Find The GPS Coordinates?
After doing a Google search, I found this site which allowed me to gather my GPS Coordinates for Address Sign.
Just enter your address in the What’s My GPS site and then zoom in until you see a view of your home.
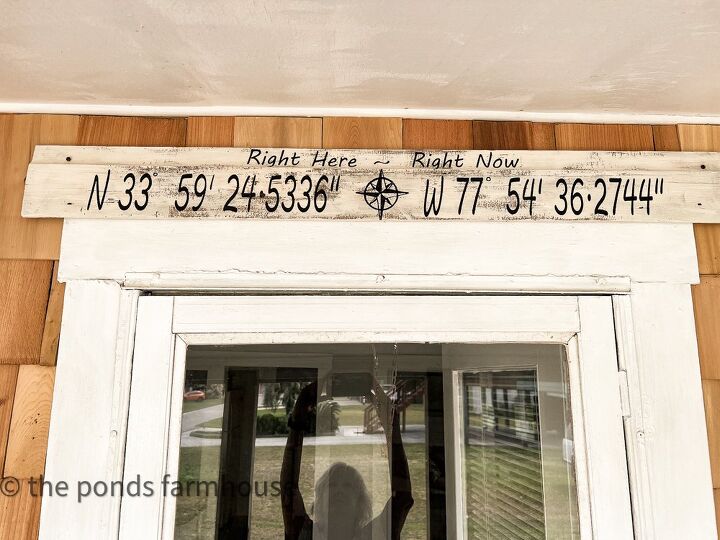
I wanted to place the sign on the front porch and therefore positioned the arrow right over the porch for those exact coordinates.
The slightest movement of the arrow changes the coordinates and I wanted them to be as exact as possible.
How to Make A GPS Coordinates for Address Sign!
There are several ways to make your own sign, however I’m sharing how I designed and made the sign for our beach cottage.
You will want to determine the size of your sign and then gather your supplies.
Materials for Address Sign
- Wooden Board – based on the size of your sign – I used a reclaimed board from our stash.
- Chalk Paint for background
- Black Paint for lettering
- Stencil Brush
- Stencils or Silhouette Machine
- Sharpie Marker
- D Ring Picture Hanger or Screws
Paint Background
Determine if you want your sign to have a painted or stained background.
For this project I wanted the board painted a distressed white so I first painted the entire board with a light coat of white chalk paint.

Create The Stencil For Your Coordinates
There are a couple of ways to add the coordinates to your board.
I like to use a stencil to get clear crisp numbers and letters for most projects.
First, you can purchase individual letter and number stencils in the size you need to create the project.
I could have used these 2 1/2 inch number stencils for my project. When using individual stencils, careful placement and measuring is important for a cohesive looking sign.
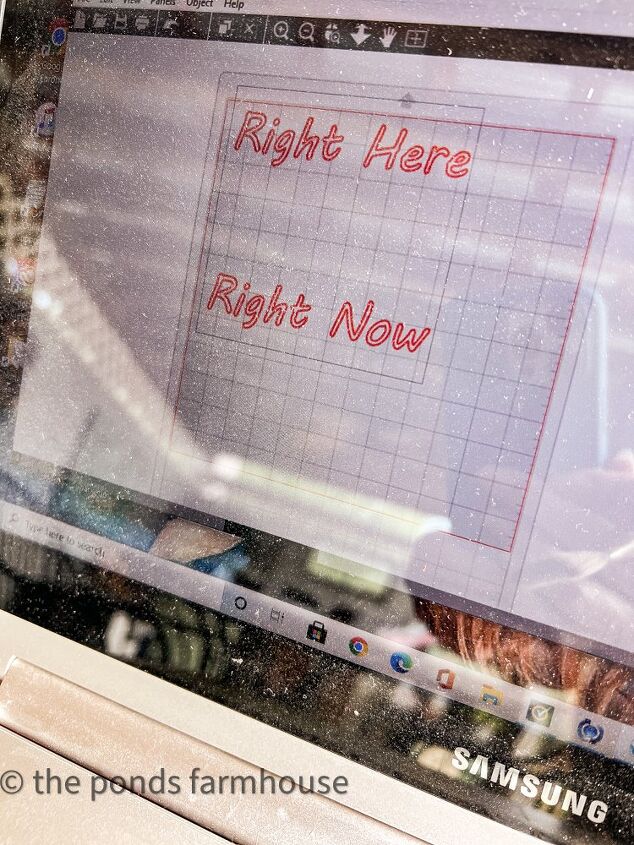
However, another method is to make your own stencils using a Silhouette Cameo Vinyl Cutter, which is the method I used for this project.
In addition, the text Right Here Right Now was made with the Silhouette Cameo also.
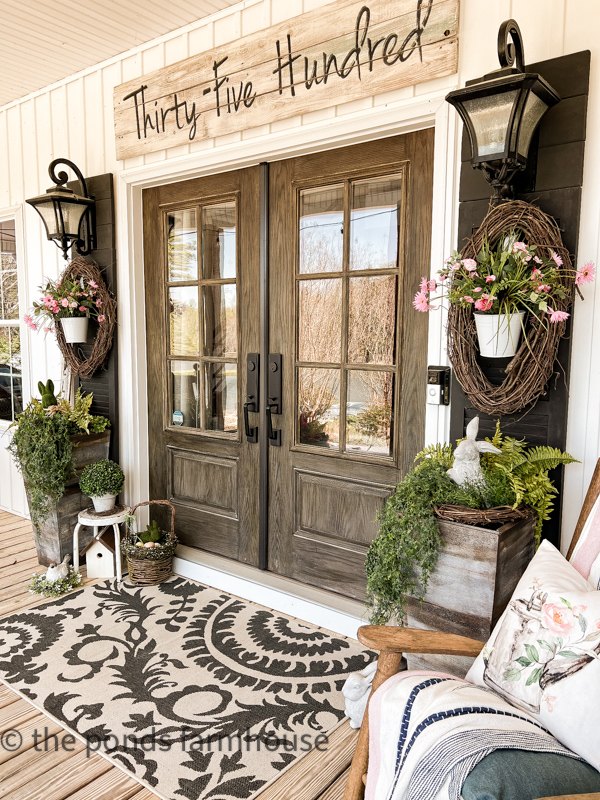
You can see How to Build a Vintage Inspired Sign where I used a combination of both methods and How to make an Address Sign, in which I used the Silhouette Cameo to create the large letter stencils.
By cutting the stencils out of vinyl, they could be attached directly to the board and reduce error.
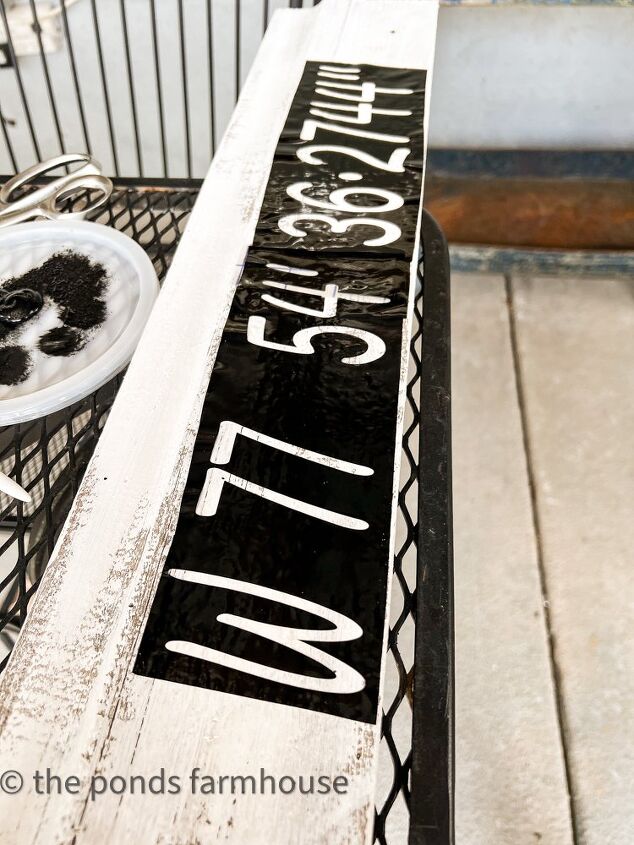
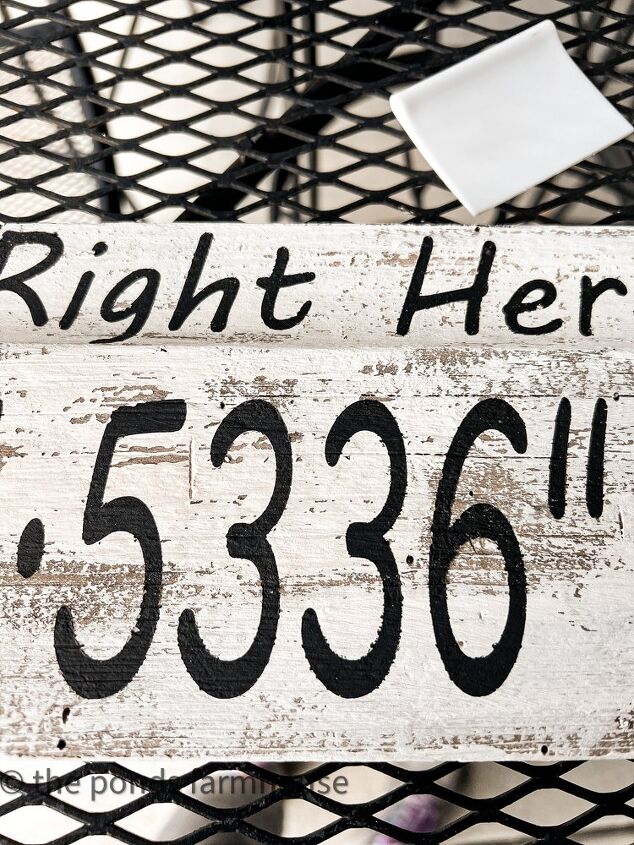
Once the background paint is dry, apply the stencil to the board in the exact location you want the GPS coordinates to be placed.
Press the stencil firmly onto the board, removing any air bubbles.
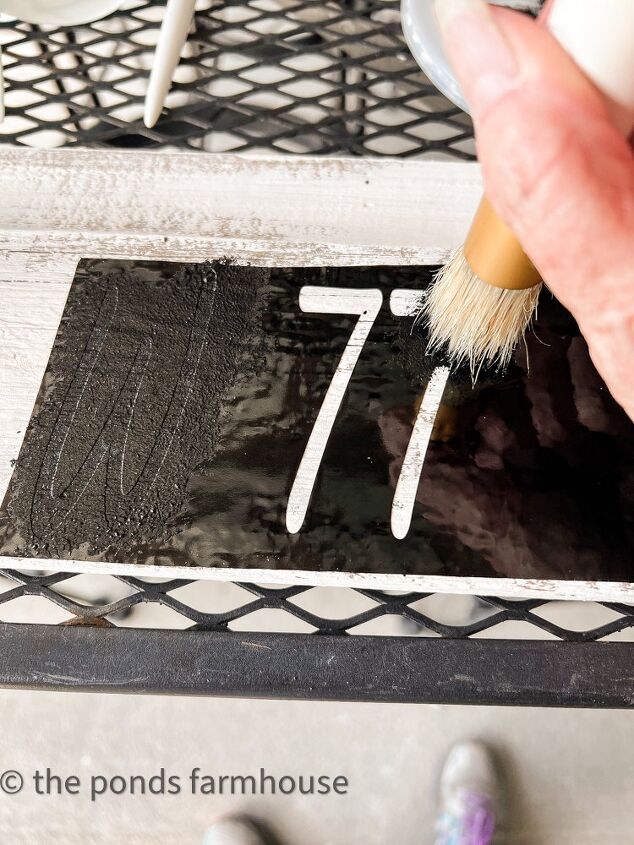
Next, using a stencil brush, add the black paint to the open areas of the stencil by pressing the brush bristles straight down over each number or letter.
Finally, remove the vinyl from the board, being careful to not smudge the paint.
Add A Compass To The Center Of The GPS Coordinates
I decided to add a compass to the center of the GPS Coordinates.
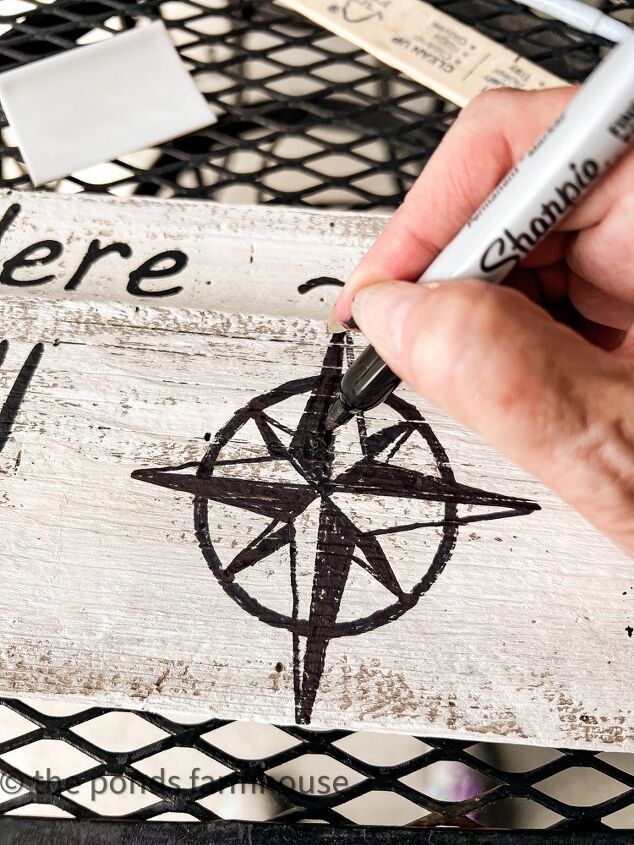
For this step use a black sharpie to draw and paint the compass.
Begin with the circle and add your star points.
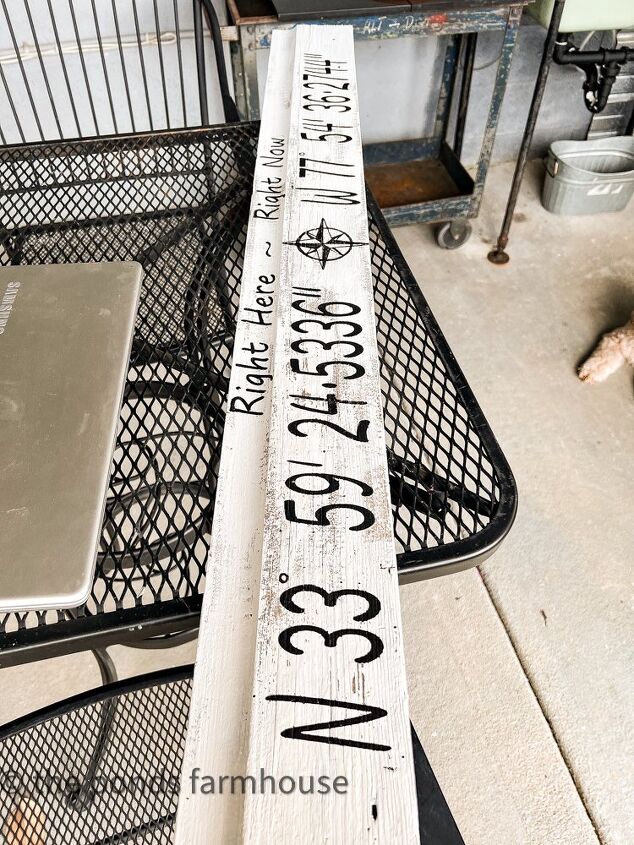
Once all the coordinates and images are finished, allow the paint to dry before hanging your sign.
Finish Sign To Hang
In order to hang the sign, you can attach D Hooks to the back of the sign to hang.
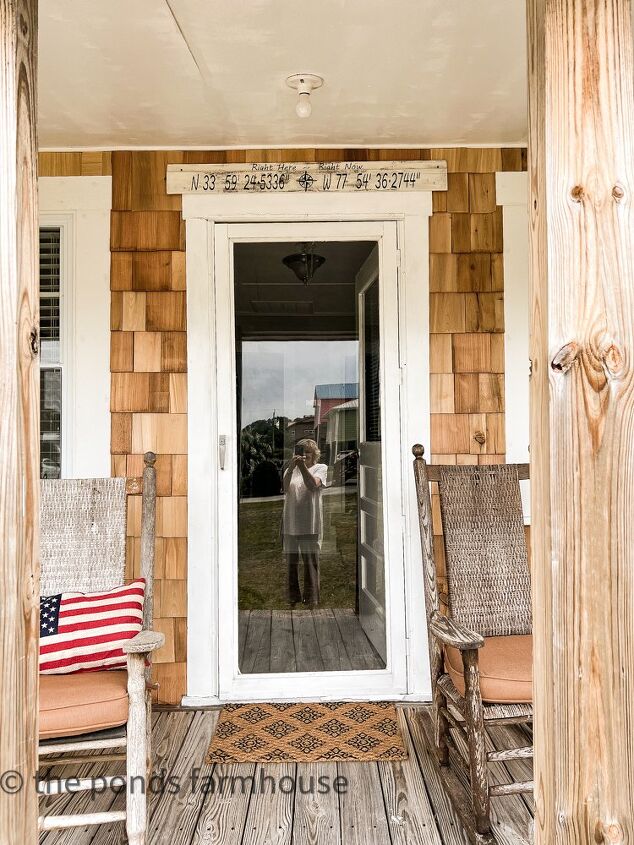
However for this sign, we used wood screws and attached the sign to the wall.
Since the sign is outside on the porch of the beach cottage, we felt it needed to be securely attached to the structure instead of just hanging on a hook.
Using a drill bit, Brad first drilled a pilot hole in the sign to prevent the wood from splitting.
Next, he used a cordless drill t o attach the sign with the screws directly to the wall above the door.
The placement of the screws are hardly detected on the GPS Coordinates Address Sign.
The sign is a perfect addition to the Tiny Beach Cottage. To see more about our tiny cottage remodel click here.
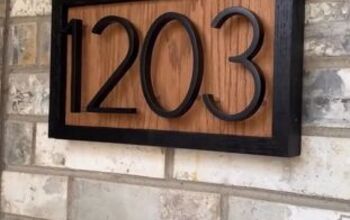
You may also enjoy seeing the tutorial to make this address sign.
I hope you enjoyed today’s tutorial and I look forward to sharing my next adventure with you.


Frequently asked questions
Have a question about this project?