


Makeover A Boring Mirror Using Chalk Paint, Silicone Molds And Epoxy

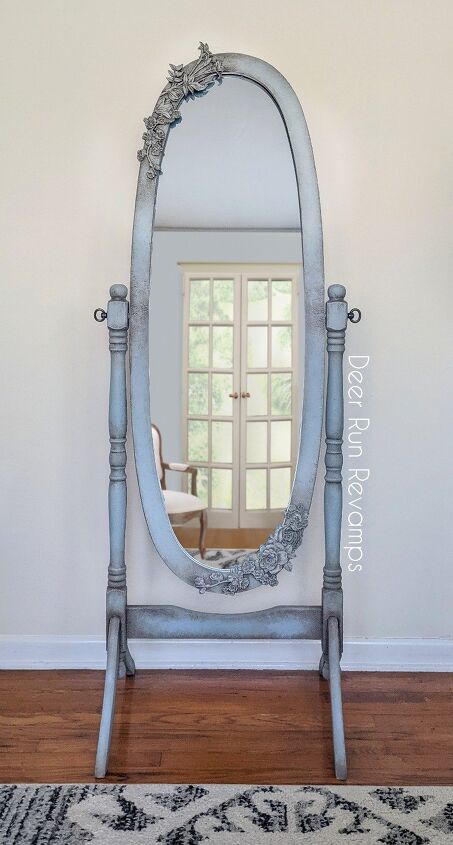
I came across this plain, dark floor mirror and decided I just had to give it a makeover!
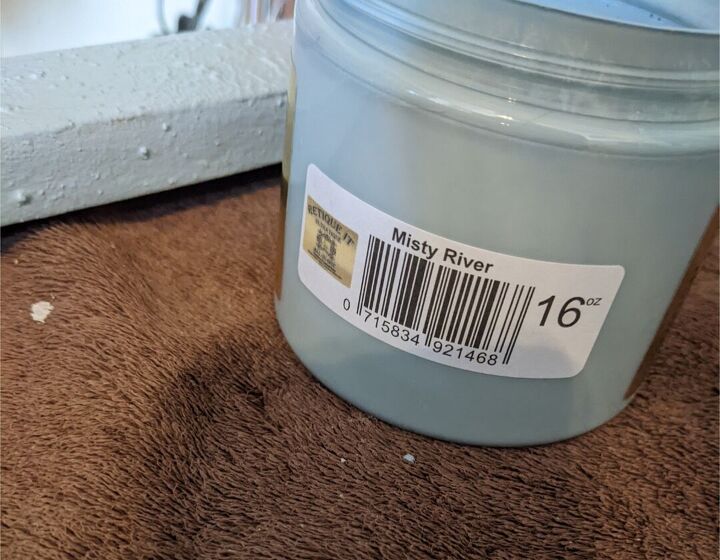
I used Renaissance Chalk Paint in the colors Ivory Tower and Misty River along with Saltwash for texture, brown wax for the highlighting, and a few different Redesign With Prima silicone moulds with quick set epoxy to make the floral appliques.
Time is based off of work time only, does not include dry times.
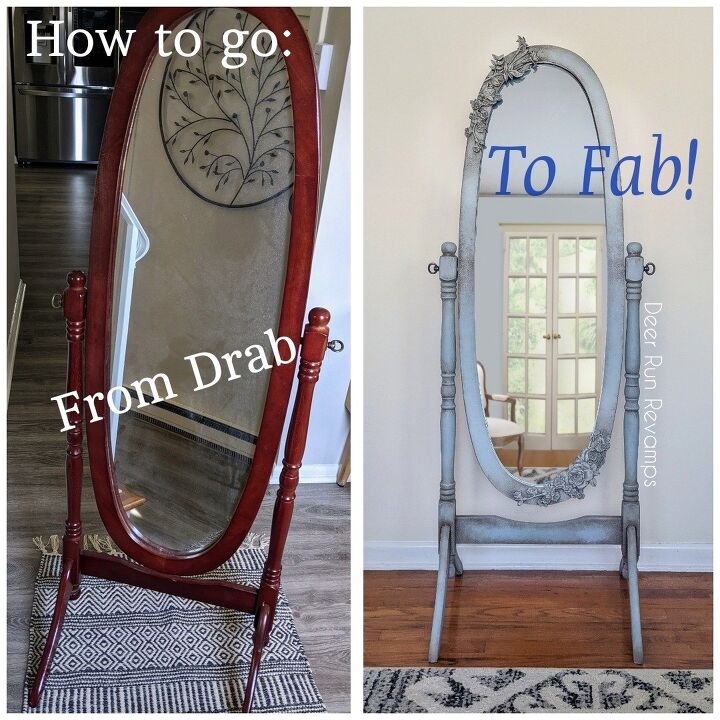
Before and after
I did a full video tutorial showing how I got this look
First things first...
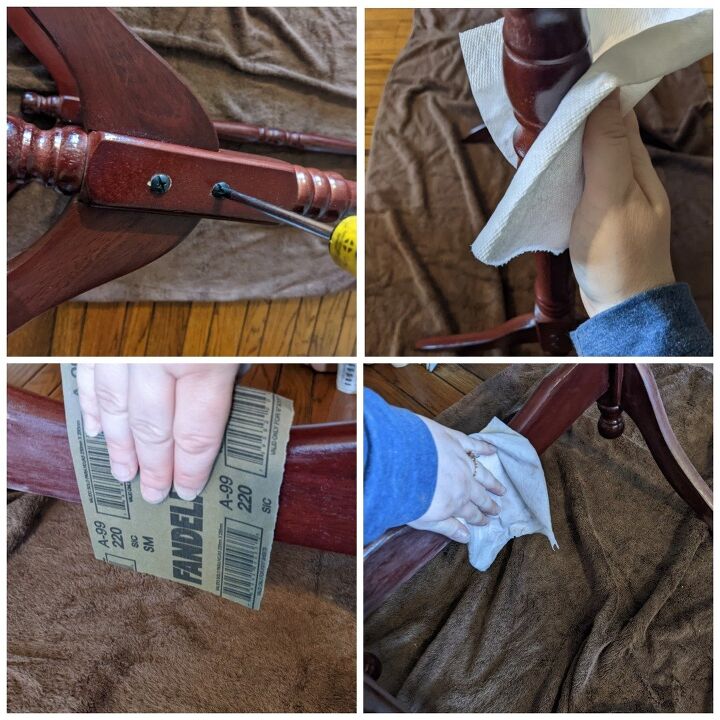
Prep
I tightened the screws and then cleaned it really well with a degreasing cleaner. Then did a quick scuff sand using 220 grit sandpaper then wiped down with water
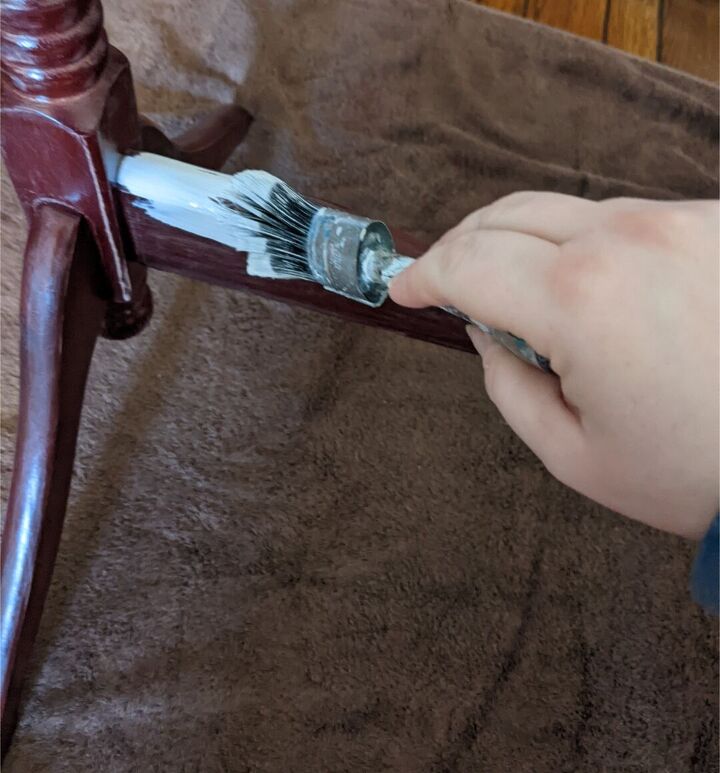
Then I applied a single coat of Renaissance Chalk Paint in Ivory Tower as my base
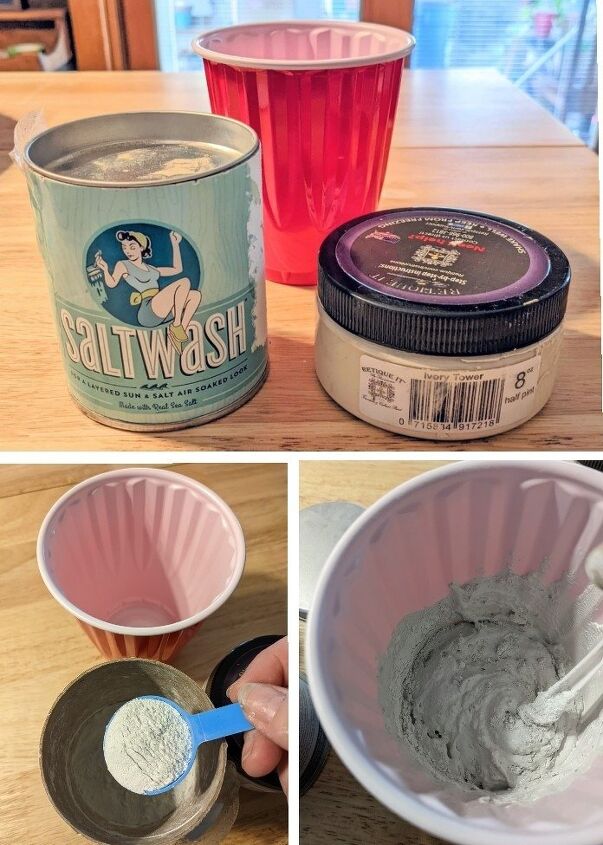
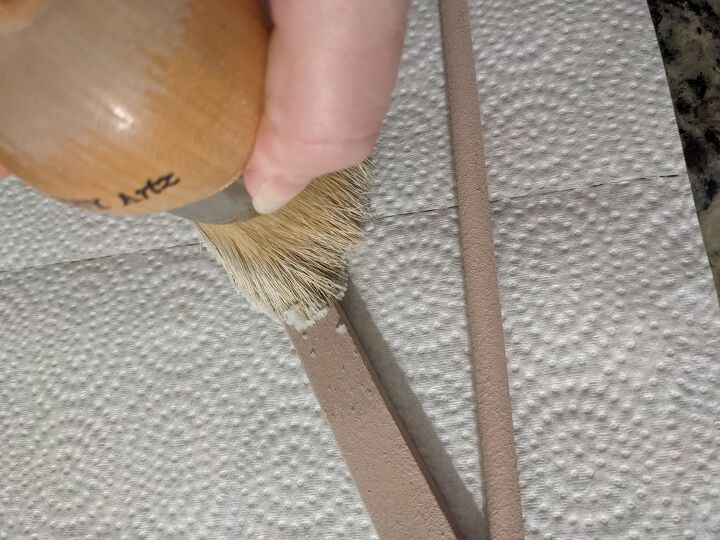
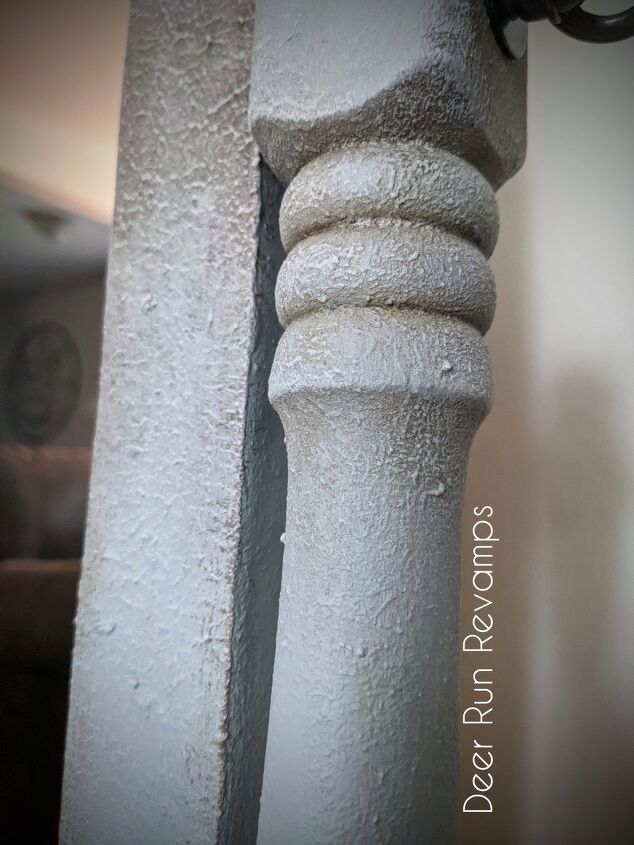
To get the texture and layers, I first mixed Saltwash with Renaissance Chalk Paint in Ivory Tower
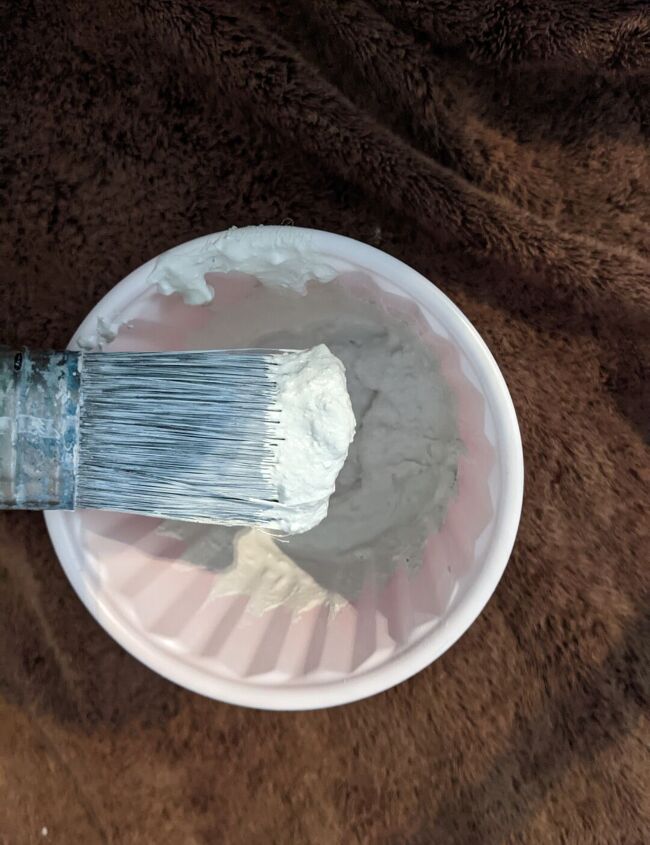
I added about 2 scoops (scooper is included with the Saltwash) to about 3 ounces of paint. I made sure it was super thick, but you can make it as thick as you'd like (thicker=more texture)

Then applied it to both the frame of the mirror and the base. I first just painted the mixture on like you would usually paint, then went back and dabbed over it.
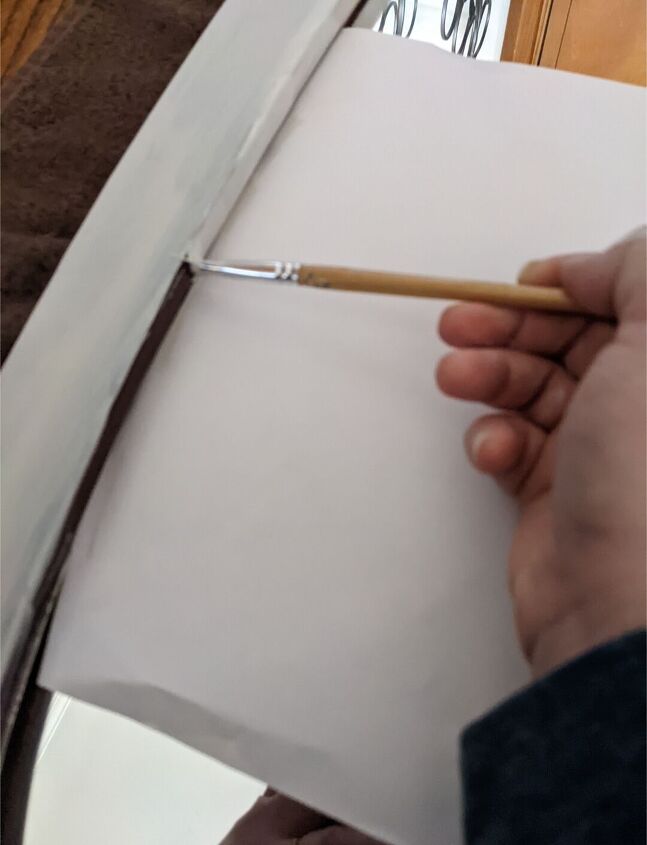
Tip*
If the frame is difficult to detach from the mirror itself for easy painting, slide a piece of paper between the mirror and frame and apply light coats of paint along the inside of the frame. This keeps paint off of the glass without having to use painters tape 😁
*The video tutorial shows each step with the products and designs used for the mirror, but I was unable to get still photos of some steps, so I'm using photos from different projects using the same techniques...
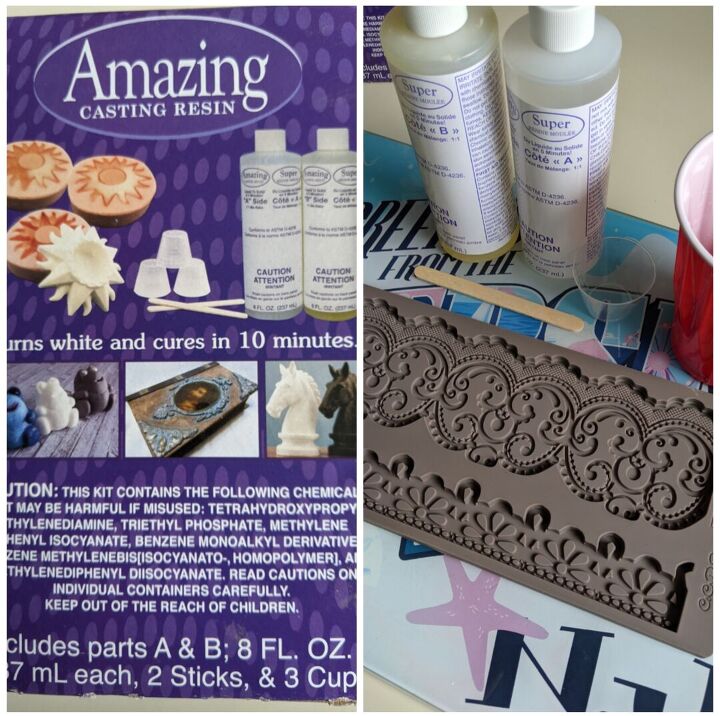
I used a quick set resin called Fast Cast, but the Amazing Resin pictured above is the same thing.. a resin that cures white within 10 minutes
So grab your resin, a mixing cup that can be thrown away, a popsicle stick and Redesign With Prima silicone molds of your choice.
For the mirror, I used
Cherry Blossoms
Fragrant Roses
Lily Flowers
Winter Blooms
And Wilderness Rose
But you really only need 1-2 different molds to get a beautiful and unique design.
The silicone mold pictured above is called Border Lace
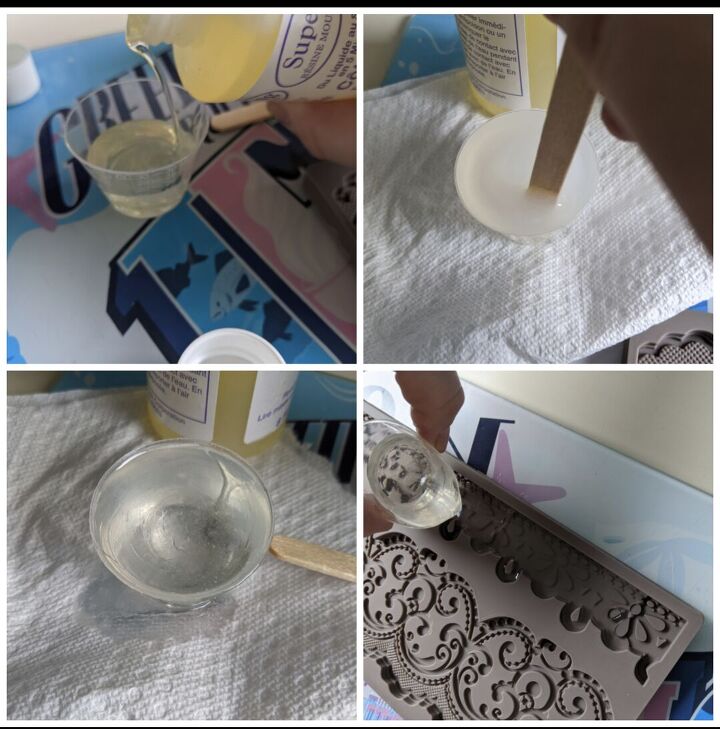
The resin comes in 2 parts, A and B.
Mix together the 2 parts in an equal ratio.
Since it cures quickly, you only want to mix a small amount at a time (I usually mix about 30-50ml at a time)
Mix very well, about 60 seconds. If not mixed thoroughly enough, it won't cure correctly.
I mix until I feel the cup getting warm from the resin activating
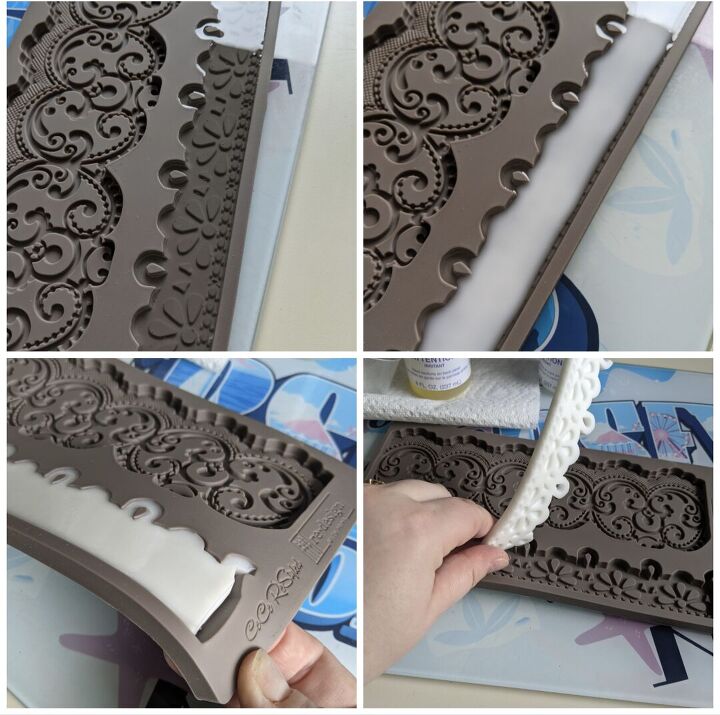
You'll see the resin start to turn white as it cures.
Once it's completely white and breaks away from the surface easily when you bend the mold, it's ready to come out.
I like to apply my resin appliques immediately after removing them from the mold. They are still slightly pliable and form to the surface. If you wait, the resin appliques become super hard and sometimes don't lay flat against the surface.
The resin is also easy to cut, so I did cut a couple to fit just how I wanted.
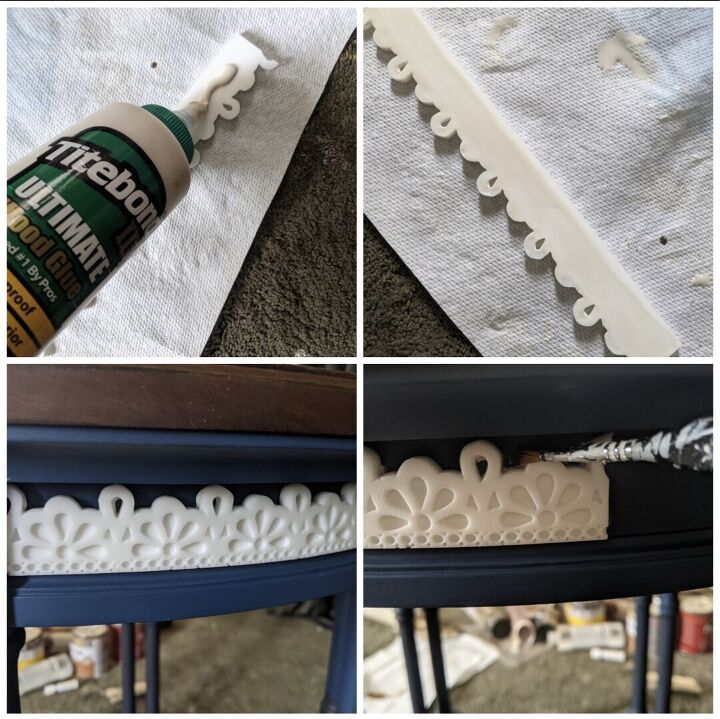
Apply a thin layer of wood glue to the back of the Applique, and press onto the surface. Wipe away any glue that oozes out the sides using a small paintbrush.
*Tip
If you wait to glue your appliques to the surface, you can't use a hairdryer or heat gun to quickly go over the appliques to soften them a bit. This way they will form to the surface
There were a couple flower appliques that I wanted to overlap the other flowers, but you can not overlap resin appliques, so I did these appliques in air dry clay.
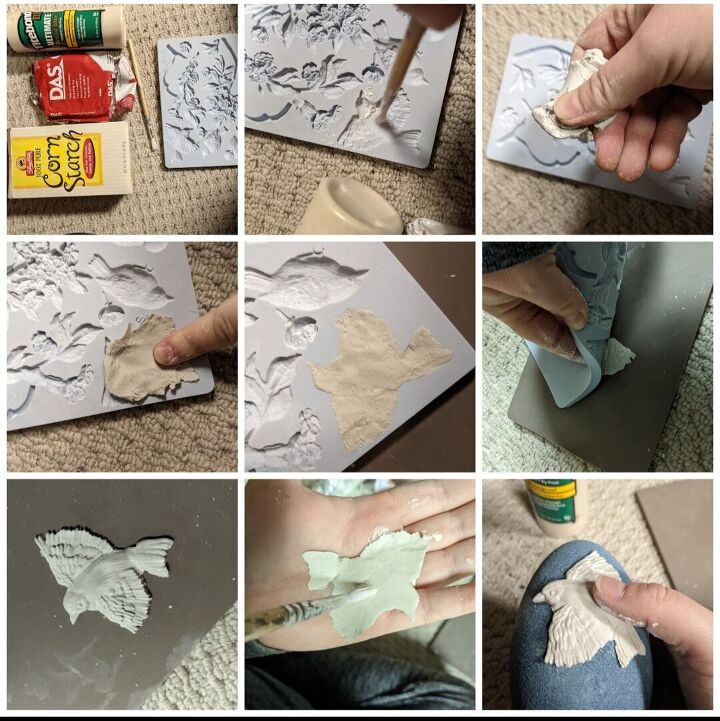
Again, since I didn't get some stills of this project, photo above is from a different project, but same technique. The mold pictured above is called Aviary.
First, dust the silicone mold with corn starch, then press the air dry clay into the mold.
I prefer either Das air dry clay or Creative paper clay.
Remove any clay overlapping the sides of the design, then flip the mold over and slowly peel it back allowing the clay to pop out. You can carefully help it along if it's stuck.
Then apply a thin coat of wood glue to the back, and gently press into place over both the surface and the resin applique
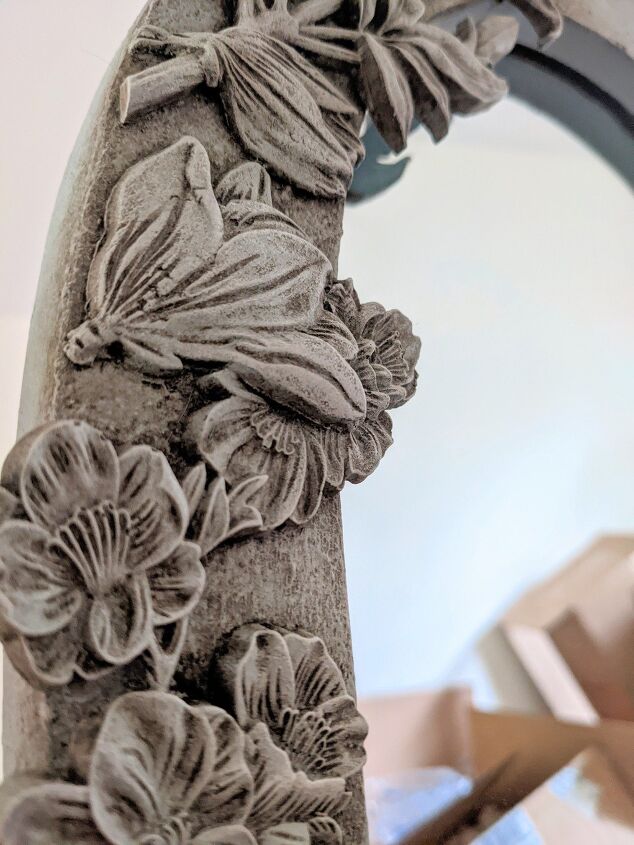
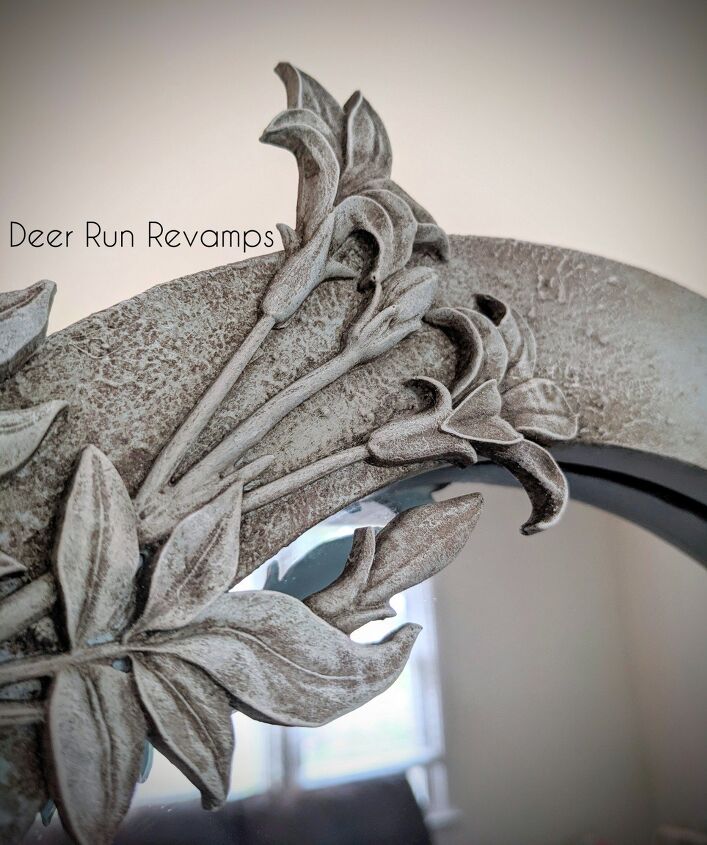
Here is a close up of the overlapping applique
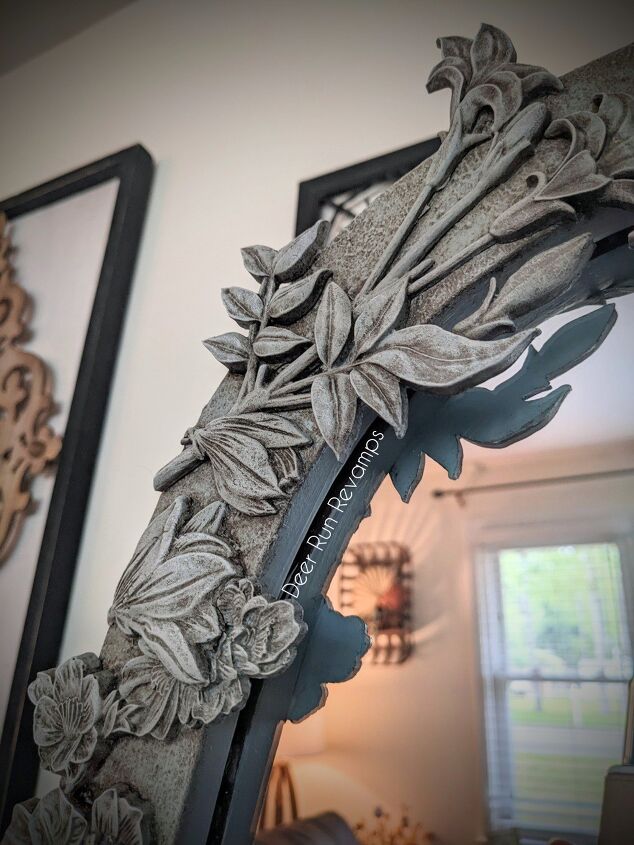
Once the clay hardened (about 24 hours) I went over top of the frame, stand and appliques with Renaissance Chalk Paint in Misty River. I allowed some of the Ivory Tower color to peek through in spots, adding to the aged, layered look
Again, since I didn't get some stills of this project, photo above is from a different project, but same technique.
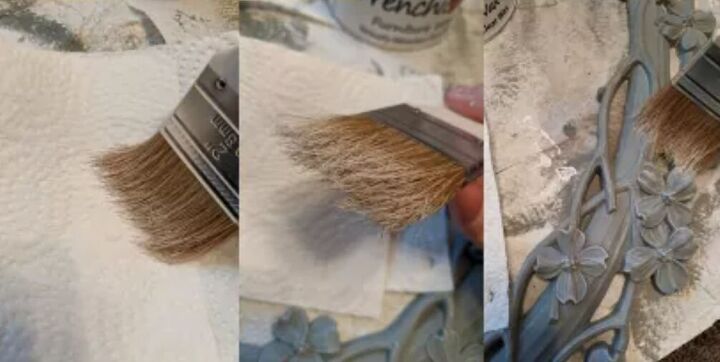
Dry brushing is an easy technique and allows you to highlight details.
Using a chip brush, add just a bit of an off white colored paint (I used Renaissance Chalk Paint in Ivory Tower) and wipe off most of it. You want very little paint on the brush.
Then lightly go over the tops of the floral appliques and over the textured frame and base.
You can add more layers of dry brushing or leave a bit more paint on the brush if you want a more noticable highlight.
Again, since I didn't get some stills of this project, photo above is from a different project, but same technique.
Grab clear wax and a wax brush, then apply the wax to the entire frame, base and appliques.
You want to apply either a clear wax or waterbased topcoat before applying the dark wax. Chalk paint soaks up the wax, so if you applied the dark wax directly to the painted surface, you wouldn't be able to blend it and make it look natural, it would just soak right into the paint.
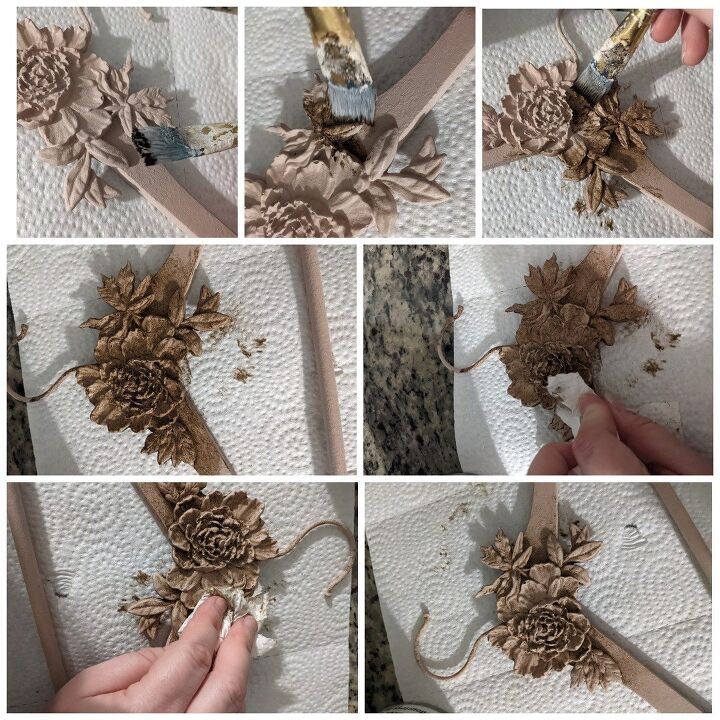
After you've applied the clear wax (or topcoat), apply the dark wax.
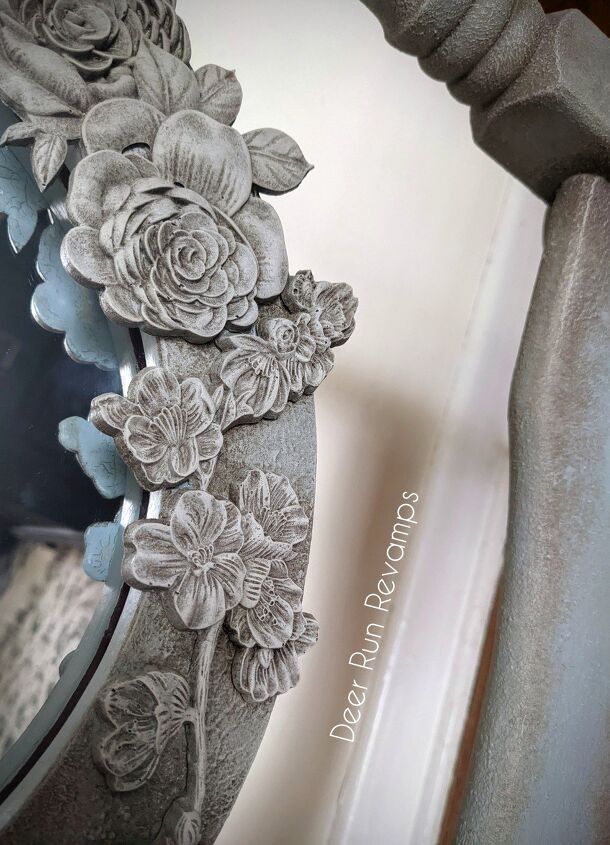
I chose a dark brown wax. Using a small brush, I applied the wax to the floral appliques, making sure to get into all of the little details, nooks and crannies. Using paper towels or a clean rag, wipe away the excess wax.
Then I also applied it to the areas on the base where the legs meet the cross bar as well as the sides of the frame where the mirror adjustment hardware is, wiping away excess
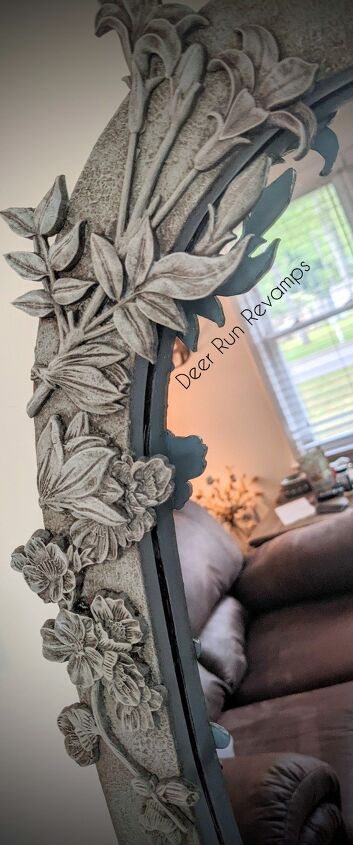
Now, enjoy your new unique piece!
These silicone moulds last forever and they are also food safe!
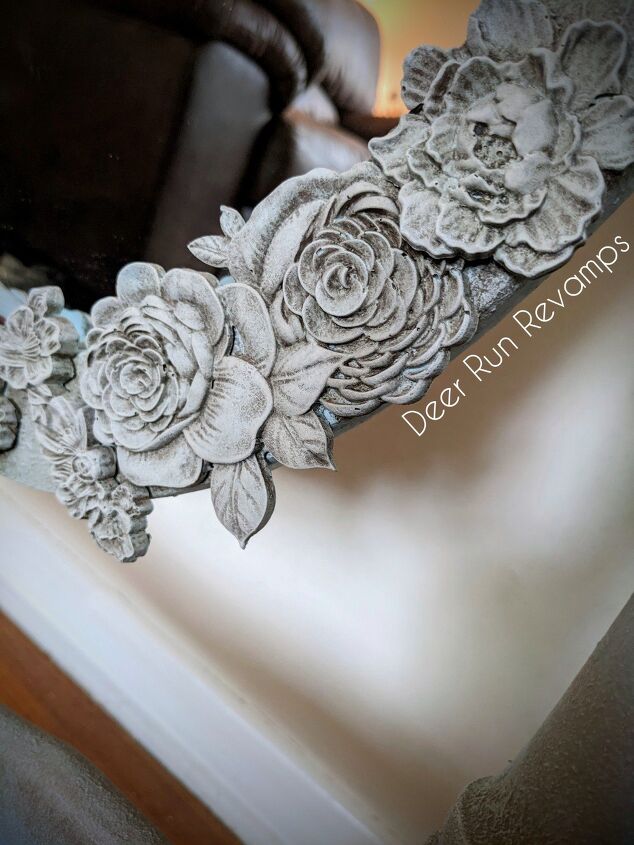
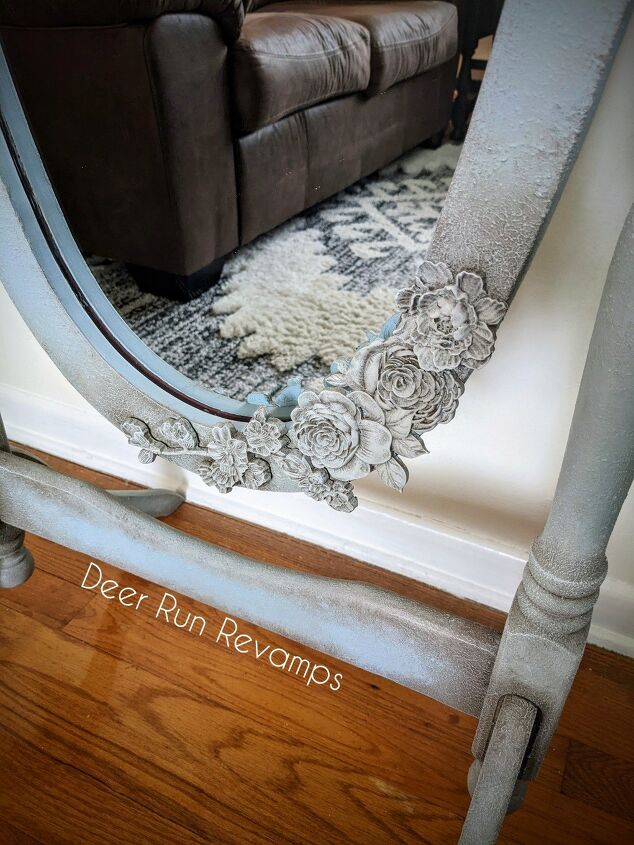
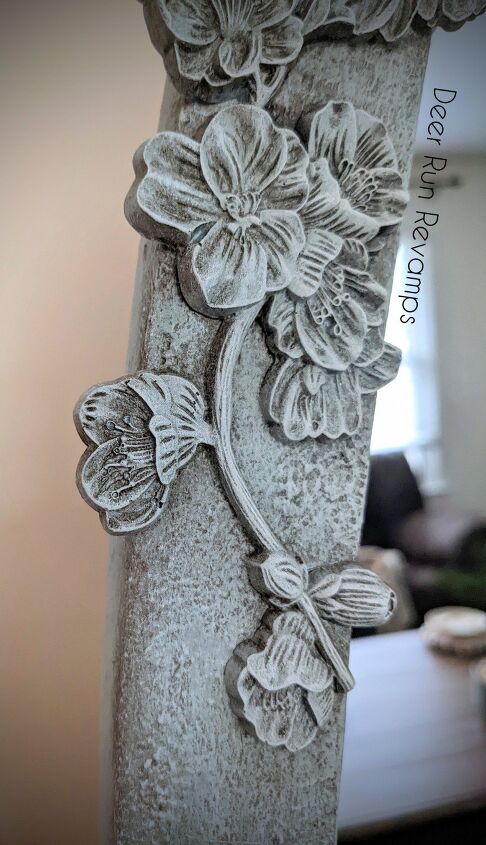
Just look at those details!
Layers and texture

Just think of all the things you could add appliques too 🤔🥰
You can find all of these products and so much more in our Etsy shop
We hope you've enjoyed this tutorial 😁
If you have any questions, please feel free to reach out
If you'd like to see more of our projects, head over to our Facebook page. You can also shop our products right from our page
Resources for this project:
See all materials


Comments
Join the conversation
-
Wow... that mirror went from drab to fab!
Just beautiful!
-
You have created a beautiful heirloom 💕. Thanks for the excellent instructions


Frequently asked questions
Have a question about this project?