


Sew Easy Mummy Pillow
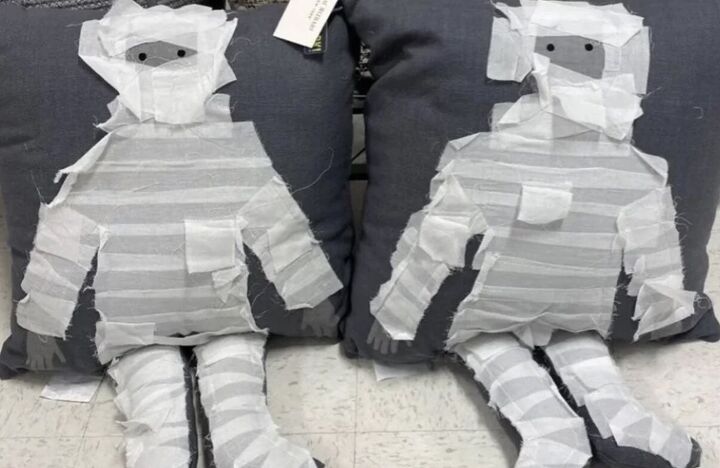
I saw the cutest little mummy pillows during one of my recent TJ Maxx therapy sessions. The price tag – not so cute. There was no way I was going to pay $40 for a pillow I could probably make myself.
So, that’s what I decided to do. One quick pic for inspiration and off I went to Hobby Lobby for the fabric.
Other than the Polyfil, fabric, and the ribbon I used for the mummy, I already had everything else I used on this project at home.
The fabric I bought was on sale and I bought 2 yards of that because I like having some extra fabric lying around, a roll of ribbon, and two bags of stuffing for a little under $15 – and I had enough to make 3 couch pillows with some extra fabric leftover!
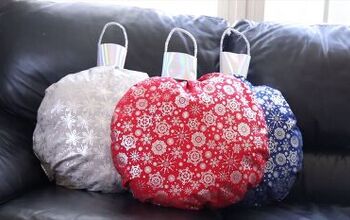
I’m super pleased with how these turned out just to add to my décor. They were made for looks, not for durability, but I think they’ll be able to survive at least a few years, most likely a couple of moves, and a dog who often thinks they were made for her.

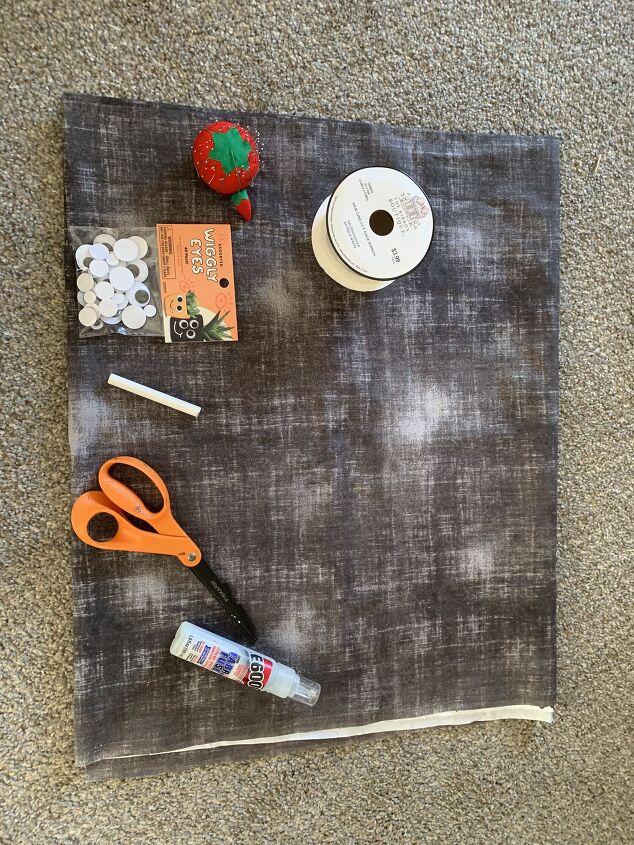
The materials I used are:
- 2 Yards of fabric
- Googly Eyes
- Fabric Glue
- Chalk
- Off-white ribbon
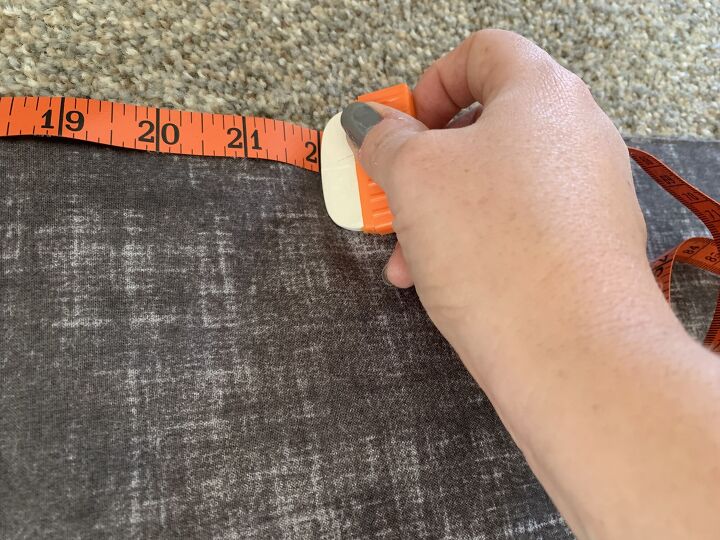
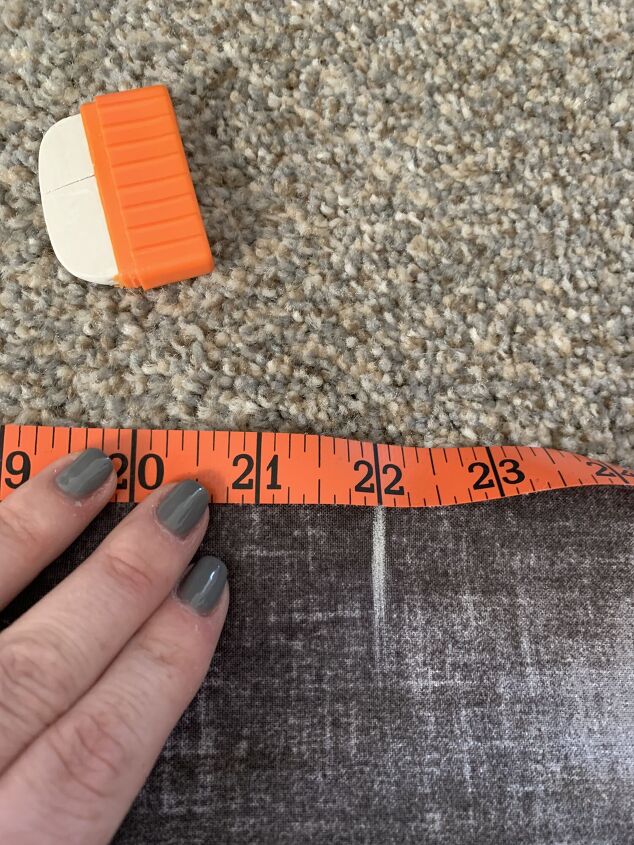
Step 1.
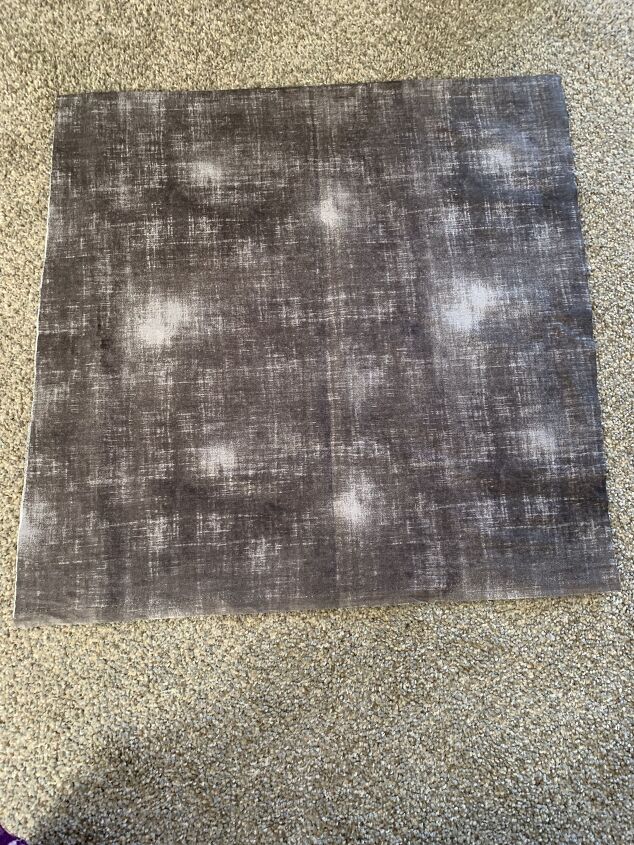
First, I measured out the size I wanted for each pillow. I had enough fabric to make three pillows, but one was a practice for the inevitable dumpster fire of my first attempt using my sewing machine for the first time in a while.
I made two Halloween-themed pillows. Both are 22 inches across.
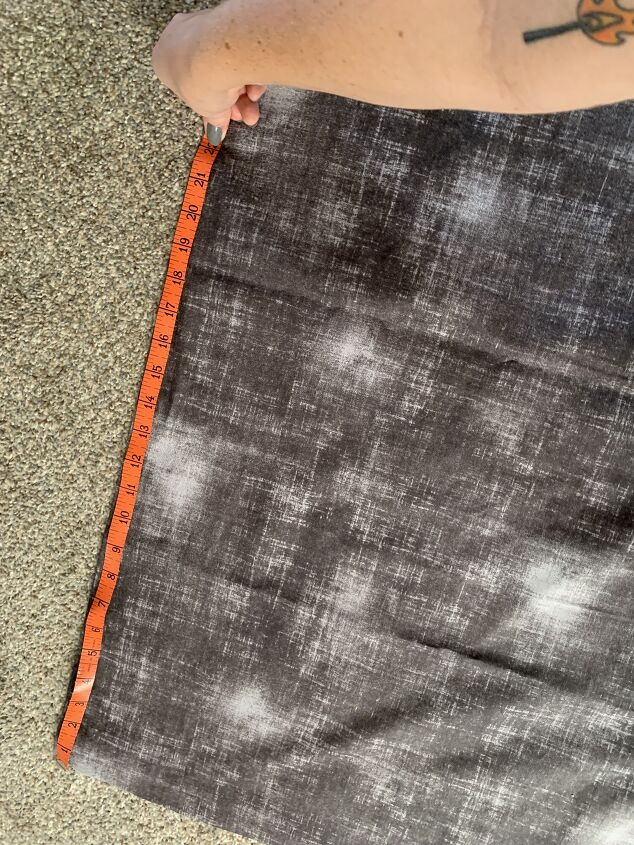
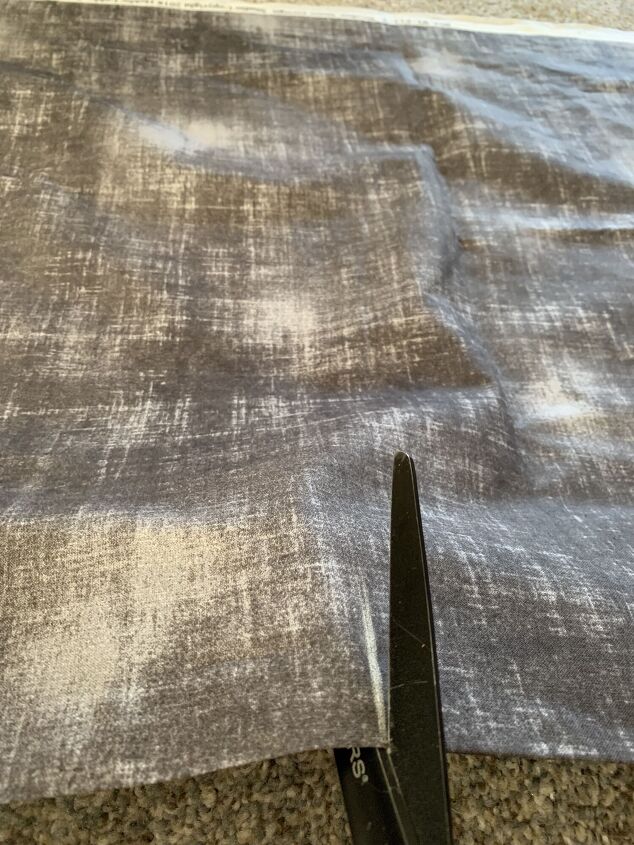
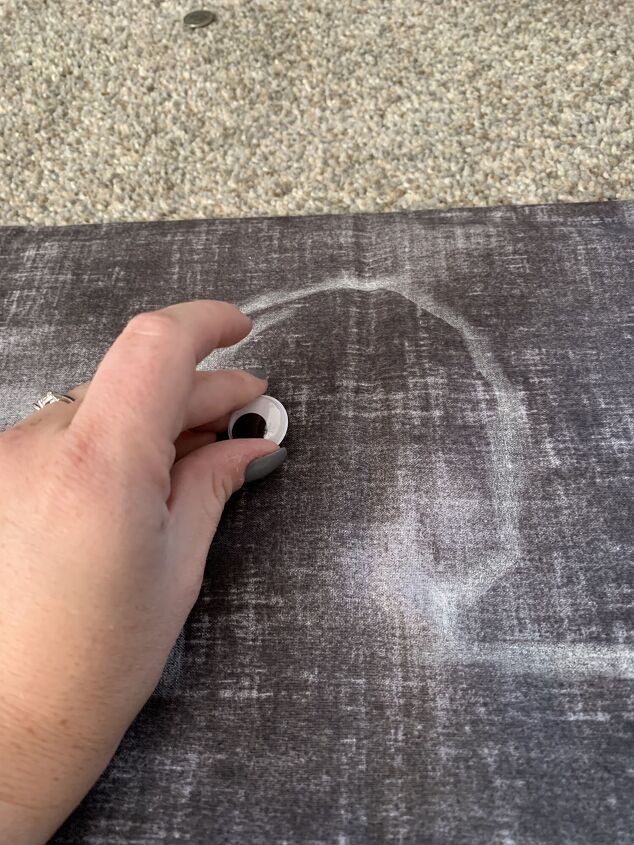
Step 2.
After measuring, I used chalk to mark the section and then cut a straight line all the way down.
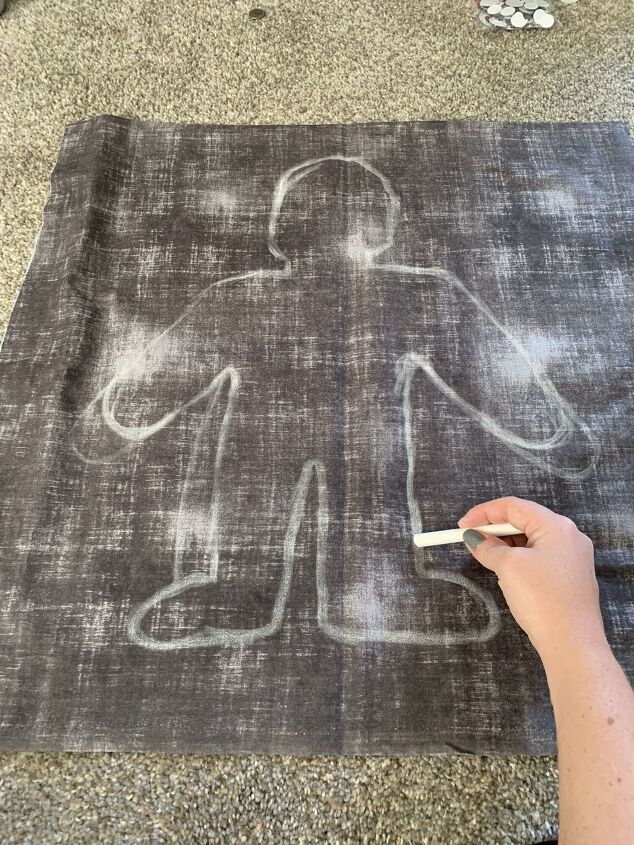
Step 3.
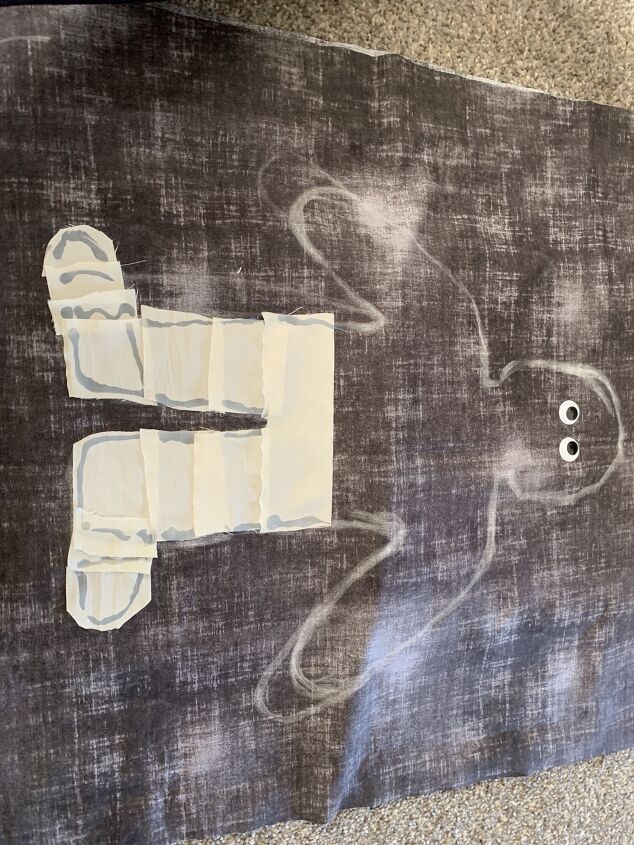
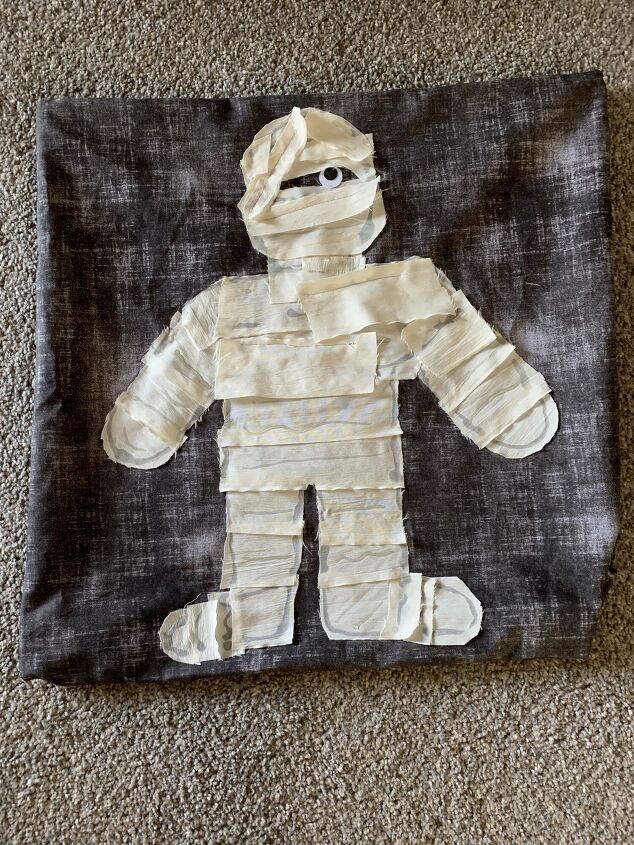
Next, using chalk again, I drew out the shapes I wanted on the pillows.
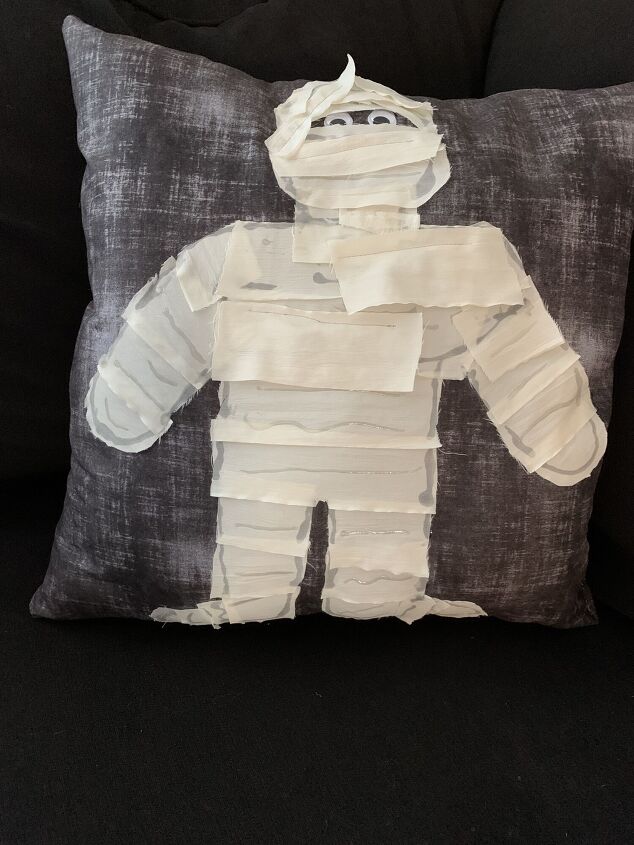
I drew out my mummy silhouette.
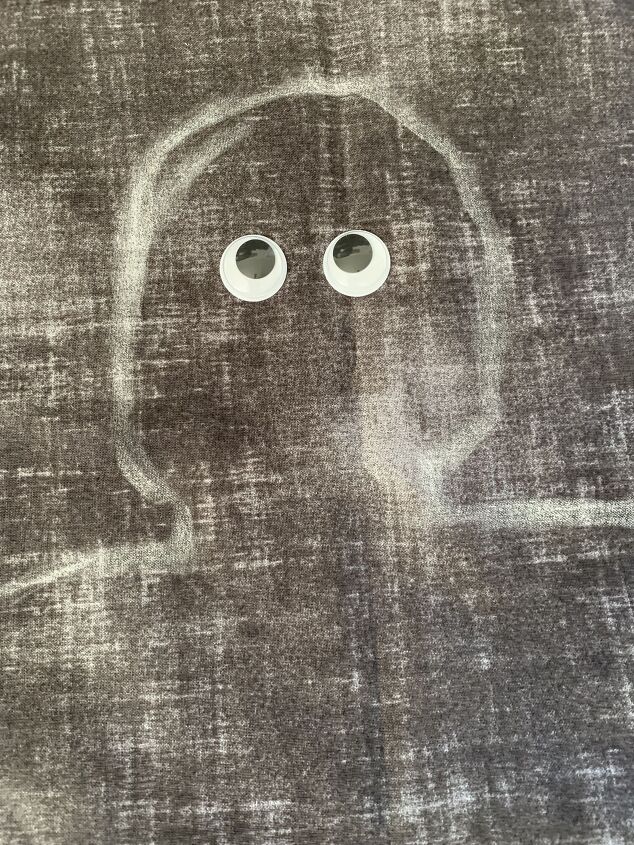
Step 4.
Next, I added the eyes to my mummy. I used fabric glue to adhere them, but I’m really debating removing them and adding button eyes to the finished project instead.
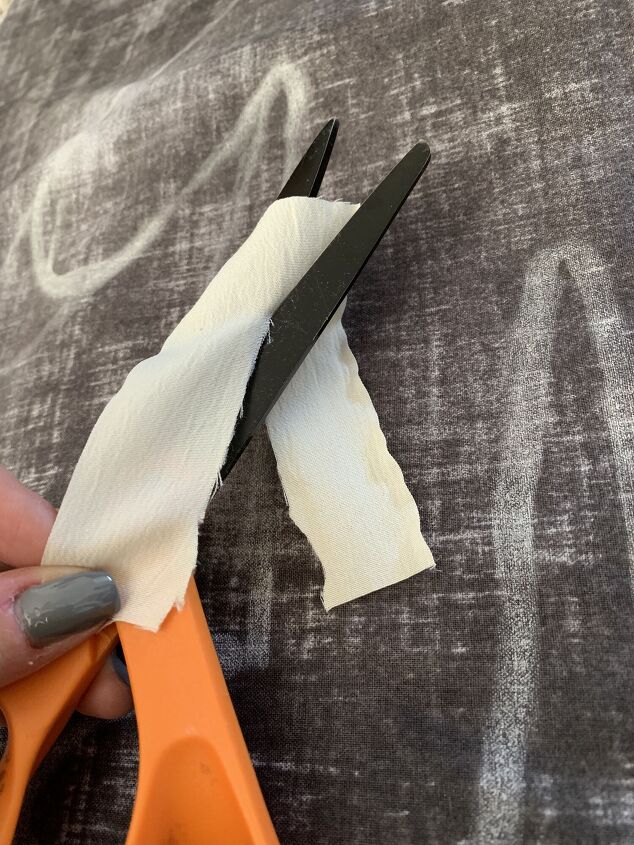
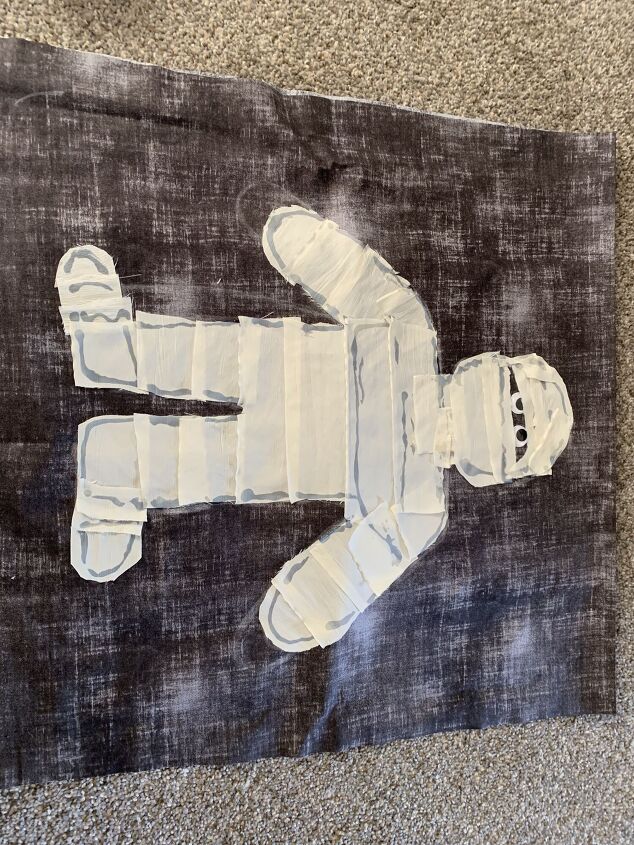
Step 5.
I bought a wider ribbon that looks a bit like crepe paper.
Here, I kind of just started winging it to fill the mummy.
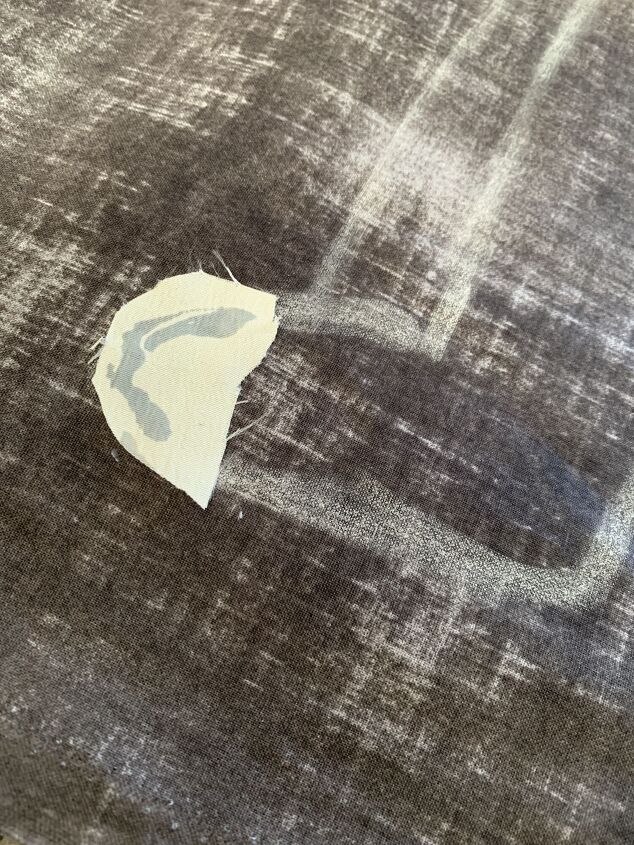
I cut small strips of the ribbon and used fabric glue to attach.

The glue did dry to where I could see the pattern, but I personally liked the textured appearance and that’s what I wanted. If you don’t like that, you can always sew all the strips onto your mummy.
I personally lacked the patience to do so, but I don’t want anyone else to keep their sewing skills under wraps if that’s their preferred method.
Step 6.
I just filled in the strips from head to toe. And let the fabric glue dry.
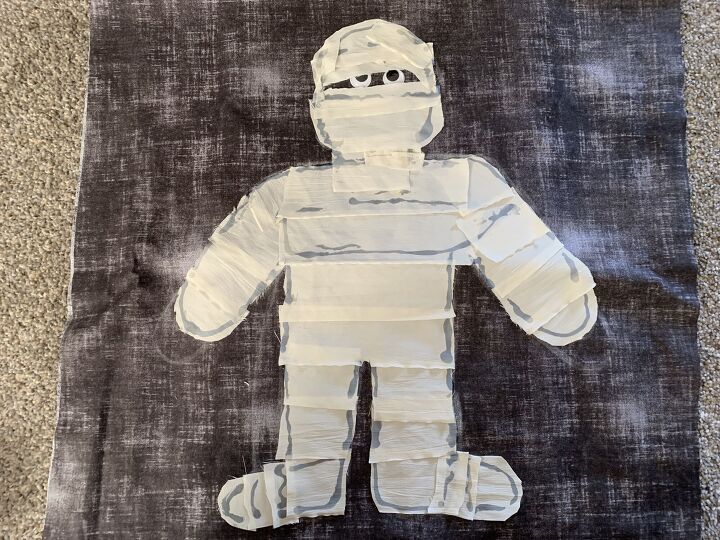
Step 7.
I decided to take just a couple of strips and sew them to the front of the mummy for just a little extra dimension
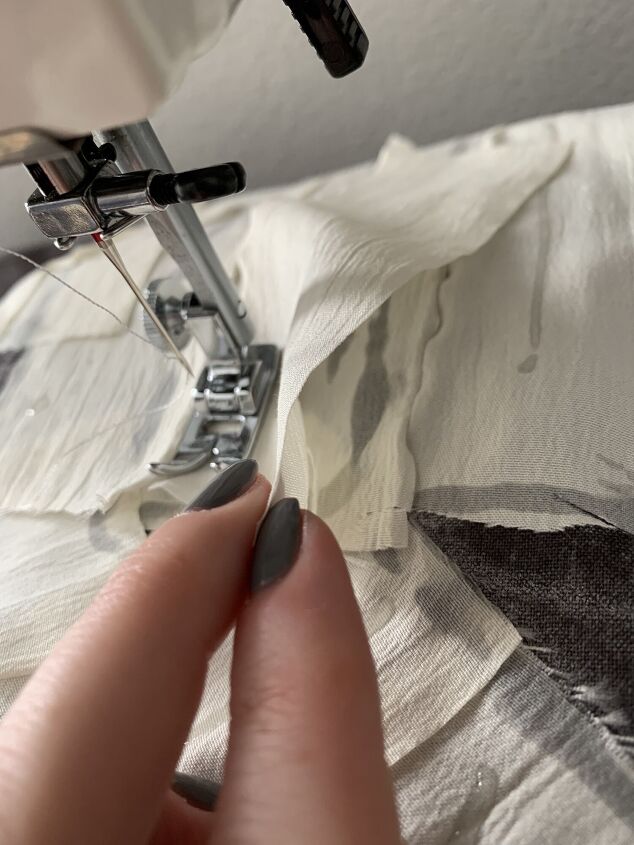
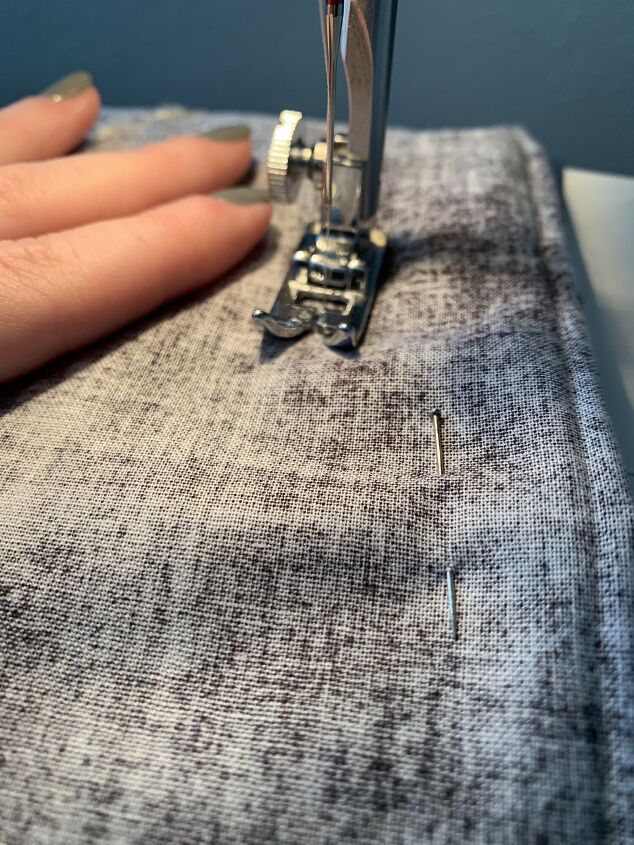
Step 8.
Then, I pinned my pillow inside out, along the edges, and sewed it up except for a small hole to add the stuffing too.
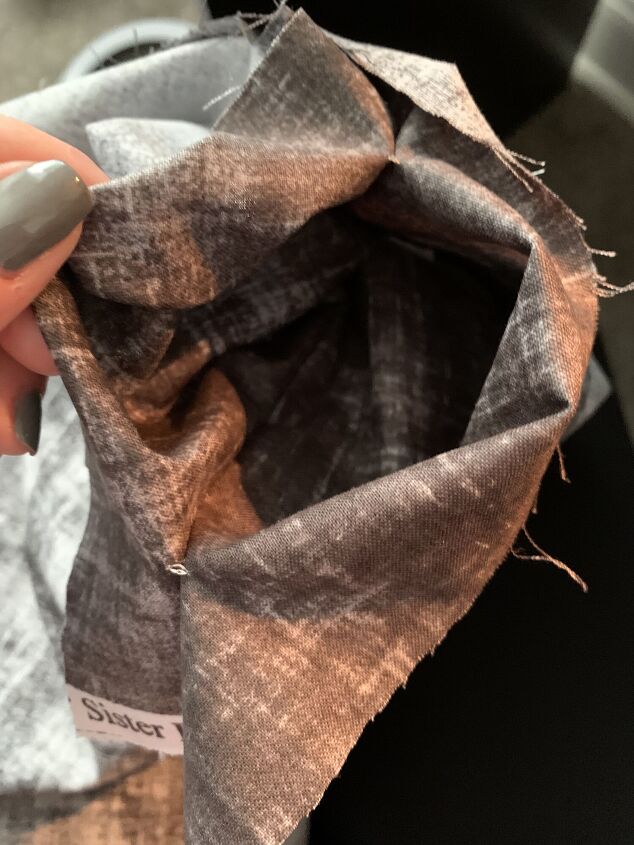
Step 9.
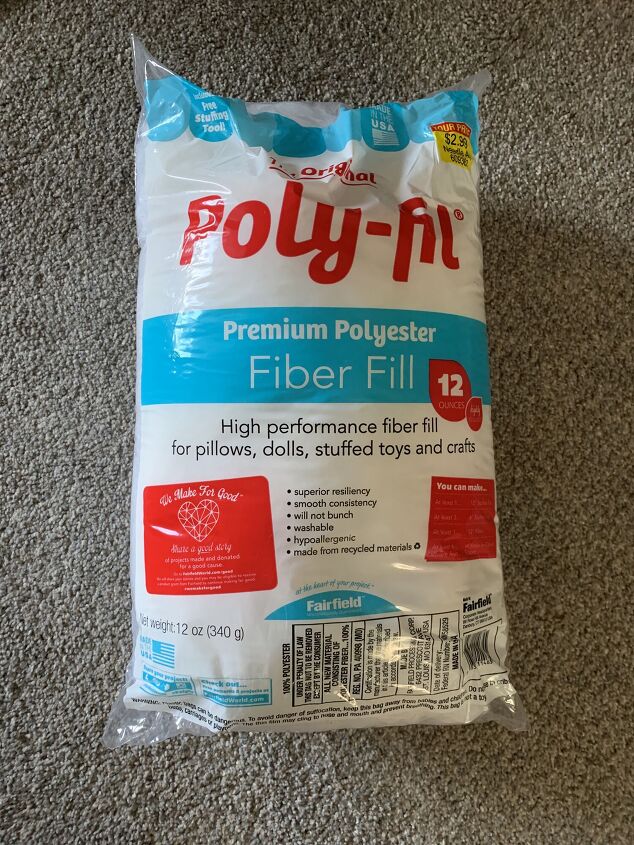
I pulled the pillow back right side out. Then, I used Poly-fil to stuff the pillows.
Step 10.
I sewed the small hole up by hand and my monster was complete!
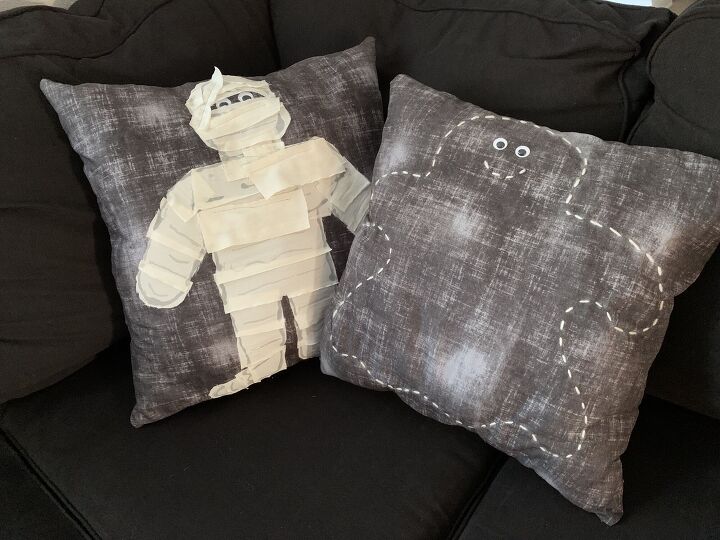
I also made a quick ghost pillow by using knitting yarn and threading it through the pillow fabric in a ghost shape.

That's a wrap!
Resources for this project:
See all materials


Comments
Join the conversation
-
Looks amazing!! Loved your “T.J.Maxx therapy”commitment 😀
-
Amanda! I love these pillows!


Frequently asked questions
Have a question about this project?