


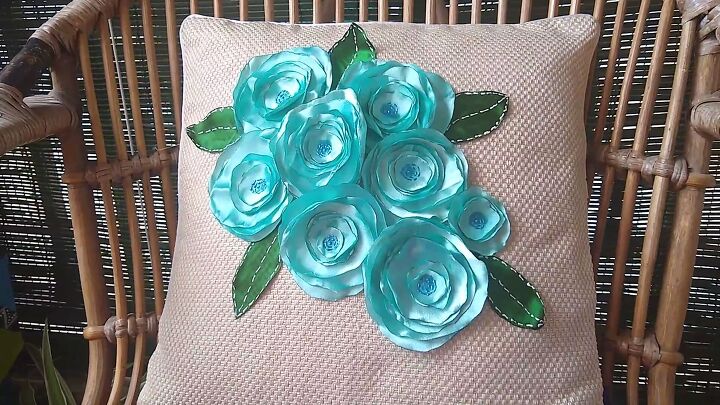
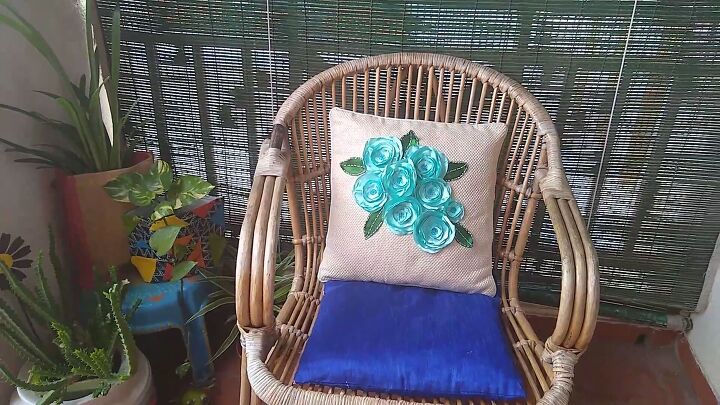
No Sew Satin Rosette Designer Cushion

I have always loved to work with fabric scrap. Be it making jewelry, hair accessories or home decor, playing with colorful fabric makes me happy.
I got the idea of todays project while working on a fabric rosette head band hfor an order. I wanted to try the same in cushions and Here's what I made.
Lets see how to make this no sew satin rosette designer cushion.
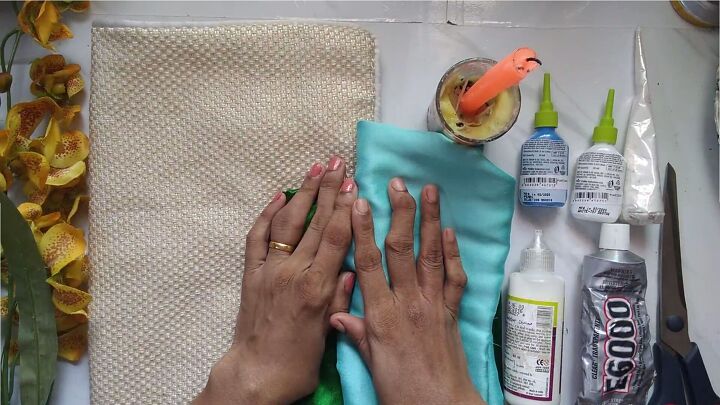
Materials Required:
Any plain cushion cover
Satin fabric in colors of your choice ( for flower and leaves)
Fabric glue
Candle
Pair of scissors
Thick paper or card
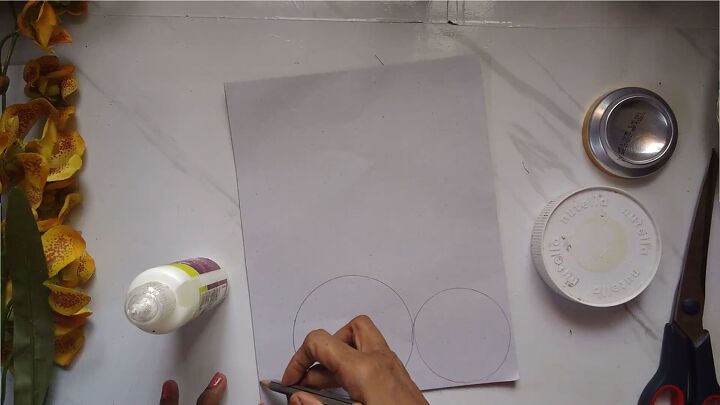
Step 1: Draw different sizes of circles on the card using lids or free hand drawing
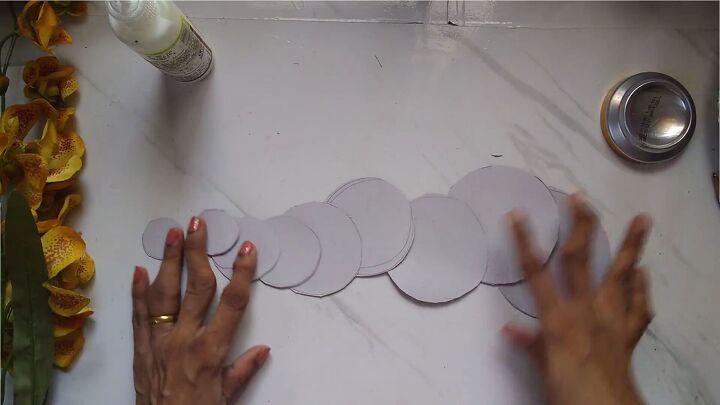
Step 2: Cut them all out.
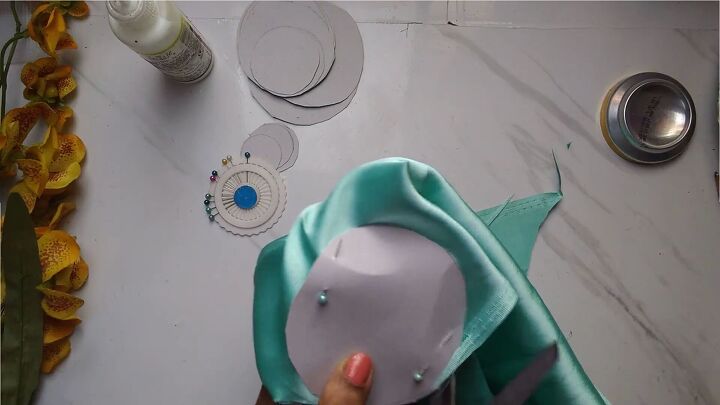
Step 3: Pin the templates to folded fabric and cut them out. When you fold the fabric and cut, you will get multiple pieces at the time.
Step 4: Light up a candle and run the edged of the circle through the flame
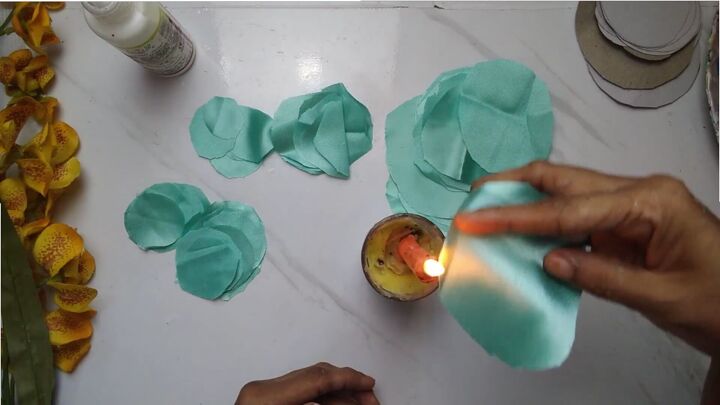
Make sure not to burn them. Just lightly run the fabric through the flame. They will curl up slightly giving it the look of a petal.
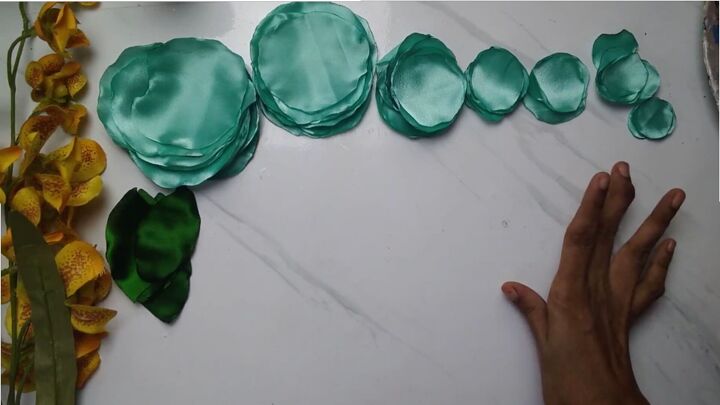
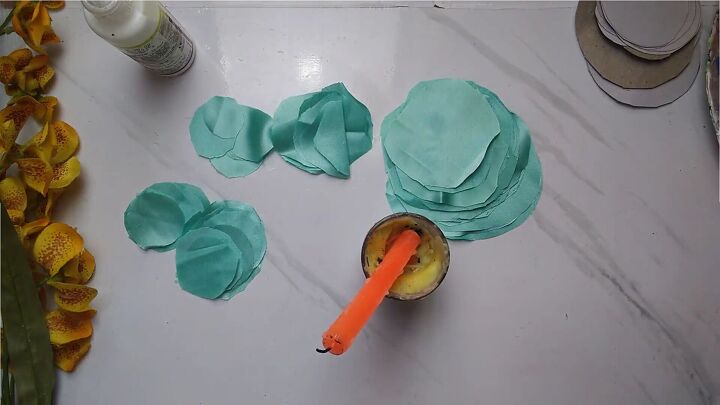
Step 5: Do this process for the circles and the leaves.
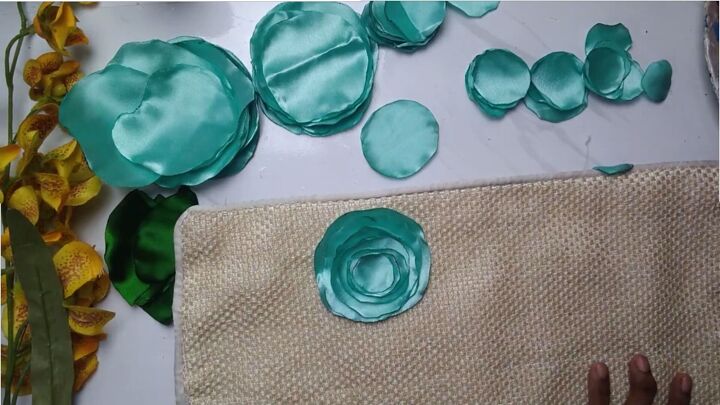
Step 6: Assemble the flower/rosette by stacking the different sizes one on top of the other. Put glue in between each layer.
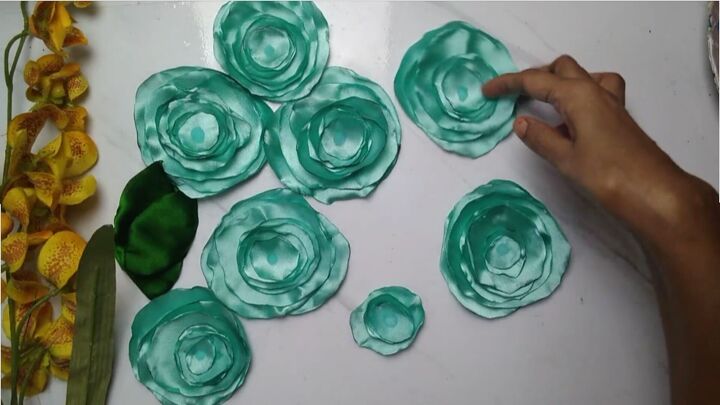
Assemble all the flowers and leaves this way.
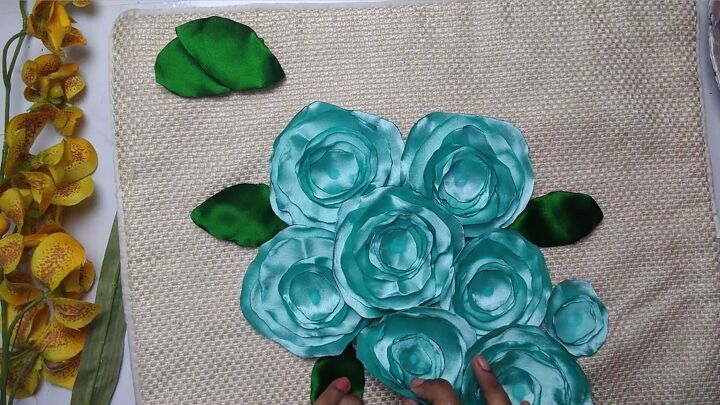
Step 7: Arrange them on to the cushion cover in a pattern that you like and glue them down with fabric glue/e6000

Step 8: To enhance the look more, I used 3d liners/puffy paint to draw stitch like patterns in the center of the flower
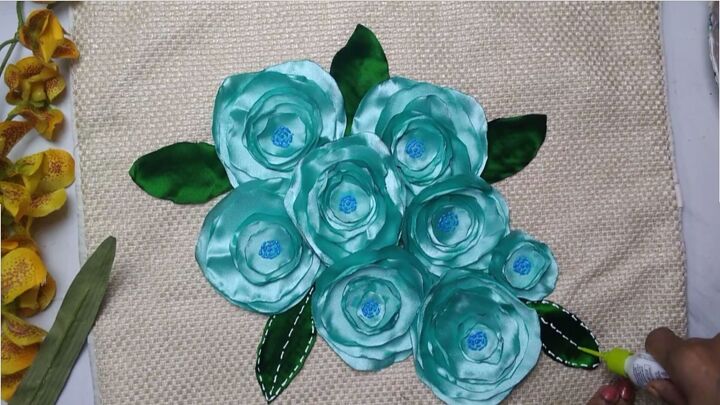
Do the same for the leaves too.

Here's our beautiful satin rosette cushion cover. Hope you like this simple DIY of recreating a high end product.

Do watch the video for a detailed tutorial.


Frequently asked questions
Have a question about this project?