


Pom Pom Cushion Tutorial
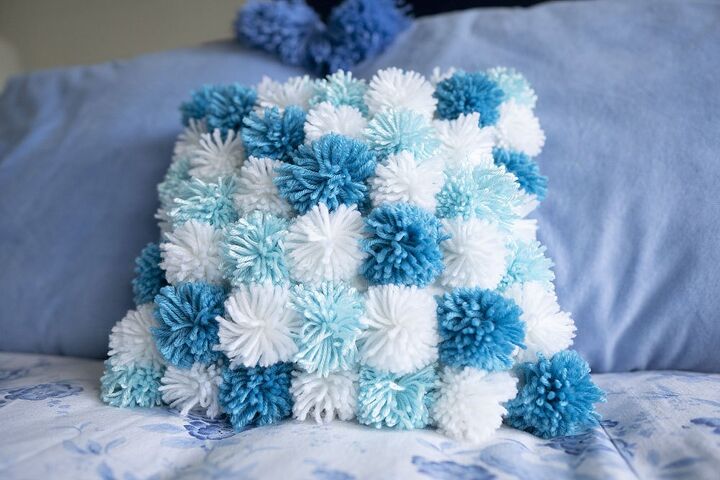
This project started off as something completely different – it was intended to be a floor rug for the bathroom.
When I realised how many pom poms I would need to make a floor rug, I decided that a cushion was much more required!
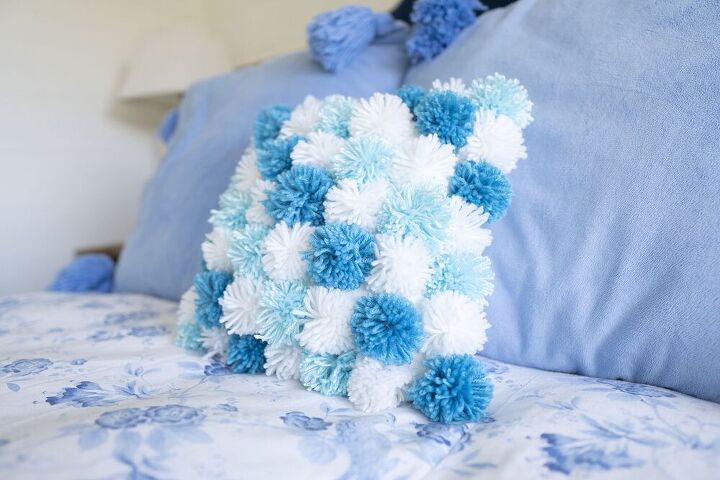
AndI love it!
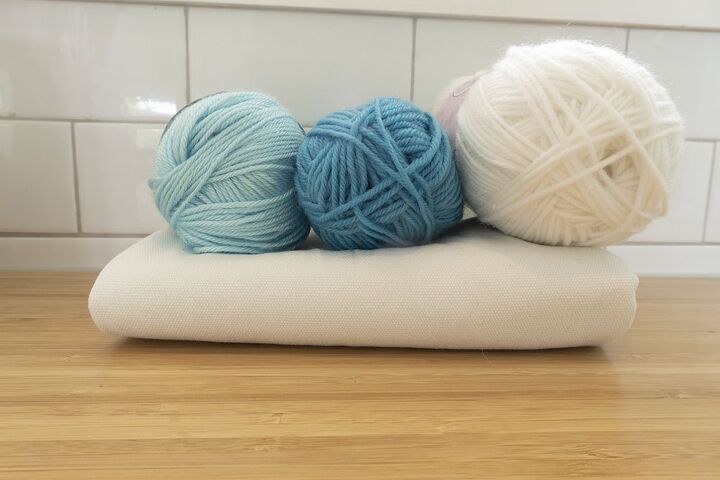
Here's What You Need:
- Wool
- Cotton Duck (or similar) – two 35cm squares
- Zip – 25cm
- Cushion Inner - 35cm
You will also need:
- Scissors
- Ruler (or cutting mat and rotary cutter)
- Sharp needle with large hole
- Sewing Machine with Zipper Foot
- Pencil
Wool
You can really use any wool for this project. If your wool is thinner than mine, you may need more to get the pom poms to be nice and full.
I used three balls of double knit wool, although my ball of white was larger than the others. If your ball of white wool is the same size as the others, you will need two balls of white as I made double the number of white pom poms. I used all of the two blue balls.
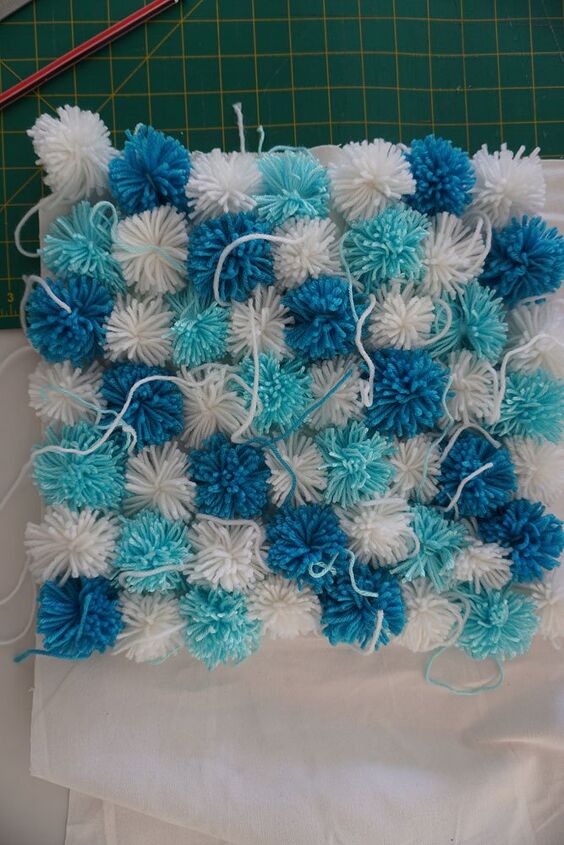
Making The Pom Poms
A quick note – you wouldn’t use this method if you were making a pom pom for say, a hat. It wouldn’t be strong enough.
Cut about 5 metres of each of the blues and 10 metres of the white before you start. You will use this to tie the knots which form the centre of the pom poms.
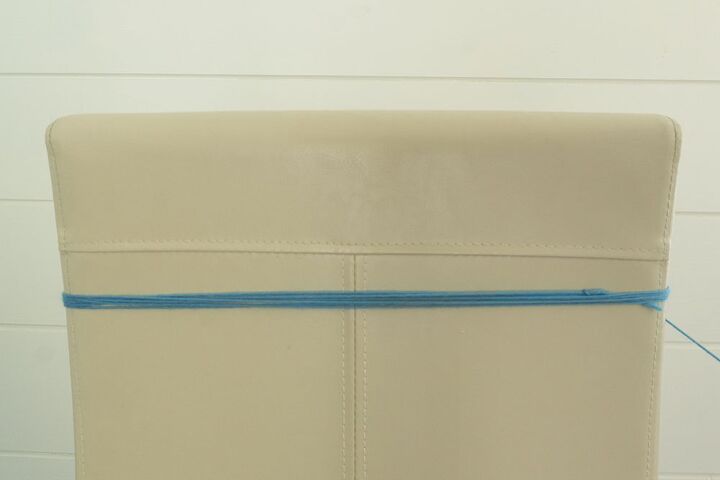
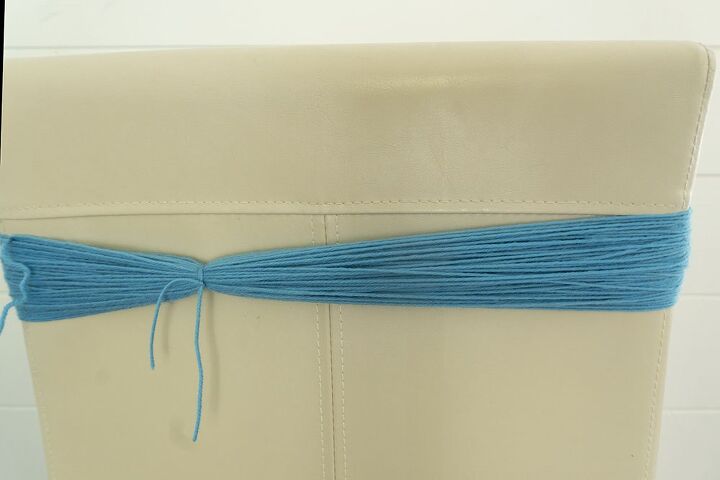
Wrap the Wool Around the Back of a Chair
I used my barstool and once I got started I could sit on the chair and do the wrapping. This takes quite a bit of time. It worked better to tie a knot after the first wrap so that it all stayed nicely in place while I wrapped the rest.
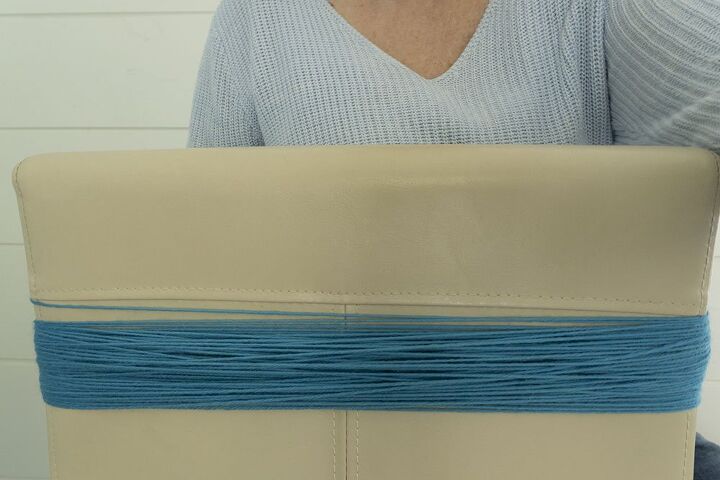
Keep wrapping until you have used all of the blue wool. Tie off the end.
Remember to make double the amount of the white (I had a bigger ball of wool). I just estimated the thickness of the wraps as compared to the blue wool. Then I repeated so that I had two wraps of the white.
Tie at Intervals
Take your 5 metre piece of wool and tie it very tightly around the wrapped wool. Leave the ends quite long as you will use these to attach the pom poms to the cushion later.
After I had done this a few times I came up with a better method to get the knots tight enough, as described below.
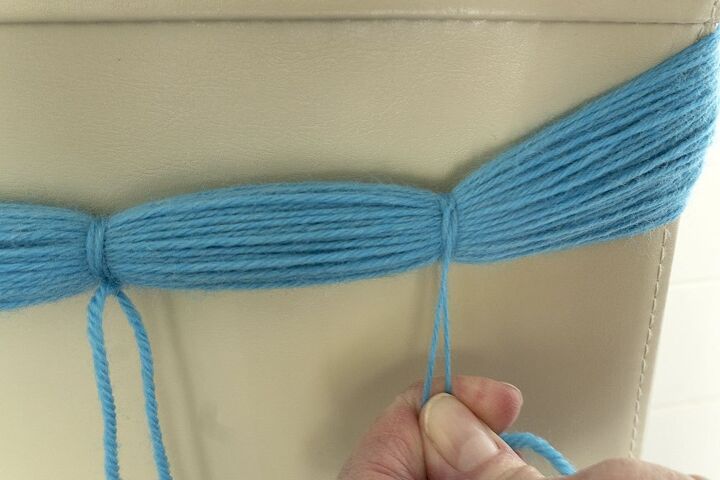
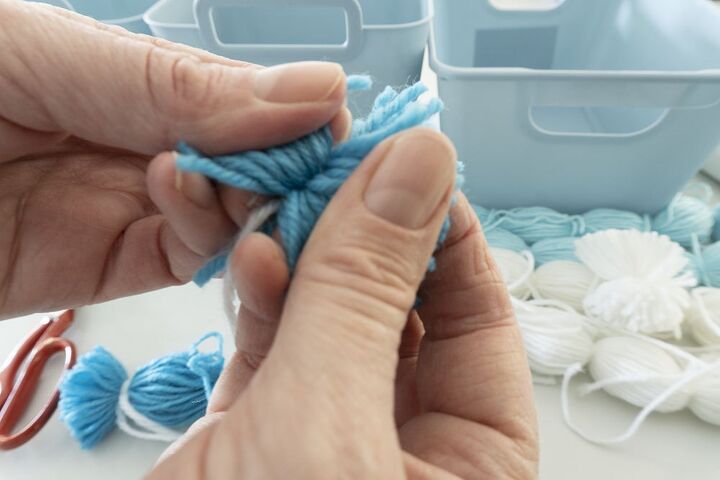
Tie a girth hitch knot and pull it tight.

Take one end and loop it up and under the wraps again, then tie a knot using both ends of the wool.
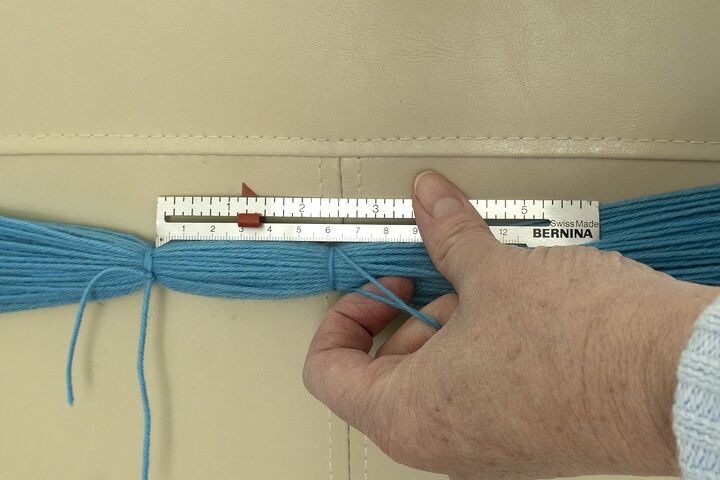
Make ties about every 6cm (2 ¼ inches). Yes, I did measure them all!
Slide the work around so that the part to be tied is at the back and continue.
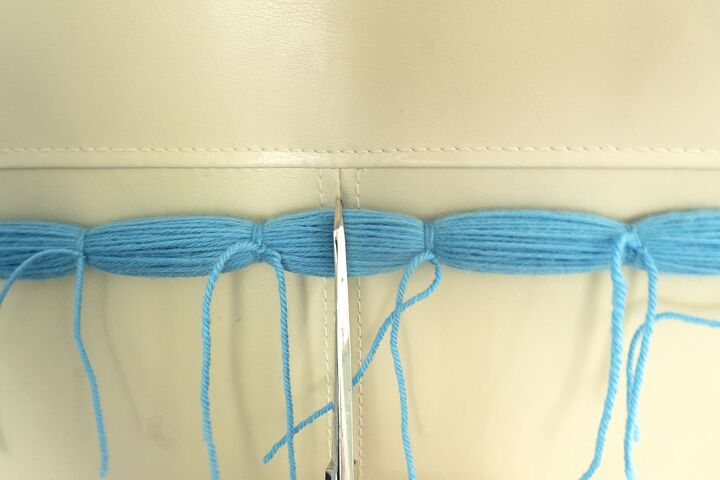
Cut Between the Knots
When you have tied the wraps at 6cm (2 ¼ inch) intervals all the way around cut in the middle of one of the tied pieces.
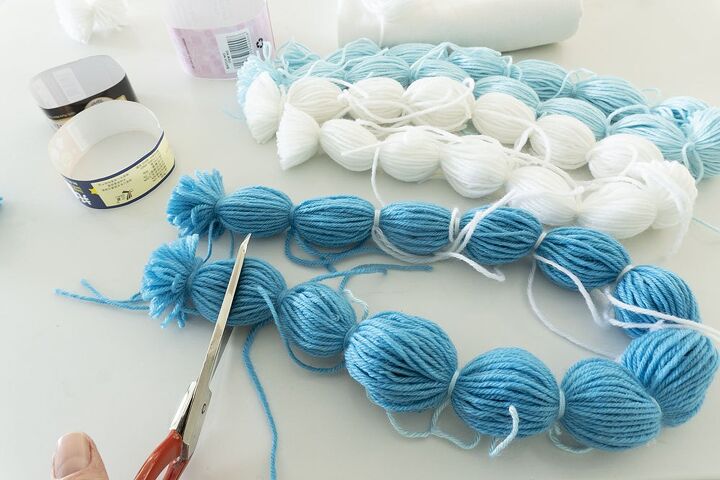
Cut between each of the ties to form the pom poms.
If you find that some of your pom poms are lopsided, then pull the shorter end gently (like I’m doing in the photo) to adjust the length.
Making the Cushion
I decided to make the cushion up before I added the pom poms, simply because I thought it would be easier. For example, it would be really hard to put the zip in with the pom poms getting in the way.
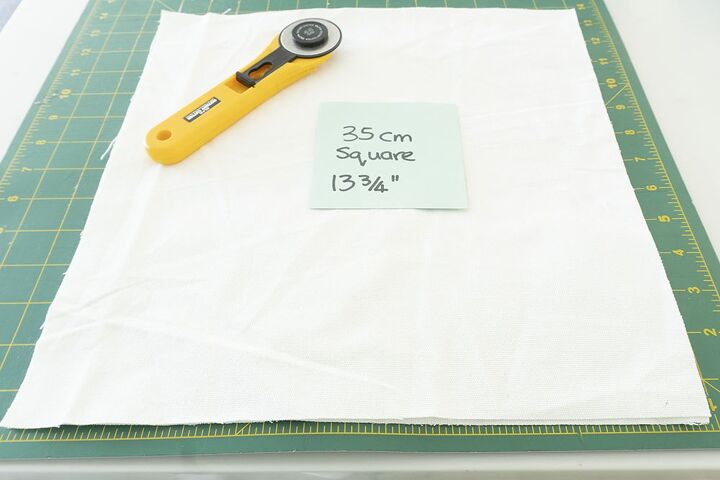
Cut two 35cm (13 ¾ inch) squares.
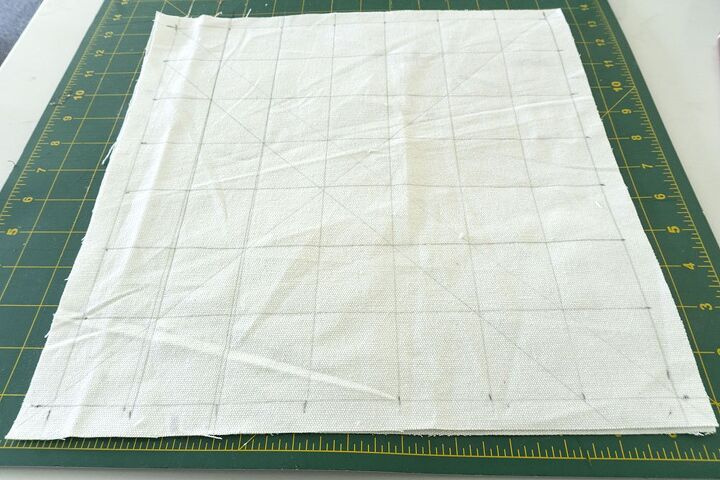
Draw a line 1cm (3/8 inch) around the outside. Mark and draw a grid of lines approximately every 4.3cm (1 5/8 inches) – basically you are dividing the inside square into 49 squares - a 7x7 grid.
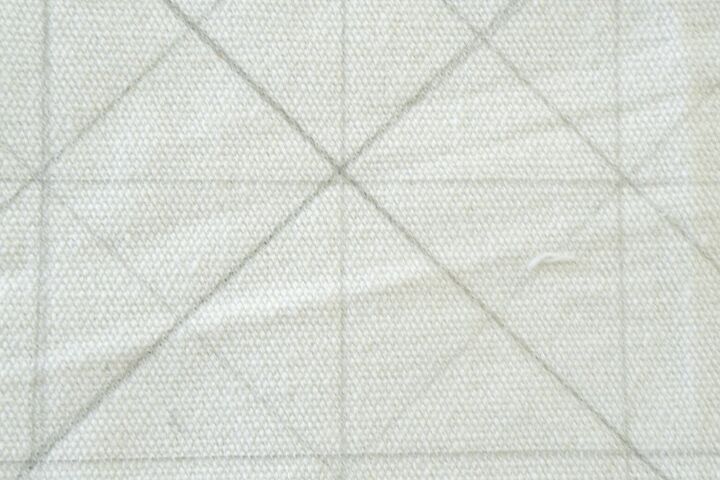
Then draw diagonal lines across the squares to find the centre of each square.
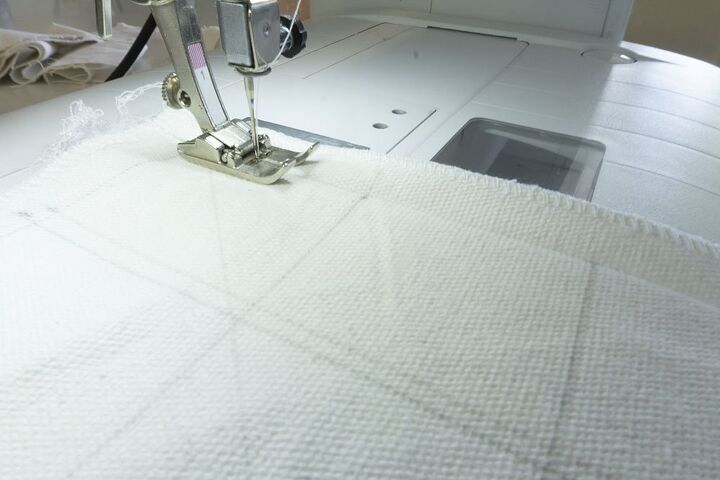
Overlock or finish around all sides of both pieces. Technically, you don’t have to do this because it’s inside the cushion and it won’t be washed frequently, but I like things to be finished neatly, even on the inside.
On one edge of the fabric on both pieces, press over the seam allowance.
Open this up and match the two pieces together. Stitch about 5cm (2 inches) in from the edge along the stitching line (the line you marked) on both ends. Ensure you reinforce (backstitch) well as this is where the zip will be and will be a high stress area. Do this on both ends.
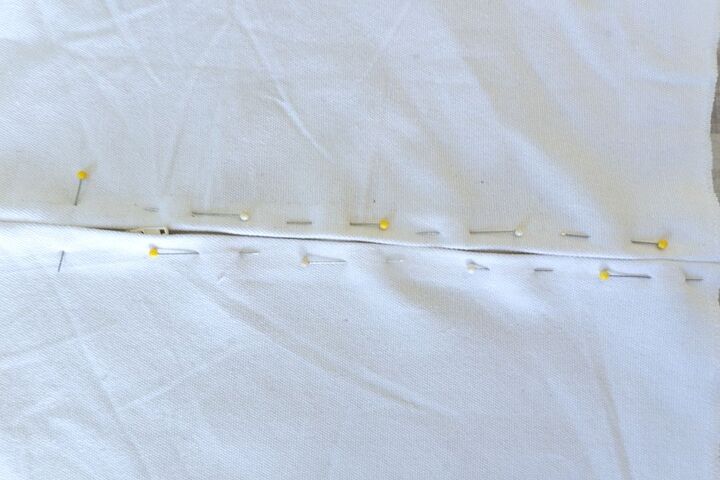
Open up and pin the zip in place, putting the pins facing in opposite directions along the sides so you can take them out as you sew.
Stitch in the zip using a zipper foot. Stitch across the top, down one side, across the bottom and up the other side. If you need more instructions on how to insert a zip, you can find tutorials on YouTube.
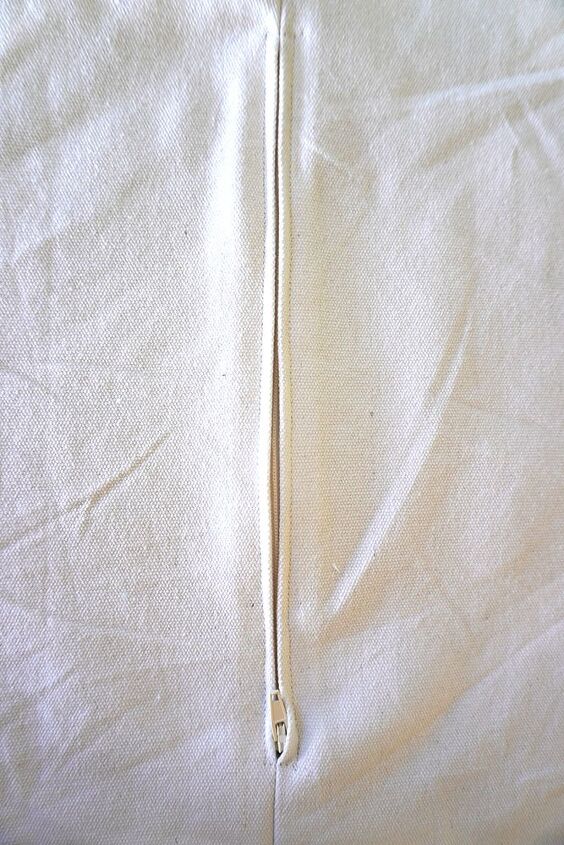
Open the zip. Super important, otherwise you won’t be able to turn your cushion out.
Sew around all sides of the cushion putting your needle down to turn the corners. This will give you a nice square corner.

Now your cushion is made.
Adding the Pom Poms
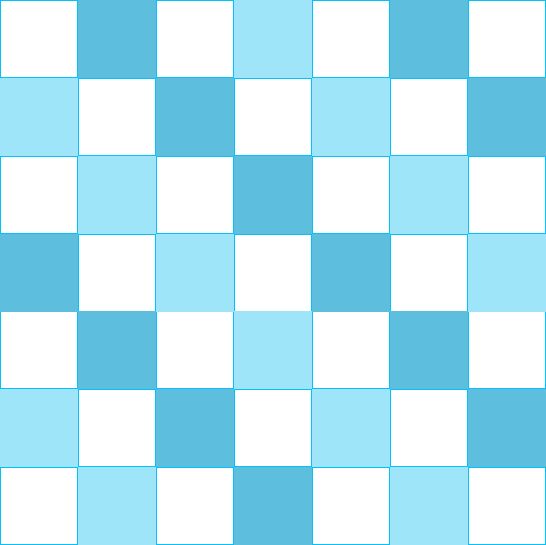
Lay your pom poms out in the design you desire. Below is a grid of how I laid mine out.
With your cushion turned inside out, thread one of the ends of the pom pom ties onto the needle and push it through on the intersection of the lines in the first square. Start at the side furthest away from the zip.
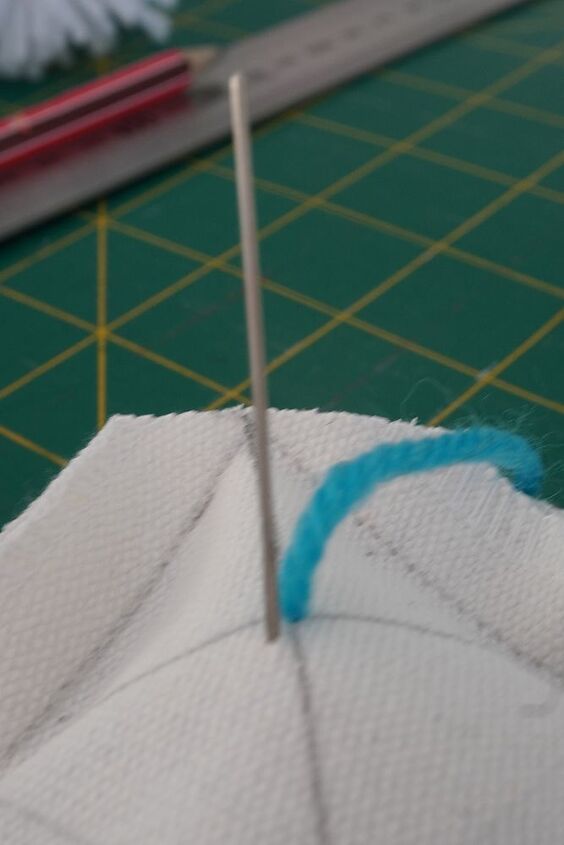
Then repeat with the other end, making sure not to come up in the same hole.
Tie the ends together. I tied mine with two knots, just to be safe.
Repeat, following the pattern until all the pom poms are attached.
Keep turning the cushion out during this process to check you have the pattern right.
Once you have tied all the knots, you can trim the ends of the ties, but not too close. Leave a little bit of a tale.
Turn the cushion out and add the cushion inner.
Wasn’t that fun? This would be a great project to make with kids.
If you would like to know how to make tassels that are on the cushions in the picture see my post on making wool tassels.
You also might like:


Comments
Join the conversation
-
I love this top for making pompoms
-
What a great idea. I love it.


Frequently asked questions
Have a question about this project?