


Play Kitchen Remodel

Alissa HaganPlay Kitchen Remodel
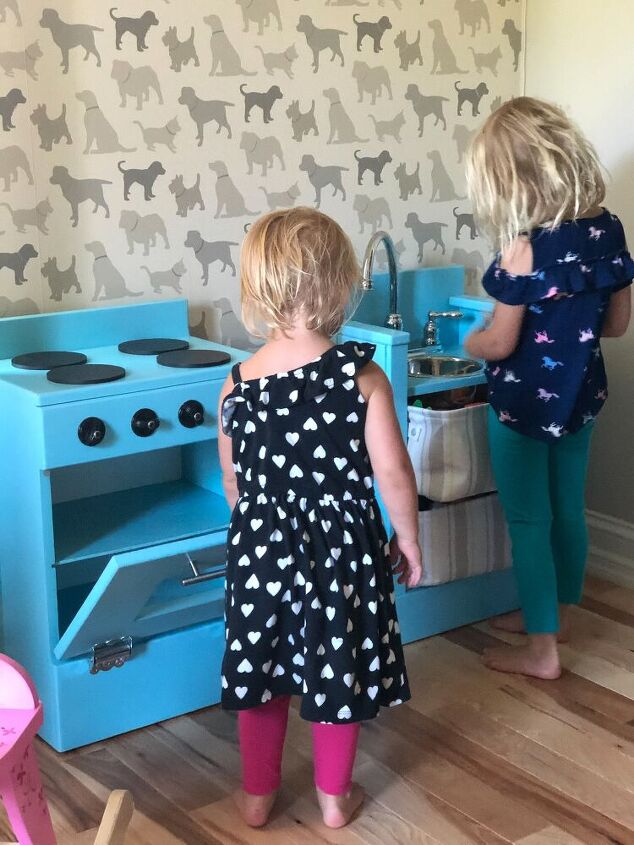
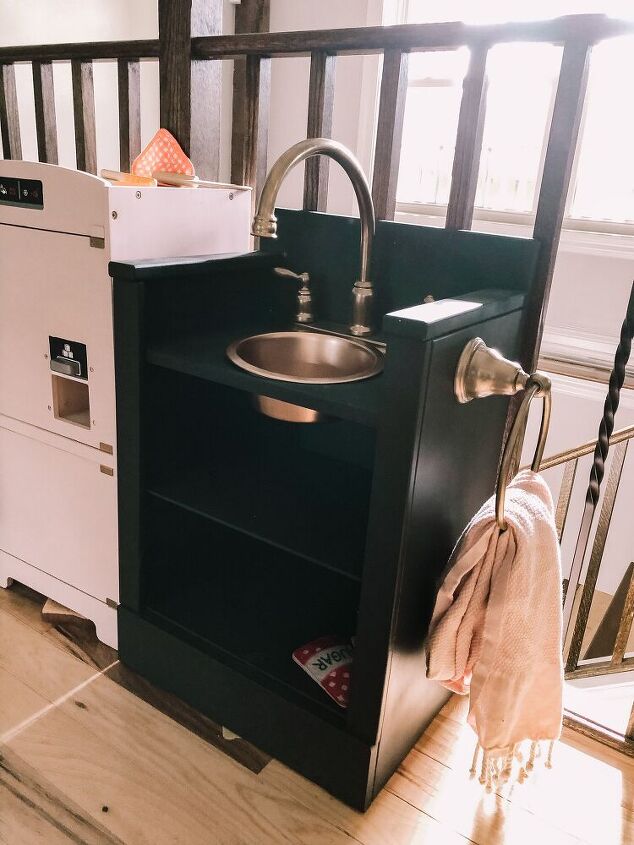
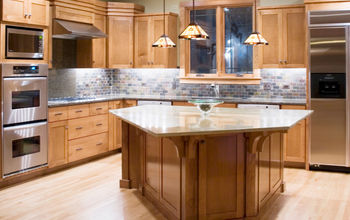
It seems kitchens are a trending theme in my world recently. I have been helping a client with a kitchen remodel/refresh and now gave my girls' play kitchen a small makeover! I acquired this play kitchen before we even had kids. Honestly, I think it was even before we were married that I snagged the stove and the sink unit at a garages sale for $10. It sat for years collecting dust and moved three times, but I knew one day we would have kids and a play kitchen would be a great learning experience. I don't have pictures of what they looked like when i bought them, but just imagine wood kitchen units that left a lot to the imagination. The first makeover came when our oldest daughter was three. The stove unit got a door and hardware and the sink unit got an actual sink and faucet recycled from a bathroom remodel. We painted it a bright turquoise blue and gave it to her at Christmas. The first "remodel" cost us the price of spray paint and some hinges for the oven door. Everything else, the towel ring, faucet, sink bowl and oven handle were all recycled from a bathroom remodel my parents had done.
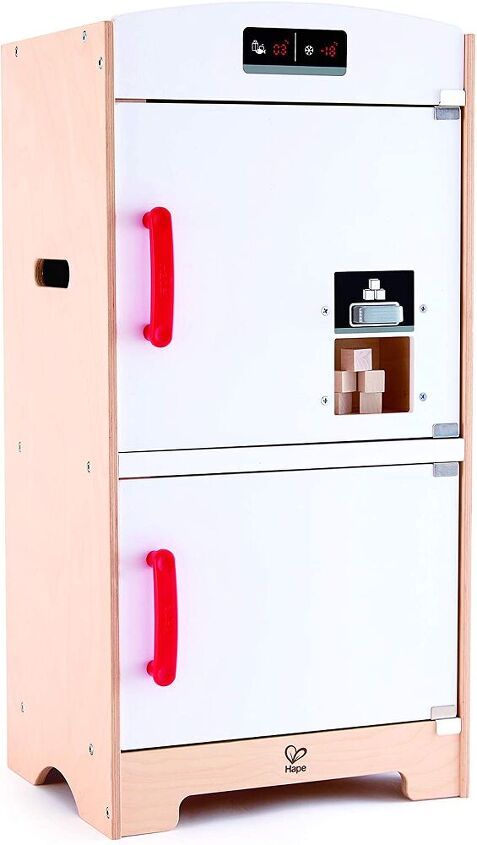
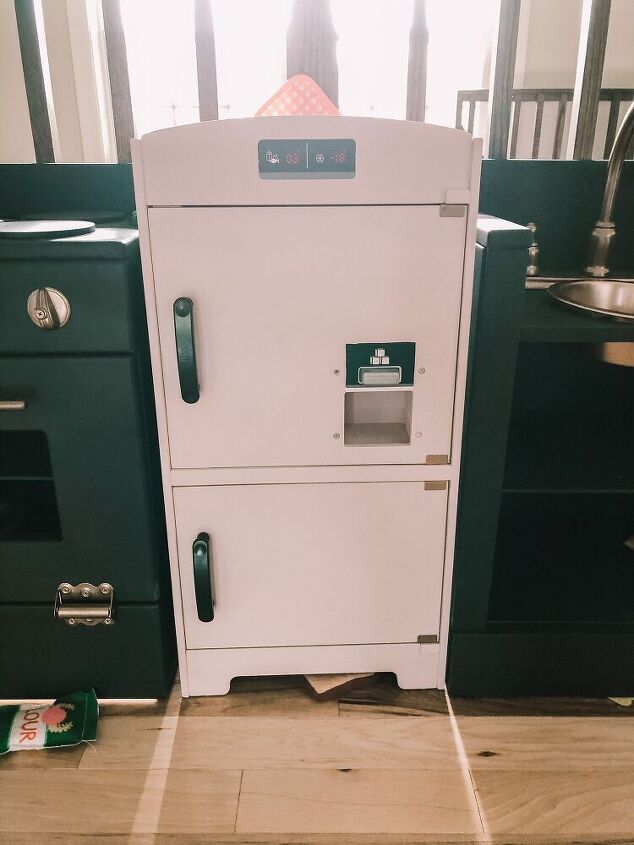
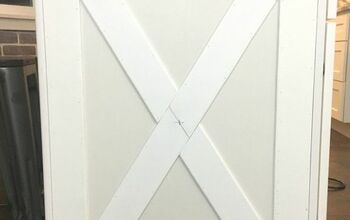
The refrigerator was an addition this year at Christmas and we purchased it HERE. The doors are made from particle board, a lesser quality material than solid wood. The sides are plywood and after 6 months it has held up well. Compared to other play refrigerators and kitchens this was a good budget one.


Materials:
+ 150 grit sandpaper
+ screwdriver or drill
+ masking tape or painters tape
+ razor knife
+ Rustoleum chalked paint blush pink
+ Rustoleum chalked paint charcoal
+ ACE metallic gold paint
+ Minwax paste finishing wax in Natural
+ Rustoleum Metallic tint with primer: Oil Rubbed Bronze
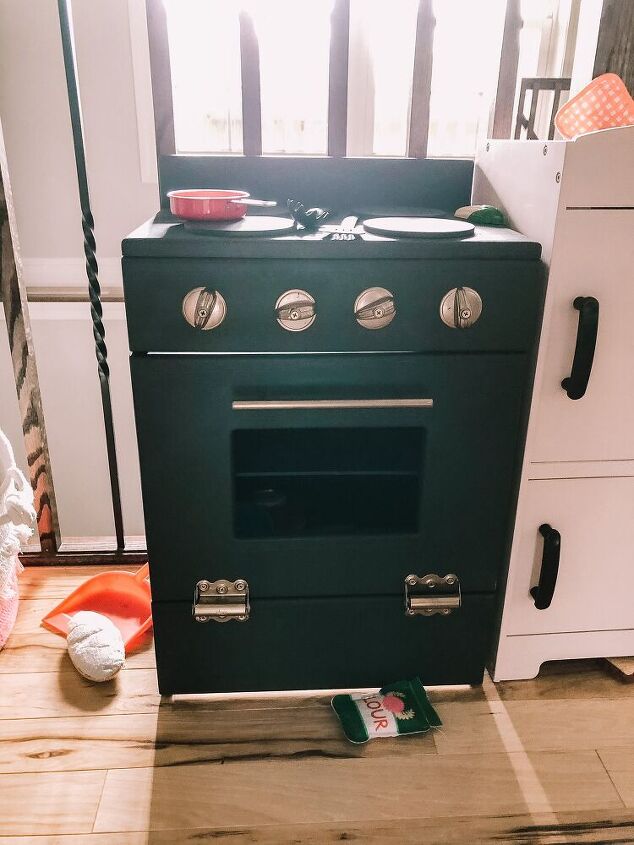
Step 1 Preparing Units for paint: Remove doors and hardware from refrigerator, stove and sink units. Tape off anything you don't want to be painted. For the refrigerator I taped off the temperature readings and the ice cube illustration parts. Now you are ready to sand all surfaces. I used a 150 grit sandpaper (a more finer grit) to sratch the surface so the paint will adhere.
Step 2 Painting the units: It is my experience with chalk paint that you do not need to prime before painting. If I had painted the stove and sink units pink I would have primed because the pink is much lighter and would take a lot to cover the darker turquoise color. I did not have to prime any units because of the colors I chose. When working with spray paint you want to keep the can continuously moving to avoid drips. I did have a few spots on the side of the refrigerator where I had to go back and sand and repaint due to drips. It took two cans of pink and two cans of charcoal. I was able to do about 3 thin coats on each unit, lightly sanding in between to give a smoother finish. The chalked paint will gibe you a very matte finish, so if you don't like that look you can choose a different paint. Follow the instructions on the can for prepping, priming and painting.
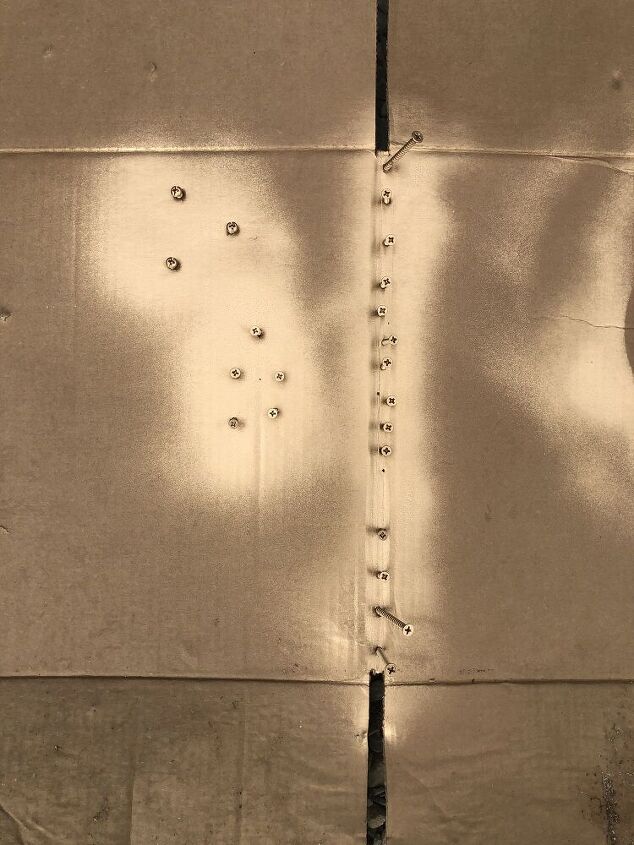
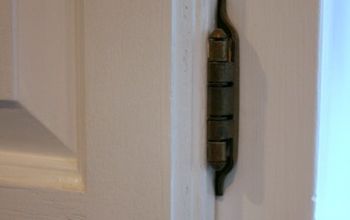
Step 3 Painting hardware: Most of the hardware on the units are metal and I simply wiped them down with rubbing alcohol before painting. I did not prime. I was sure to use a paint that was made to paint metal. I am aware that this kitchen will be played with a lot and abused so I anticipate having to do some touch ups down the road. For the plastic handles on the fridge, the gold paint I had was not rated for plastic so I went with the rustoleum oil rubbed bronze paint that I already had. It is rated for painting plastic. For all the screws, I poked them into cardboard so they would stand up straight and hit them with the gold paint as well.
Step 4 adding a protective coat: Kids are rough on things, I think we can all agree to that! While the paint does not say you need a protective coat, I chose to add the paste finishing wax for some extra protection, in hopes that my need to touch up won't be for a while. NOTE; I SUGGEST WAITING 2-3 DAYS TO LET THE PAINT CURE BEFORE APPLYING THE PASTE FINISHING WAX. Past finishing was is easy to apply. Simply use an old rag, rub it on and 'wax on' in circular motions. It takes about 15 minutes to dry then go back and give it a quick polish with a clean rag. This wax produces a hard, dry oil-less polish in a matte finish.
Step 5 Reassembly: Yay you did it! It is time to put all the hardware and doors back on. Then take some pretty pictures and tag me on Facebook or Instagram so I can see your play kitchen transformation.
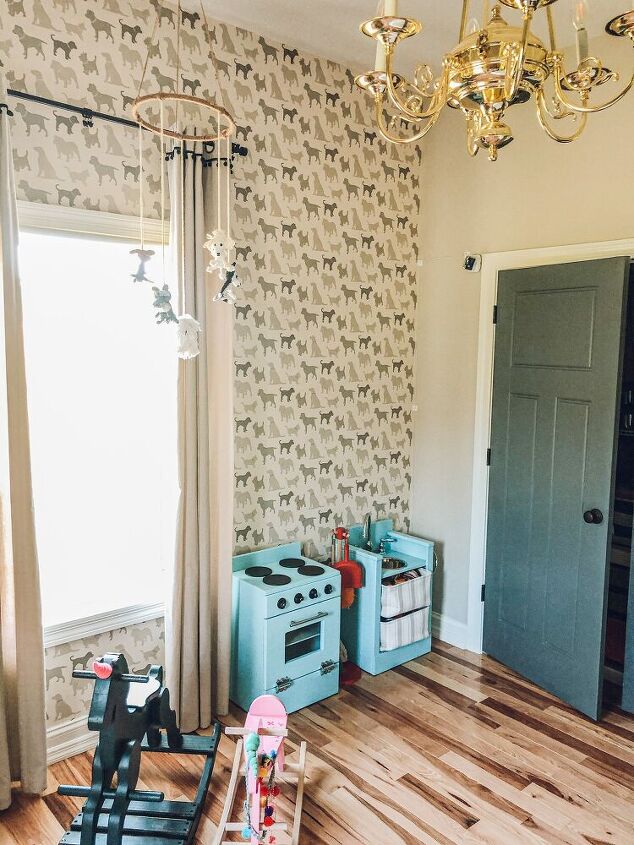
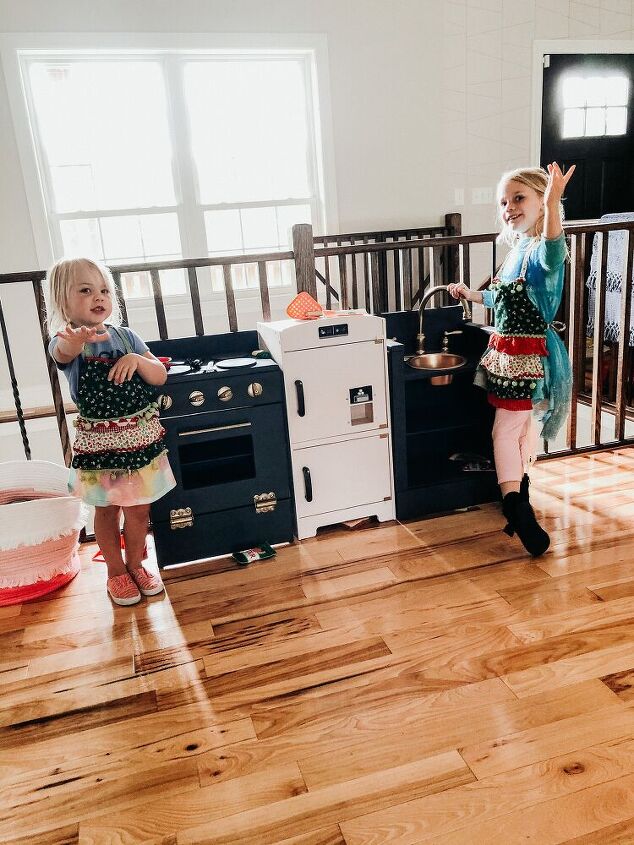
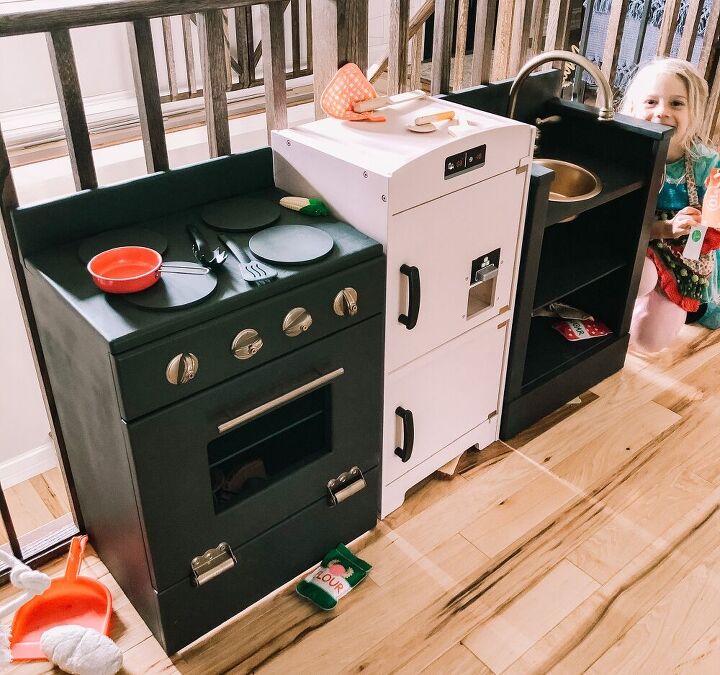
I love the way it turned out! It took me about 3 days when it was all done and only cost me the price of spray paint, about $40. The play kitchen has found a new home in our living room, which is the biggest reason I painted it, to coordinate better with my home decor. The girls actually play with it more often since it has been moved and I have been eating a lot of "coffee and pie"!
Hope you found this inspiring and helpful!
HAPPY DIYing!
Alissa
0Post not marked as liked
Comments
Join the conversation
-
I never had a play kitchen. Just a step stool to help out my mom and sisters in a real kitchen. LOL
I would have preferred the one you created.

Love it!
- See 1 previous
-
My 3 sons are now men, but since my husband did and still does all the cooking & shopping, our boys always had " play kitchens" , to be just like dad. Now all 3 are great cooks.


Frequently asked questions
Have a question about this project?