


3D Pumpkin 🎃 Wreath With Dollar Tree Products

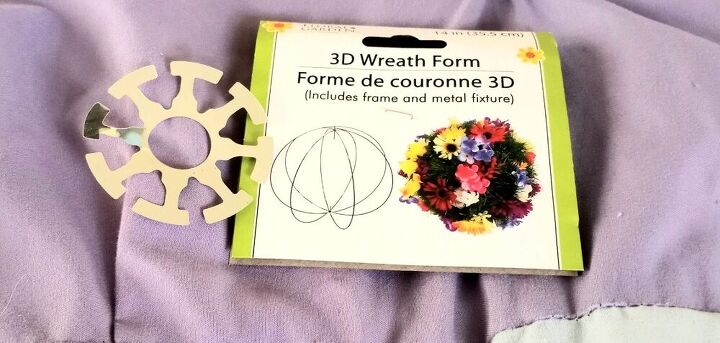
While I was in the floral dept. at Dollar Tree a few months ago I came across this 3D wreath form. I found it very interesting, and admit I still don't understand the concept of using this form as a wreath, in the traditional sense anyway. How would this be hung on a door?
The shape said "pumpkin" to me and so, that was the plan. Of course like all of my plans they start in my head and work themselves out as I go.
First order of business: focus on and complete the other projects I'd started. I put the pumpkin out of my sight for awhile so I wouldn't start it in haste & regret the outcome. Doing so allowed me to give some thought to my plan of attack.
I knew I wanted this to resemble a pumpkin but be a year round decorative piece; taking time to ponder this process helped a lot. I already had everything I needed to put this together, I just hoped it would come out as nicely in reality as in my head.
The only item I purchased specifically for this project was the wreath form. However, the Nautical Rope also came from DT during previous trips (we stock up, is that nuts?)- I used a total of 4.
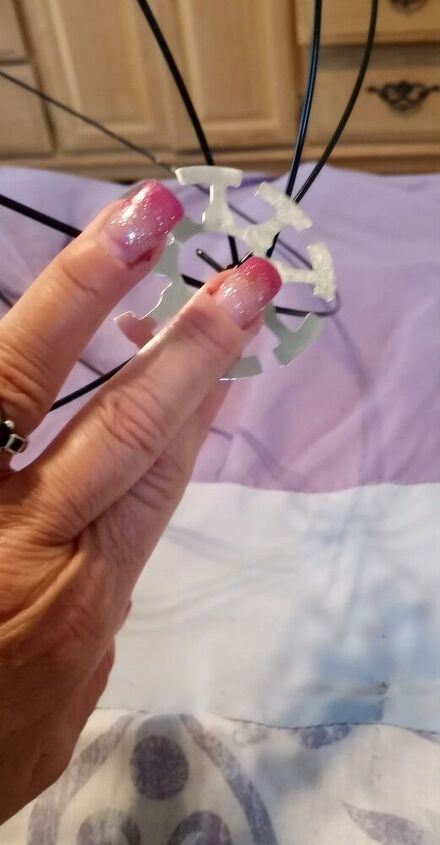
It took two tries to get the gist of how the metal things worked.
- Line the metal on the top of each wire and wrap the ends around it so it keeps it's form
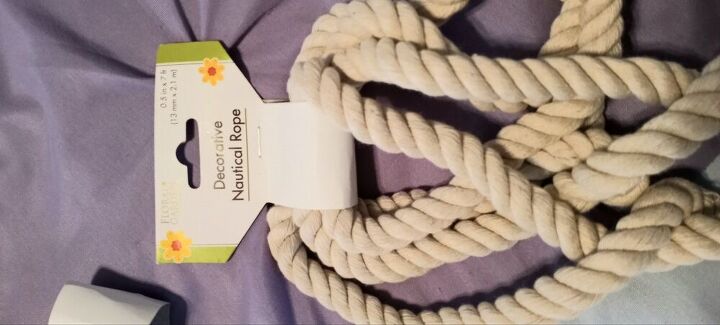
Note: apparently DT's Nautical Rope comes in two lengths/widths. I only realized this while assembling this project because I had some of each. As always, I use what I have whenever possible. Jeff is kinda obsessed with this stuff so he grabs at least one during every trip. In total 4 ropes were used. Let me know if you can tell the difference in the finished product.
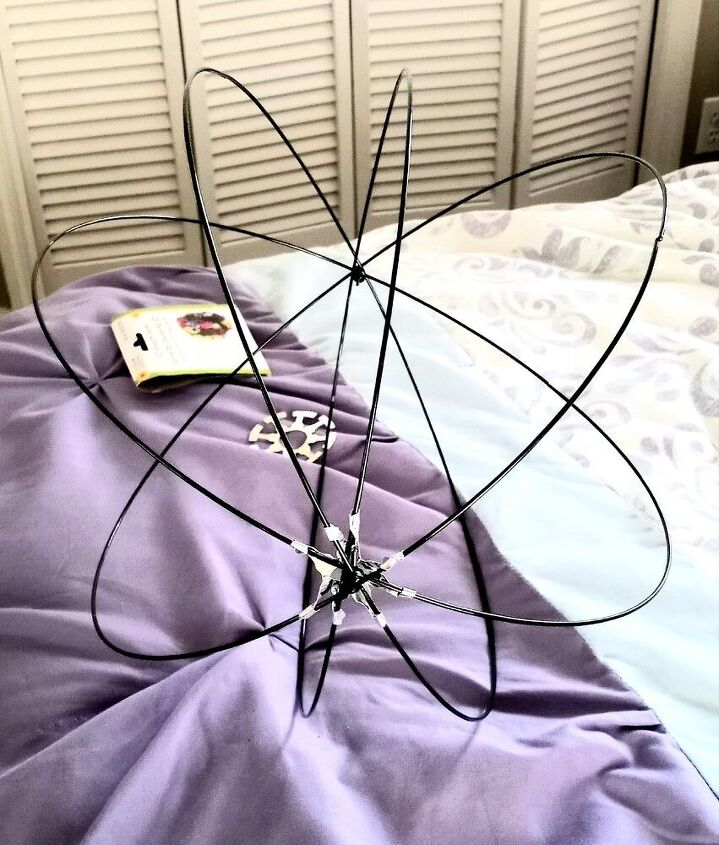
This is after the first metal piece was added.
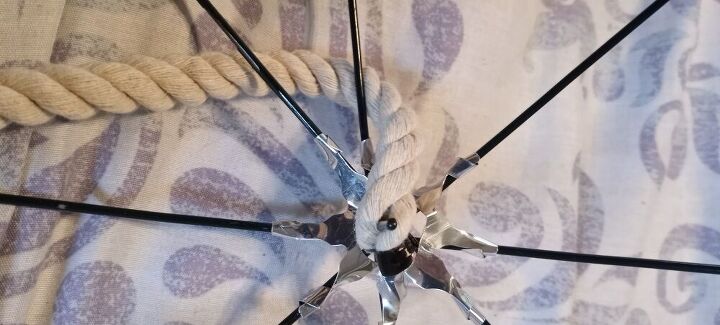
The wreath form has a metal peg like thing on each end. I wanted to use as little glue as possible in the event this didn't work out as planned and I decided to disassemble it.
I stuck the peg through the rope and wrapped it all the way up one row of the form until I reached the top.
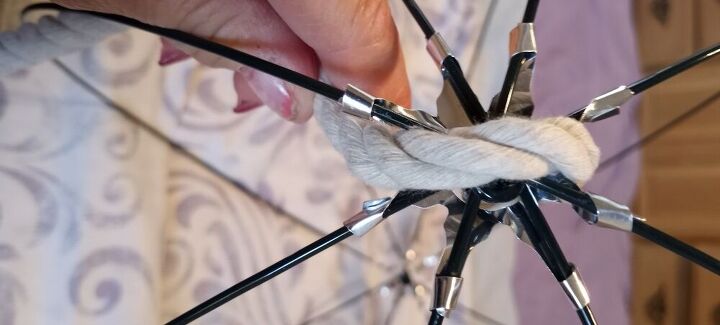
Once I got to the other end I fed the rope over the top and continued down the side of the next empty part of the form.
- I chose not to cut the rope because I was afraid of it fraying and looking weird.
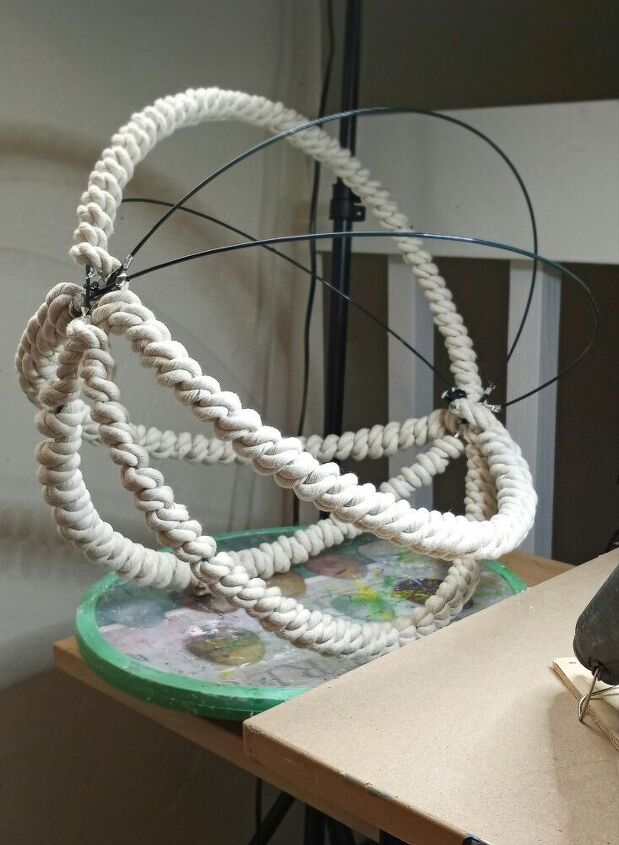
Here's a picture of it more than half done. I did tack it down with hot glue in a few areas, specifically where one rope ended and another began.
To give it a more full appearance I didn't separate the rope sections and I wrapped it loosely.
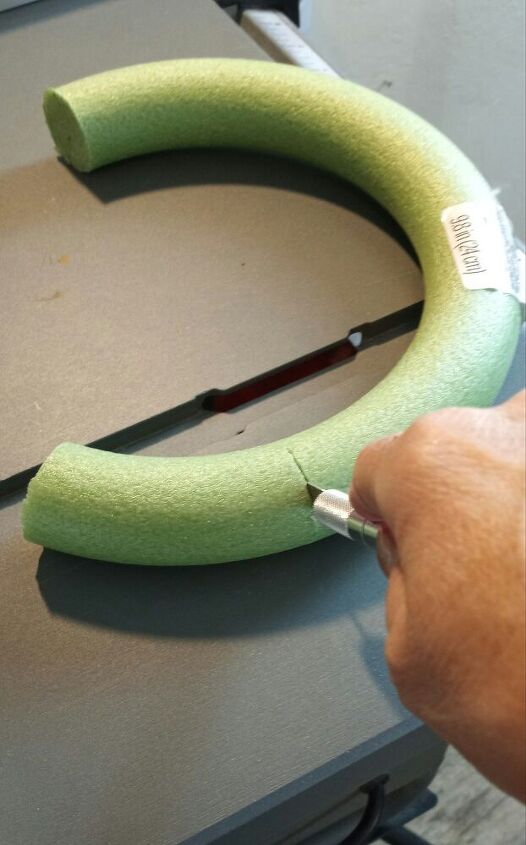
I had part if a Styrofoam wreath left from another project. This is what will be used for the stem of the pumpkin.
I cut it to size with my xacto knife then glided it in place with hot glue.
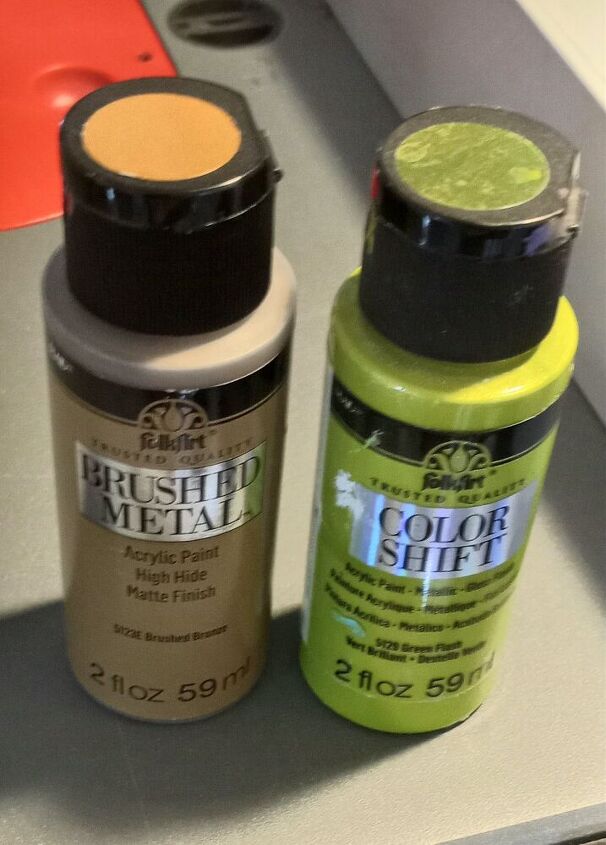
This is the paint I used for the stem.
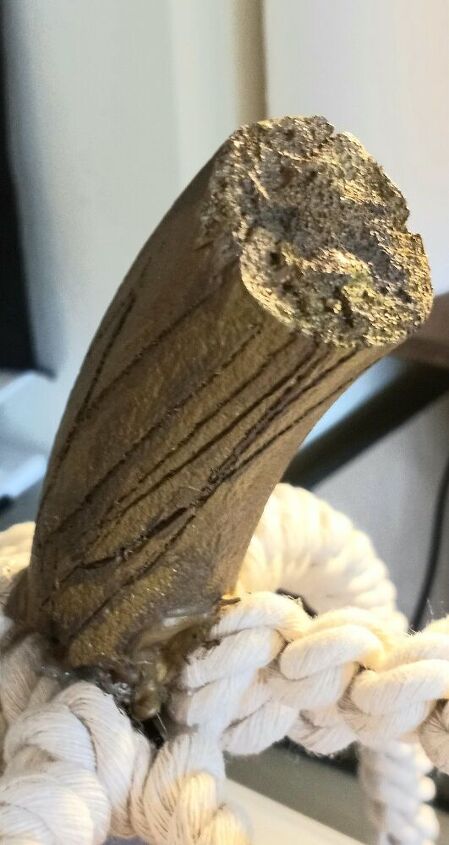
Close up of the stem after I made the cuts and added paint.
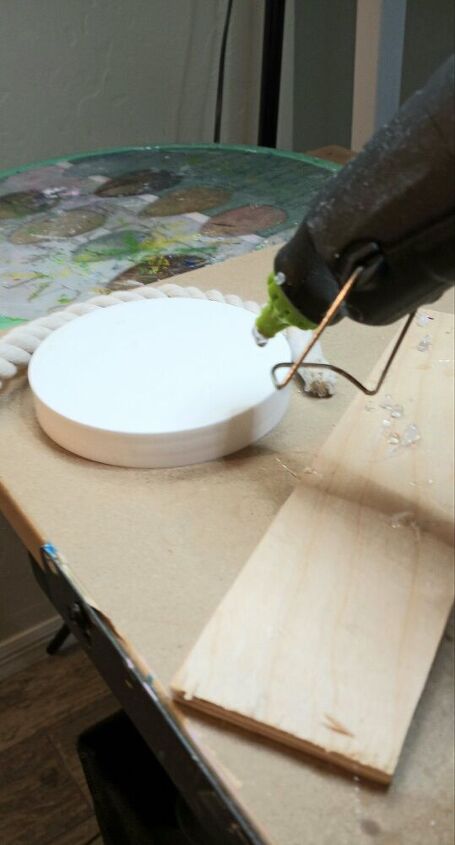
I decided it needed some color & interest. We've got some orange, pumpkin scented battery operated candles. I thought one in the middle would give a great fall vibe but, it would need to stand on it's own. To achieve that I used an old lid (we save them too), wrapped it in the same rope put it in the middle & sat the candle on top.
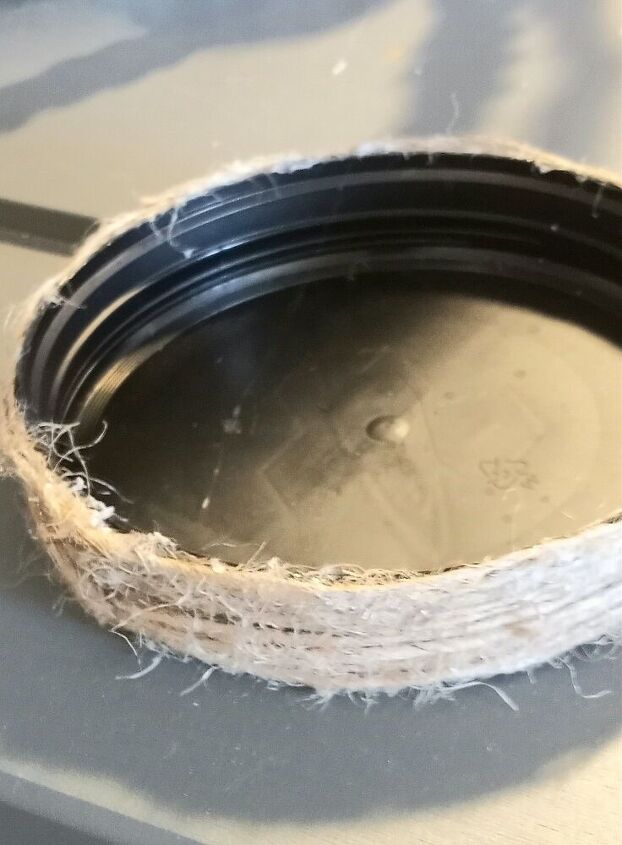
To keep the pumpkin from flopping over, I used another larger lid. To mix it up a bit I wrapped it in some brown jute cord & sat the pumpkin into the open side of the lid, putting the flat side on the table.
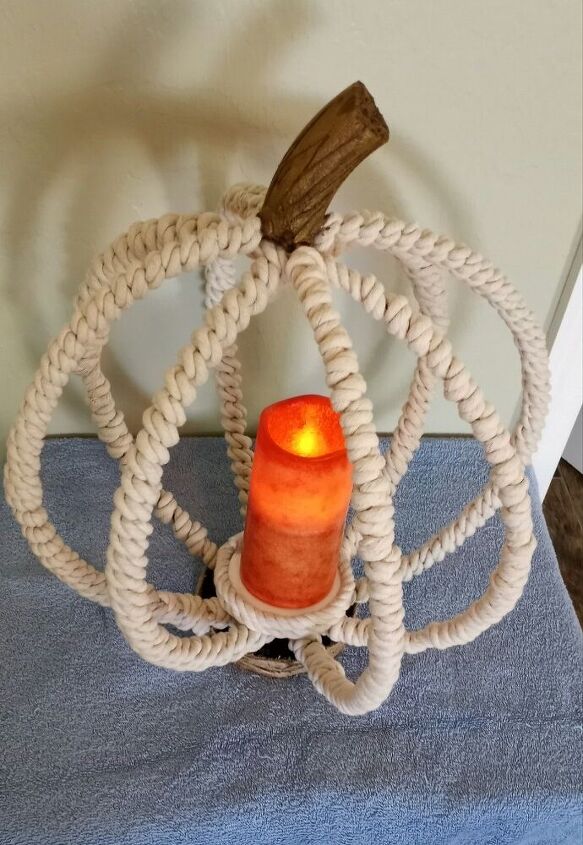
This is the finished product.
DIY fall ideas
Resources for this project:
See all materials


Comments
Join the conversation
-
Cute!
-
That is really cute ! I love it


Frequently asked questions
Have a question about this project?
I agree with Joyce. Why do I not see these items at DT? My eyes must overlook them
To me it looks like you used 4 metal hoops and not the pumpkin wreath from the dollar tree. Am I missing something?
This is soooo pretty! I've enjoyed their roping for several crafts. I have 2 ?'s.
I. I realize the shape wouldn't be as round as yours. But, couldn't 2 pumpkin wreath forms wired together, back to back. To create a rounded shape, work using roping as well?
2. Is it possible, when you started painting the foam for the stem? It makes it appear like stained wood veining? If so? I was shocked, & thrilled! I like how you added the green to tint the tannish color. Makes it look more earthy. 👍 I've seen those colors to be bought separately @ craft stores too.
You were fortunate to have the scented candles on hand! First time I've heard of them. Thanks for everything 😉 👍️