


How to Hydro Dip and Decoupage a Ceramic Pumpkin

I have been loving the pink pumpkin craze that has been taking place. So here is my hot take on making a pink pumpkin.
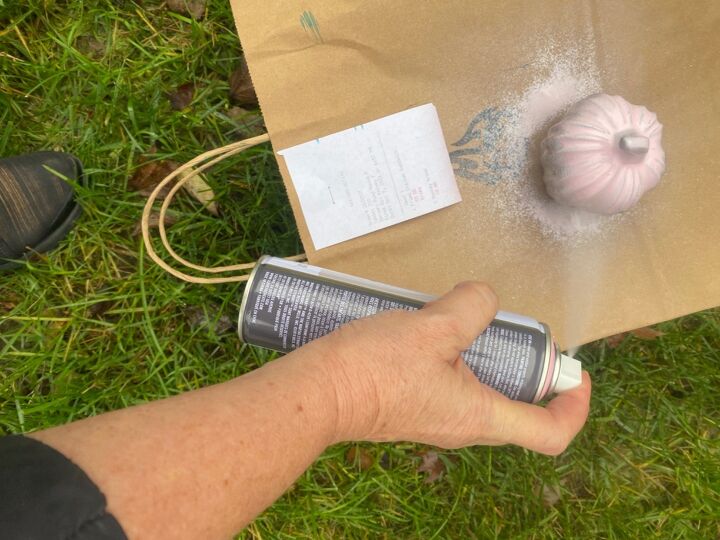
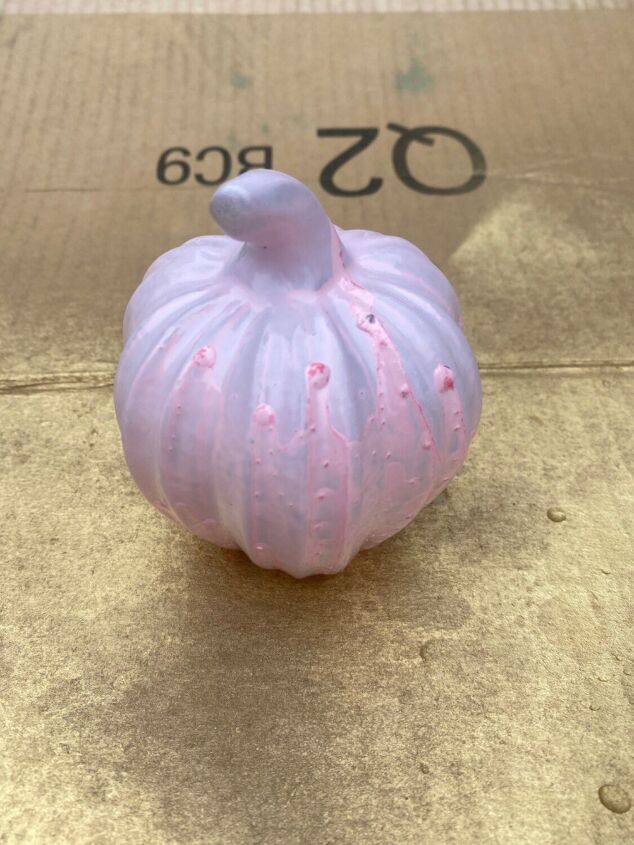
First I spray paint the pumpkin pink.
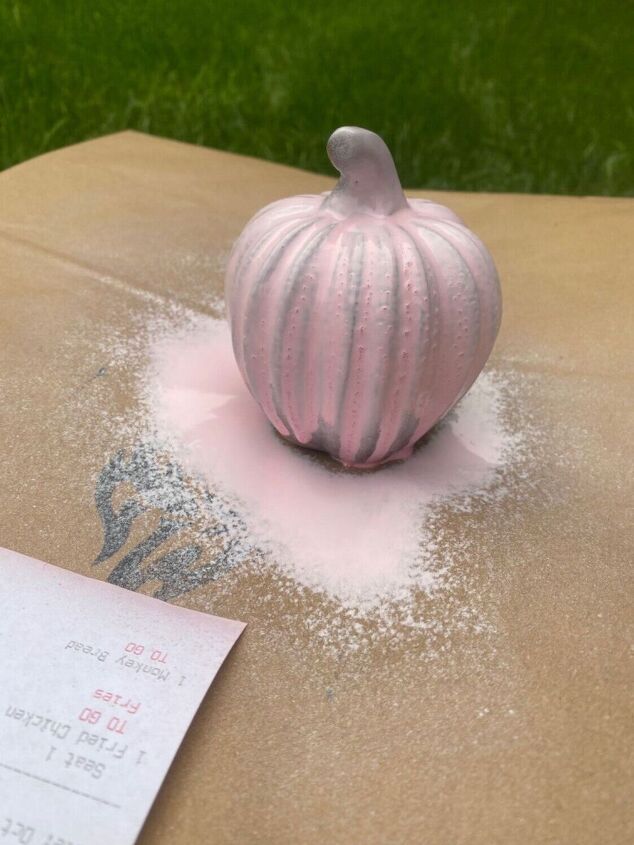
I was kind of happy with it just like that.
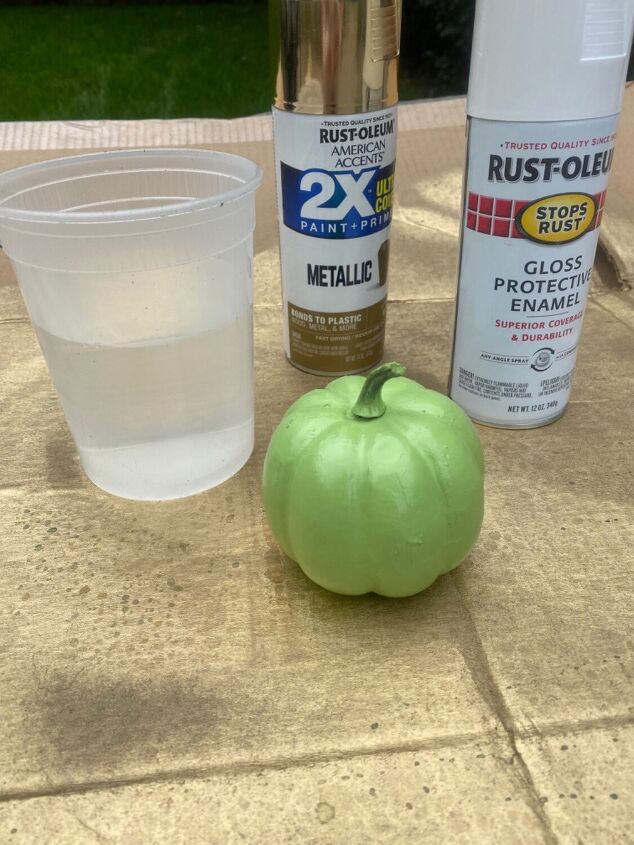
While the pink pumpkin dried, I played around with a green plastic pumpkin.
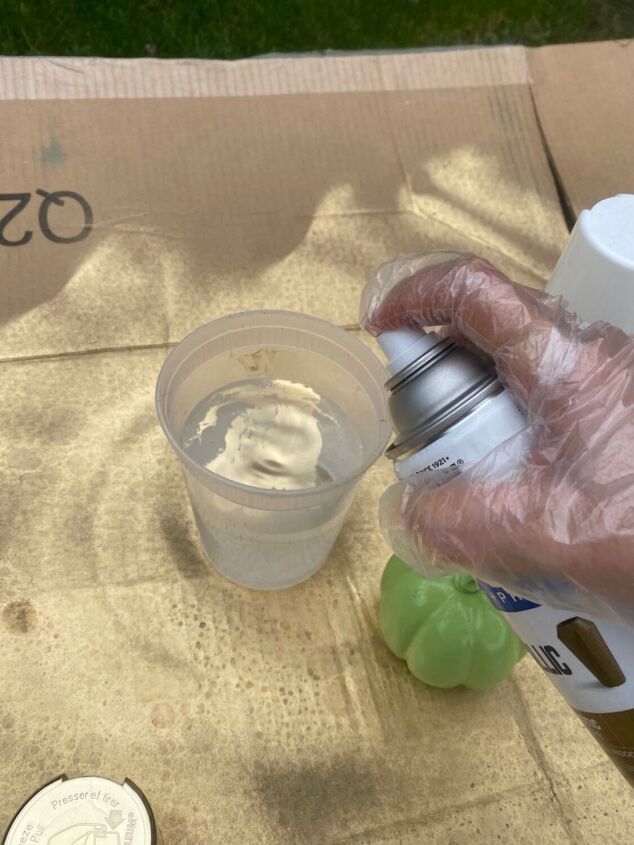
First I sprayed gold paint into an old plastic container.
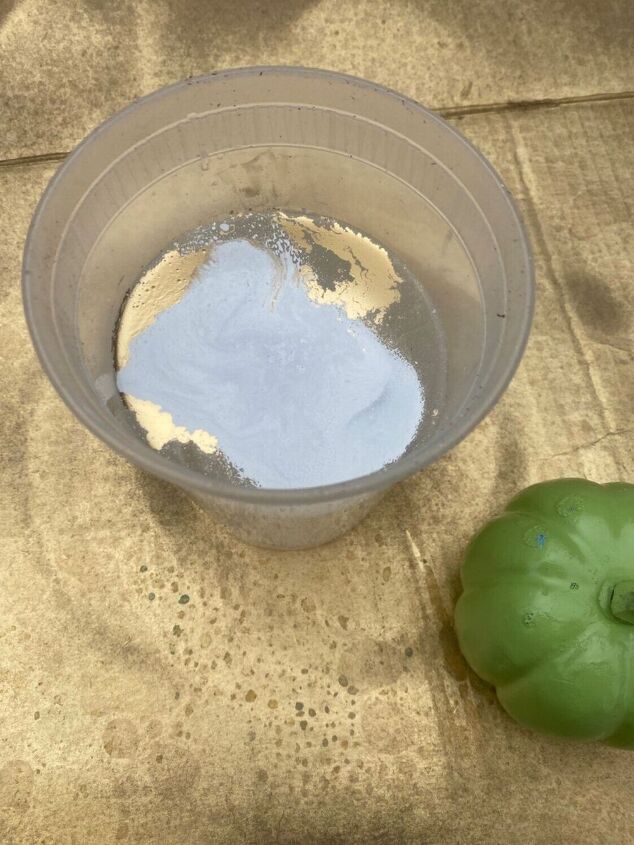
I added some white.
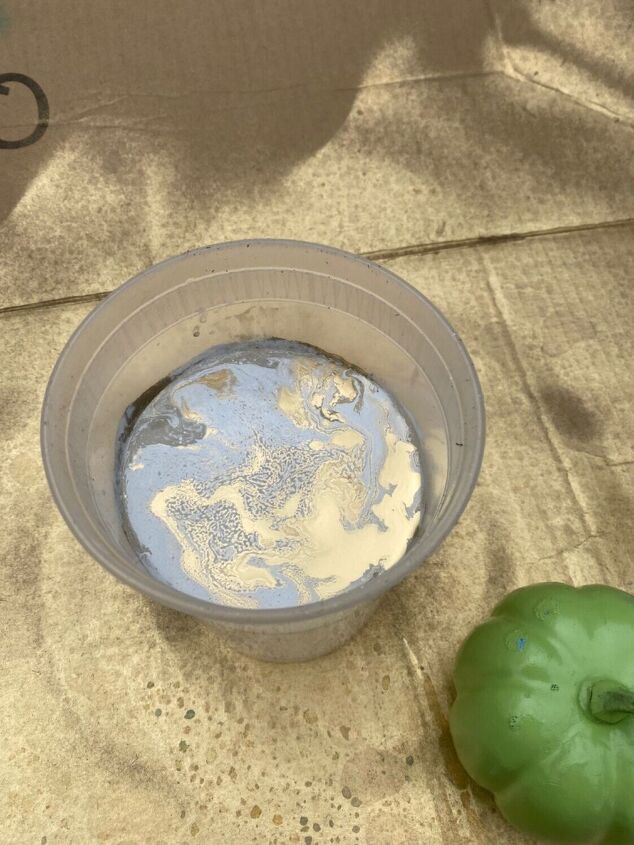
Then more gold… I keep going until I like the marble design.
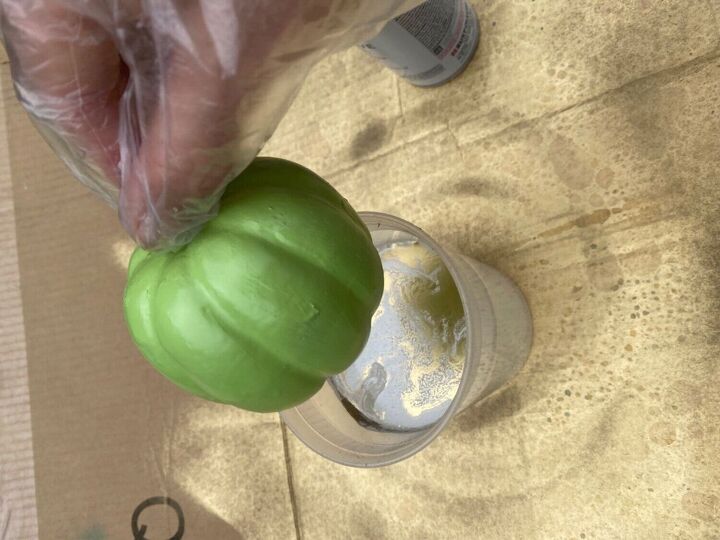
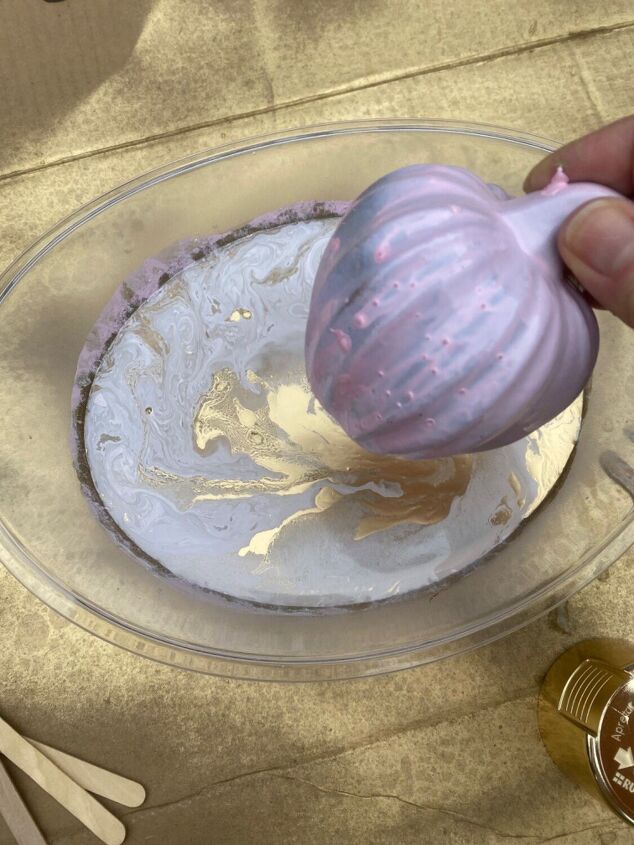
Then I dip the pumpkin in…
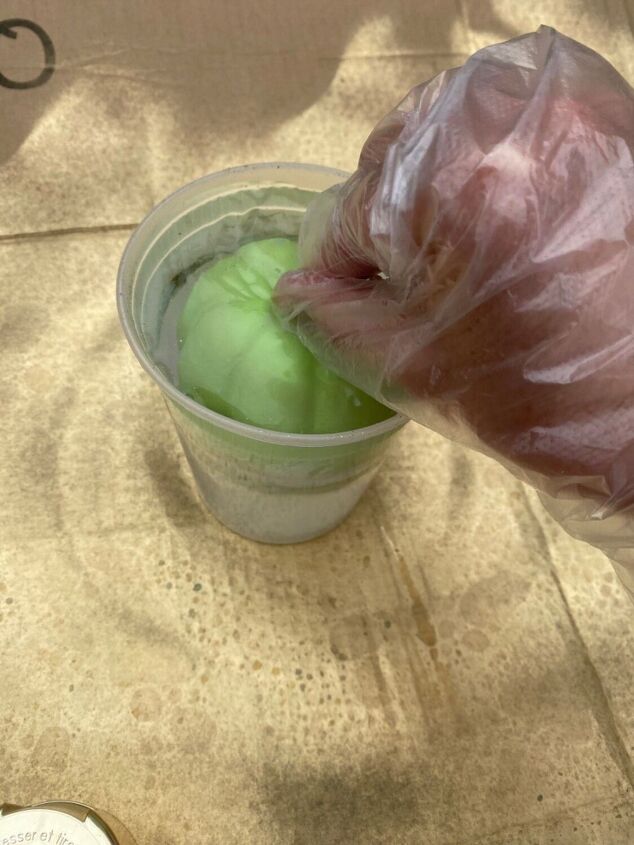
I plunge it in completely but because the container isn’t very wide, it will only cover half the pumpkin with paint. A good rule of thumb is that the surface of your container should be twice the size of what you are dipping.
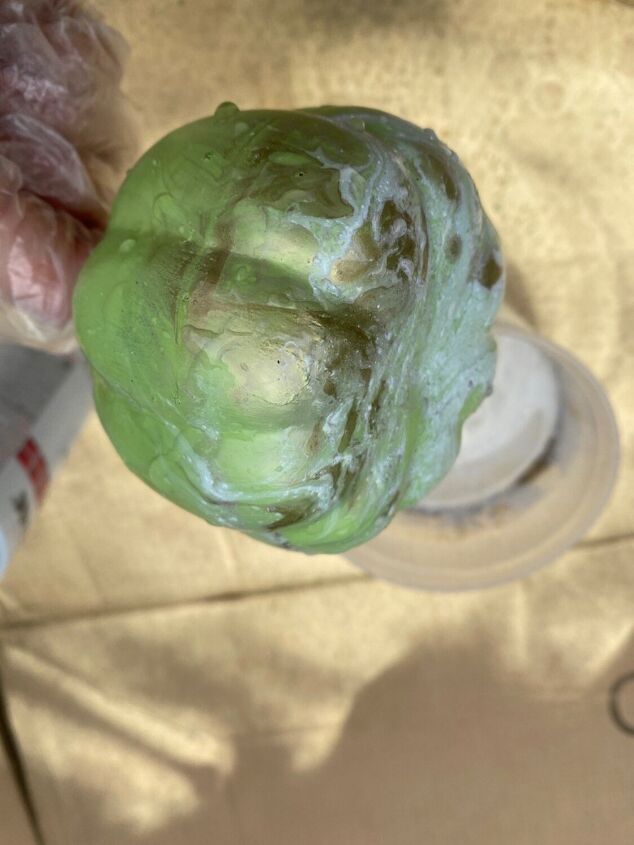
I liked it…
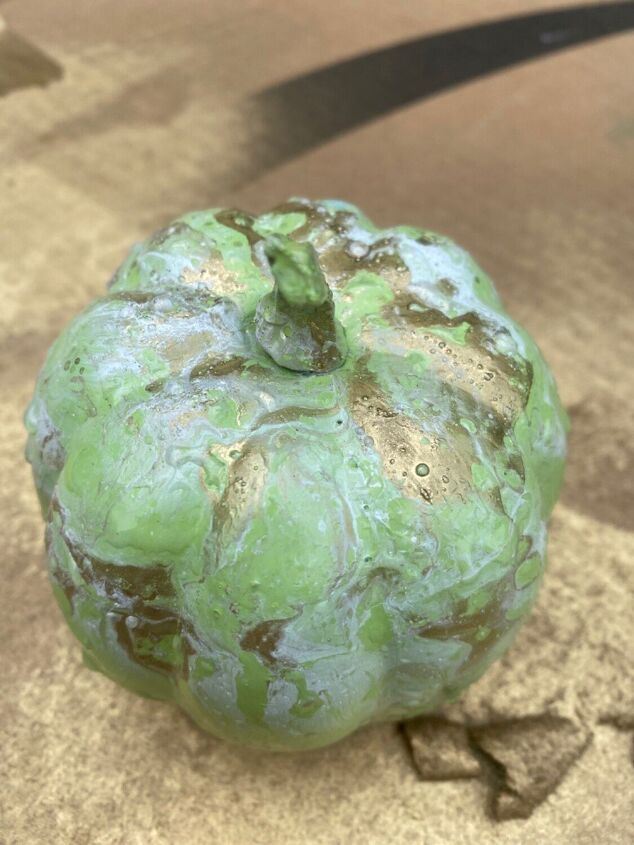
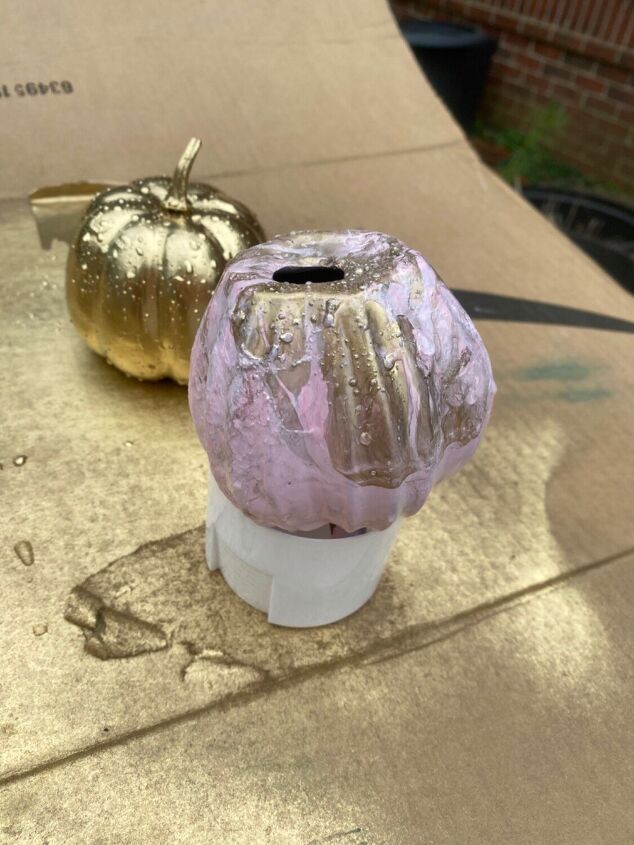
Here’s the final product. I double dipped it and I don’t recommend because then it gets goopy looking.
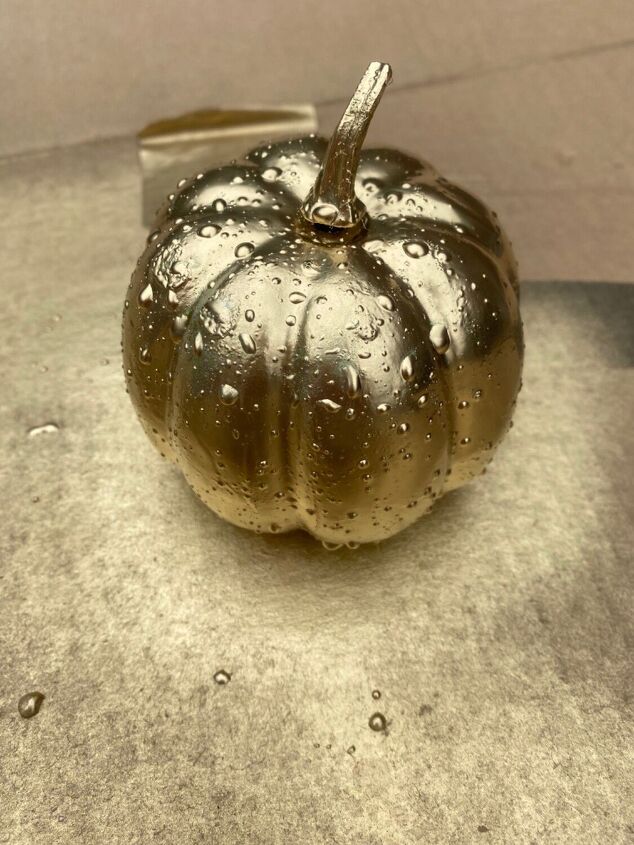
I ended up spraying it gold.
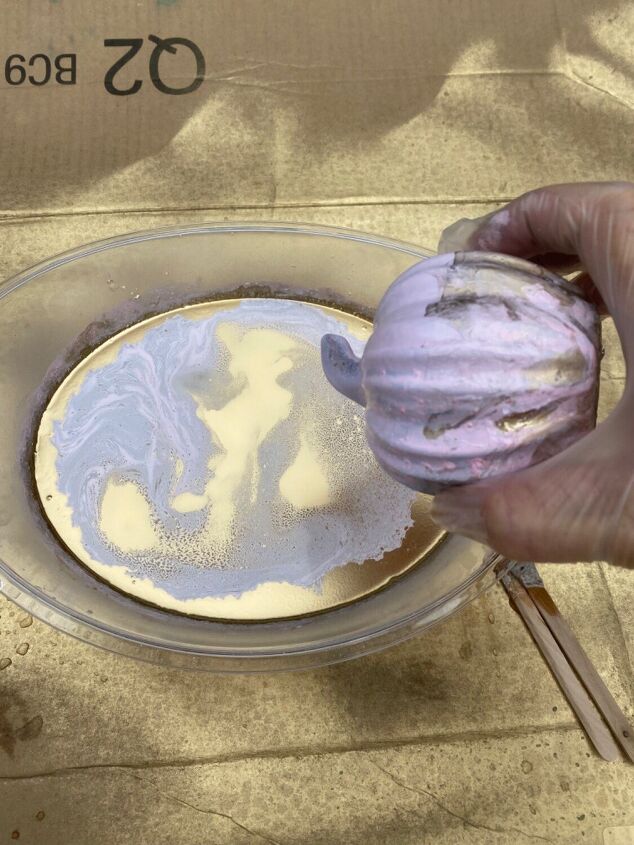
Time for the pink pumpkin.
In it goes…
I let it dry upside down.
Then I did the top.
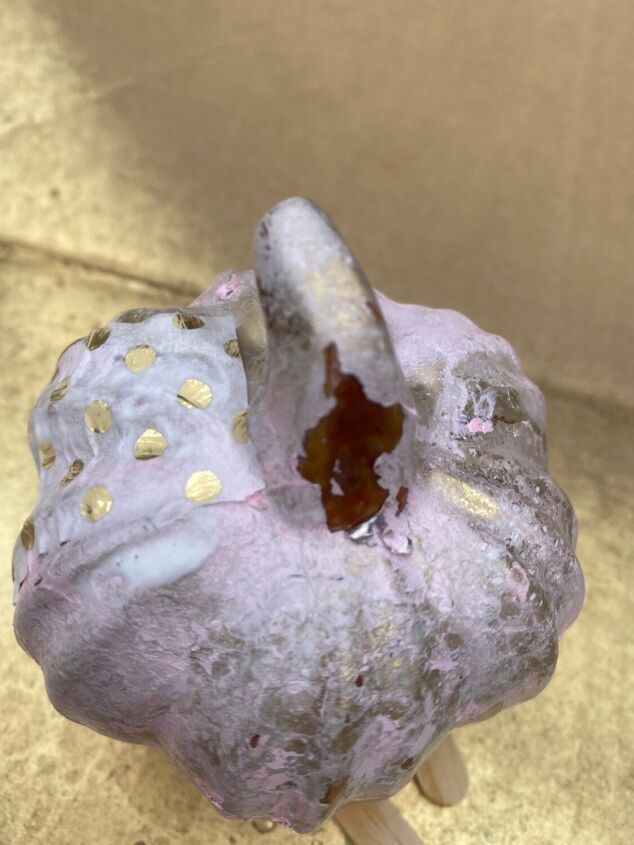
I double dipped again and I wasn’t happy with how it looked so I scraped off as much paint as I could.
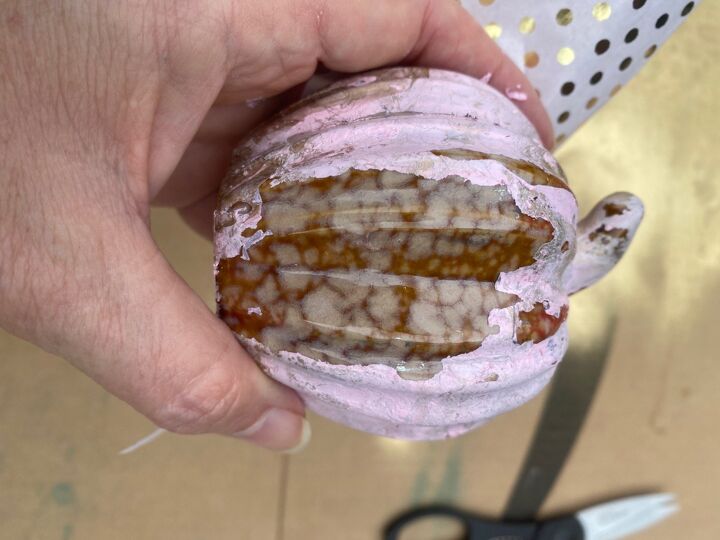
Some came off and a great deal wouldn’t budge so I had to contemplate a plan b.
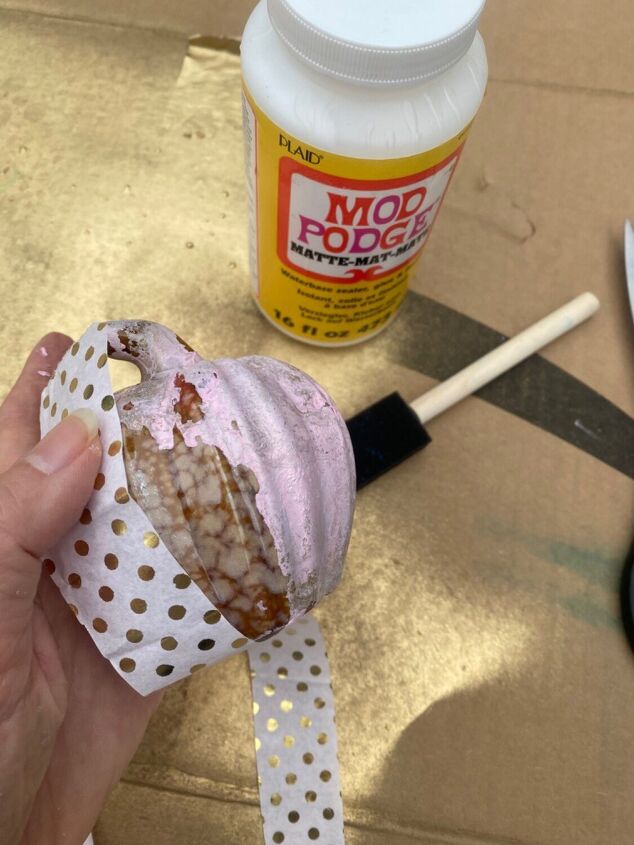
Mod Podge to the rescue.

I put down Mod Podge where there wasn’t any paint.
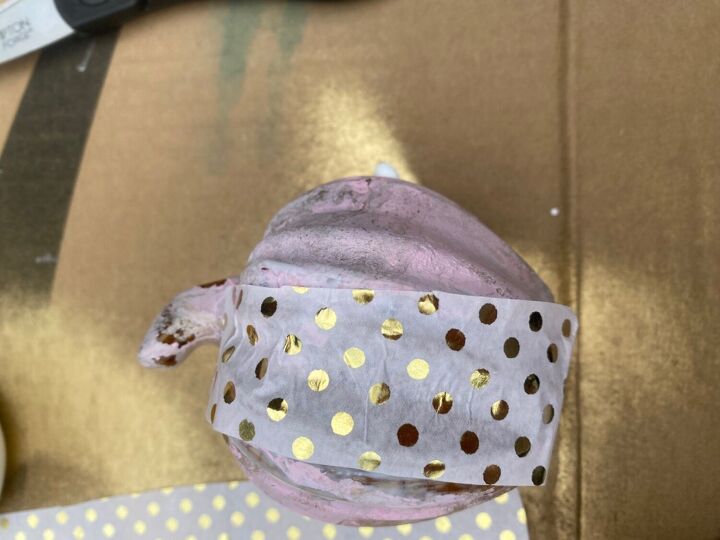
I put a piece of tissue paper on top.
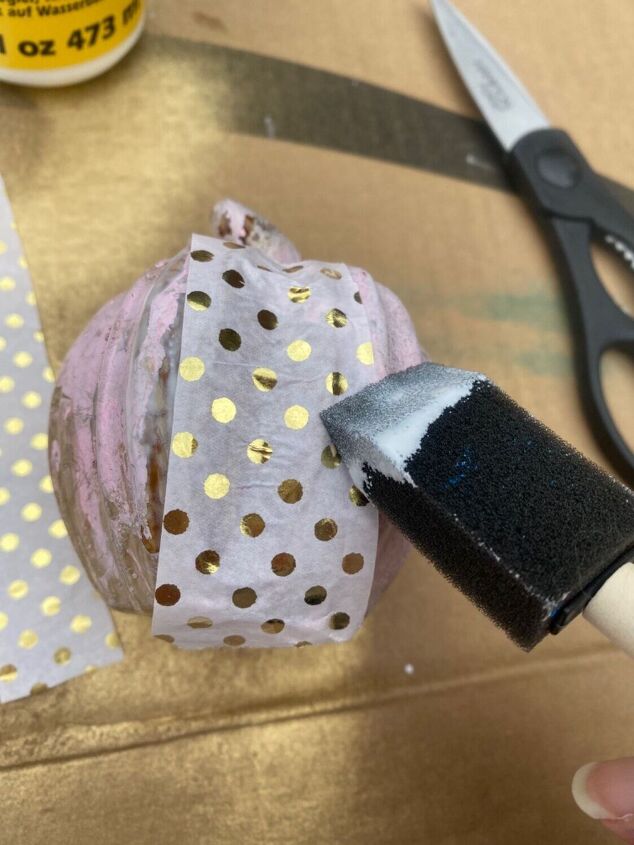
I then layered more Mod Podge on top of the tissue paper.
I went around the pumpkin and covered all the areas of missing paint.
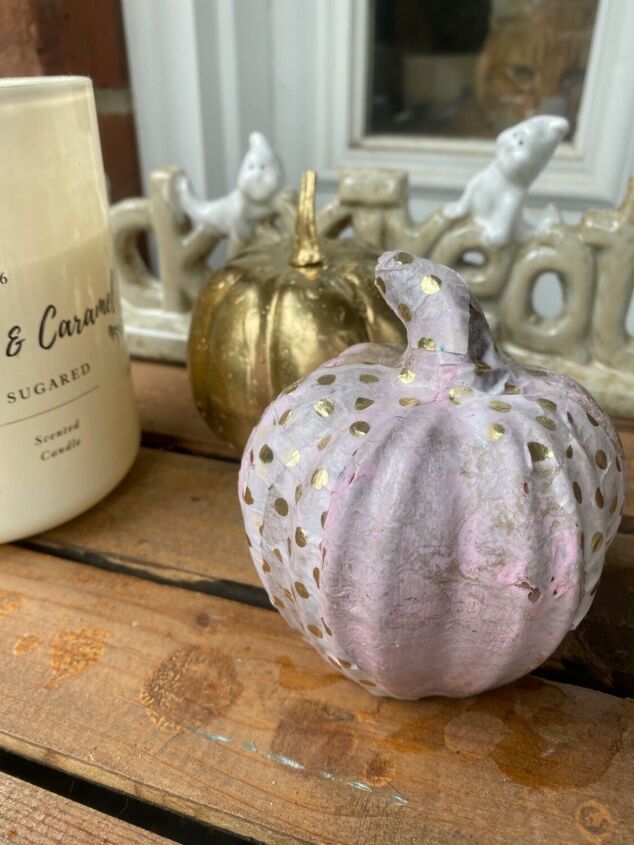
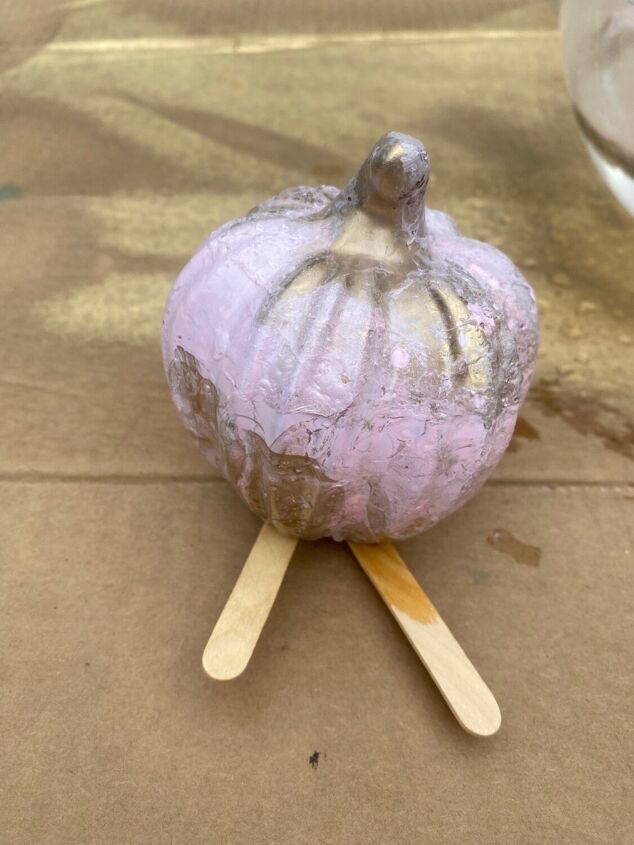
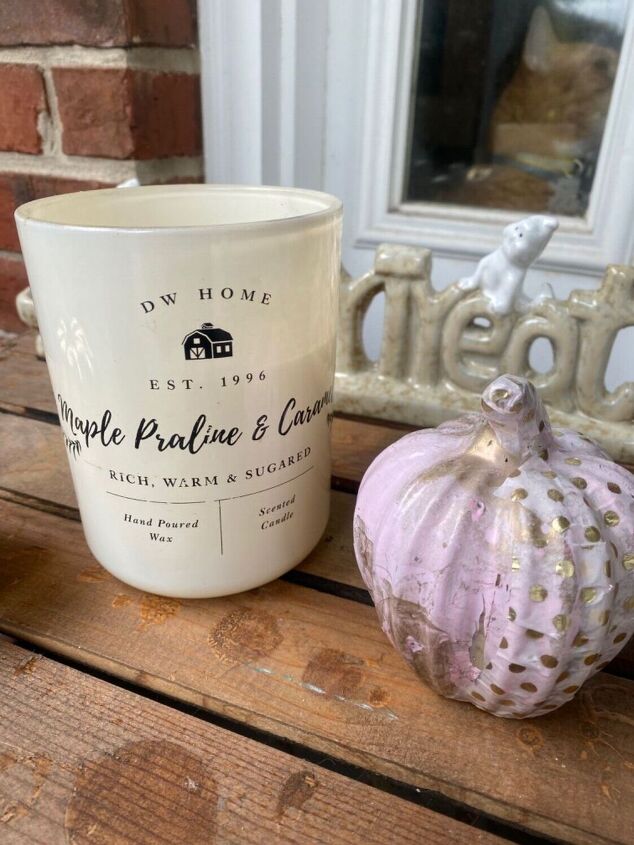
I think it turned out ok in the end. Just remember when hydro dipping and partying, in general, never double dip!
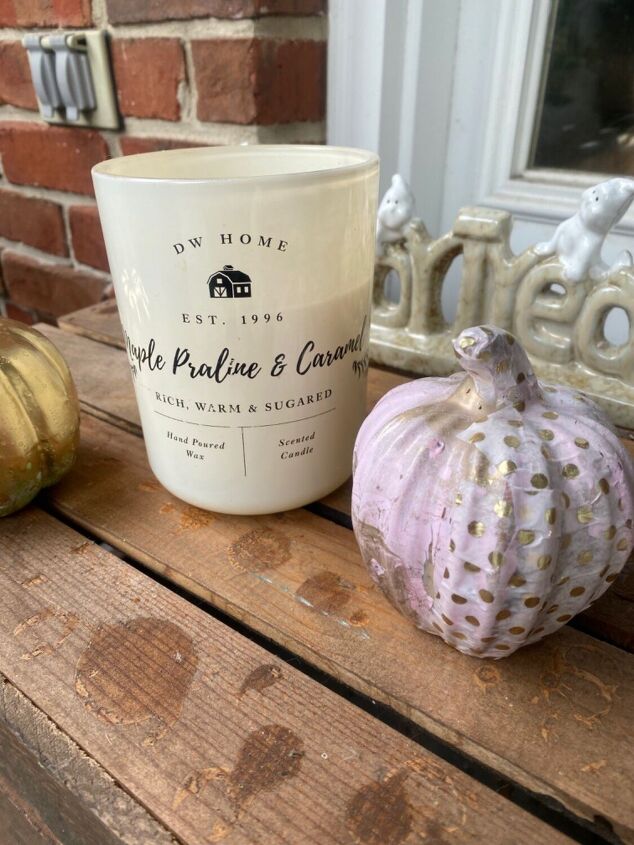
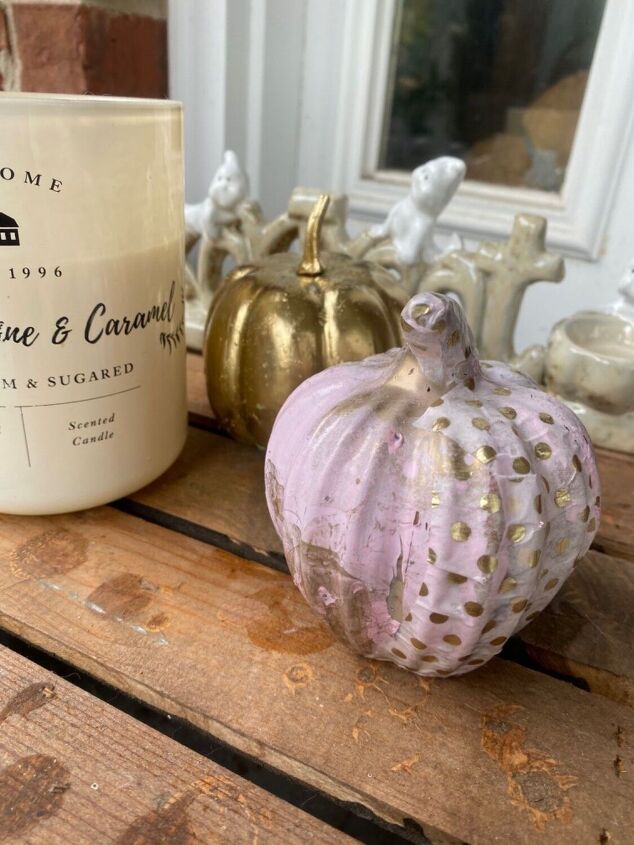
I really ended up liking the two tone effect.
Happy Halloween!!


Frequently asked questions
Have a question about this project?