


How to Make Two Types of Twine Pumpkins
It’s time to start crafting for Fall home decor! Let me show you how to make not one but two types of adorable twine pumpkins!
Hi friends! I’m so excited about Fall! It’s really hot outside so I’m happy to stay inside and get started making Fall crafts! The first craft of the season is these super cute twine pumpkins. I made a larger and smaller version. So ready or not, let’s start crafting! I’m going to show you how easy it is to make not one but two types of twine pumpkins!
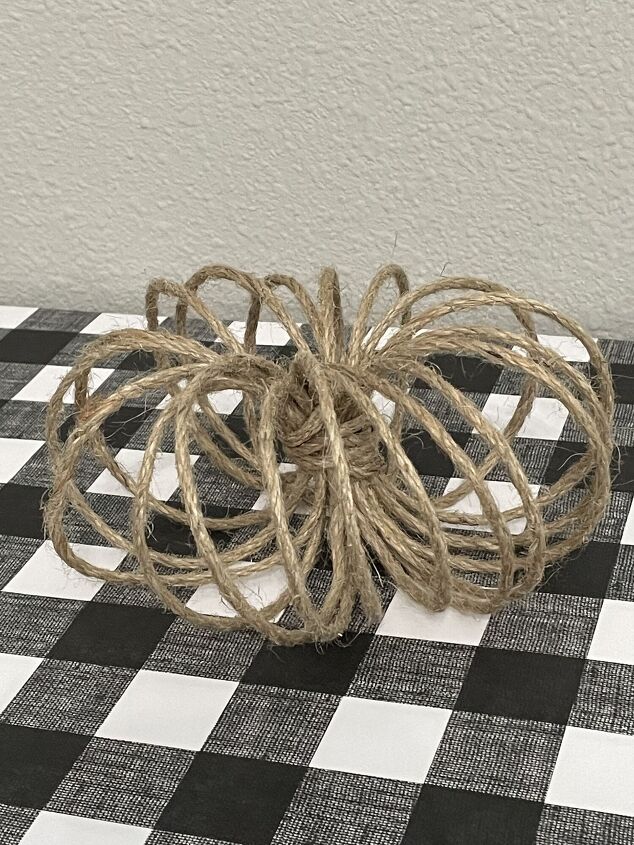
Steps to Make a Larger Twine Pumpkin
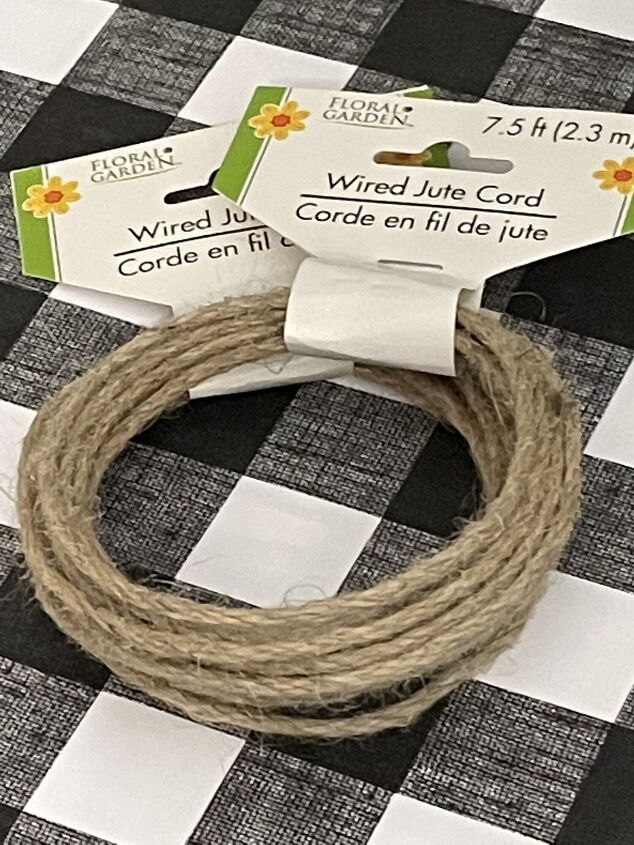
To make a larger size twine pumpkin, you will need to use a wired jute cord, so it can keep its shape! Here are the simple steps to make this adorable pumpkin!!
GATHER
Gather the following supplies:
- Wired Jute twine- I used 2 -7.5 foot cords from Dollar Tree
- Scissors
- Spray glue
- Ruler
- Candle – or glass to wrap the cord around
PREP
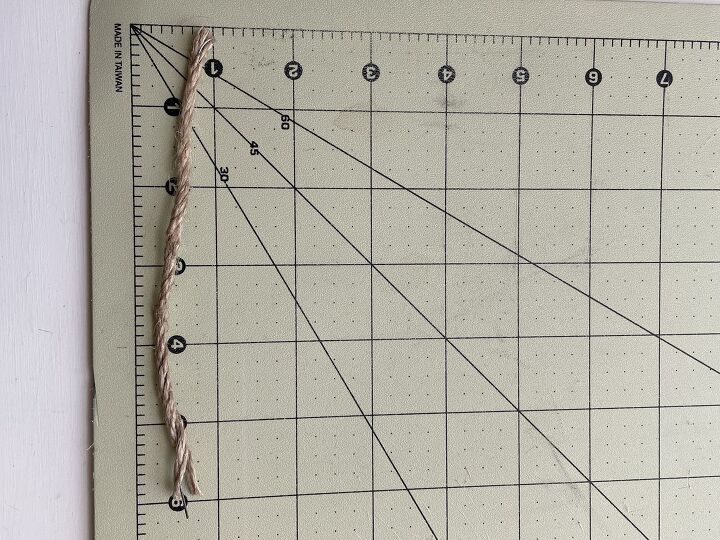
Cut a 6-inch strip and set it aside.
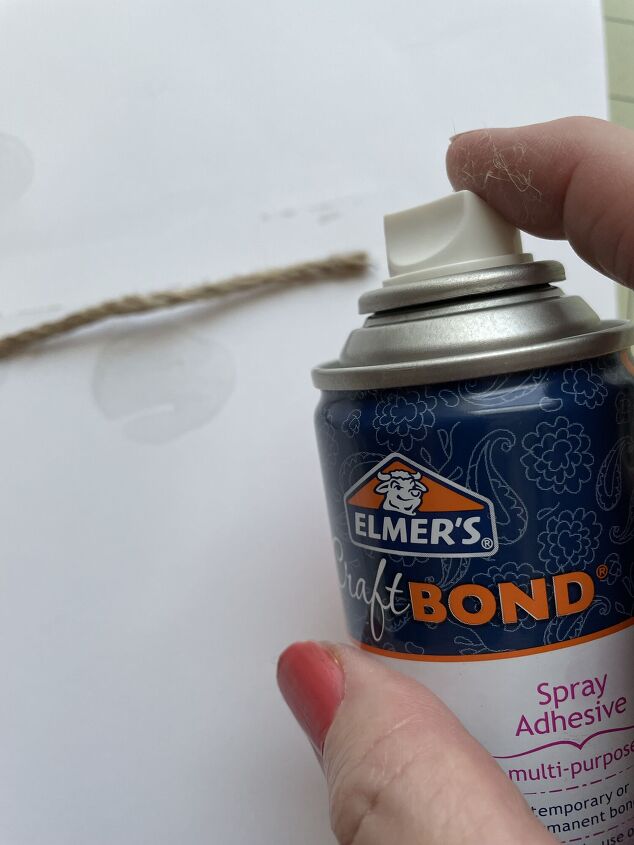
The twine can easily separate from the wire. To keep that from happening, secure the stray pieces to the wire with spray adhesive.
MAKE A PUMPKIN SECTION
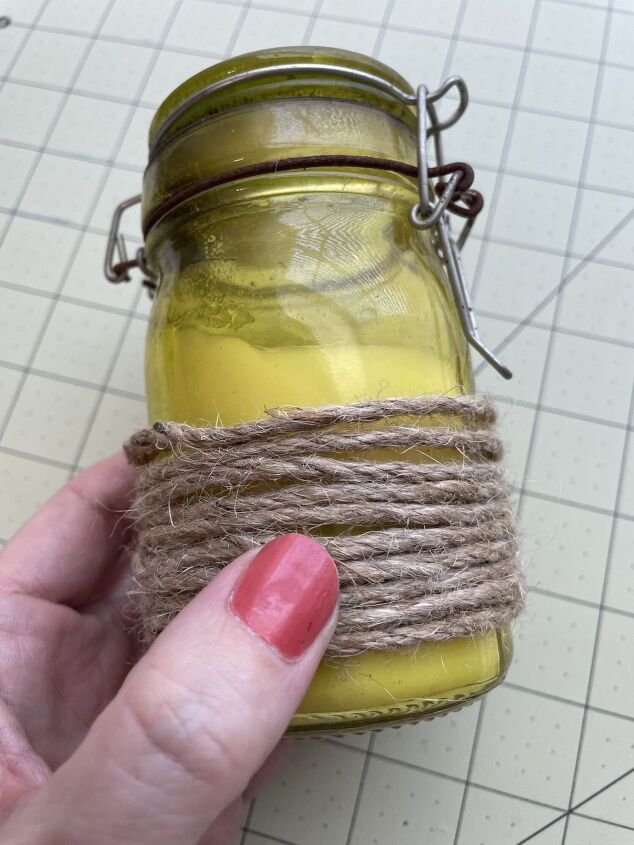
Wrap the remaining cord around a candle or glass.
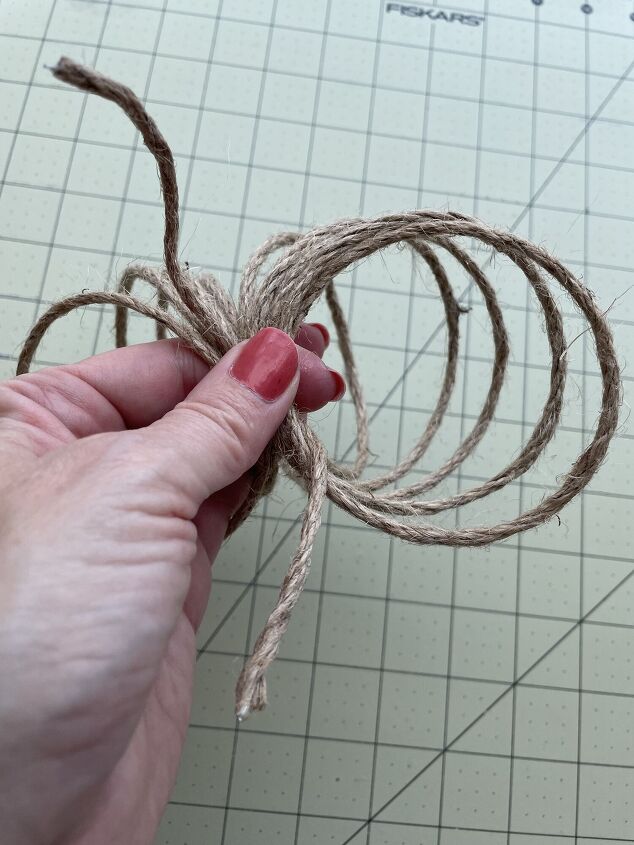
Carefully slide the twine off of the candle.
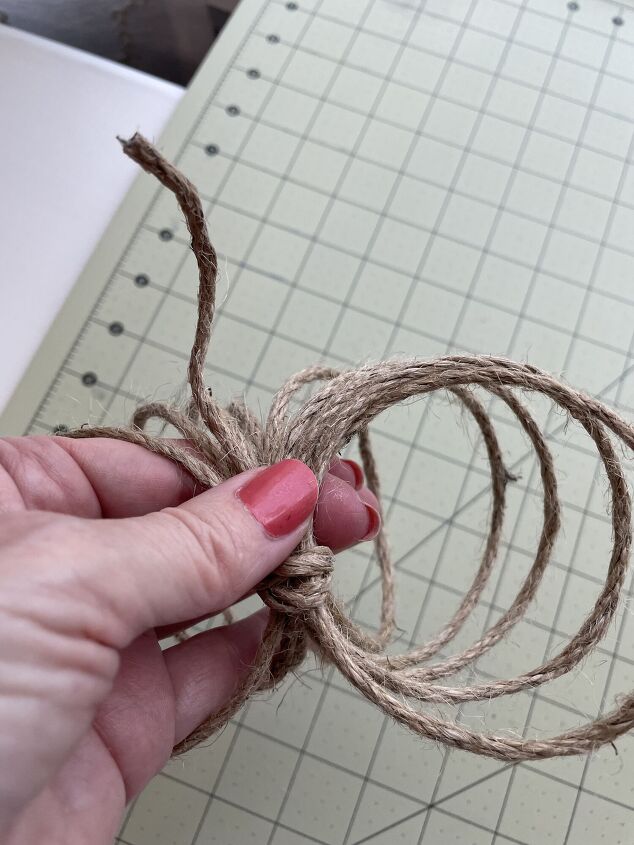
Wrap each end of the wired cord around the center to secure.

Repeat the steps using the second jute cord (do not cut a 6-inch piece this time).
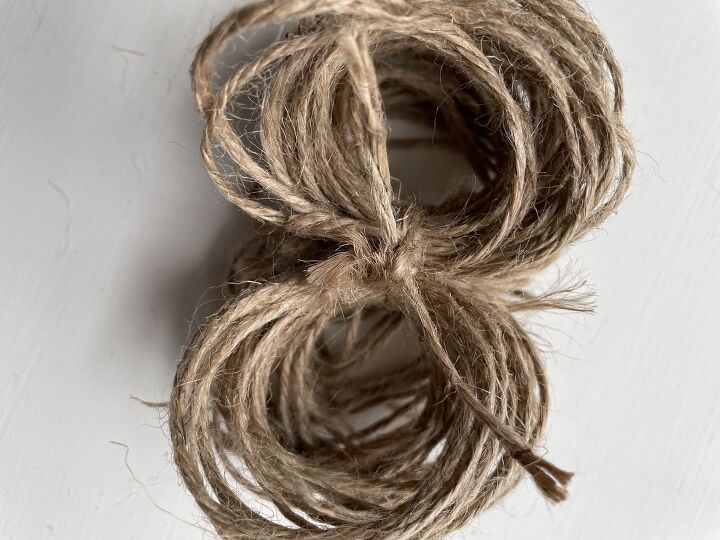
Connect Pumpkin Sections
Use the 6-inch piece you cut earlier to secure the two pumpkin sections together!
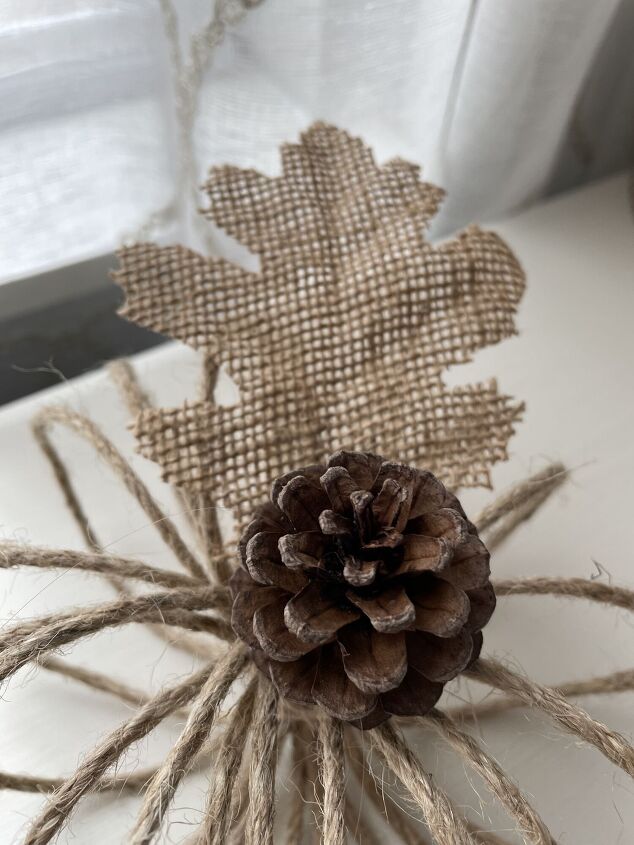
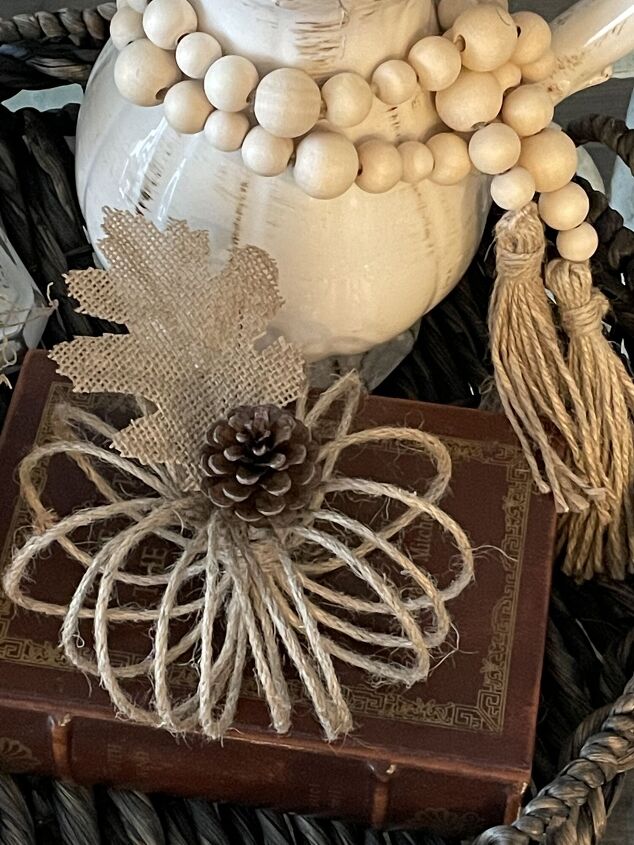
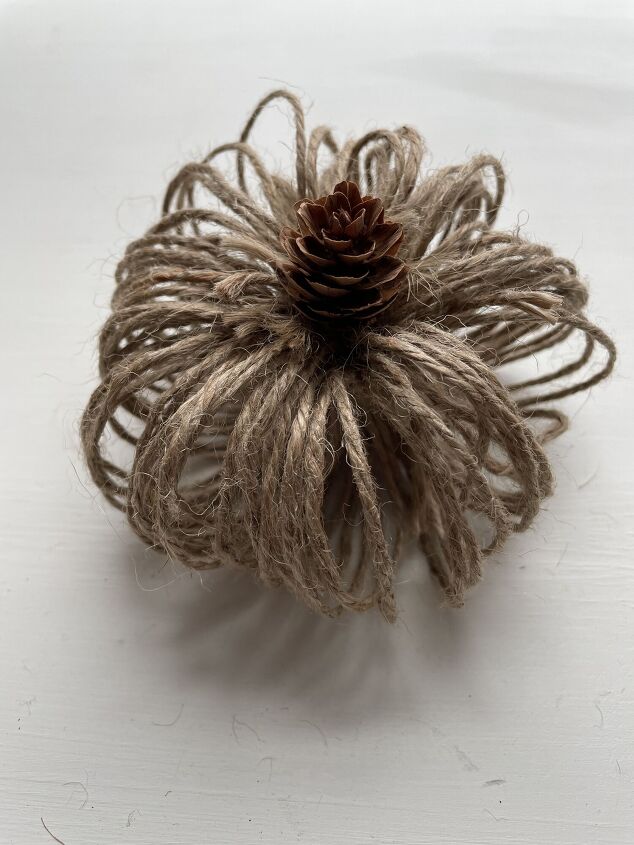
EMBELLISH.
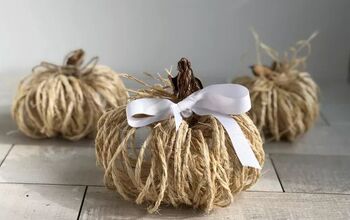
Add a stem or leaves to complete the look of your pumpkin. I used a pinecone for the stem and added a burlap leaf.
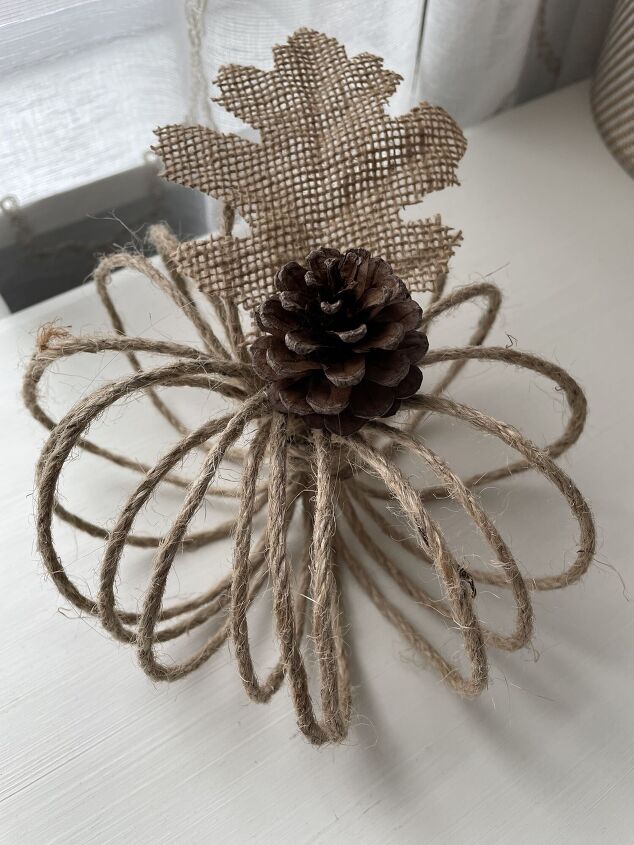
It's all done! I just love how it turned out!
Steps to Make a Smaller Twine Pumpkin
I wanted to show you how to make a version of this pumpkin without the wired jute cord (in case you can't find it at a Dollar Tree near you). It needs to be smaller, so it can keep its shape. I also made this one denser!
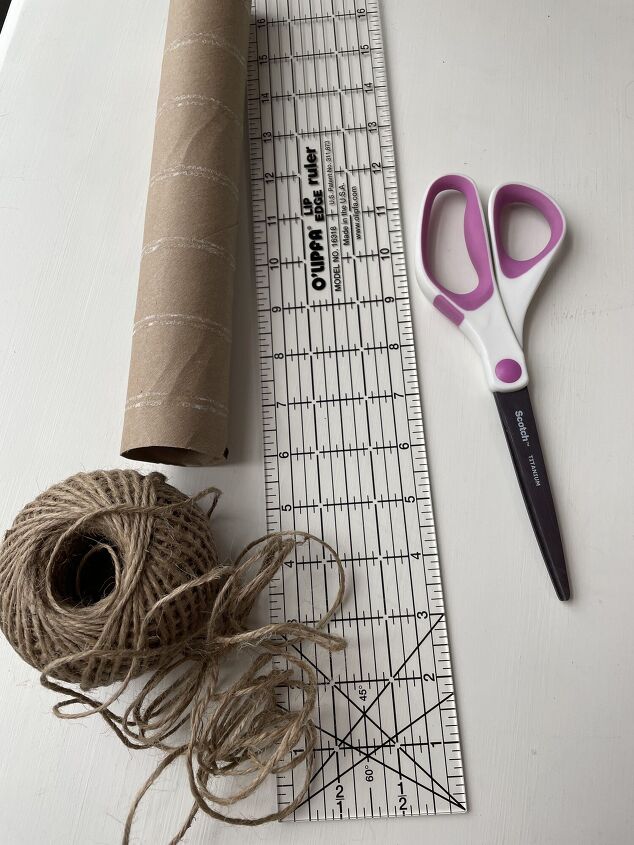
Gather Supplies.
Jute twine
Scissors
Paper towel cylinder
Ruler
PREP
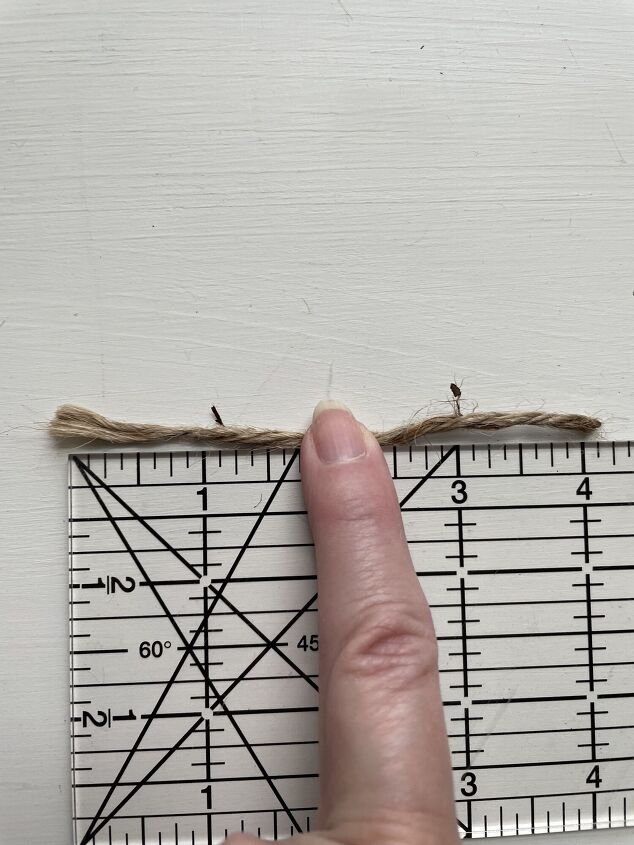
Cut a 4-inch piece of twine.
Repeat three more times. You should have four pieces.
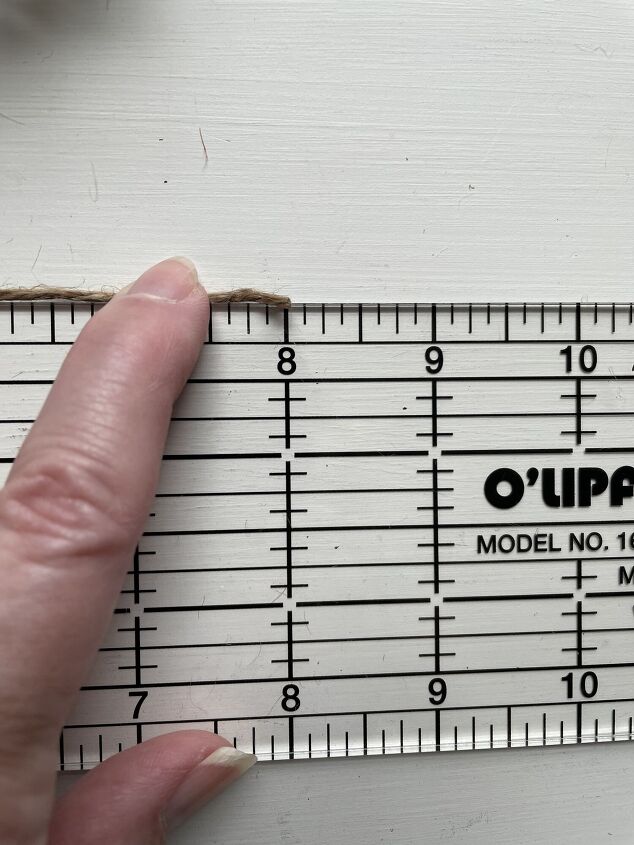
Cut an 8-inch piece of twine.
Set aside.
Make Pumpkin Section
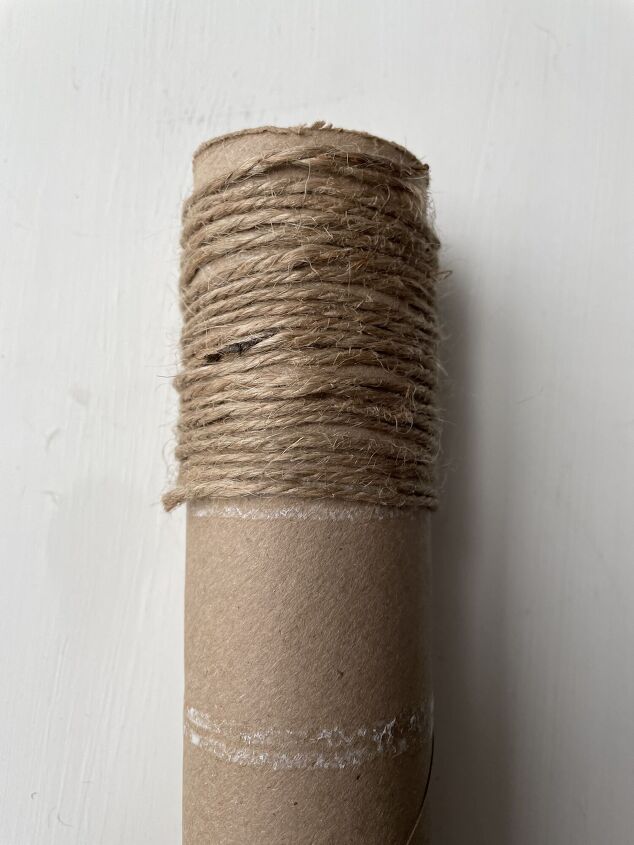
Wrap the twine around the cylinder of paper towels 20 times.
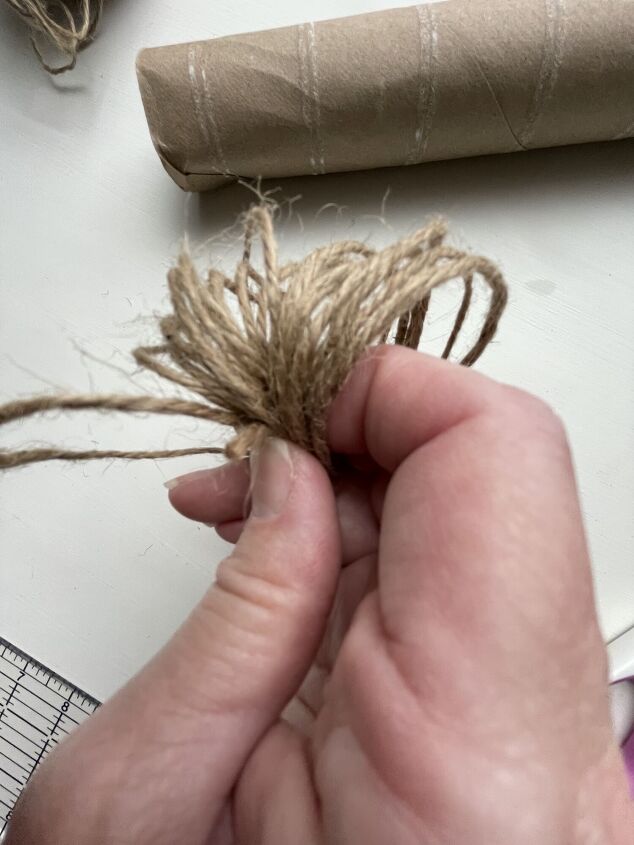
Carefully slide the twine off the cylinder and keep hold of it between your thumb and finger.
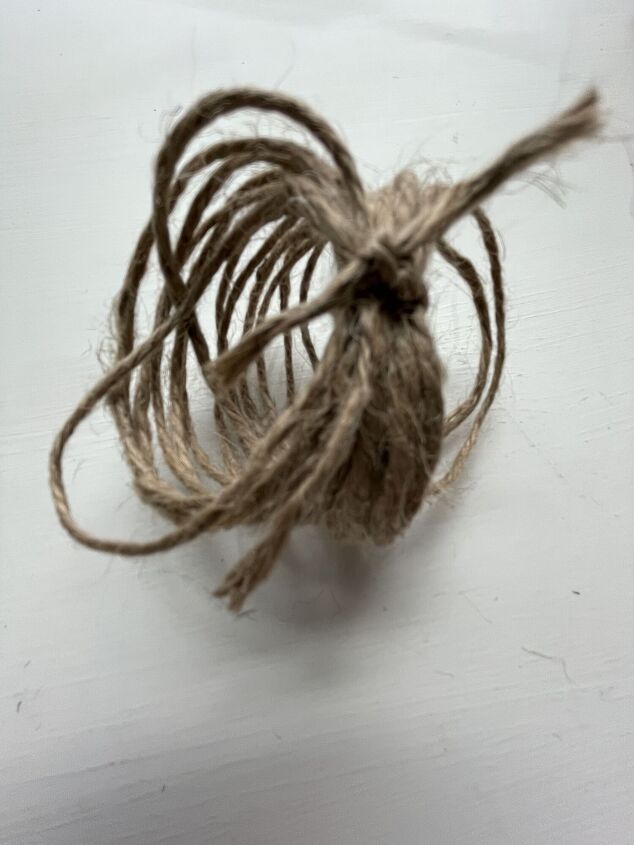
Take a 4-inch section of jute and tie it around the twine to secure. Make sure to knot it tightly.
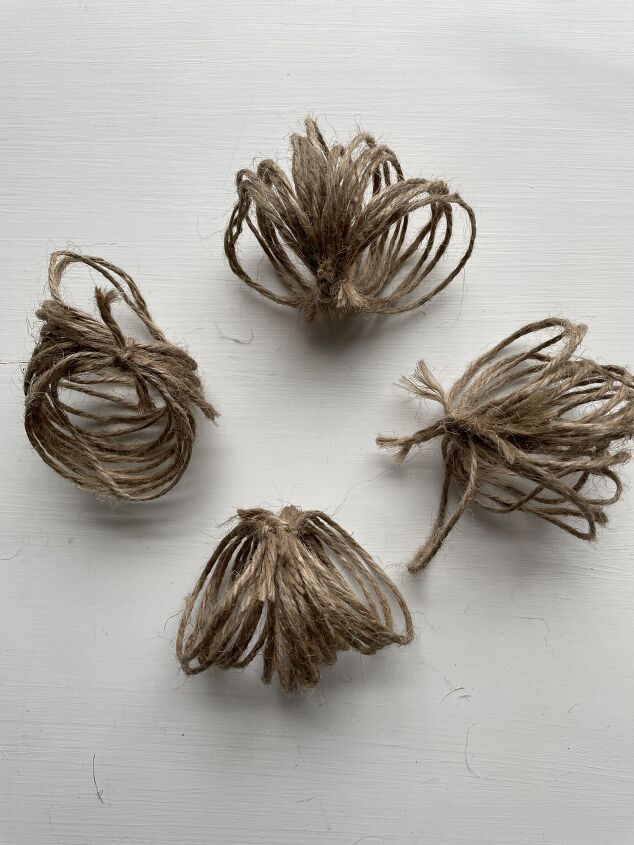
Repeat these steps three more times. You should have four sections finished now.
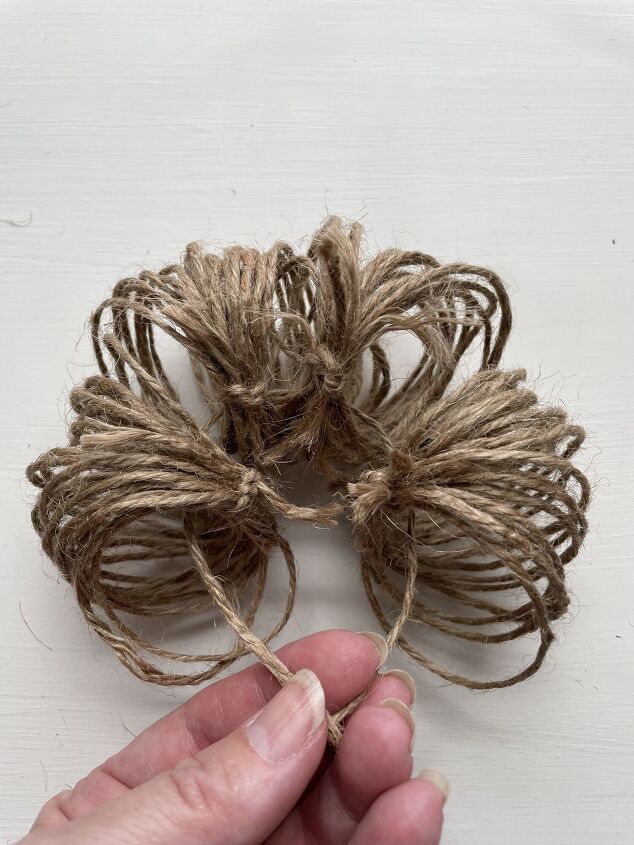
Connect Pumpkin Sections
Use the 8-inch strip to connect the four sections.
Tie a secure knot.
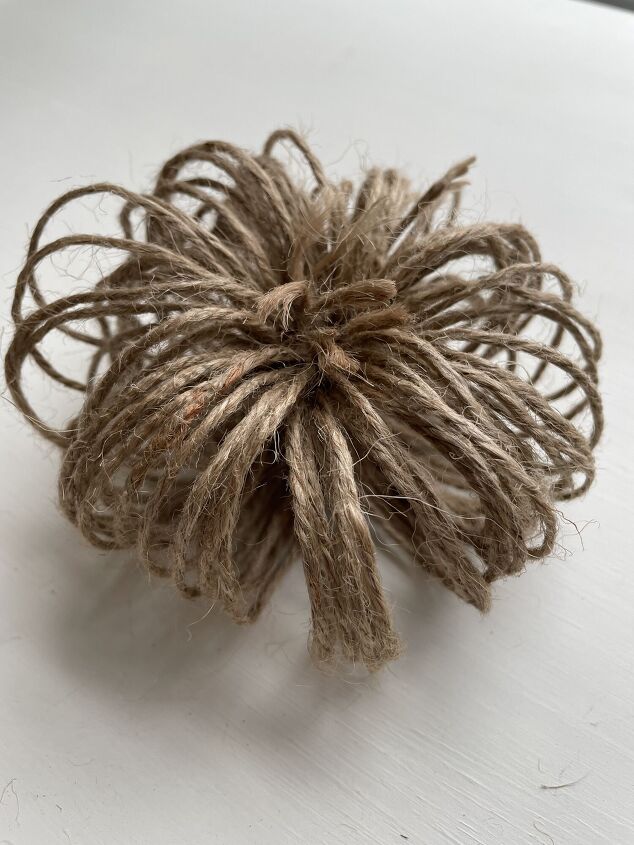
Fluff the sections to look round like a pumpkin!
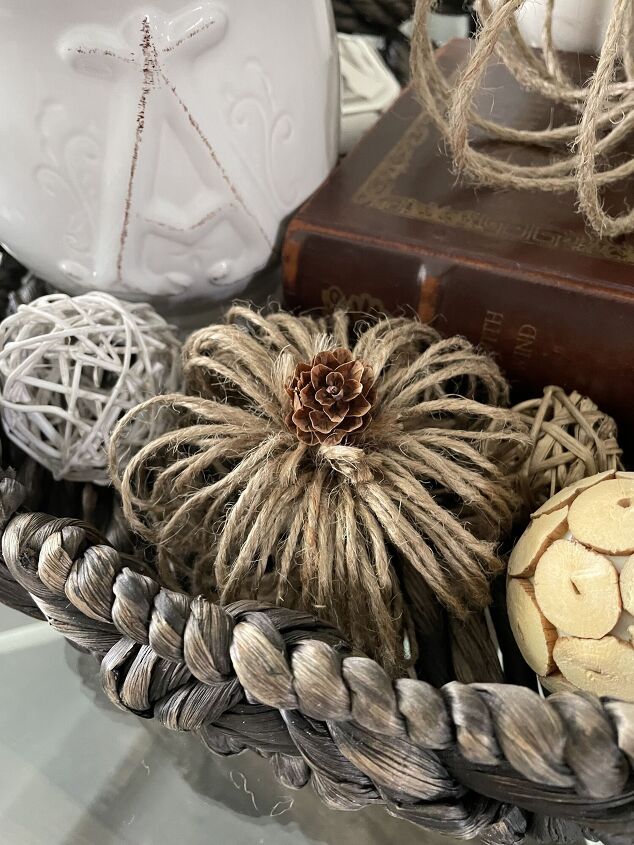
EMBELLISH
Add a stem to your pumpkin. I used a tiny pinecone.
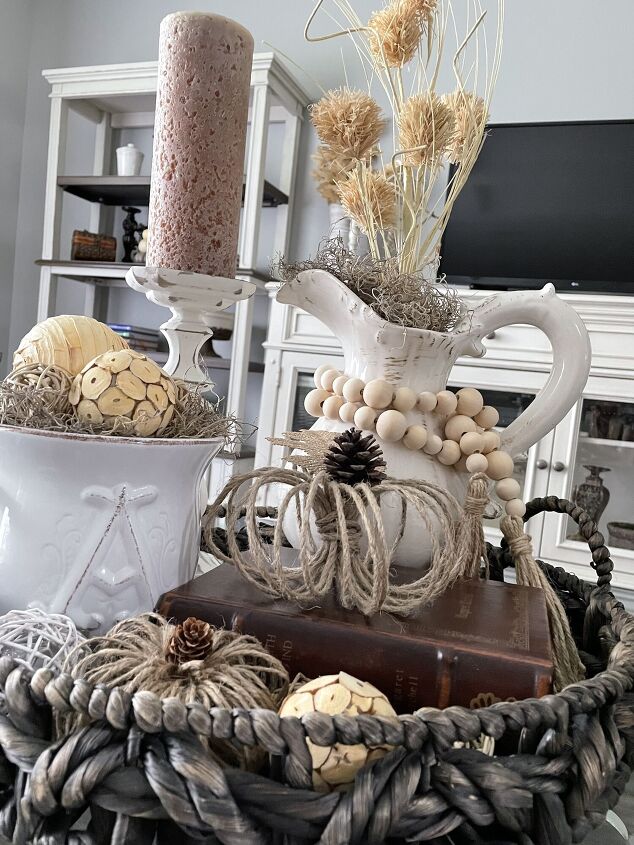
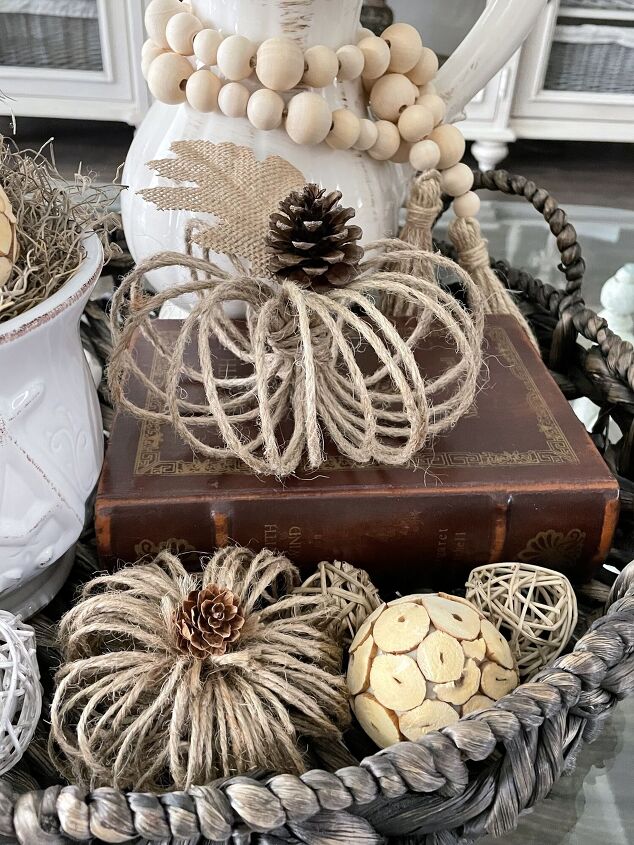
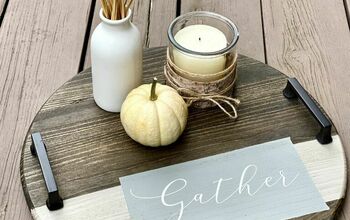
How to Style Twine Pumpkins
I used my twine pumpkins in a vignette for my coffee table, in the great room
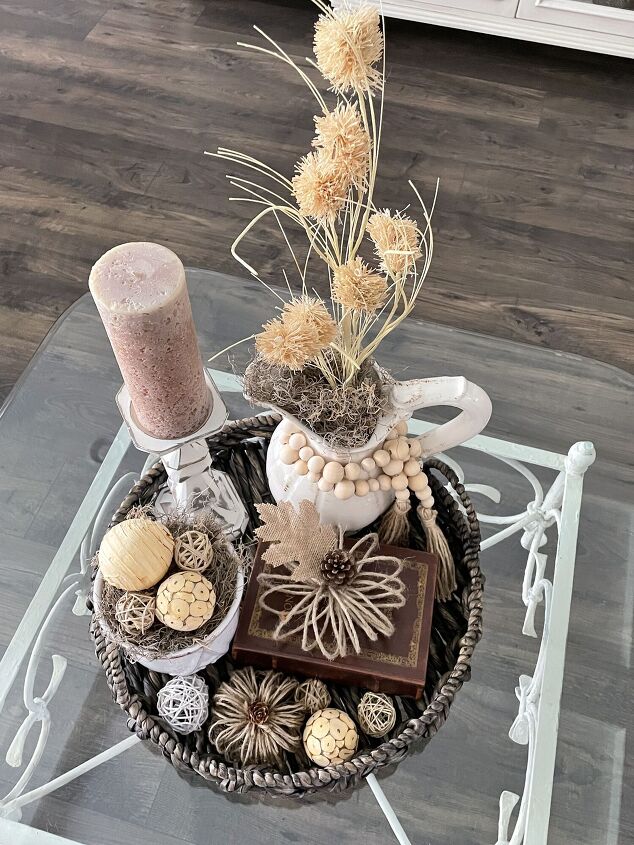
This is such an easy and cute craft anyone can make! I love to decorate for Fall and have several more DIYs planned. I hope you enjoyed learning how to make these two types of twine pumpkins! Does this get you inspired to start crafting and decorating for Fall?

Comments
Join the conversation
-
The nicest pumpkins I have seen this year less is more
-
Really cute, and easy!


Frequently asked questions
Have a question about this project?