


Painting Plastic Pumpkins For Easy Fall Decor

If you're tired of the plain orange plastic pumpkins you have laying around and want to give them a new look, try painting them! I'll give you some easy steps to give new life to those tired pumpkins.
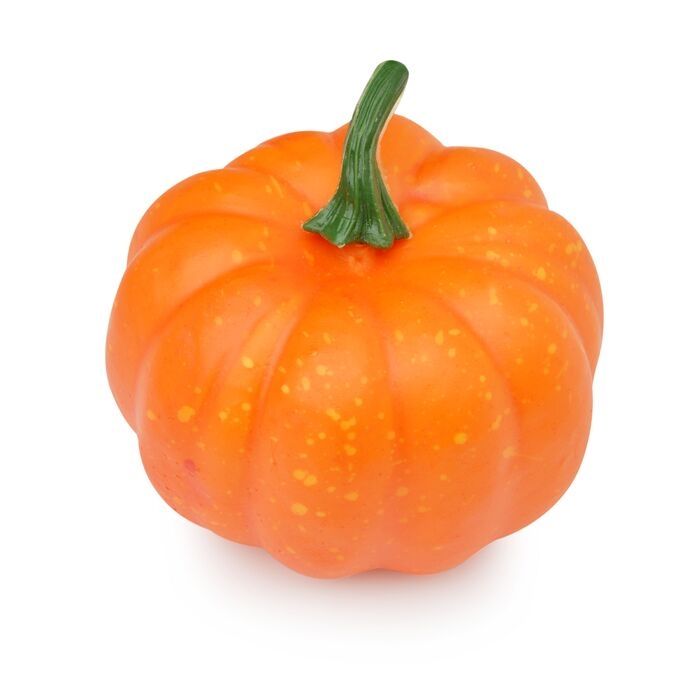
Step 1: If you don't already have some mini pumpkins, you can buy some at any local craft store or off Amazon. If you already have some, pull them out and dust them off!
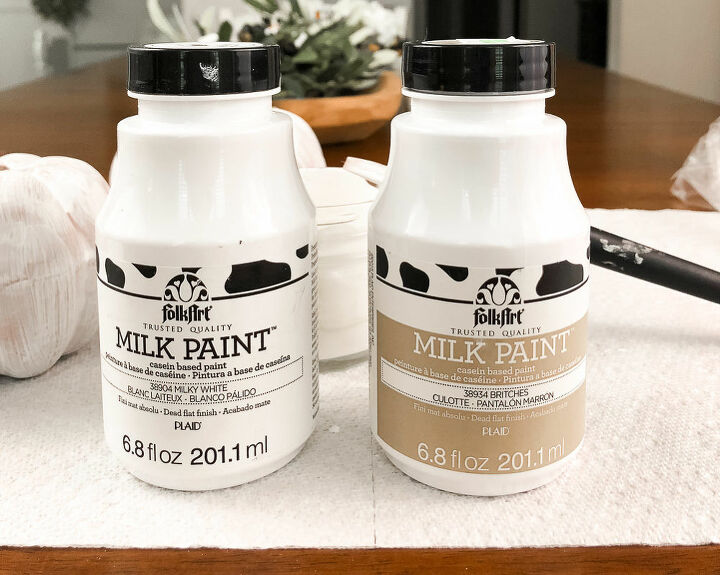
Step 2: One of the most important parts to painting these pumpkins is making sure you have the right paint. In this project I used primer and milk paint, but I've also used chalk paint and acrylic paint to paint plastic pumpkins. I chose white, but the choices are limitless to what color you paint your's.
Step 3: I wasn't joking when I said dust off your pumpkins. This is an important step. You'll want to be sure you're pumpkins are clean and that you're starting your painting project on a clean/dry surface.
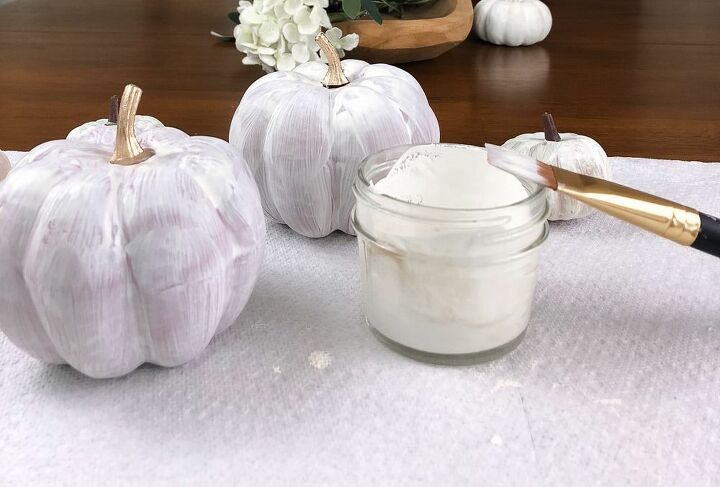
Step 4: Begin painting your pumpkin with primer and then add your paint.
I find it's easiest to start at the stem and paint downward. You will need to pick up your pumpkin by the stem and paint the bottom of the pumpkin, but you'll need to wait until the top portion of your pumpkin is dry, as you'll need to stabilize your pumpkin and allow the bottom side to dry.
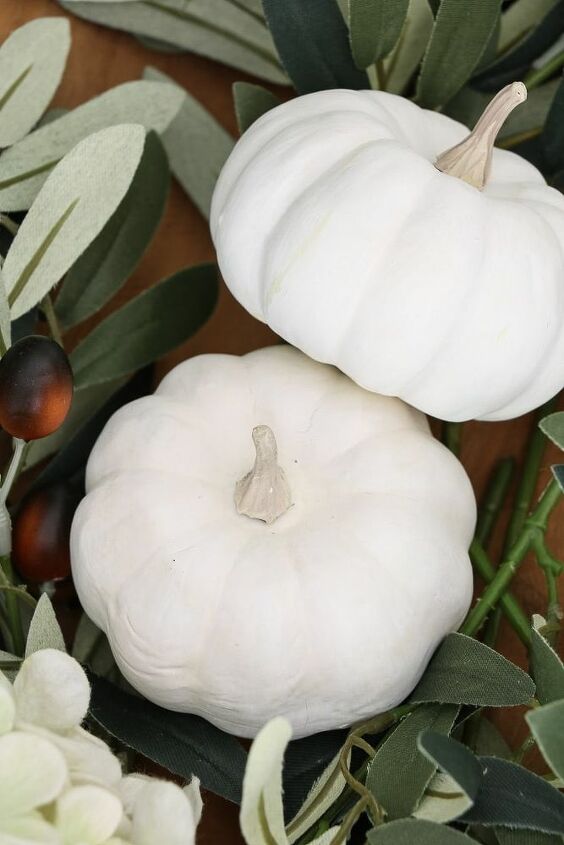
Step 5: It might take 3-4 coats of paint to get the look that you want on your pumpkin.
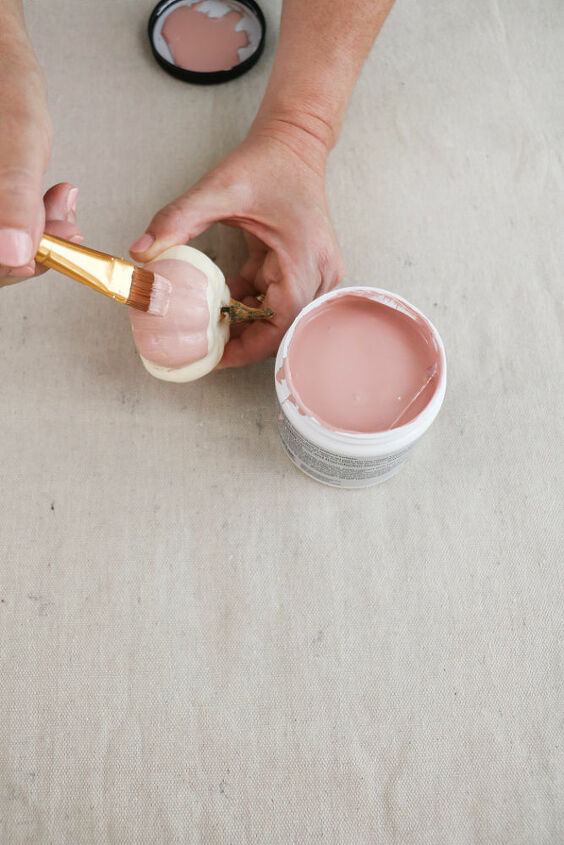
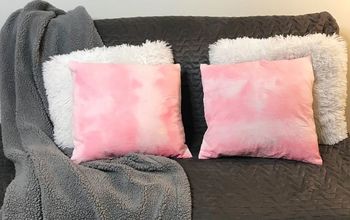
Some colors coat the first time, like this gorgeous pink I used on these cream pumpkins.
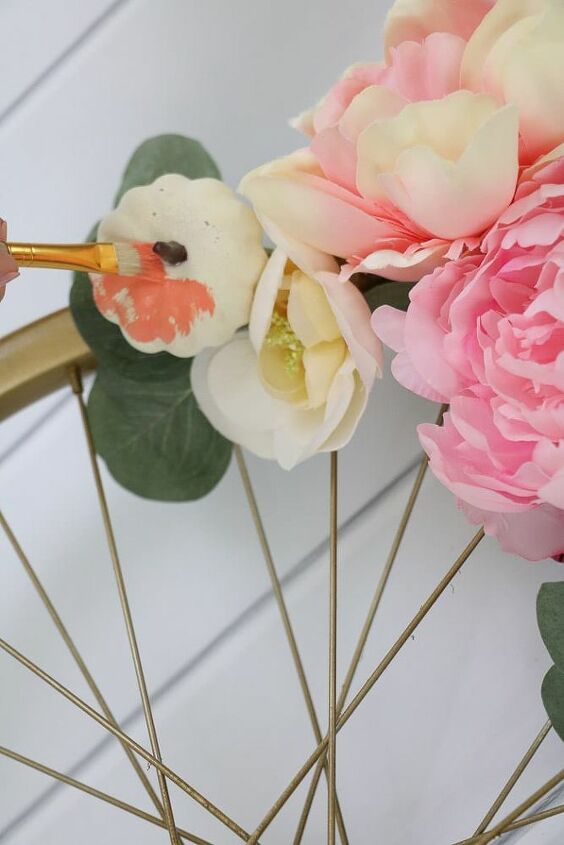
Now let's talk about how to paint your pumpkins if they are already apart of an arrangement or wreath.
After attaching these pumpkins to a wreath, I decided that I needed another pop of color and these pumpkins were the perfect options.
It was easy to brush on some paint.
Just make sure the other flowers and greenery are pushed back and paint away.

You'll notice I left this pumpkin a little rustic when I painted it. You can see how the wreath came together on my post A DIY Fall Bicycle Wreath That Turns Out Stunning.
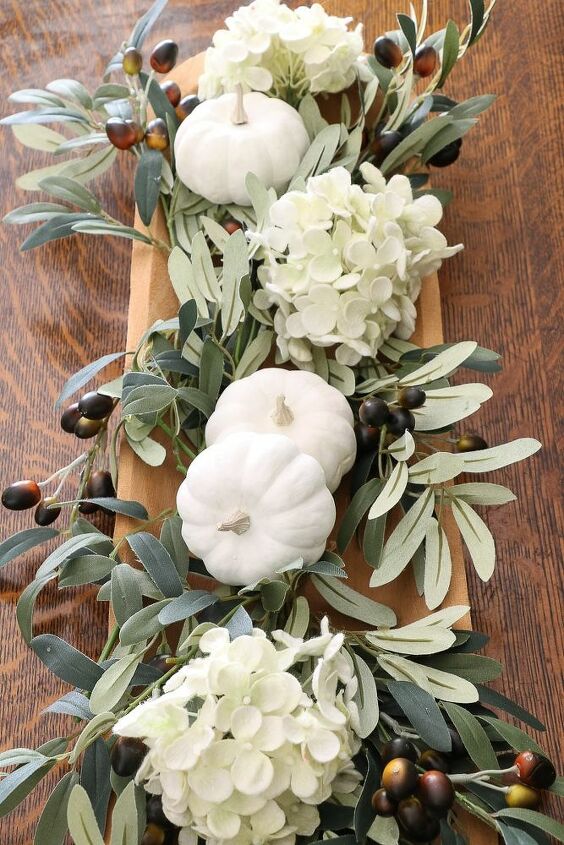
You can also check out how we styled the white pumpkins in our DIY Fall Decor Wooden Dough Bowl Floral Arrangement post. If you want to see this post search for "fall dough bowl" on my website at lifeonsummerhill.com
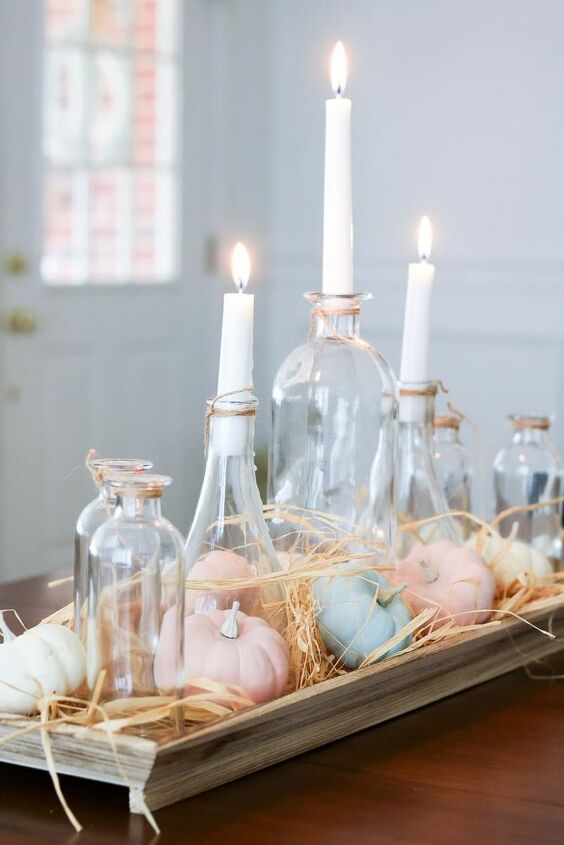
This is how our pastel pumpkins turned out and we styled them on a tray in our post Easy And Lovely Farmhouse Pumpkin Centerpiece.
See how lovely painting your pumpkins can be! Now don't wait any longer. Go give your old pumpkins a new look.
Resources for this project:


Frequently asked questions
Have a question about this project?