


Shabby Chic Dollar Store Pumpkins

by
Carol Murphy
4 Materials
$7
4 Hours
Easy
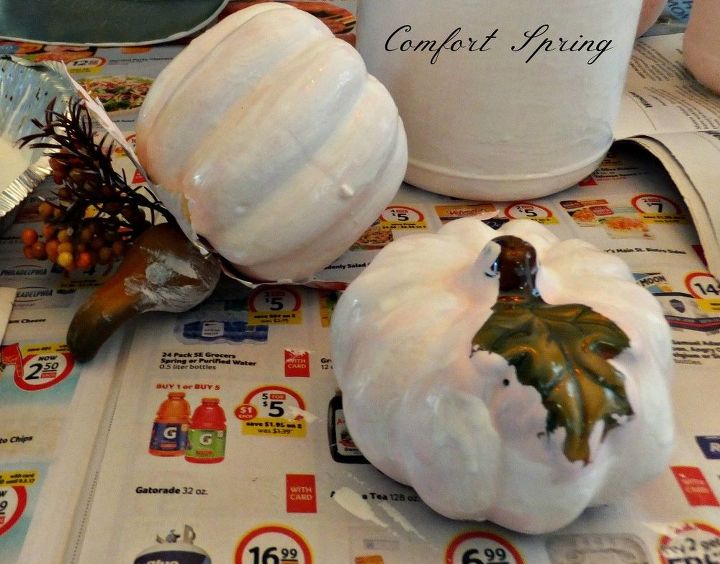
I had three ceramic pumpkins from Dollar Tree that I bought within the last 2 years. The first is a white ceramic and the second is brown ceramic. The third is a little orange pumpkin. See complete post at
http://www.comfortspringstation.com/2017/09/17/shabby-chic-dollar-store-pumpkins/

I started with the orange pumpkin. I painted it pink. (I took white paint and added a drop of red food coloring.)
After the paint dried, I thought it was too pink and used a white wash of watered down white paint. When dried, the pumpkin was a pale pink.
After whitewash dried, it was light pink. I painted gold on the bottom of this pumpkin and on the leaf.I dripped whitewash on the top line of the gold bottom. I added gold polka dots on the pink top and black accents on the leaf.
I dripped whitewash on the top line of the gold bottom. I added gold polka dots on the pink top and black accents on the leaf. Then I added a pin on the leaf.
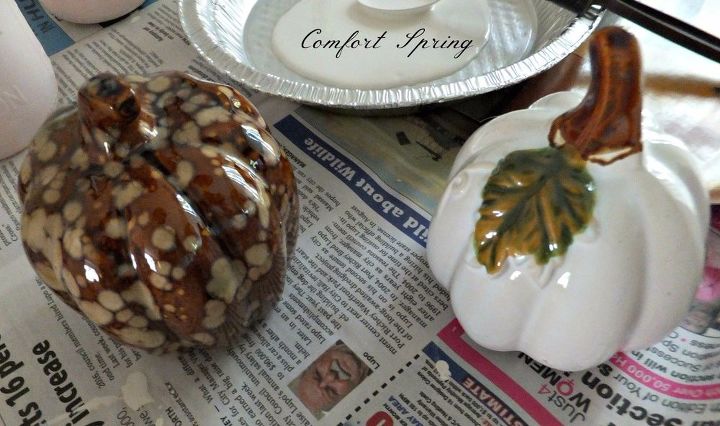
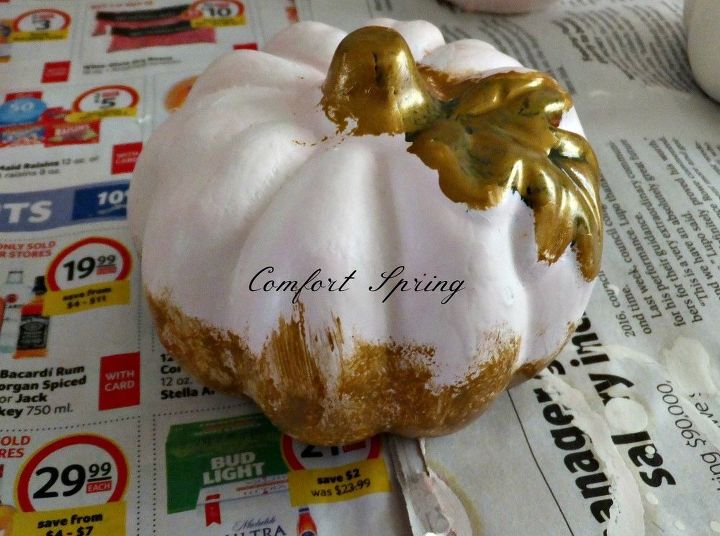
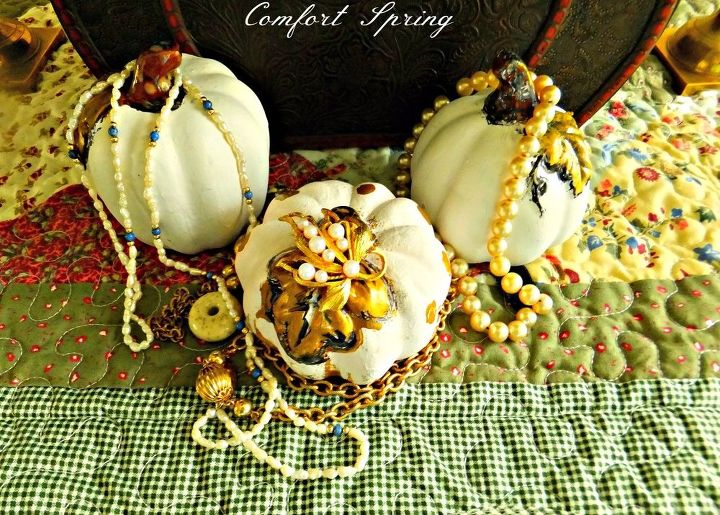
The other two ceramic pumpkins were painted white despite one being a white pumpkin. I didn't want the shiny ceramic finish.

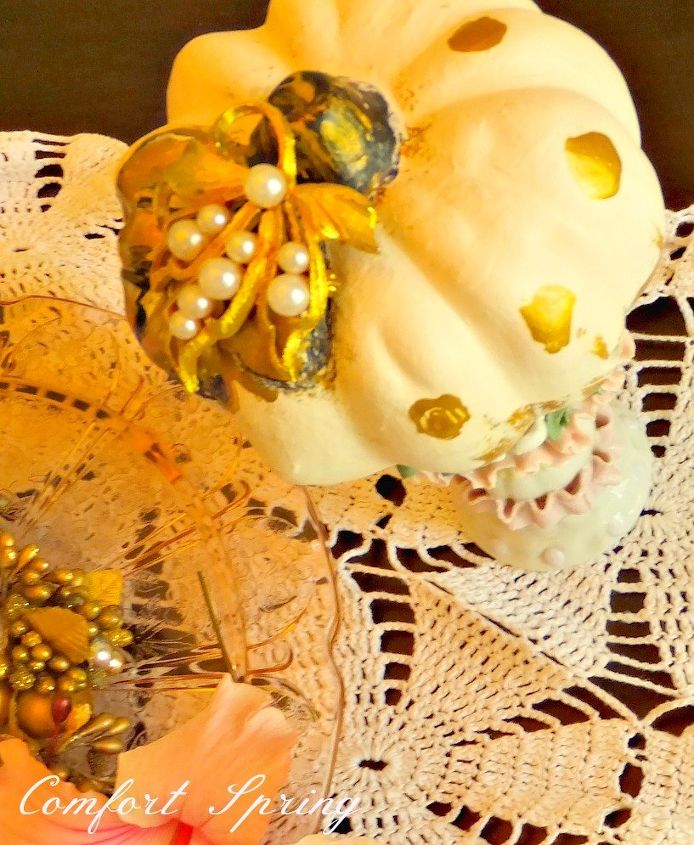
When dried, I added gold and black accents.
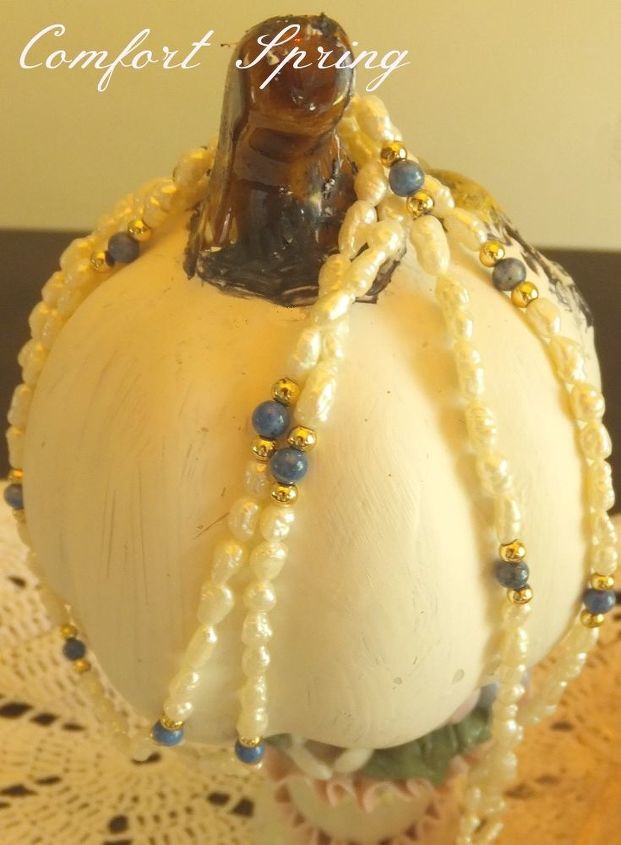
I added jewelry.
I made a vingnette with a planter.

Several days later I made another vignette with fresh flowers and a Depression glass cake stand.
Want more details about this and other DIY projects? Check out my blog post!


Frequently asked questions
Have a question about this project?