


Simple Mini Pumpkin Topiary
2 Materials
$20
10 Minutes
Easy
Make a simple mini pumpkin topiary to decorate your dining table and home this Fall!
We want to help you DIY, so some of the materials in this post are linked to sellers. Just so you know, Hometalk may collect a small share of sales from the links on this page.
The supplies that you will need for this include:
"Fill" for container - I used plastic shopping bags
Optional: Skewer, if you want to secure your pumpkins
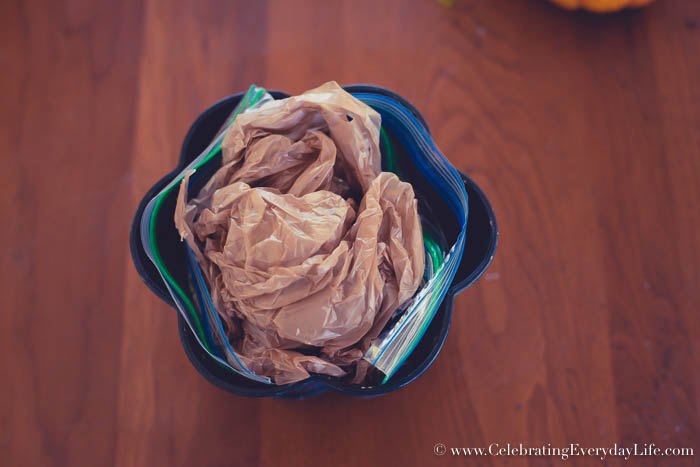
Pick a container and fill it to create a "base" for your topiary. I used plastic bags. We always have loads of them laying around and they are "moldable" so I like to use them in projects like this.
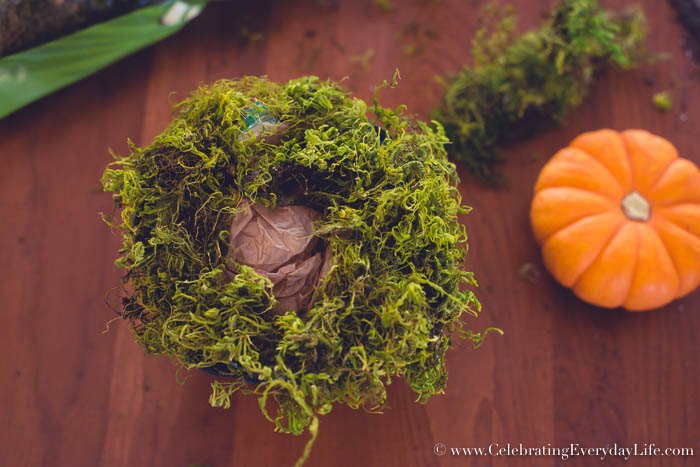
Place a layer of moss around rim to "soften" the edge.
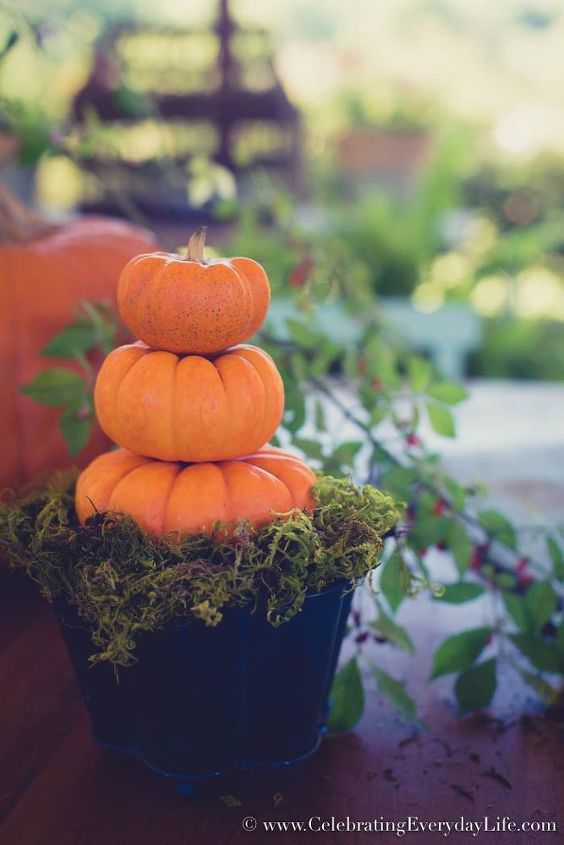
Stack pumpkins on top of each other and you are done! I like to just let my pumpkins rest on top of each other, but you could use a bamboo skewer pushed through the middle of the pumpkins (don't push through the top of the top pumpkin) to keep them in place.
The skewer may cause your pumpkins to rot faster though.
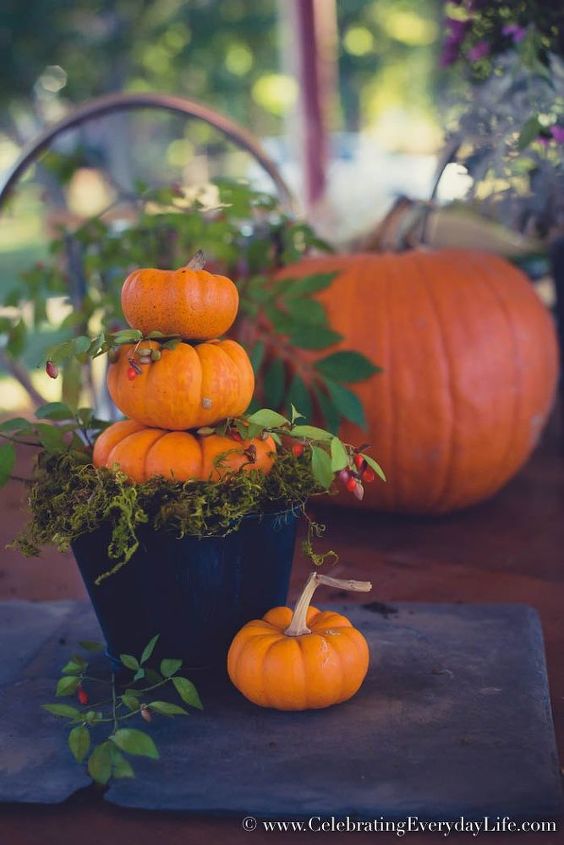
You can also dress these up by slipping in a few sections of fall leaves and berries.
Since these are not in water, I recommend you use these only for moments when you are entertaining. Place them amidst your pumpkins right before guests arrive, they should last for the next few hours if it's not too hot.
You could also use a skewer to puncture the pumpkins and place the stem of your branch into the pumpkin. The moisture from the pumpkin will help your branch stay fresh, but your pumpkin will rot faster - something to consider if you want these to last for the season.

Want more details about this and other DIY projects? Check out my blog post!


Frequently asked questions
Have a question about this project?