


This DIY Pumpkin Topiary is the Perfect Addition to Your Fall Décor

If you're looking for the perfect piece to adorn your fall tablescape then you have come to the right place. In today's post, I will show you how to make the cutest DIY pumpkin topiary. You need very few items, and the results are amazing.
This post was transcribed by a member of the Hometalk editorial team from the original HometalkTV episode.
Let me show you how to make this gorgeous Fall centerpiece:
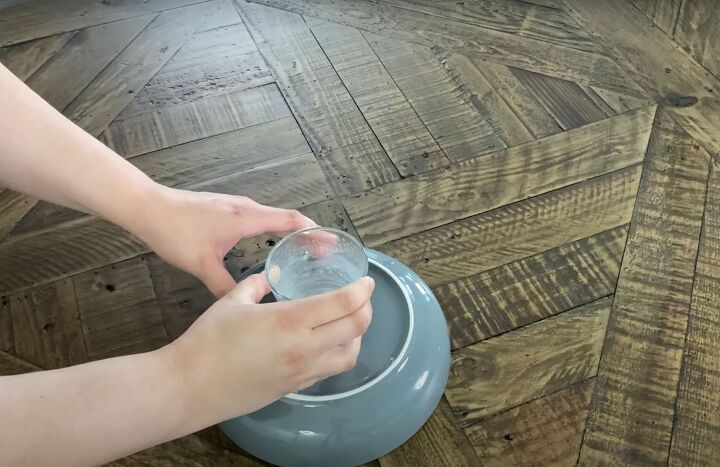
1. Make a tray
The first thing I did to make my DIY pumpkin topiary was to take a bowl and an old candle from Walmart. I stuck the candle holder onto the underside of the bowl with E6000, so when I flipped it over I have a cute elevated tray.
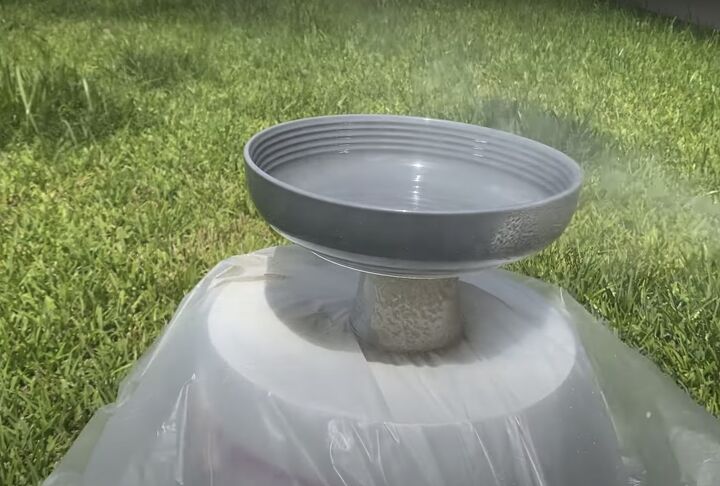
2. Spray paint the tray
Once the E6000 was fully dried, I gave my tray a quick coat of textured spray paint to give it a cohesive look.
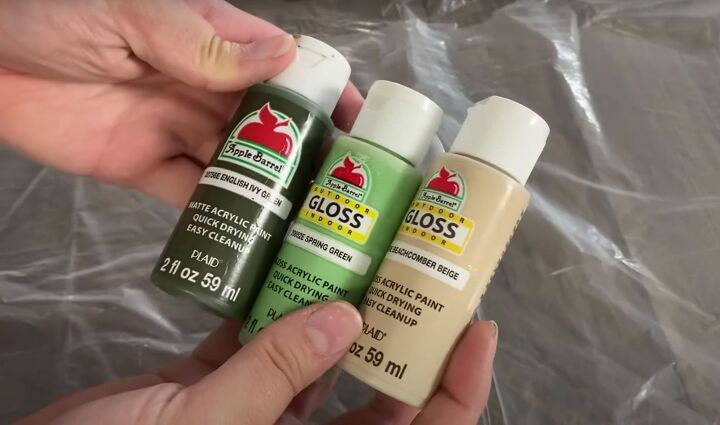
3. Create custom paint colors
While the paint was drying on the tray, I made some custom paint colors with acrylic paint and baking soda. I went with greens and beige as these colors complement my home's color palette.
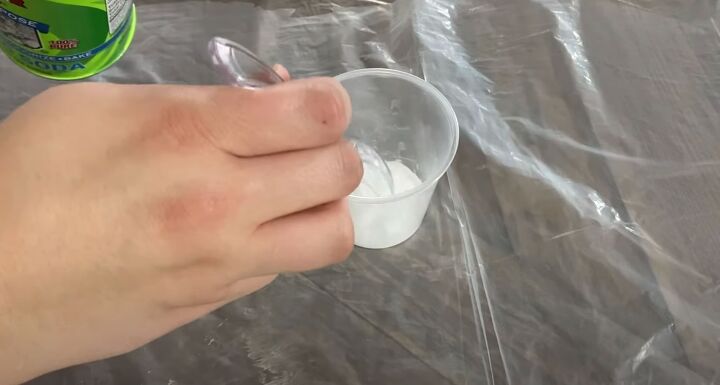
To make my custom colors, I added baking soda to a plastic cup and then added premade acrylic paint. Essentially, what I was doing was making my own DIY chalk paint. I prefer the look of chalk paint, but go ahead and use anything you like.
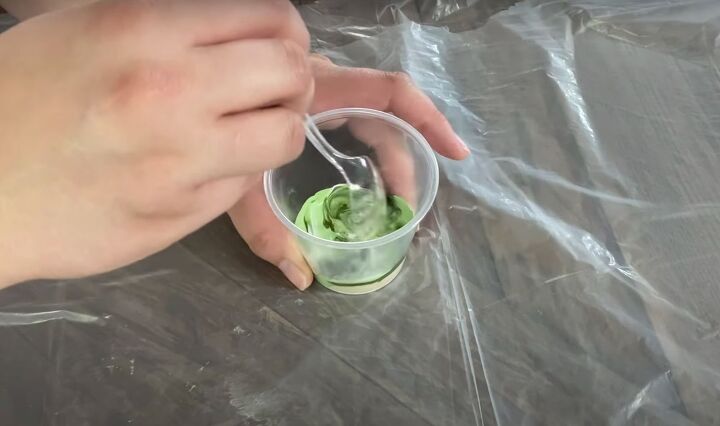
Following that recipe, I went ahead and mixed up a few different shades of green and a shade of beige.
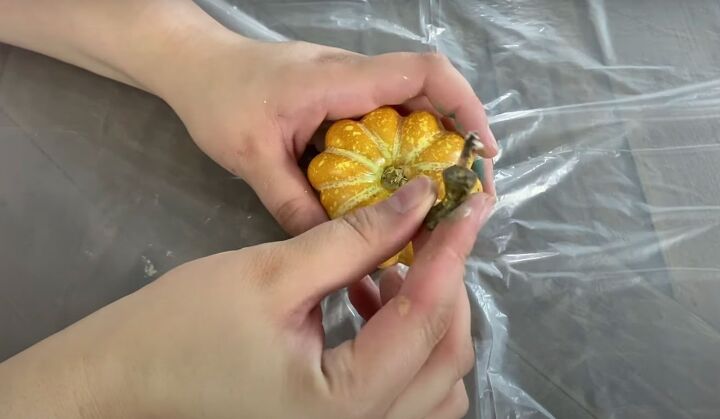
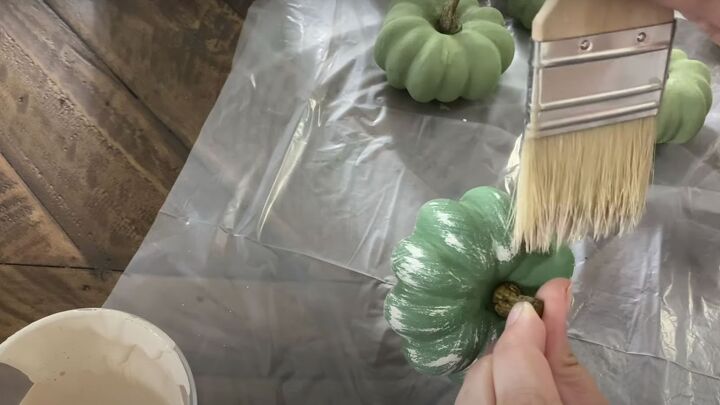
4. Paint the pumpkins
With the paint mixed, I removed the stems of the faux pumpkins so that I did not get paint on them. The stems were actually on a little wire, so they were easy to remove and put back in.
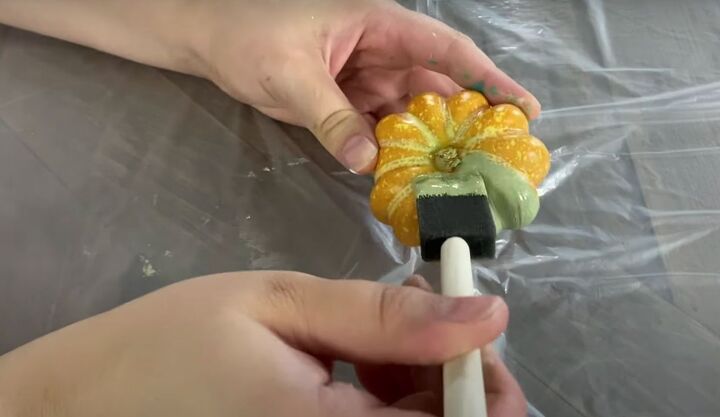
I started off with light green paint for the first mini pumpkin.
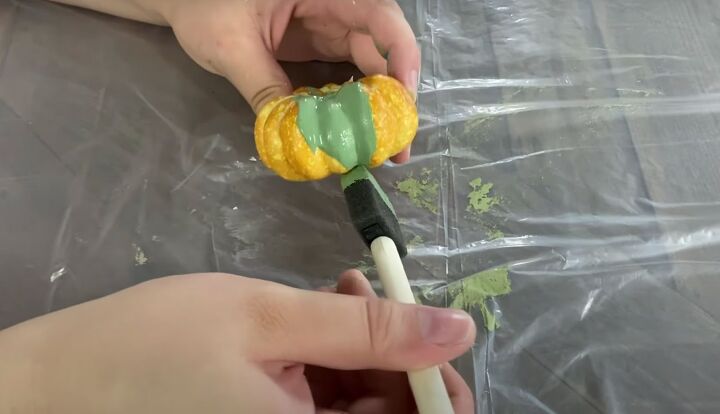
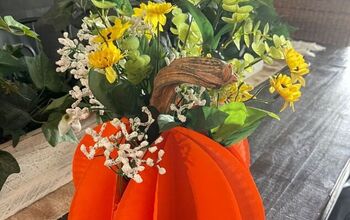
For the next orange pumpkin, I decided to use more of a teal color.
The last color I used was beige.
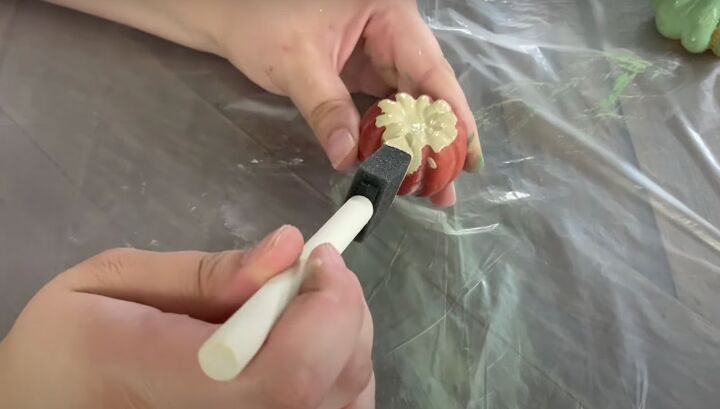
Once the paint was dry, I went ahead and put the stems back in and then used a little white paint mixed with a bit of beige to dry brush on some details. This is just to keep it all from being too solid and add a bit of interest.
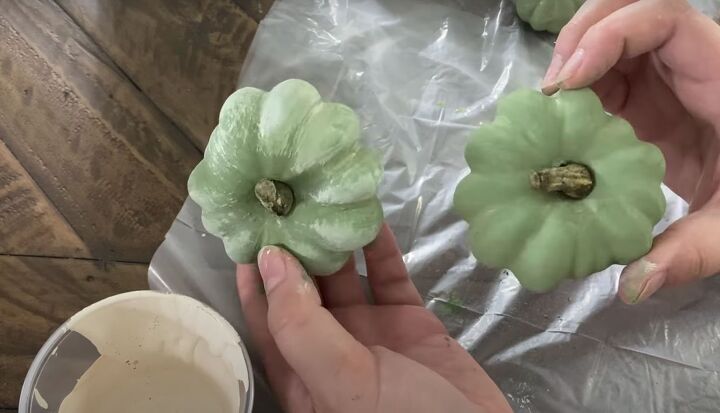
With the lighter color brushed on, I wiped a napkin over the paint to create the look of a subtle wash.
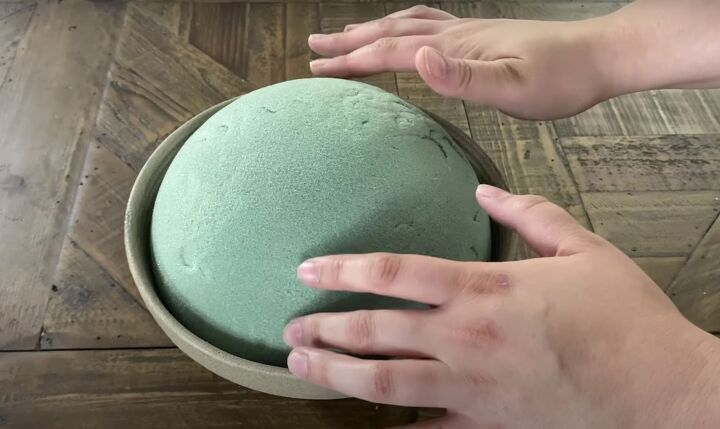
5. Assembling the topiary
Now that the tray is dry, l went ahead and added a piece of foam in a half-ball shape.
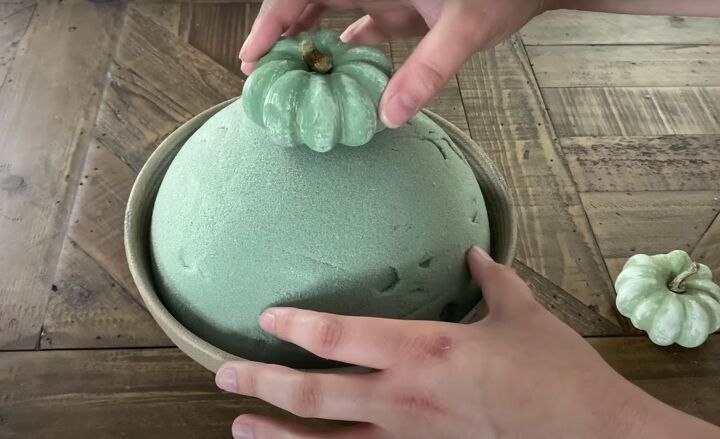
To start building the fall pumpkin topiary, I started adding the larger pumpkins first keeping them in place with some hot glue.

Then I added the smaller pumpkins after that. The baby pumpkins helped to fill in a little bit of extra space before I added the moss.
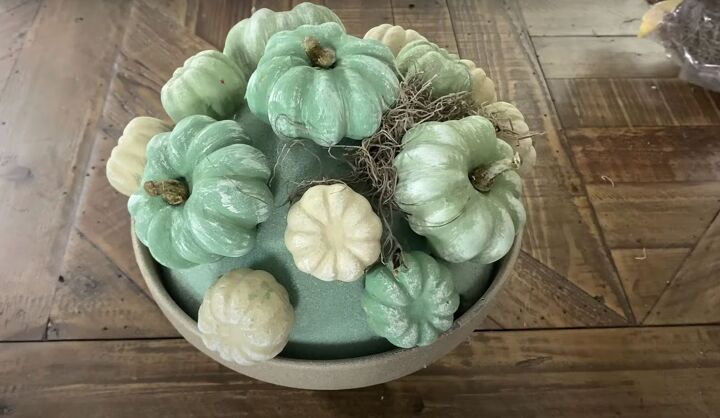
Next, I added some Spanish moss I got from Dollar Tree. You could put this all over before you get started but since I wanted to hot glue my pumpkins, I am doing it after.
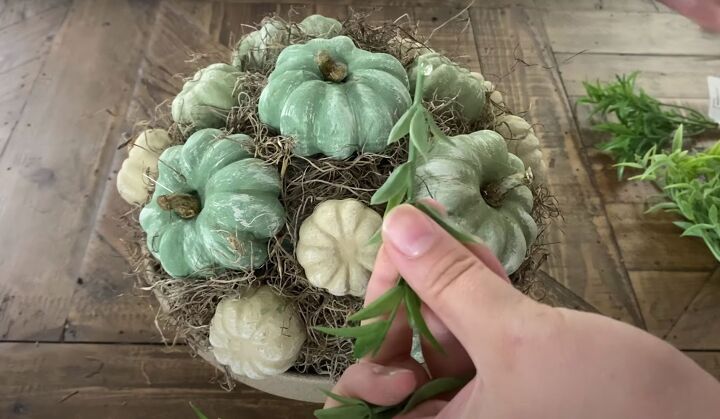
The topiary looks very nice and kind of muted now but I really wanted to add a little bit more lush green. Walmart had lots of picks that resembled Rosemary and other herbs that I love so I wanted to include some of those. They really fit the vibe of my home. To add them, I just poked them into the foam and that was it.
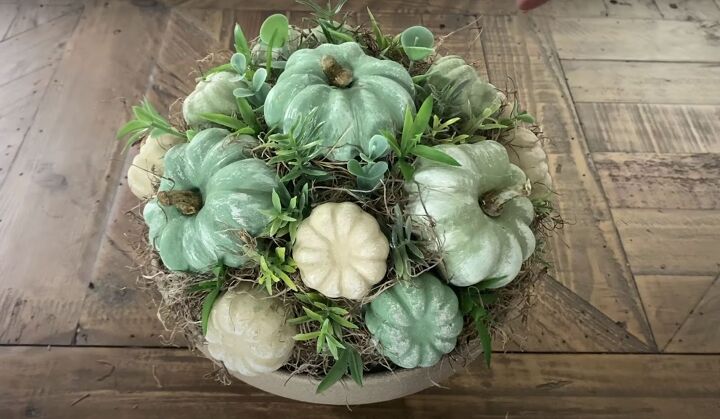
I really love how this turned out and is so cute with those little herb picks popping out. It looks like they're growing from around the pumpkins.
More Pumpkin Projects
For more ideas, check out this fun Pumpkin Kissing Ball tutorial.
DIY pumpkin topiary tutorial
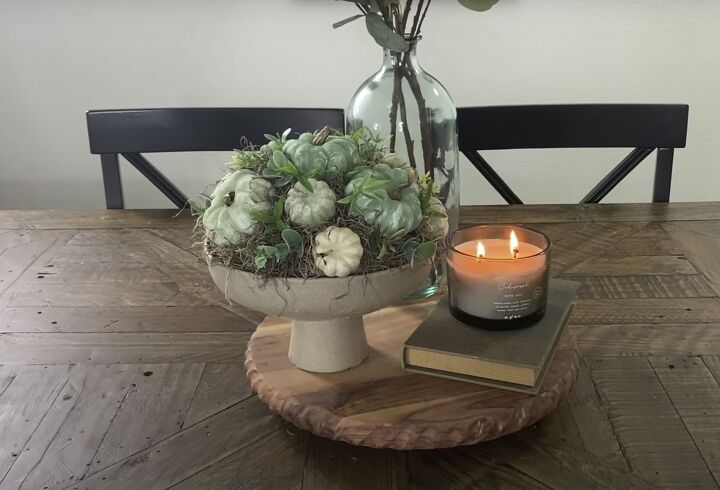
Here it is and it’s hard to believe that just a few hours ago, these were orange mismatched pumpkins, and some mismatched glassware but now it is a cohesive little piece for a fall tablescape.
I hope you guys love this DIY pumpkin décor as much as I do. If you try it out, please let me know how it went in the comments.
DIY fall centerpiece ideas


Comments
Join the conversation
-
Really cute! I might try this one, and thanks for the idea.
-
Lovely idea 😻


Frequently asked questions
Have a question about this project?