


These Beachy Wood Pumpkins Are a $Tree DIY Knockoff!

Trending this fall are tiny wood pumpkins made from a package of small wood pieces available at dollar tree. I loved how they looked but they were way too small. So I decided to cut my own wood and make a larger version.
Let’s get started…
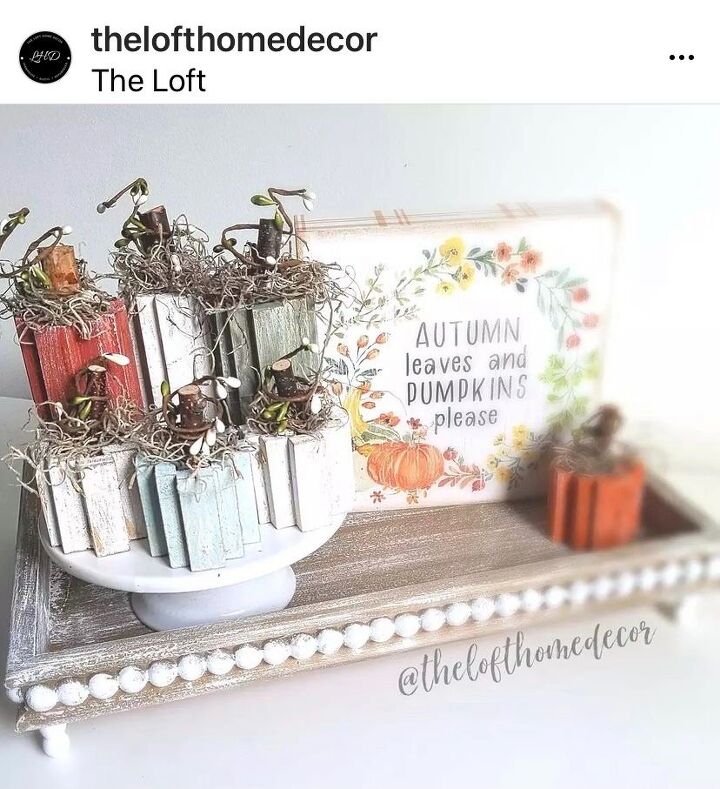
If your on Instagram head on over to @thelofthomedecor. Karen is so talented and her project (pictured above) was the inspiration for today’s pumpkin patch!
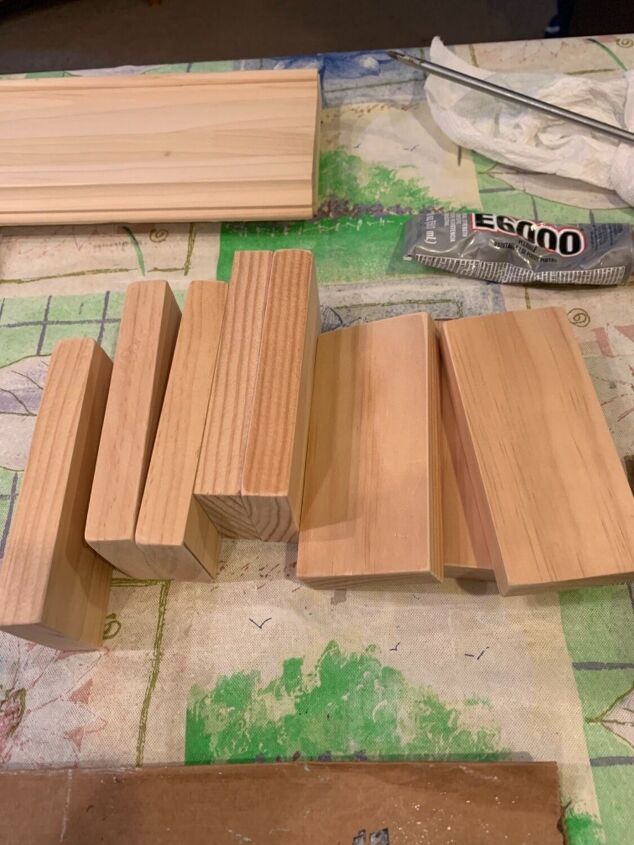
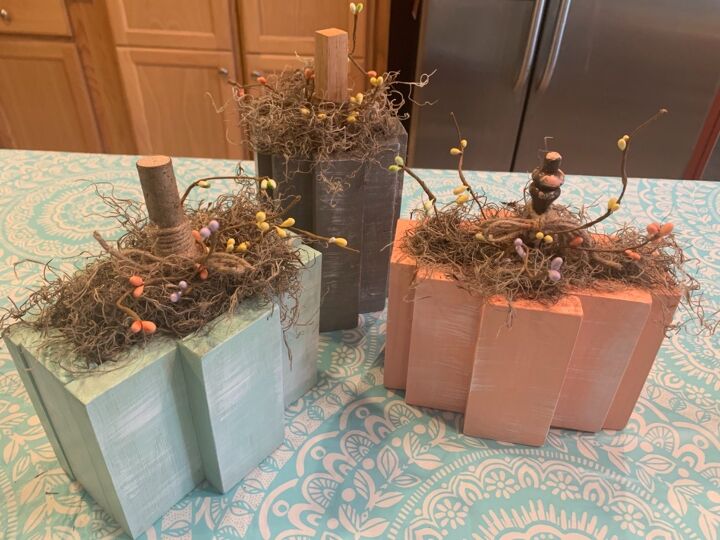
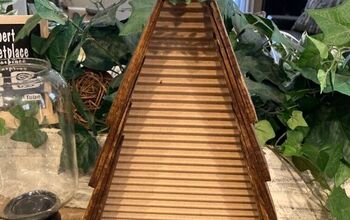
I ended up with enough wood to make three pumpkins. Each pumpkin needs eight pieces of wood the exact same size. I made one using narrow pieces and others were a little wider. You can use any size. I used a jigsaw to cut the wood and then I sanded each piece with my orbital sander.
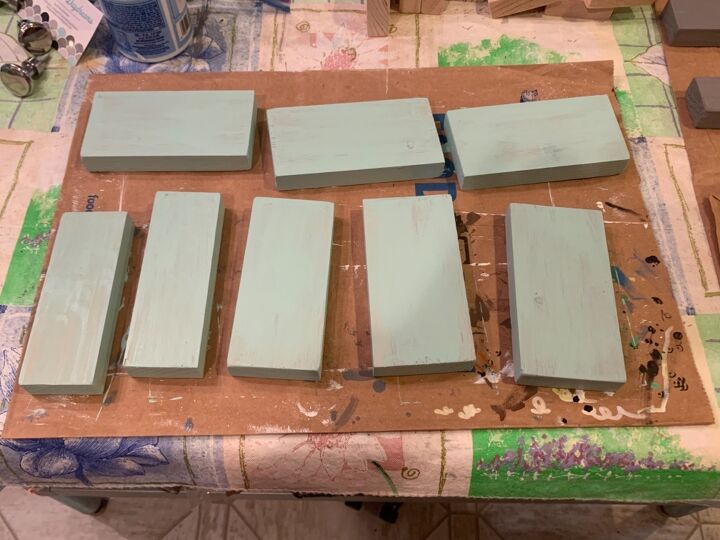
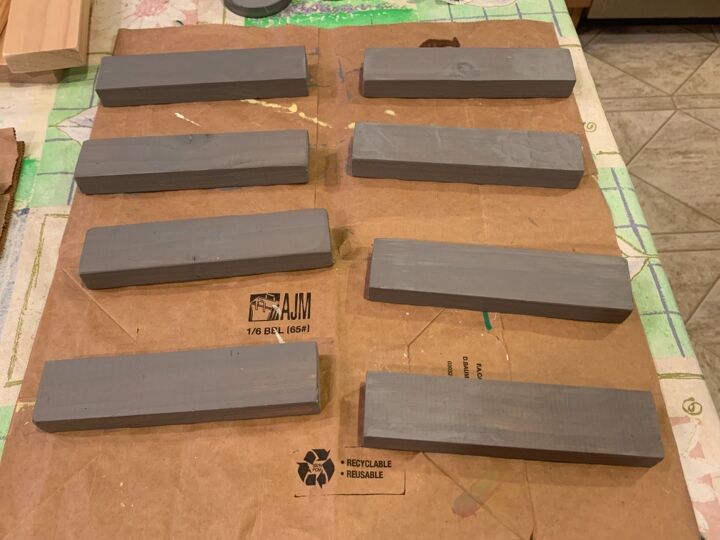
Since I live at the beach I decided to use beachy colors. One is gray, one is a bluish green, and the other is a coral color. But of course you could use traditional orange.
Not only were these pieces on the narrow side. But they were a little taller than the others. I really like variety.
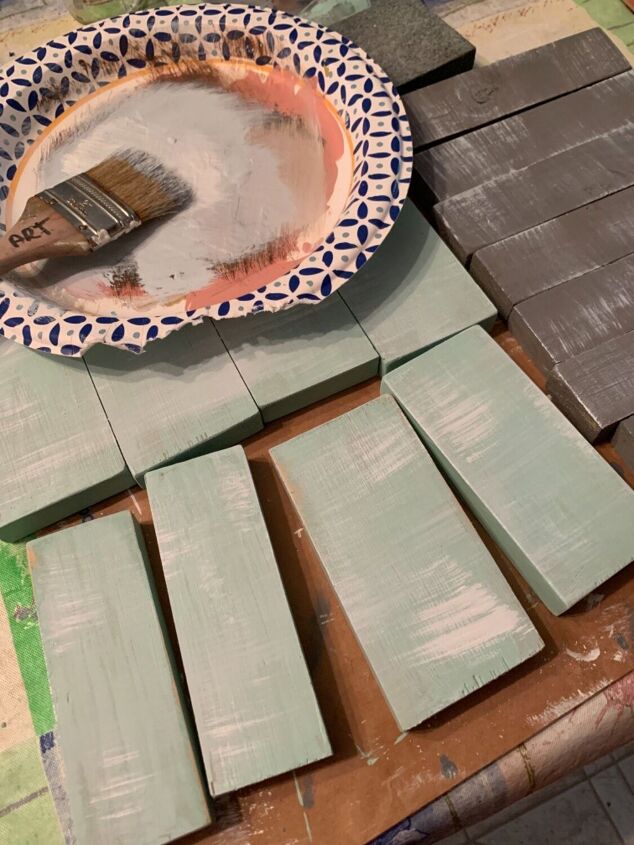
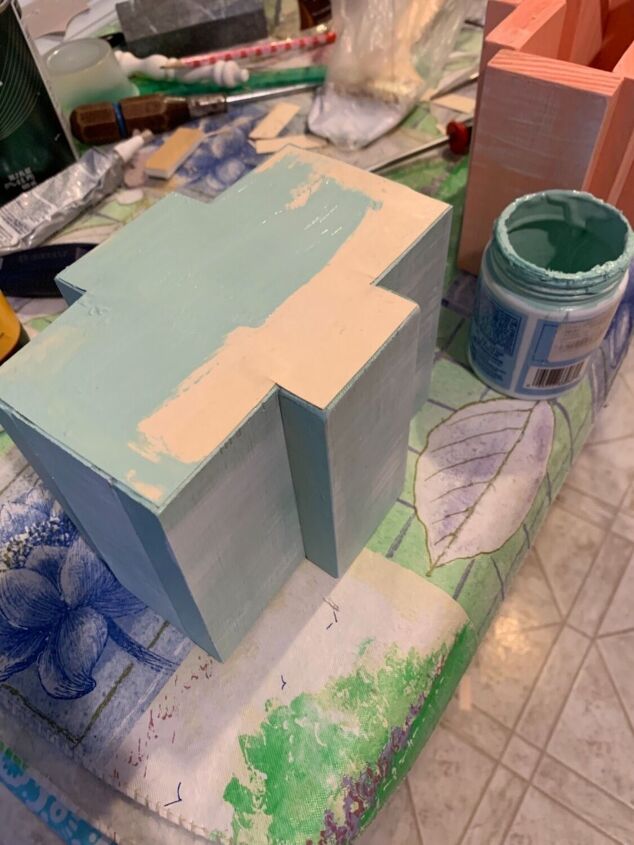
To give them a little more interest I decided to give them a dry brush coat of white. Using a chip brush I add the white paint and then offload most of the paint onto a paper plate. Then I carefully drag the brush over the top. If I accidentally blob on too much I just quickly take a wet rag to wipe it off and start again.
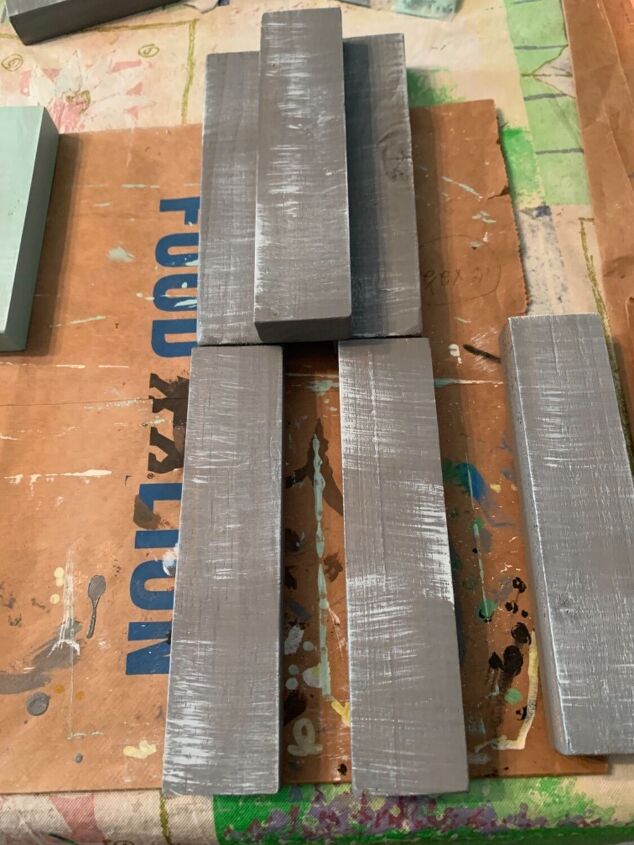
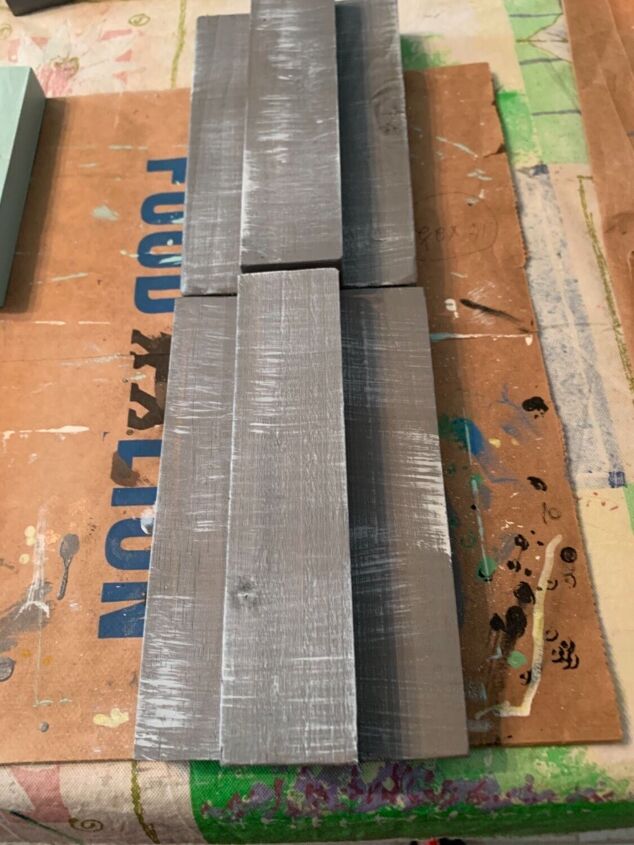
This is what the gray looked like with the extra white paint. Perfection is definitely not needed. I’m also lining them up here getting them ready for glueing.
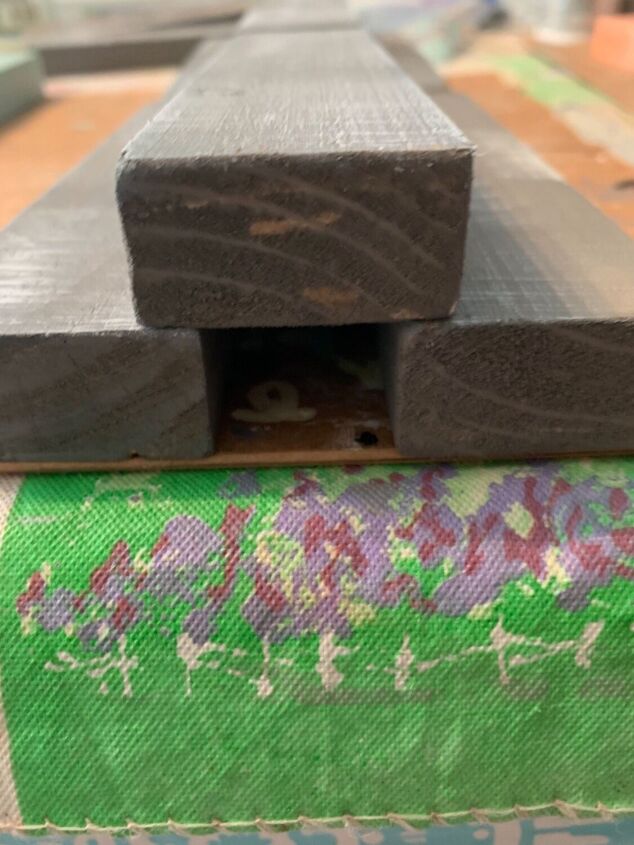
Next I used gorilla wood glue to glue three pieces together like in the photo. I lined them up next to each other to make sure I glued them identically. Not pictured are the other two pieces that I plan to use to connect these two.
Here’s a closer look. Gorilla wood glue will give you a very strong bond. But you need to wait several hours for it to dry. Follow the instructions on the bottle.
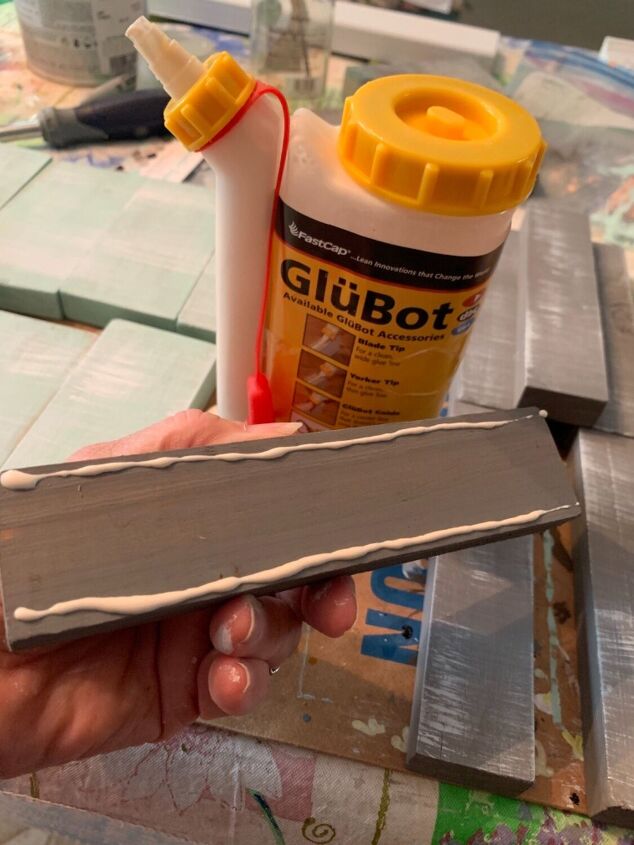
I use a gluebot container to store and then apply the glue. Just squeeze the bottle for a nice thin bead line. This handy dandy bottle is worth every penny. Trust me!
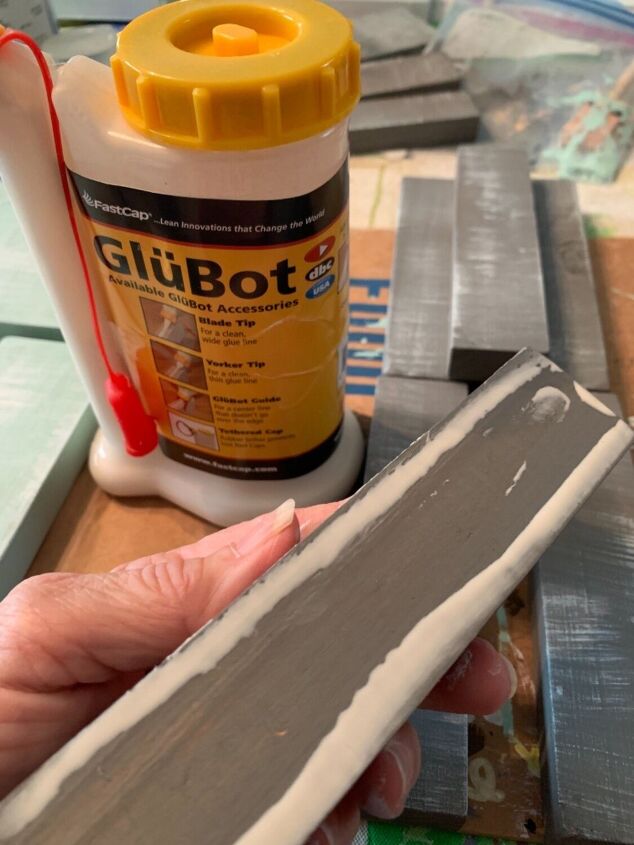
Then I lightly flattened the glue with my finger.
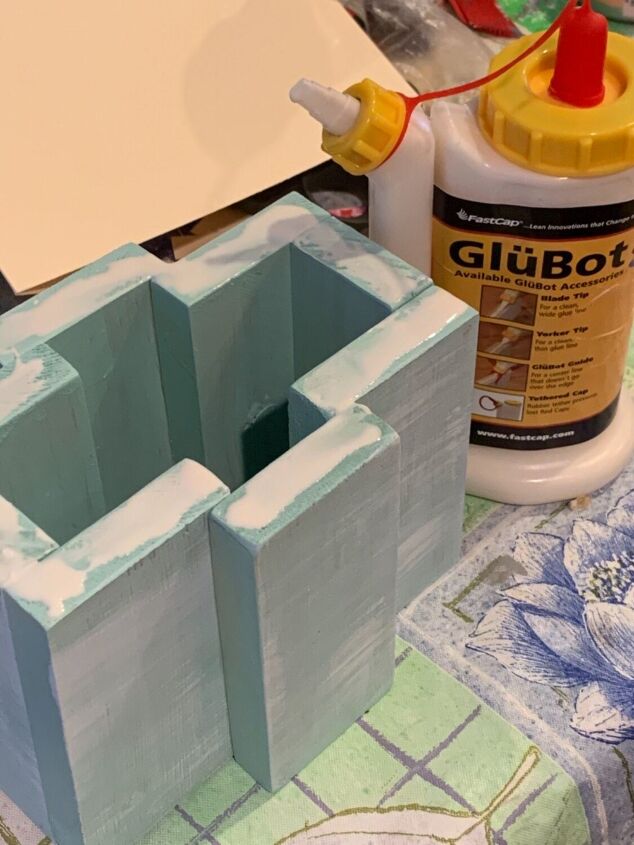
In this picture you can see how I used the last two pieces of wood to glue everything together to make a funky box shaped pumpkin.
I used a file folder and traced the bottom of my pumpkin. After I cut it out I glued it on the bottom and then painted it the same color as the pumpkin.
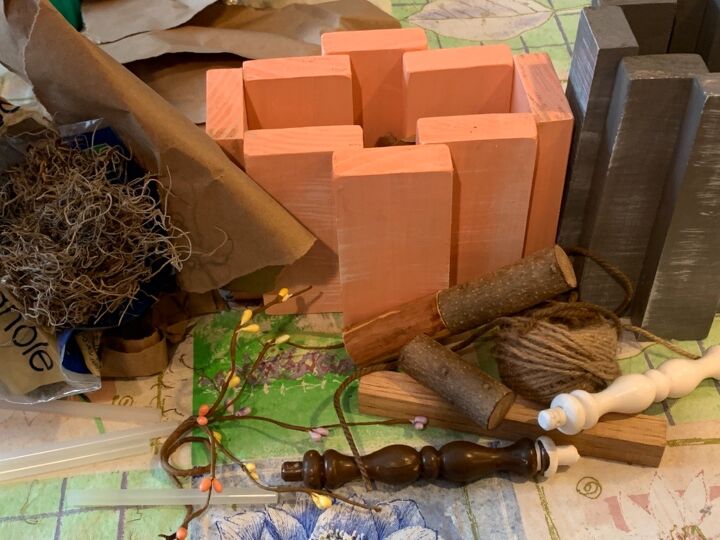
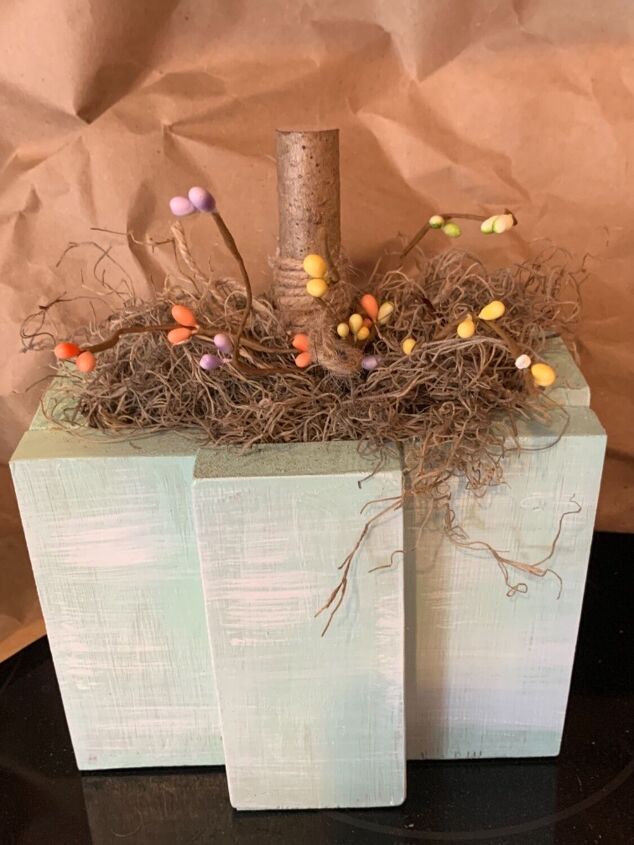
Here you could see some of the extras that I plan to use to fill each of the pumpkins. I have some sturdy craft paper that I’m gonna put in the bottom and then fill it up the rest of the way with spanish moss. I used different wood shapes and a nice round twig for the pumpkin stems. A lot of hot glue in between the moss and on top of the craft paper holds the stem in place. And then I added a little bit of fall berries to finish them off. I bought a large berried vine swag and pull of pieces as I need them for various projects.
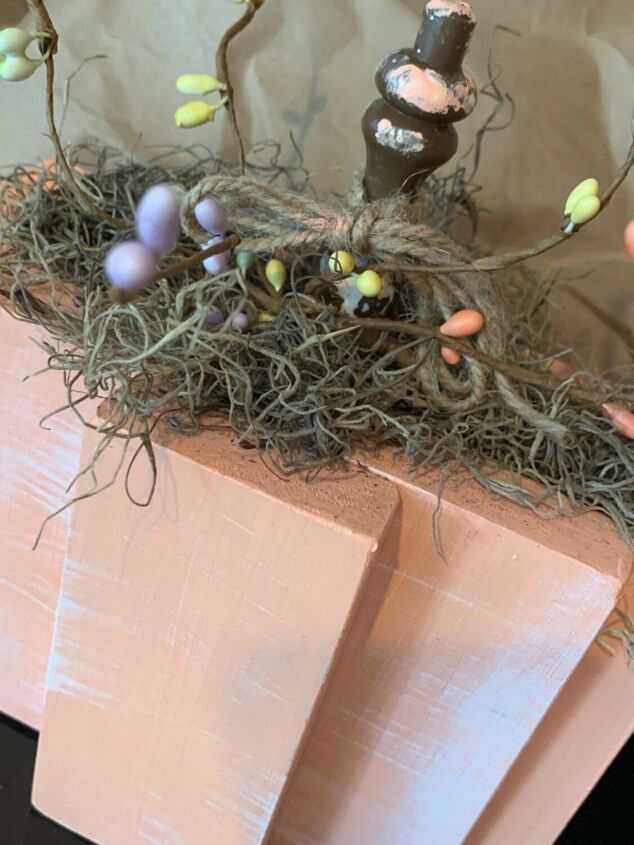
I used a small spindle from my stash for the stem on this one and added a twine bow.
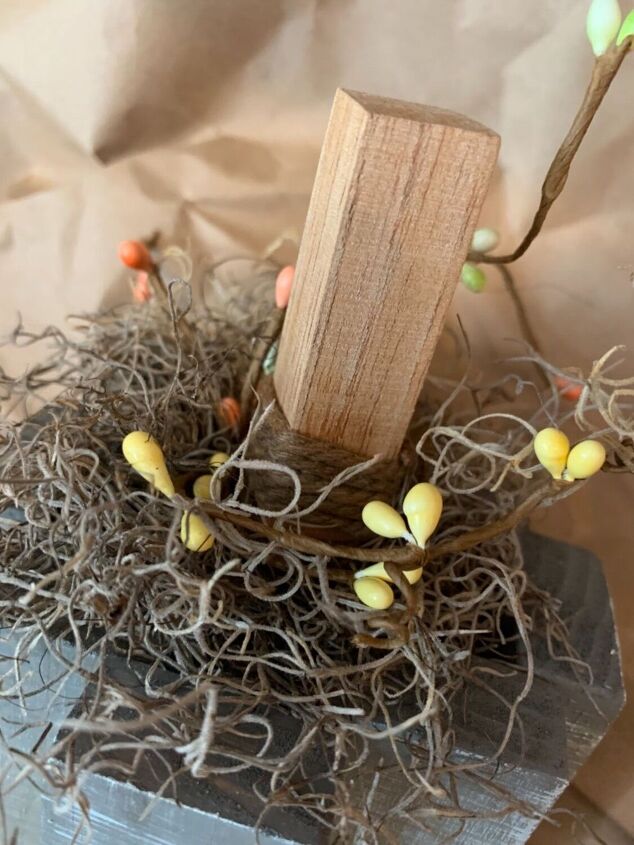
I tied some twine around the base of a square piece of wood for the taller gray pumpkin.
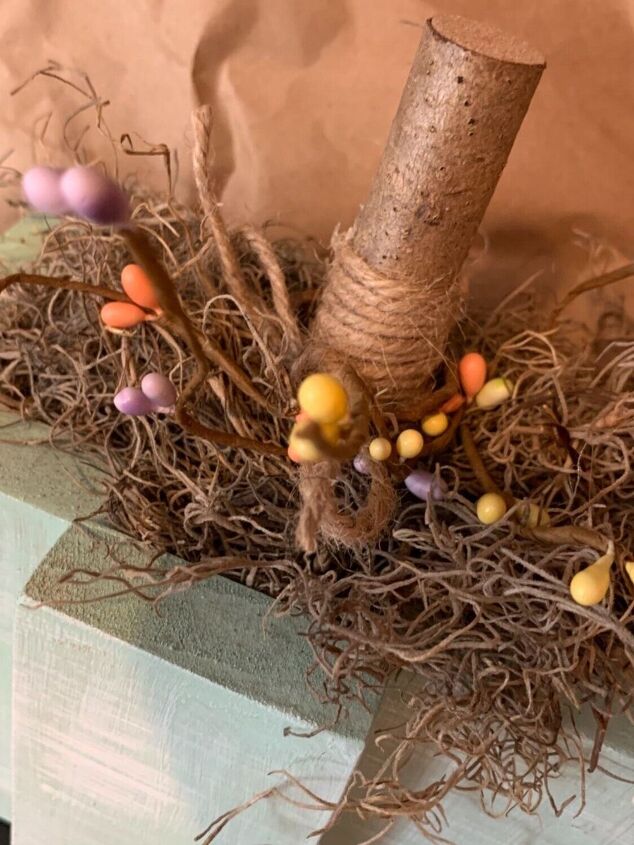
My favorite is using an actual fat twig from a tree and then adding some twine.
I love how these turned out. Thanks again to Karen @thelofthomedecor for the inspiration.
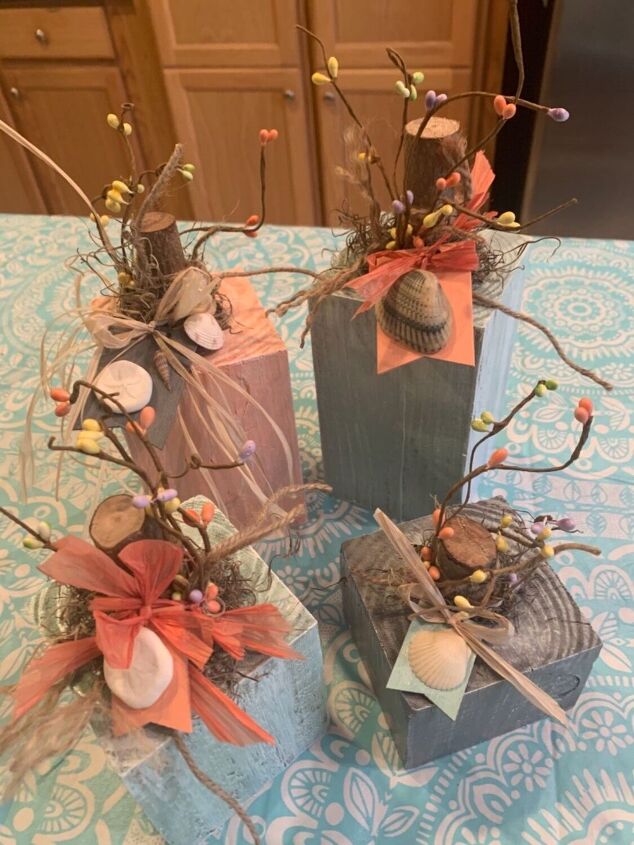
And here’s a bonus project. I use the same colors on a variety of 4 x 4 wood sizes. Glued on some twig stems with wood glue then added a little moss and a bit of berries, twine and ribbon. I had some small wooden tags that I painted and added seashells with a little bit of glue to give them a very beachy look. So easy and oh so cute!!
I hope you enjoyed this project. I loved sharing this with you.
Let me know if you have questions.
Resources for this project:
See all materials


Comments
Join the conversation
-
These are so cute. What an amazing idea. Very talented. Thanks
-
not sure what I see but I love it. Fun colors and fun shapes. I’m thinking spring arrangements


Frequently asked questions
Have a question about this project?