


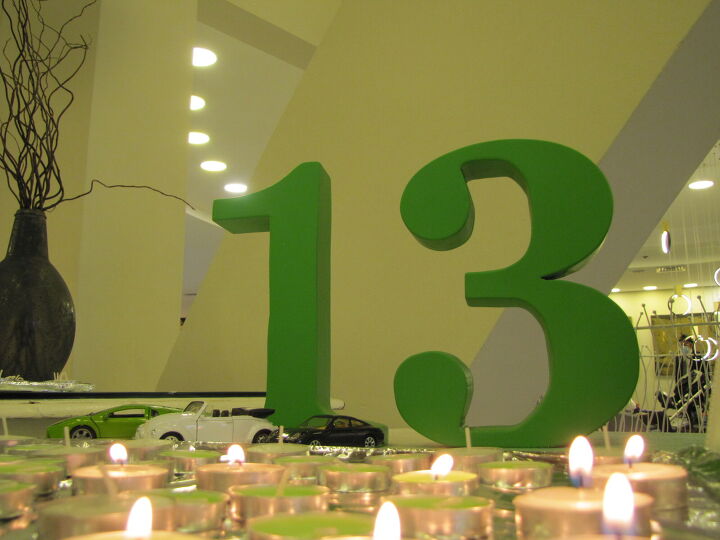
3D Numbers From MDF – Using Basic Tools

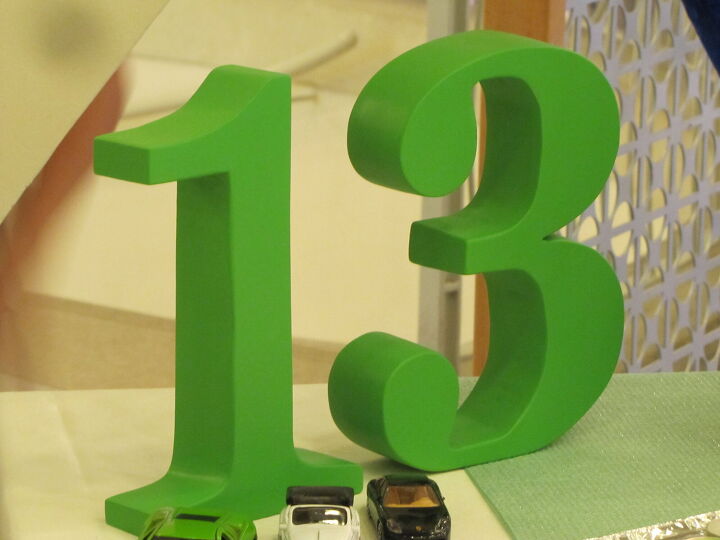
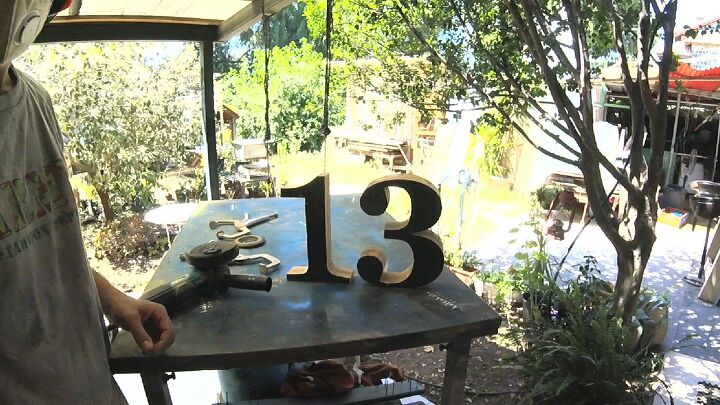
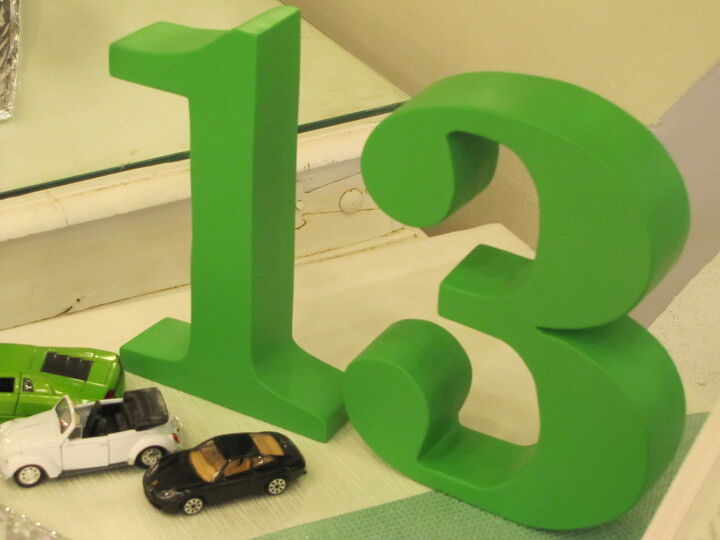
My sister's son turned 13,
she asked if I could make the number 13 in 3D.
The numbers will serve as a table decoration at the Bar Mitzvah party!
I accepted the challenge
Mazal Tov 
You're invited to subscribe to my YouTube channel and follow all of my projects:
https://www.youtube.com/channel/UCkNrUodcQbCM8FDGpFouOrw?sub_confirmation=1
Facebook:
https://www.facebook.com/kultakaladesign/
Your support is much appreciated! 
New projects coming soon!

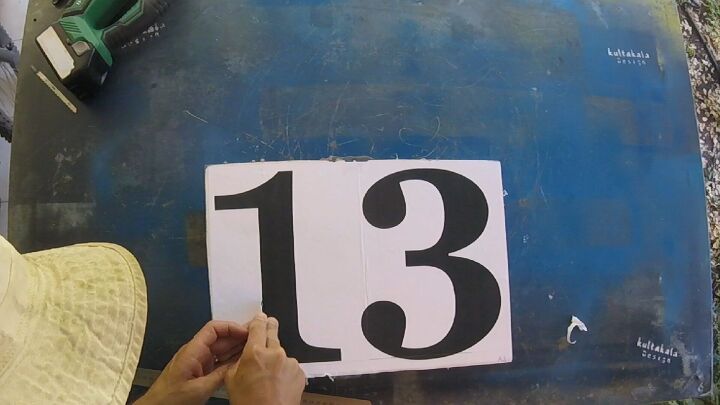
Choose a font
We chose a font that we liked, edited the numbers in graphics software before printing.
This is because the number three cannot stand steady, the action I performed is to Increase the number three, slightly more than the size of the font, and I lowered the number three slightly below the imaginary gerund line on which the number is placed so that at the top they will be the same height and at the bottom of number will be flat, also drew a line that is clear where to cut.
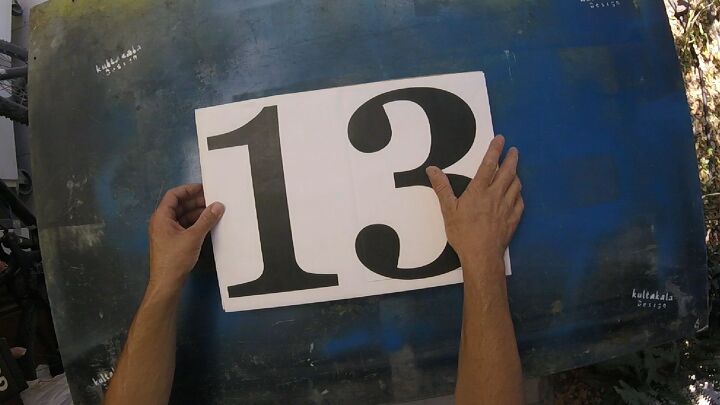
Printed on A3 paper
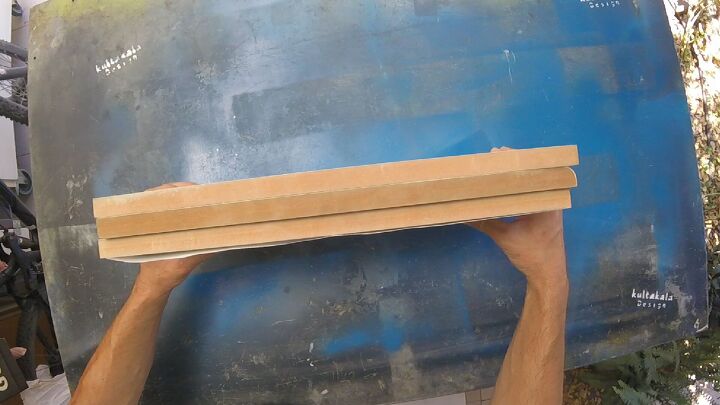
Raw material
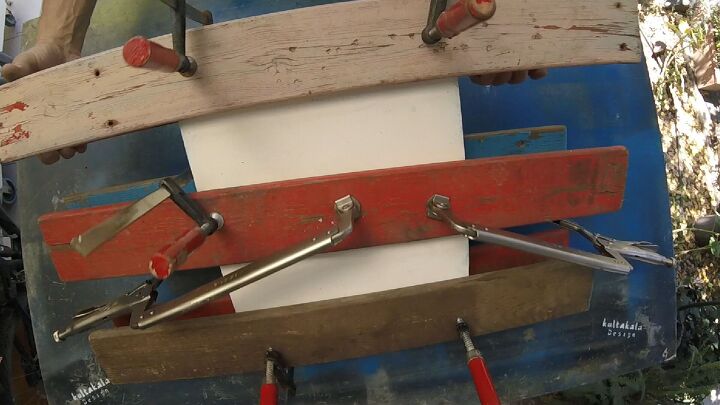
I found three old MDF closet shelves.
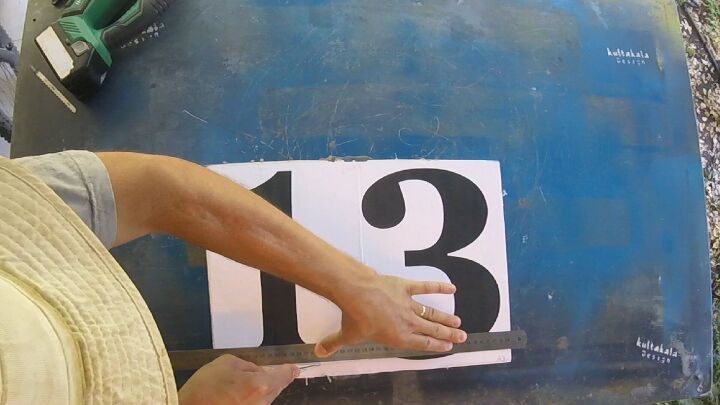
I checked that the numbers matched the size of the material.
*What is MDF ?!
See Wikipedia:
https://en.wikipedia.org/wiki/Medium-density_fibreboard
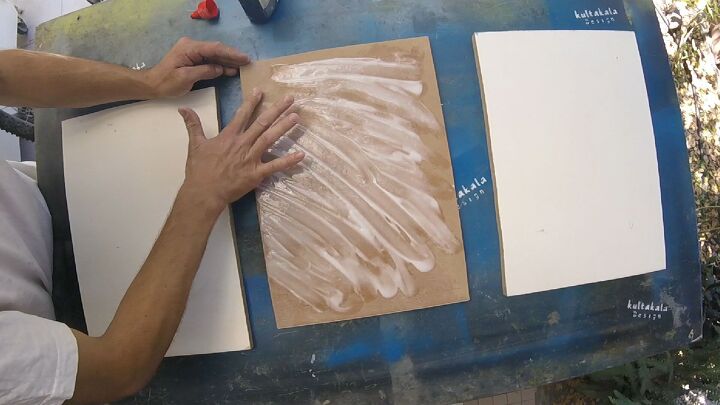
Glued them together and hold them together with clamps for 24 hours.
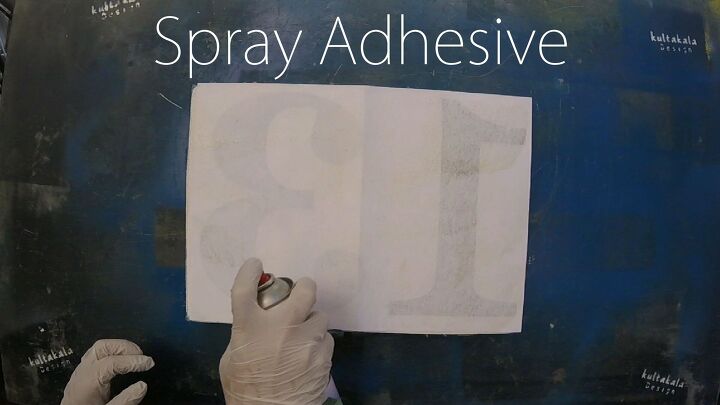
Transfer the numbers to the material
Using spray adhesive, I glued the paper to the MDF surface.
After the glue dried up, I went through with a knife all over the contour of the numbers, so that the rough cut of the Jig saw would not tear up the paper.
Cut the ground line
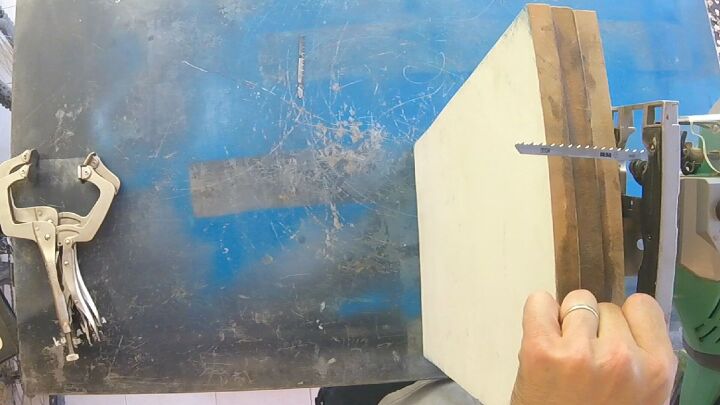
cutting
I replaced the blade with a long blade that can pass the thickness of the material.
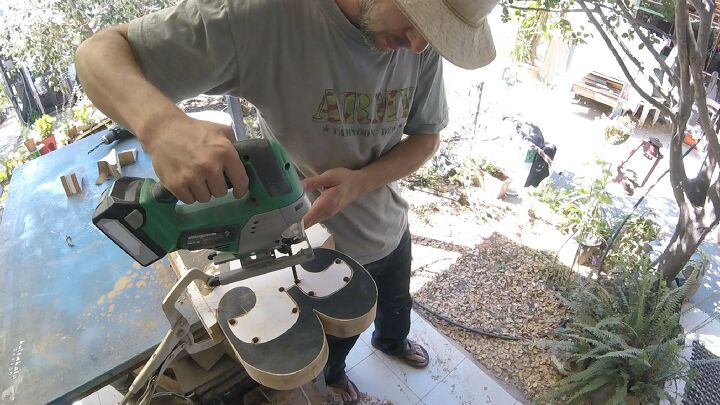
I sawed out the numbers when the blade almost touches the outer line of the numbers so that it can be corrected with a grinder later on.
In the inner areas I also drilled holes that helped me get in with the saw in the middle.
important to know:
when sawing with jig saw, it tends to "fold" sideways mainly at the end of the blade, so it is best to work slowly with minimal pressure.
It is important to use the breather for protection from the dust !
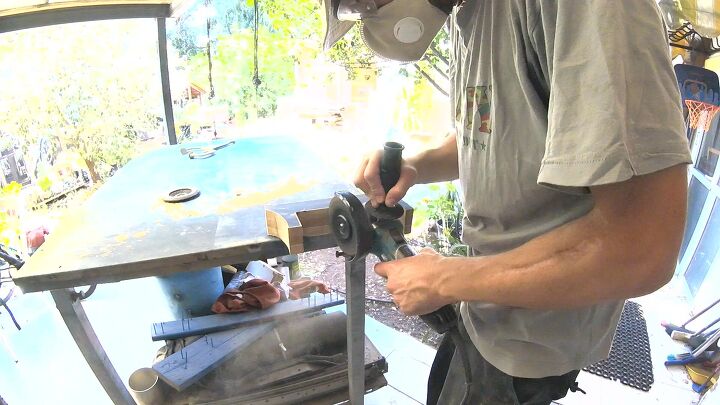
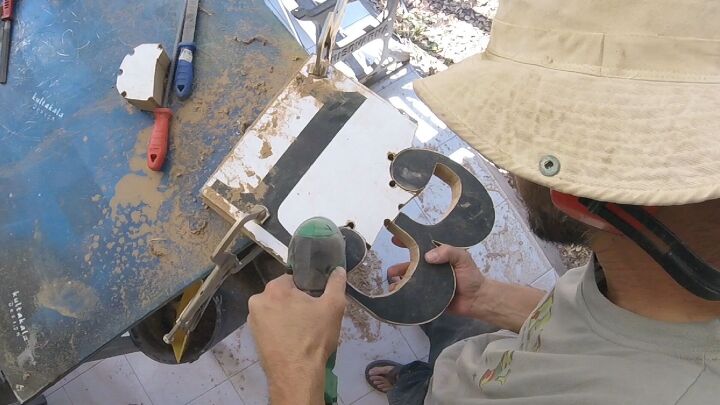
Sanding
Using an angle grinder I began to sand the surface.
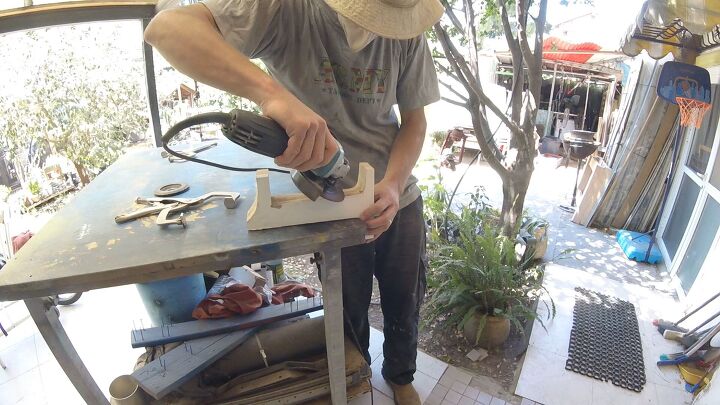
In the inner areas that cannot be reached with the angle grinder I used several types of a files, as well as sanding papers.
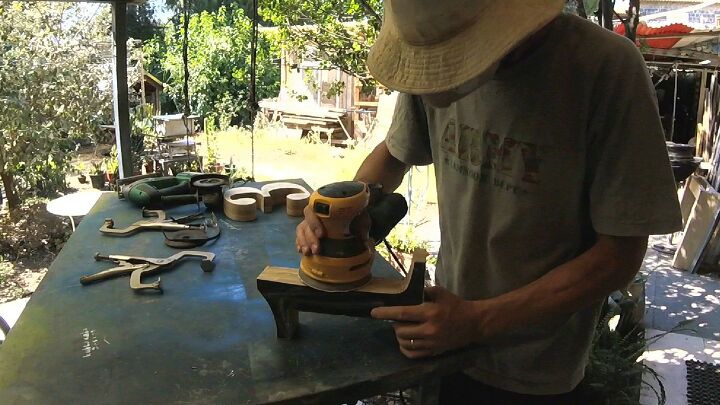
Fine sanding with orbital sander.
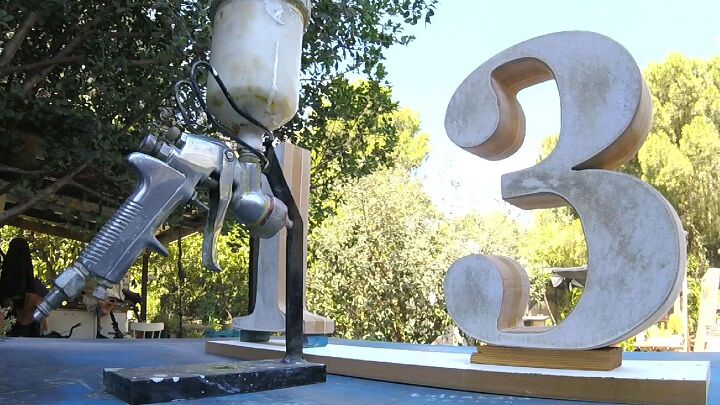
Painting
After all the sanding, I cleaned all the dust with air pressure.
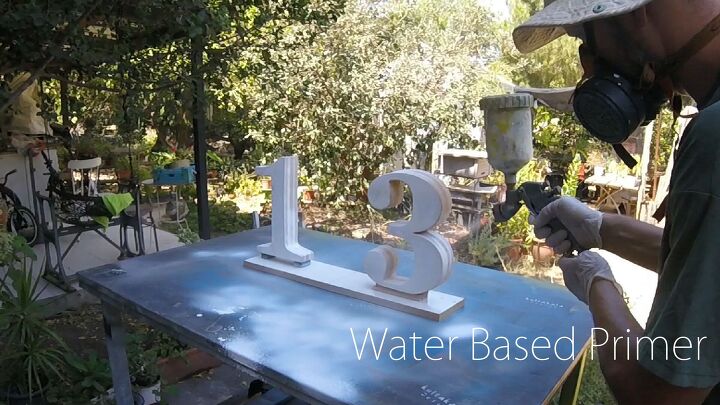
First stage:
water-based base color (primer).
2 layers to hide the connection lines of the MDF surfaces.

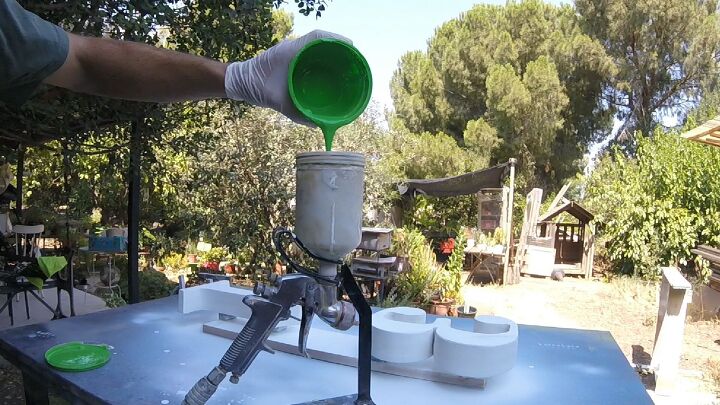
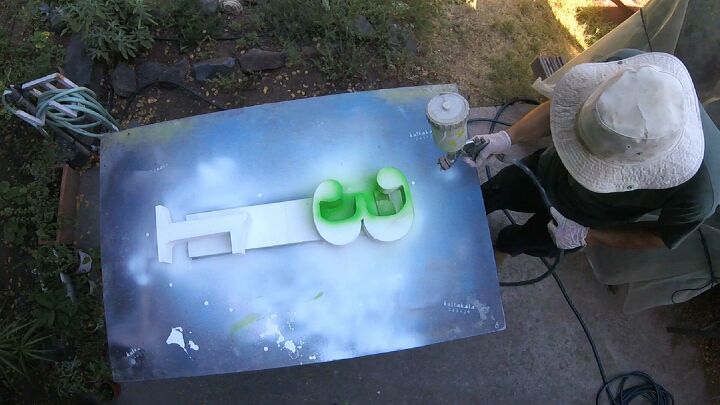
Stage two:
water-based color in a chosen shade: 2 layers.
waiting time between layers usually written in the color can.

Comments
Join the conversation
-
A lot of work but came out perfect. Great share
-
Good tips!


Frequently asked questions
Have a question about this project?