


Best Wishes Topiary Wedding Centerpiece, Michaels Pinterest Party!

by
Melody
I'm thrilled to be participating in the Michaels and Hometalk Pinterest Party happening all across the US and Canada this weekend. The party takes place Sunday, February 16 from 1-4PM at participating stores. Each participating store has been assigned a blogger that will be there to demo a craft for you and help you with yours. This is a free event. All you do is show up check our the Pinterest inspired displays at your local Michaels store, buy your supplies and meet us in the classroom to create your own pin-worthy project! Be sure to follow Michaels on Hometalk (http://www.hometalk.com/michaels) to enter to win a $100 Michaels gift card!! Five winners will be announced on Hometalk's FB page on February 17.
Here is the link to the participating Michaels stores and the bloggers that will be at each event! I will be at the Brookfield, CT store and I would LOVE to see all of you there!! http://www.michaels.com/Pinterest-Party/pinterest-party,default,pg.html
My craft is easy and fun. It can be used in a multitude of ways as well. I figured wedding season is upon us and wanted to figure out a unique addition to a wedding table centerpiece.
Here are the supplies you need:
1 Clay Pot (I used a medium sized pot probably 6 inches in diameter)1 square block of floral foam1 wooden dowel1 bag of sheet moss1 spool of ribbon in a pattern you like1 spool or ribbon in a coordinating pattern (if you choose)1 container of bride confetti1 package of colorful twine1 package of brown paper circles or labels (non-stick)A few push pinsA whole punchAn Exacto knifeA hot glue gun and glue sticksAcryllic craft paint (I used 3 colors)1 wooden embellishment if you want to use onePaint BrushesScissorsPlate for mixing paintWater
The first thing I did was cut my dowel to size using my Exacto knife. I then watered down some brown craft paint and 'stained' my dowel. I wiped the paint on, let it sit for a minute then wiped it off with a paper towel. Next I painted my clay pot with watered down white craft paint. I wanted the pot to look a bit aged so I didn't coat it really well and let is be a bit streaky. I then put my square floral foam in my clay pot with a bit of hot glue to secure it to the pot. I grabbed my round styrofoam ball, my glue gun and my sheet moss and started gluing sheets of moss to the ball until the whole thing was covered. I then cut a circle of sheet moss to fit the opening of the clay pot and glued that on. I put hot glue on one end of the dowel and slowly inserted the glued end into the styrofoam ball, then did the same thing to attach the dowel to the floral foam in the pot.
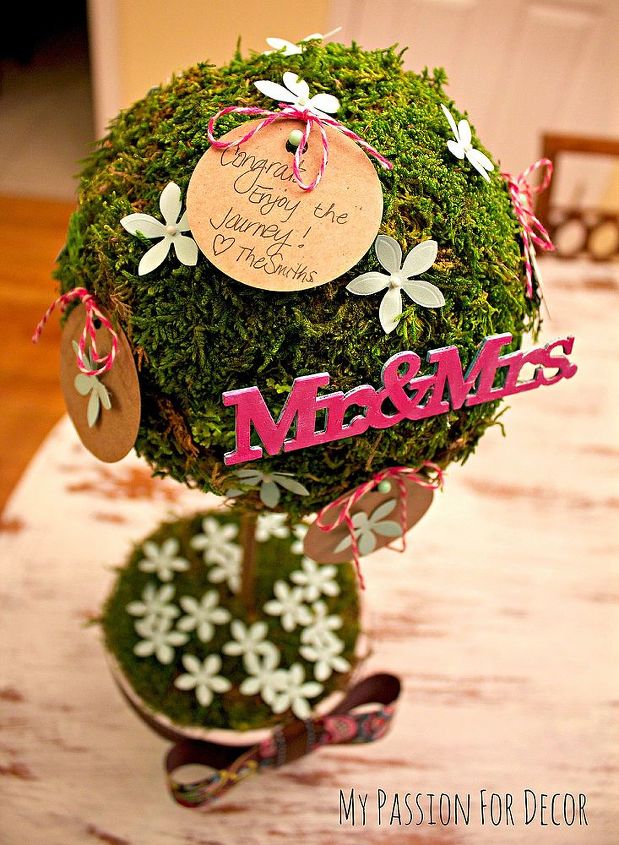
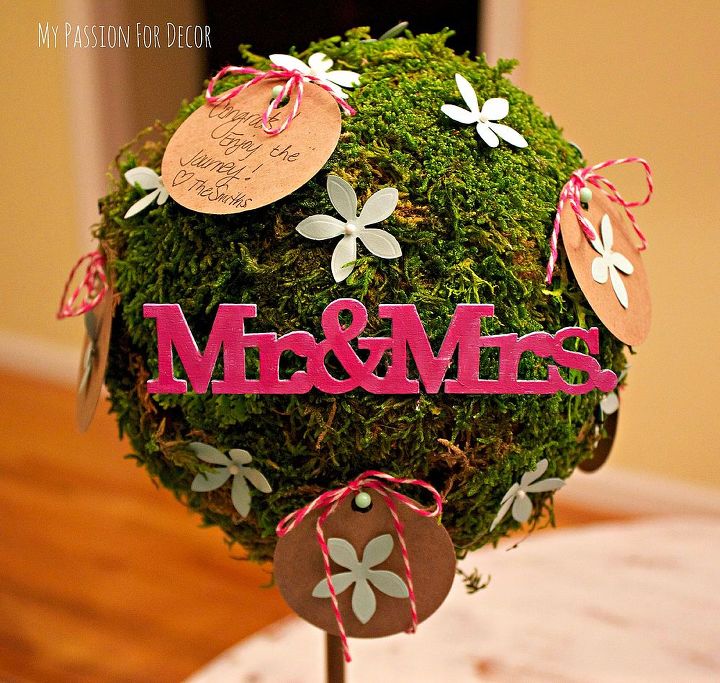
At this point you could just leave this be and have a nice topiary, but since I wanted this to be part of a wedding centerpiece, I added some ribbon to the outside of the clay pot. I also added on a small wood embellishment that I painted with hot pink craft paint and attached to the topiary using hot glue.
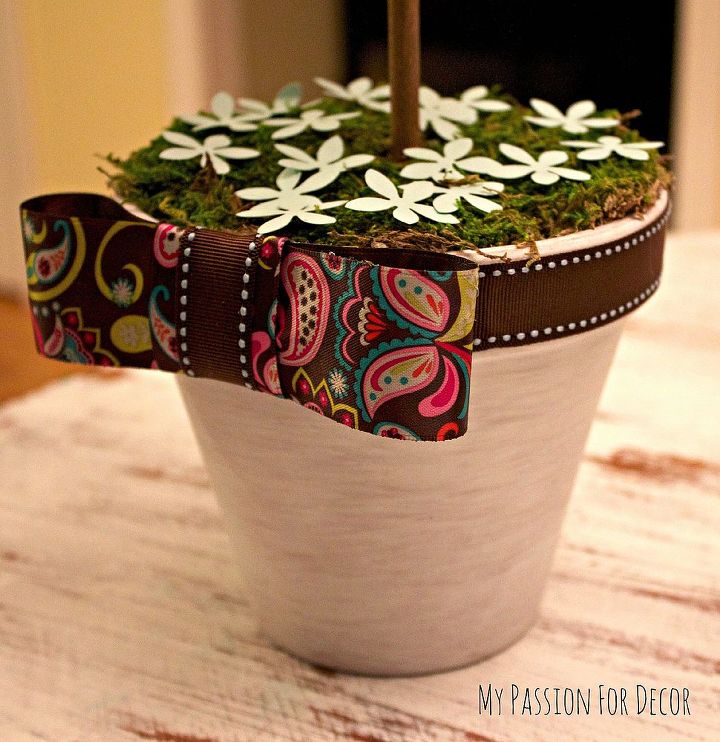
I decorated the ball and base of the topiary with brides confetti. For the ball I attached the confetti using pins for sewing.
For the final touch I cut circles out of brown paper card stock using my paper cutter and used a hole punch to make whole at the top. I glued on a piece of the floral confetti and attached a piece of hot pink and white twine. These are for the guests to write their best wishes and congratulations for the bride and groom. I attached them to the ball using sewing pins with a ball top.
Once I finished the project I realized this could be used in so many different ways! It could be used for your Easter , Thanksgiving, Christmas table for your guests or family to write messages. Or even how I plan to use one for our family to use all year round to write notes of encouragement and thanks. The messages can be kept in a jar and then we will read them as a family at the end of the year.
I hope everyone will make it to their participating Michaels to craft and visit with your local bloggers. Don't forget to follow Michaels on Hometalk!
There are even more details on the blog post http://mypassionfordecor.blogspot.com/2014/02/its-time-for-michaels-pinterest-party.html
The Hometalk Team Michaels
Here is the link to the participating Michaels stores and the bloggers that will be at each event! I will be at the Brookfield, CT store and I would LOVE to see all of you there!! http://www.michaels.com/Pinterest-Party/pinterest-party,default,pg.html
My craft is easy and fun. It can be used in a multitude of ways as well. I figured wedding season is upon us and wanted to figure out a unique addition to a wedding table centerpiece.
Here are the supplies you need:
1 Clay Pot (I used a medium sized pot probably 6 inches in diameter)1 square block of floral foam1 wooden dowel1 bag of sheet moss1 spool of ribbon in a pattern you like1 spool or ribbon in a coordinating pattern (if you choose)1 container of bride confetti1 package of colorful twine1 package of brown paper circles or labels (non-stick)A few push pinsA whole punchAn Exacto knifeA hot glue gun and glue sticksAcryllic craft paint (I used 3 colors)1 wooden embellishment if you want to use onePaint BrushesScissorsPlate for mixing paintWater
The first thing I did was cut my dowel to size using my Exacto knife. I then watered down some brown craft paint and 'stained' my dowel. I wiped the paint on, let it sit for a minute then wiped it off with a paper towel. Next I painted my clay pot with watered down white craft paint. I wanted the pot to look a bit aged so I didn't coat it really well and let is be a bit streaky. I then put my square floral foam in my clay pot with a bit of hot glue to secure it to the pot. I grabbed my round styrofoam ball, my glue gun and my sheet moss and started gluing sheets of moss to the ball until the whole thing was covered. I then cut a circle of sheet moss to fit the opening of the clay pot and glued that on. I put hot glue on one end of the dowel and slowly inserted the glued end into the styrofoam ball, then did the same thing to attach the dowel to the floral foam in the pot.
At this point you could just leave this be and have a nice topiary, but since I wanted this to be part of a wedding centerpiece, I added some ribbon to the outside of the clay pot. I also added on a small wood embellishment that I painted with hot pink craft paint and attached to the topiary using hot glue.
I decorated the ball and base of the topiary with brides confetti. For the ball I attached the confetti using pins for sewing.
For the final touch I cut circles out of brown paper card stock using my paper cutter and used a hole punch to make whole at the top. I glued on a piece of the floral confetti and attached a piece of hot pink and white twine. These are for the guests to write their best wishes and congratulations for the bride and groom. I attached them to the ball using sewing pins with a ball top.
Once I finished the project I realized this could be used in so many different ways! It could be used for your Easter , Thanksgiving, Christmas table for your guests or family to write messages. Or even how I plan to use one for our family to use all year round to write notes of encouragement and thanks. The messages can be kept in a jar and then we will read them as a family at the end of the year.
I hope everyone will make it to their participating Michaels to craft and visit with your local bloggers. Don't forget to follow Michaels on Hometalk!
There are even more details on the blog post http://mypassionfordecor.blogspot.com/2014/02/its-time-for-michaels-pinterest-party.html
The Hometalk Team Michaels

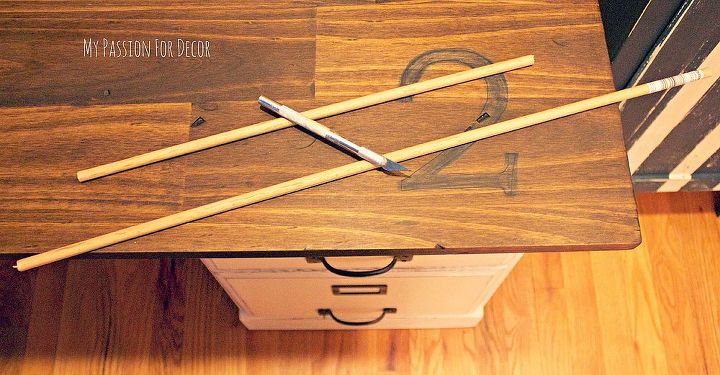
This is the dowel after it was cut with the Exacto knife
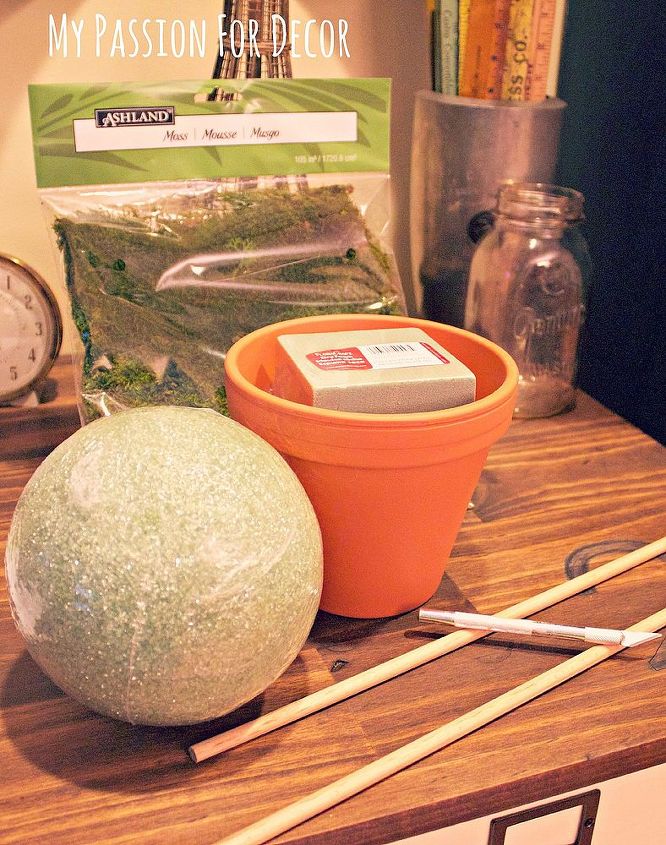
Some of the supplies needed
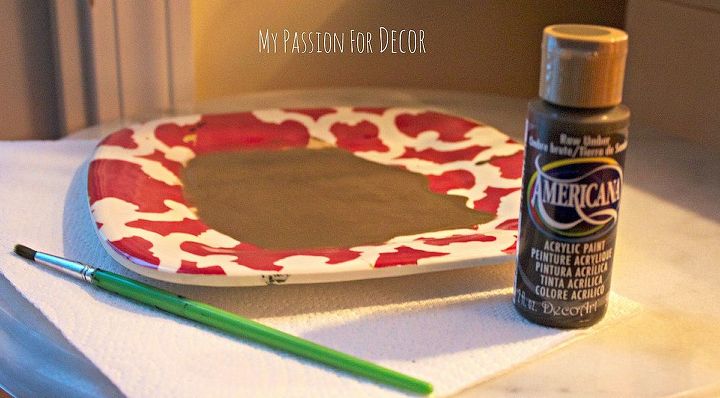
This is the watered down craft paint I used to 'stain' the dowel. Just brush or wipe it on, let it sit for a minute then wipe it off. Reapply if it's not dark enough for your liking.
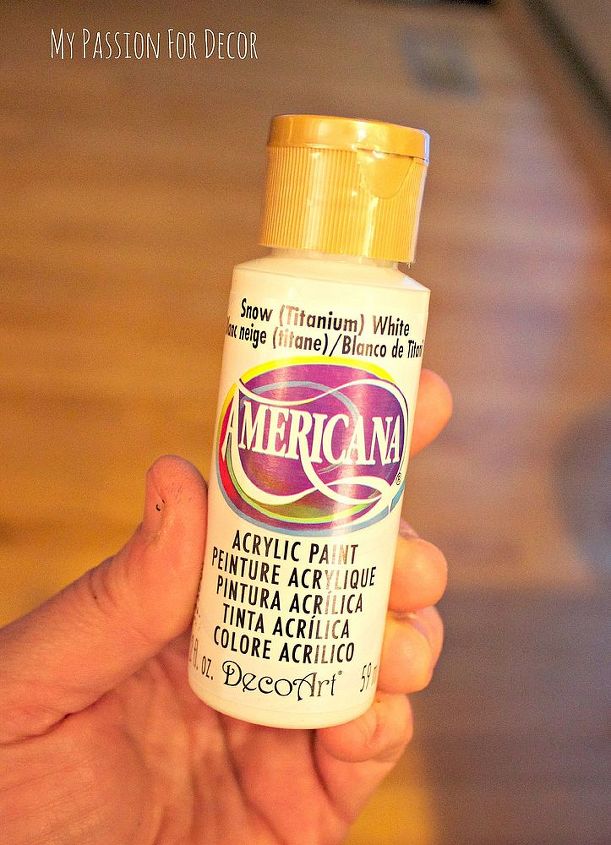
I used this craft paint to paint the clay pot
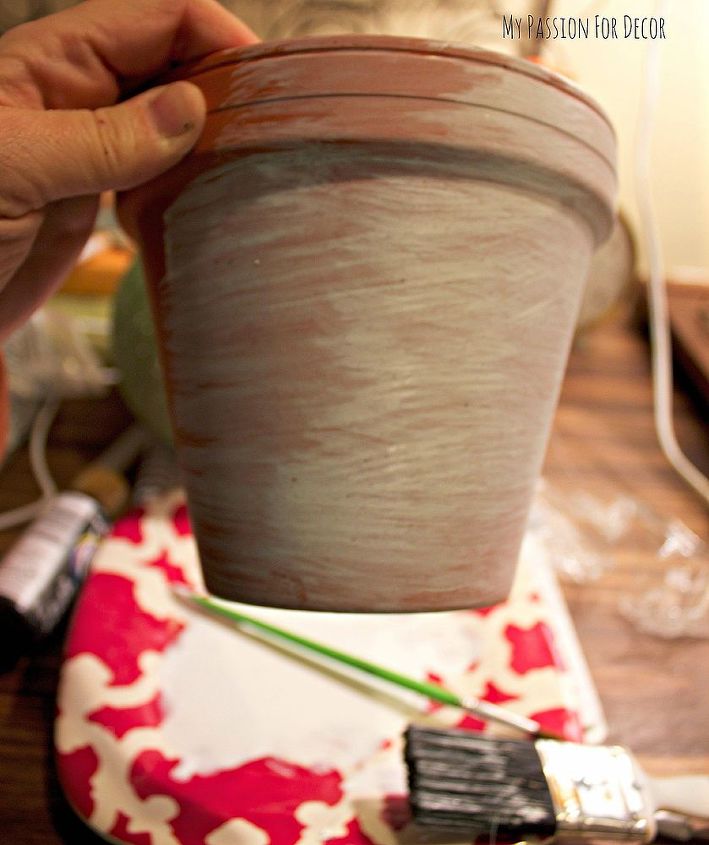
You can see here, when I painted on the watered down white craft paint I did it in a streaky manner, then layered it on after the first layer was dried until the desired effect was achieved.
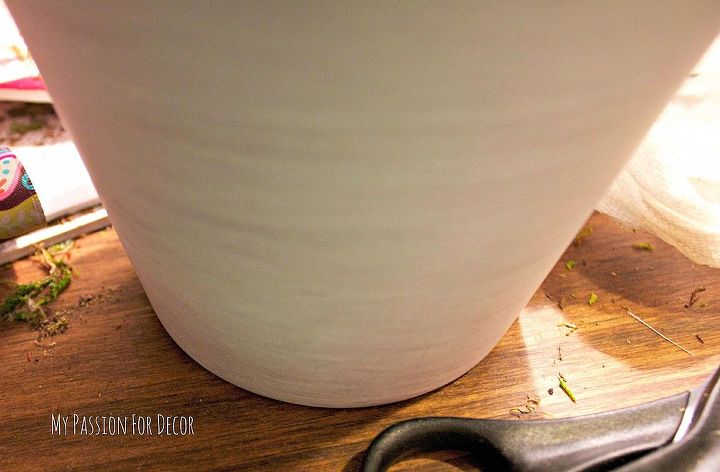
This is how the pot looked when I was finished painting. You could do more or less paint, and even distress it with some sandpaper if you wish.
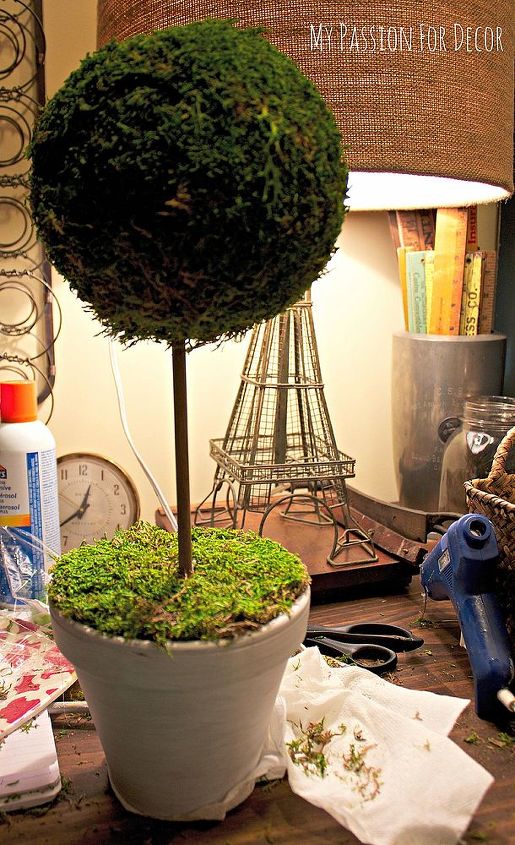
Finished topiary with no embellishments
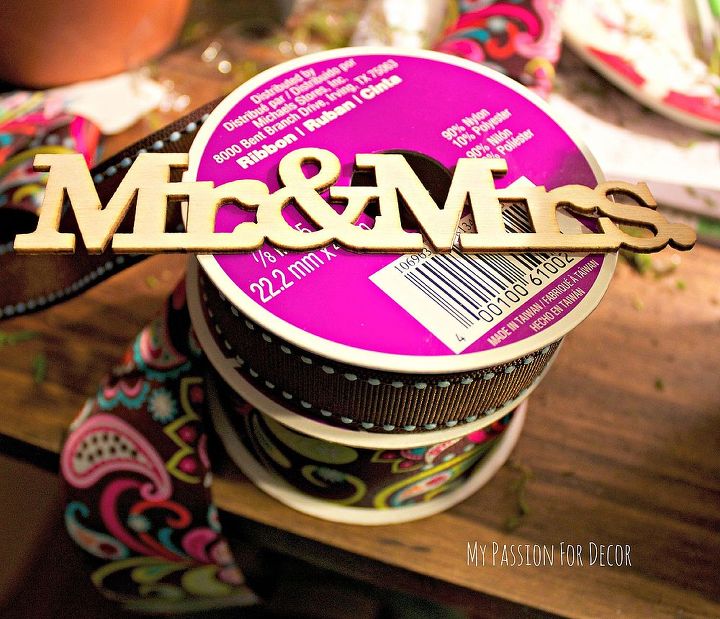
This is the wood embellishment i painted with hot pink craft paint.

I used to coordinating ribbons for my pot.
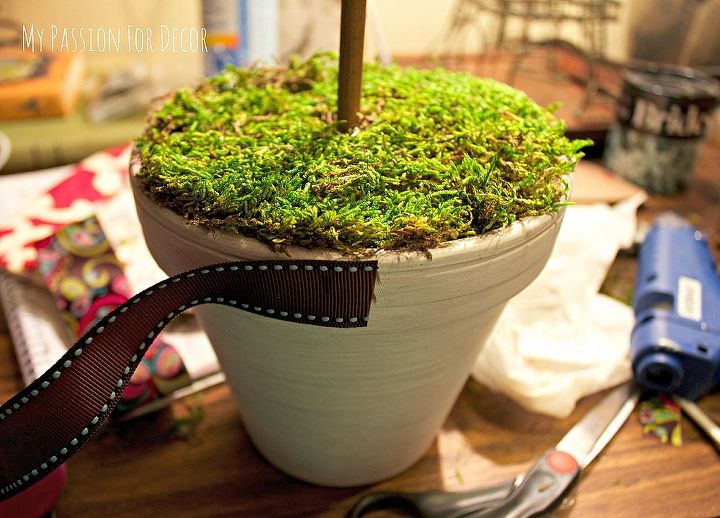
I attached the smaller of the 2 ribbons with hot glue to the edge of the pot.
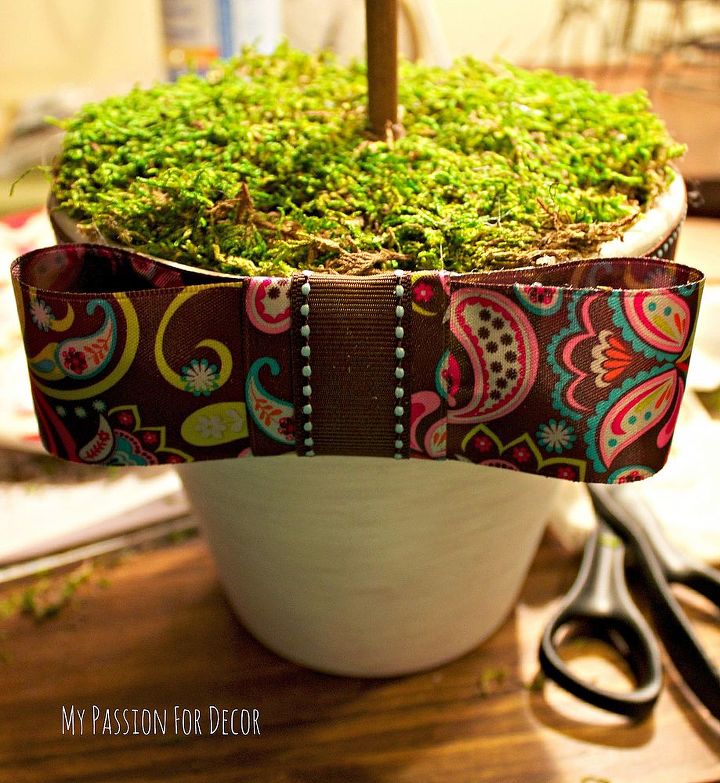
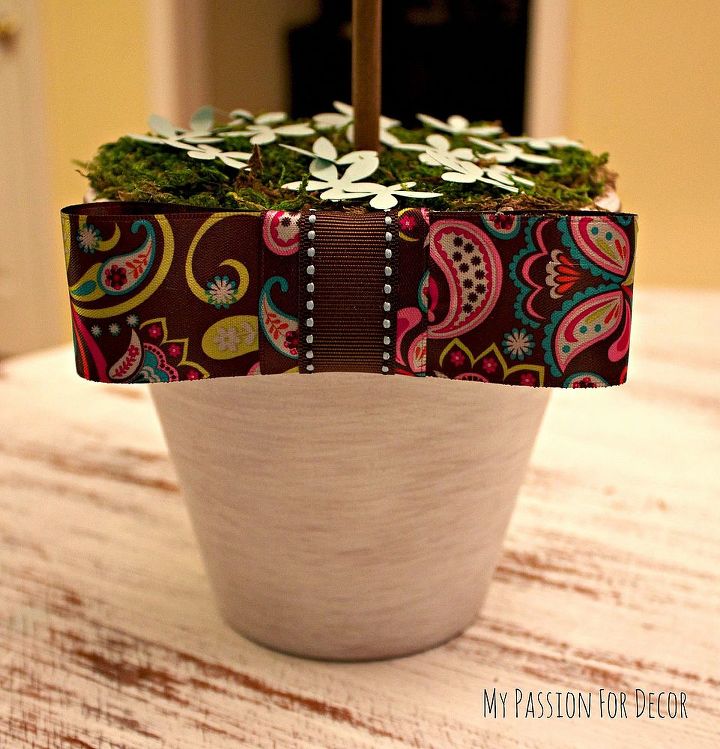
I made the bow by making a circle with the paisley ribbon and hot gluing it together. Then I cut another small piece of the paisley ribbon and small brown ribbon and attached it around the middle with glue.
The bow is attached to the pot using hot glue
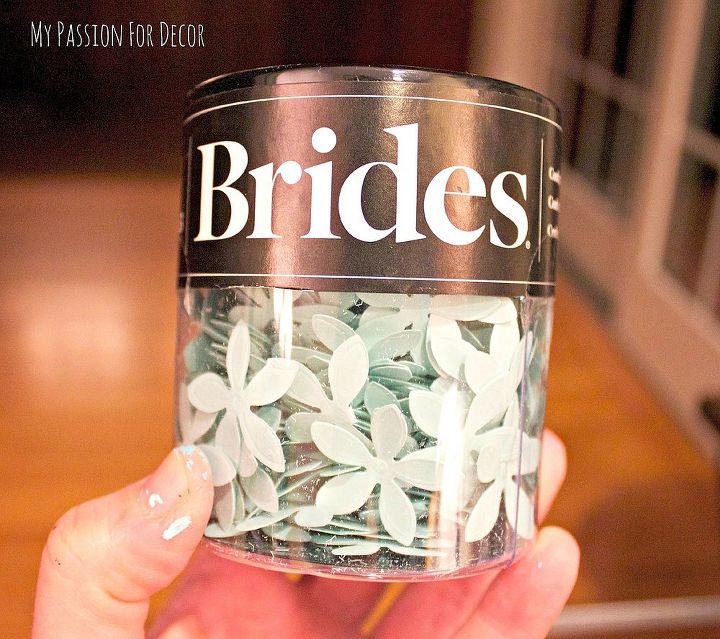
This is the Brides confetti I used on to decorate the topiary
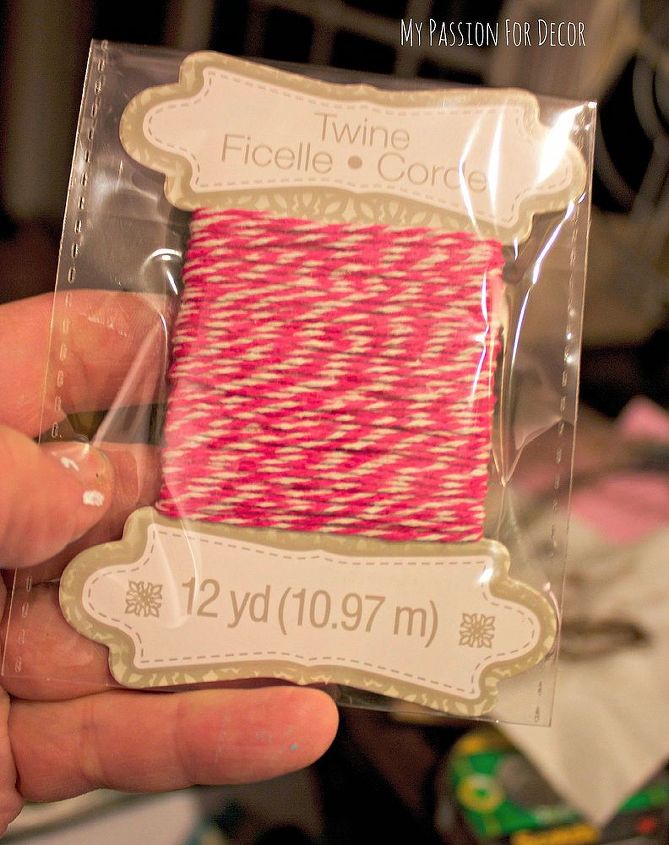
The twine I used to attach the brown paper circles.
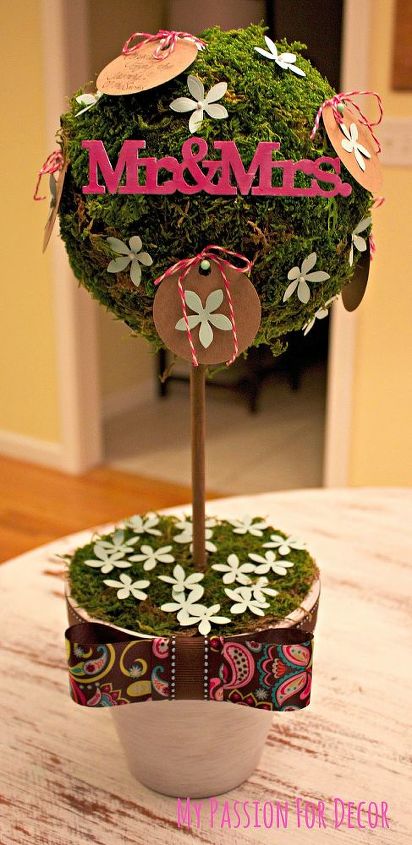
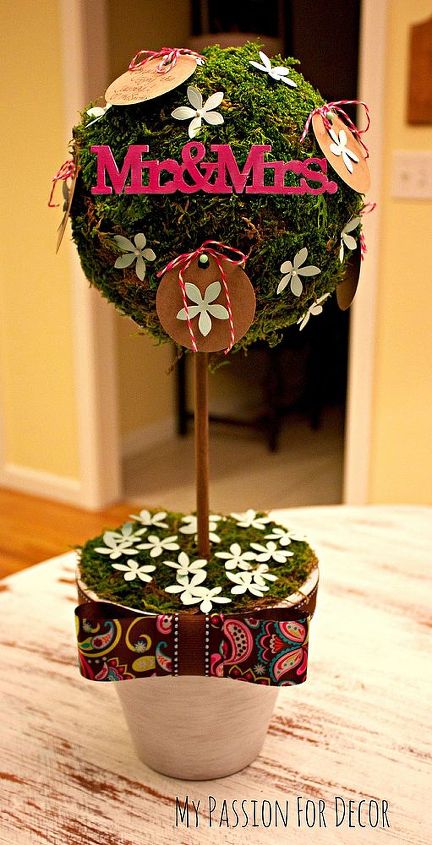
Finished product!
Once the labels are written on they can be reattached to the topiary and when it's full they can be placed in a cute jar or bowl.
There are so many ways you can use this idea in your own home. A family memory tree, a birthday wishes tree, Thanksgiving blessings, or even a year long memories tree.
Want more details about this and other DIY projects? Check out my blog post!


Frequently asked questions
Have a question about this project?