


Book Page Lamp Revamp

A contemporary take on book page decoupage using a really ancient book.
At first glance this project may appear to be sacrilegious. I assure you it’s not, anything but. I used pages from a Bible that I specifically bought at a secondhand bookshop. Bible pages are made from thin, acid-free, good quality paper which is perfect for this project. Rice paper or at a pinch tissue paper can be considered.
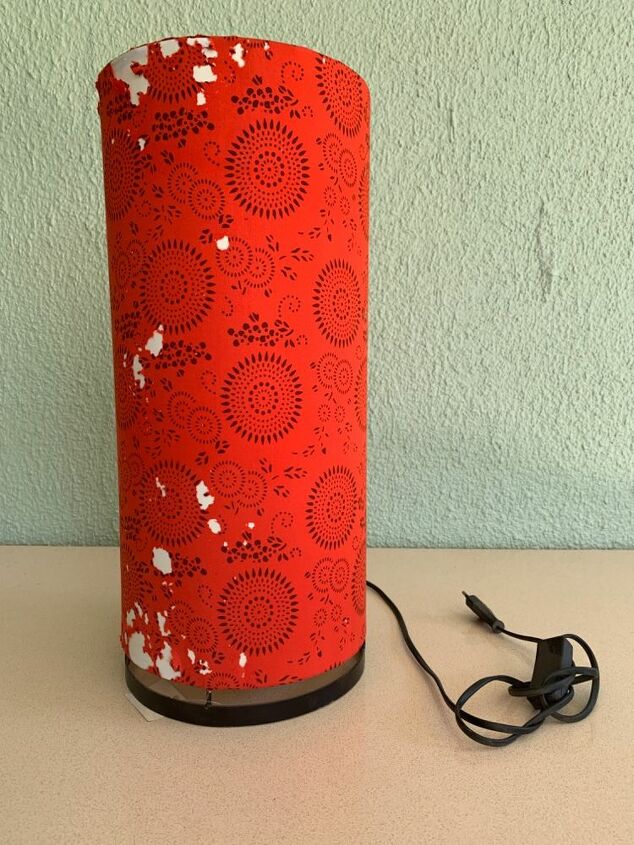
I started with a moth-eaten table lamp that had good bones, no paint chips on the visible parts and more importantly, a functioning socket.
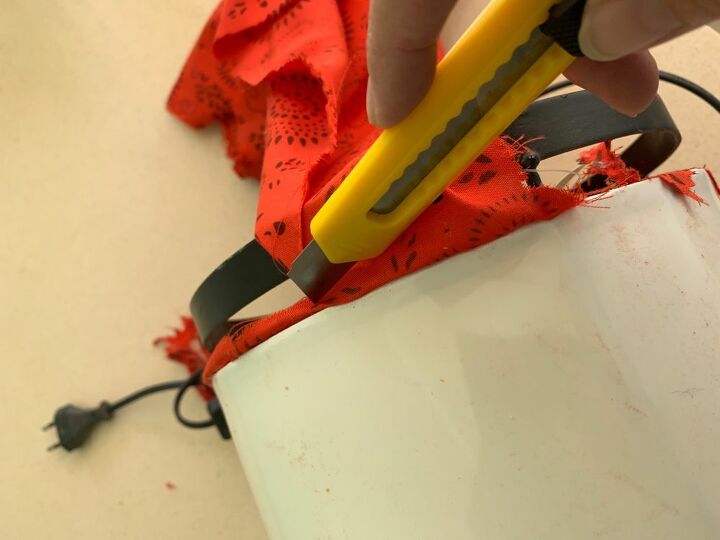
Using a craft knife, I stripped as much of the fabric as I could. There was some left, particularly around the edges. This had to be removed by tugging and even then there were still stubborn sections that remained.
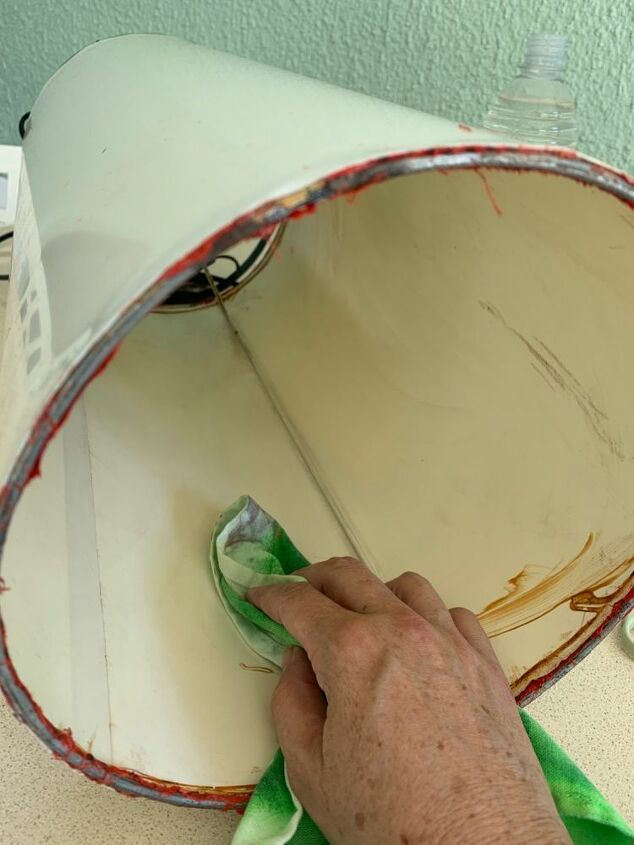
Fortunately the plastic inner was still intact, although very grotty. I used a cloth and lacquer thinners to clean it as well as I could. There were some brown smears that still didn’t budge.
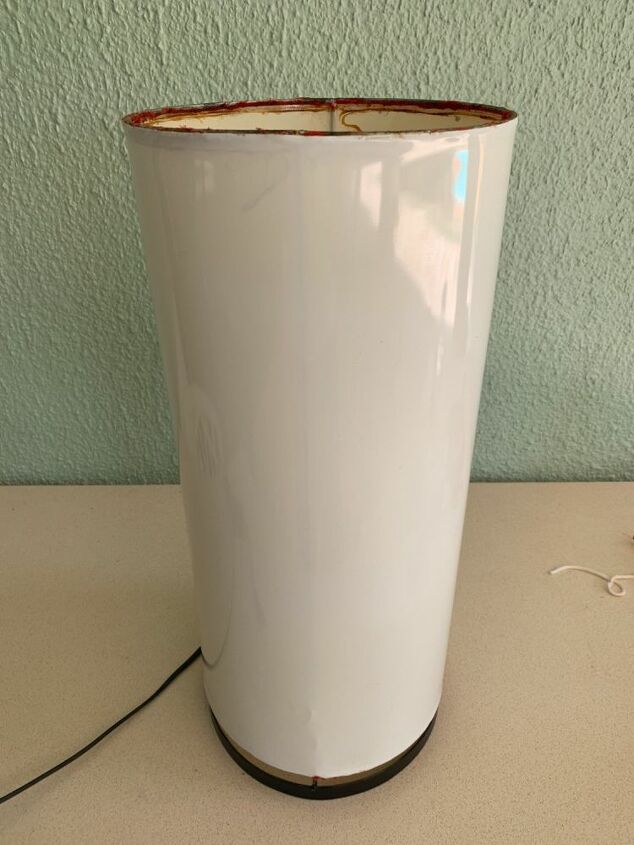
I was left with a reasonably nice looking base if you didn’t look down into it from above.
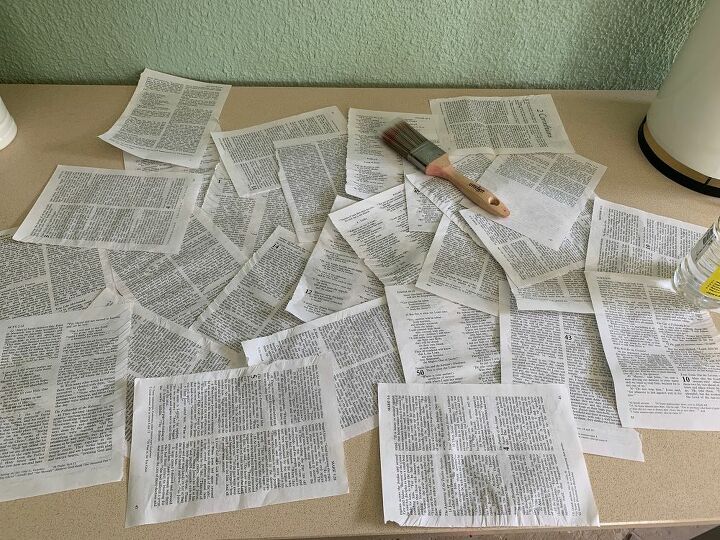
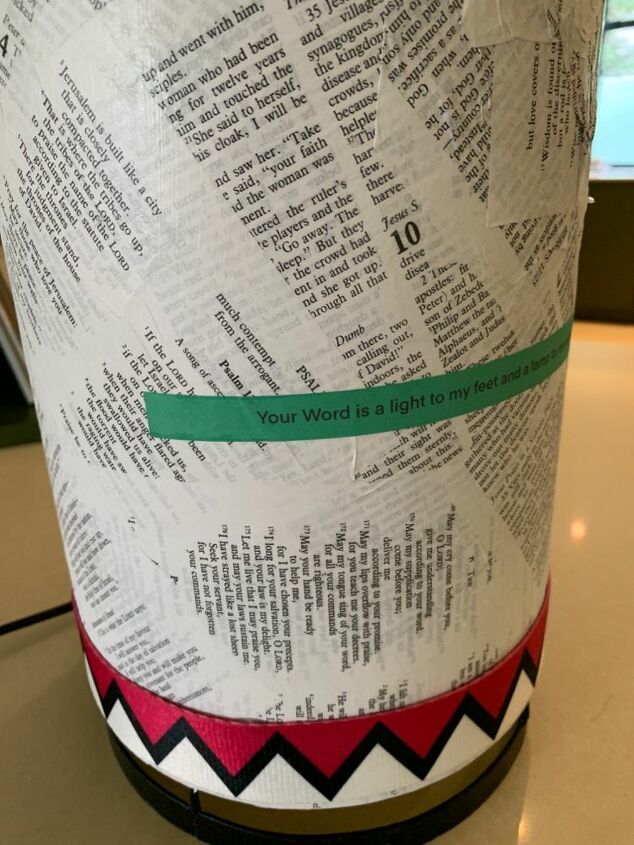
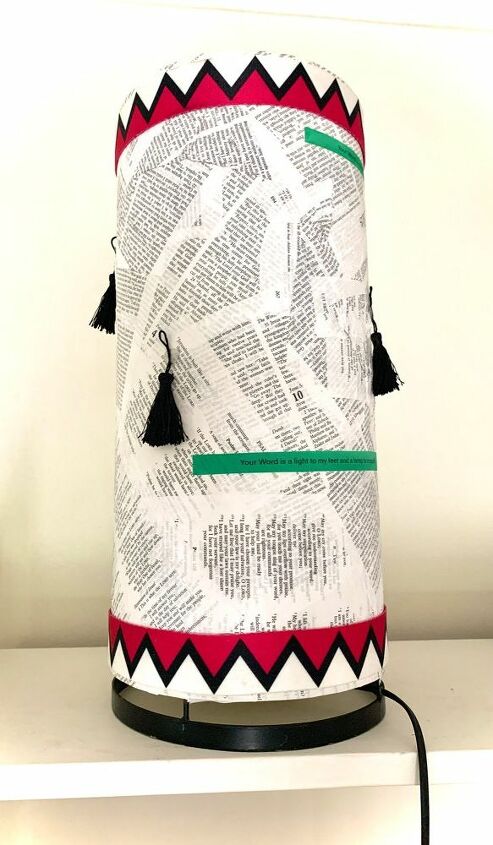
Next, I tore pages out and stuck them by spreading matte podge on the back and finally when all were in position, the front. I wasn’t going for a smooth effect so there were lots of wrinkles and overlapping. In fact, in some places I intentionally scrunched the sheets before sticking them. This resulted in a raised effect which may or may not look good - I’m still not quite sure. It does however, result in some interesting shadows when the lamp is on.
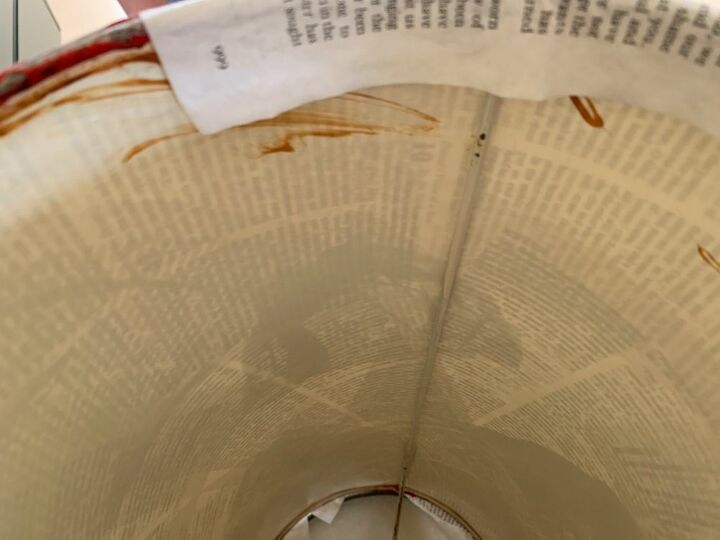
It is important to paste the sheets beyond the top and bottom edges and not just to the edge. This way any fabric residue will be covered. But don’t stick anything down on the inside until you have done the final trimming.
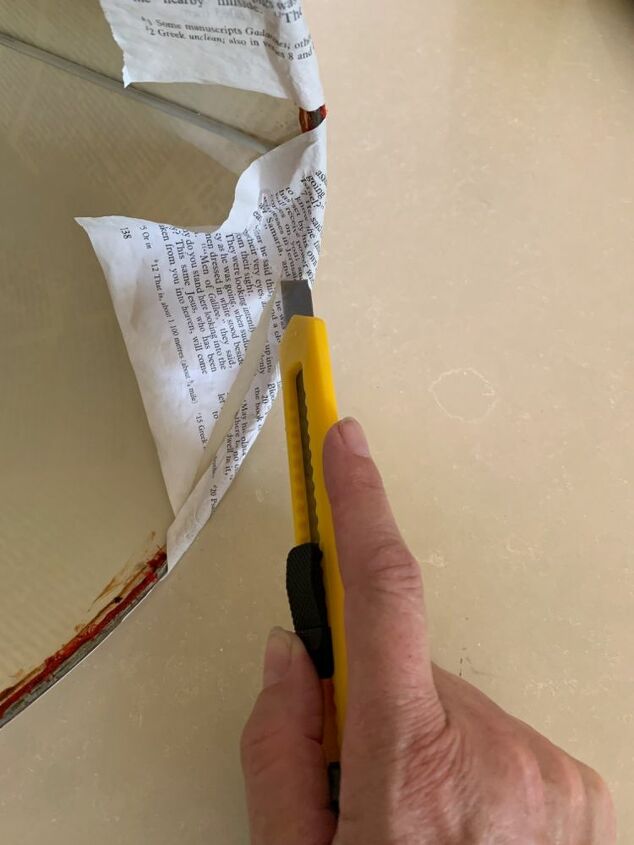
When everything was dry I used a craft knife to trim down the inside edges to just below the wire frame. Any small bare parts were also patched using school glue and bits of paper.
Because I was still debating whether I should go garish with the quotes on my lamp, I sealed it with spray matte varnish in the interim. This resulted in some extra effort at a later stage when I finally mustered the courage to go seriously green and violently pink. First prize would have been to stick first and seal once later.
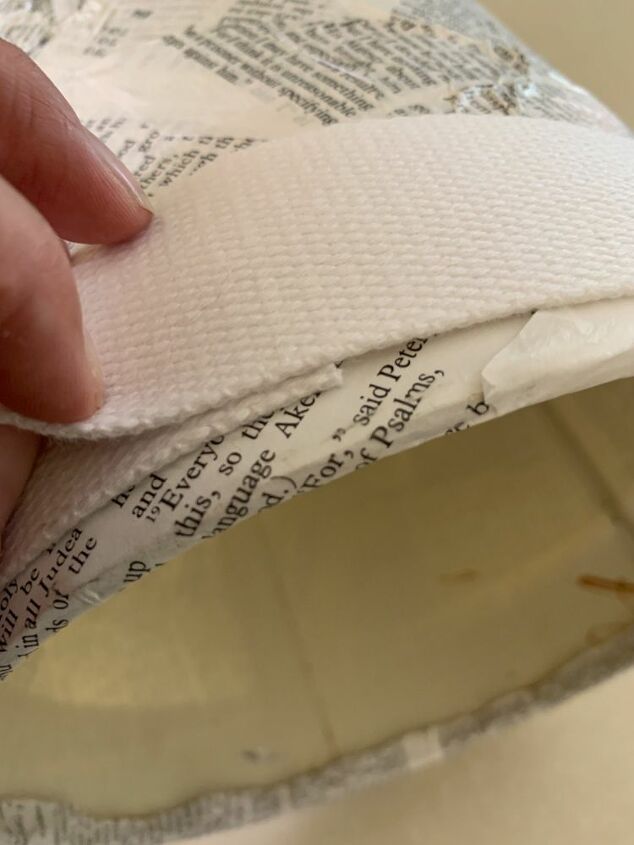
Anyhow, to camouflage the brown smears I bought a strip of plain something or other from a fabric shop that was wide enough to cover the worst. I can’t tell you exactly what it is other than that it is plain, thickish, cotton rich and can be found amongst the trims.
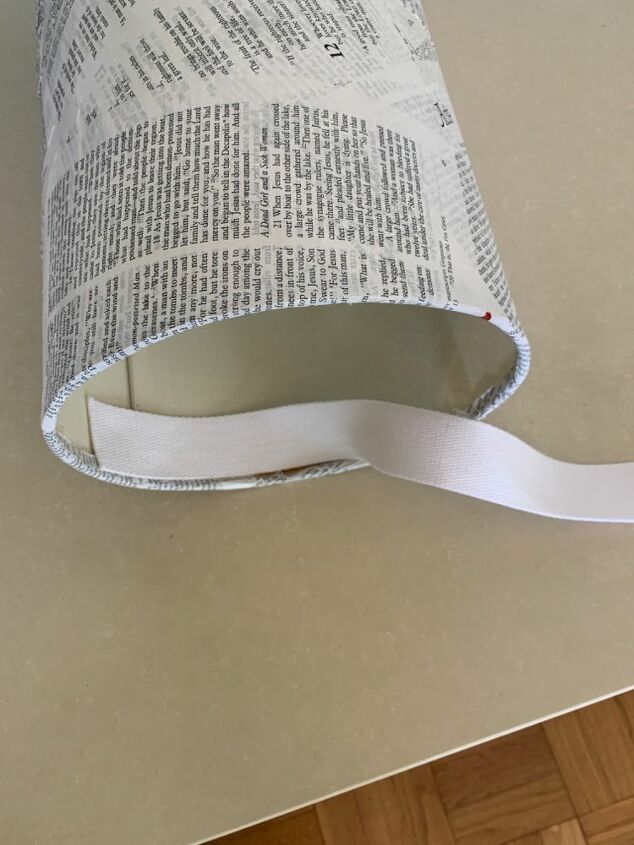
I measured it around the outside circumference of the shade, making sure there was a slight overlap and then stuck it to the inside using a glue gun. This covered a multitude of..ahem...sins.
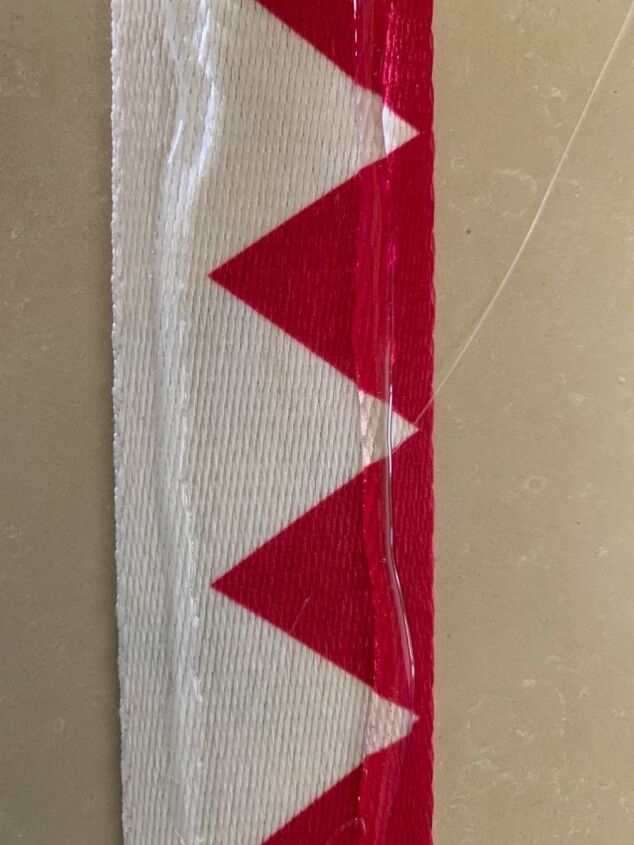
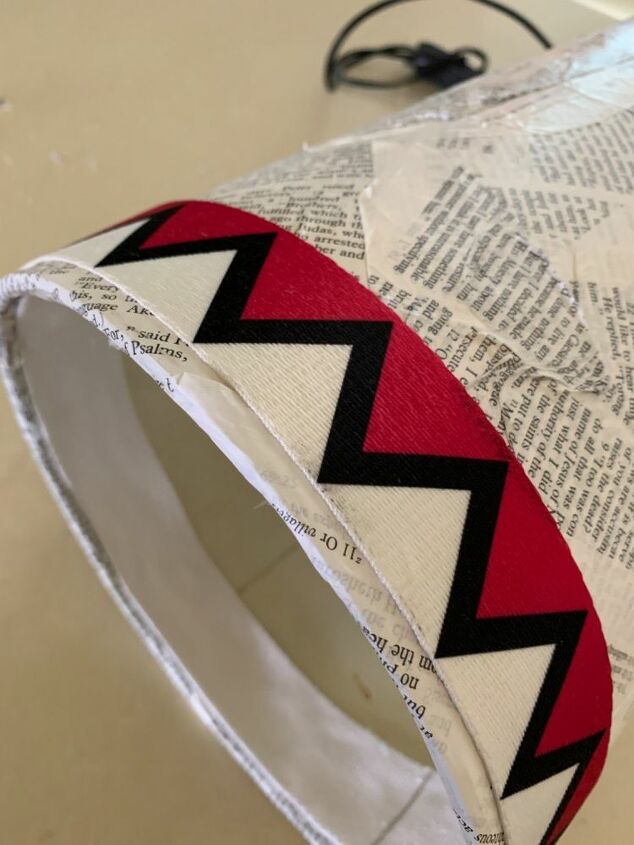
Next came the fabulously brave coloured trim which was also glued on at the top and bottom of the shade on the visible side.
I took the plunge and printed my quotes in bright green using my home computer. Having cut them into strips, I covered their backs with a spray contact adhesive. I waited 10 seconds or so and then stuck them into position.
Of course, this meant that they needed an extra coat of spray varnish, which meant that the trims had to be masked...
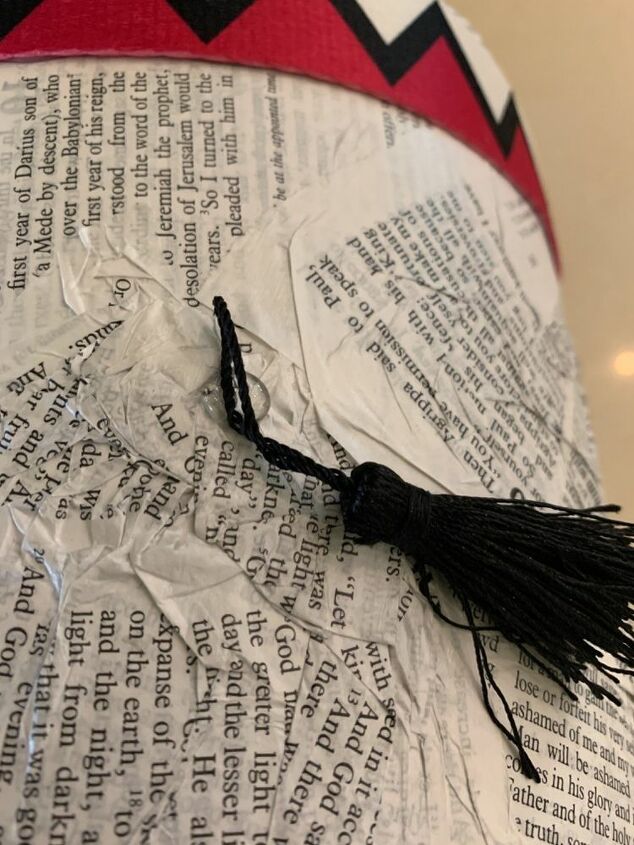
As if my design wasn’t ‘out there’ enough already, I decided to ad some black tassels. I stuck these on over the scrunched areas using the glue gun.
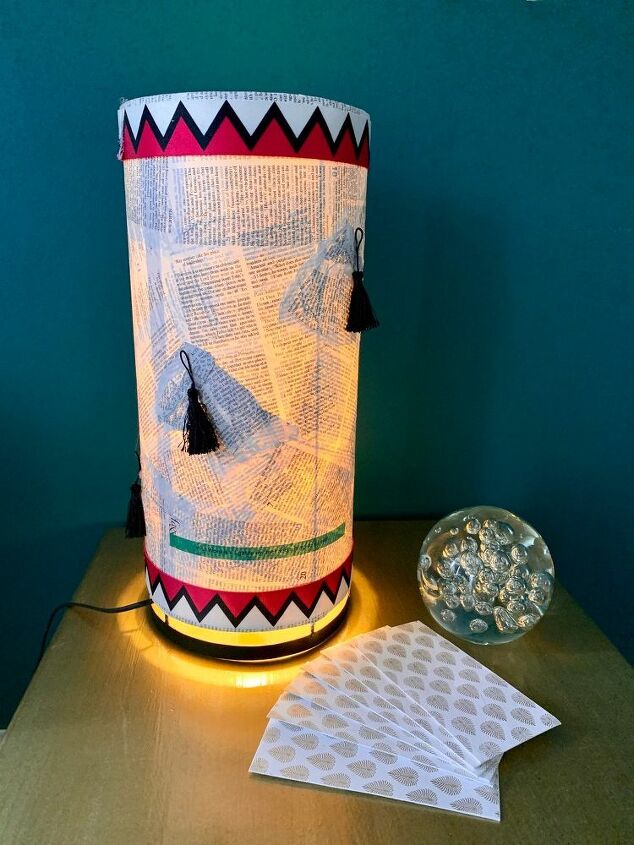
After screwing in a light bulb it was ready to shine
Adherents of the ‘tastefully understated’-school of decorating may be gagging at the finished product at this point. Don't worry, yours needn't be done in the same style as this. But I happen to love it.
Resources for this project:
See all materials


Comments
Join the conversation
-
Cute idea. Yours kind of looks like a tall drum. Good share


Frequently asked questions
Have a question about this project?