


Diy Daisy Ring Tray Making

I made a very stylish ring plate in this post.
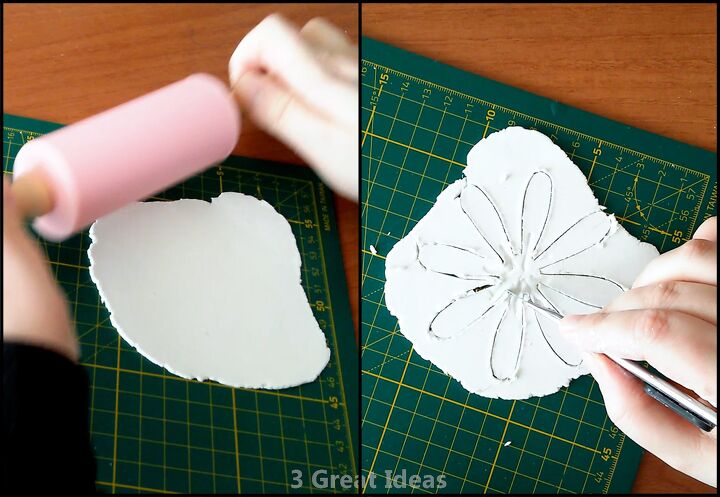
I used air-drying clay. I rolled the clay with a rolling pin to a thickness of 4-5 mm. I cut a daisy shape with a utility knife. If you have a ready-made cutting mold, you can also use it. Or you can cut a daisy shape from paper, put it on the dough, and cut the daisy shape with a utility knife.
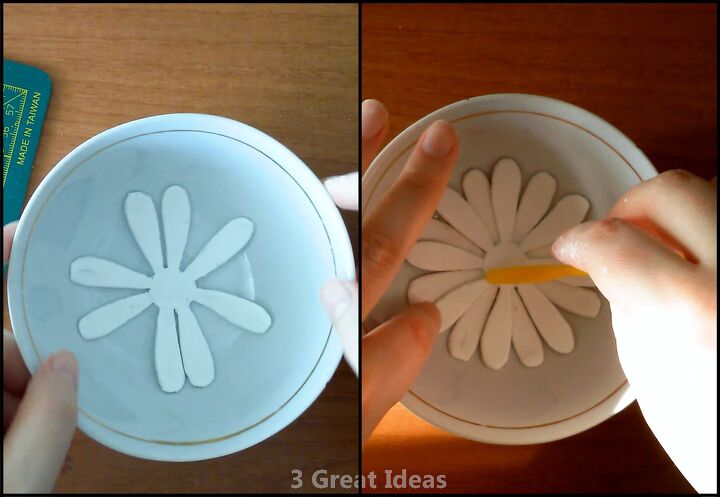
I put the daisy shape in a deep bowl. In the same way, I made 1 more daisy and put it on top of each other in the bowl.
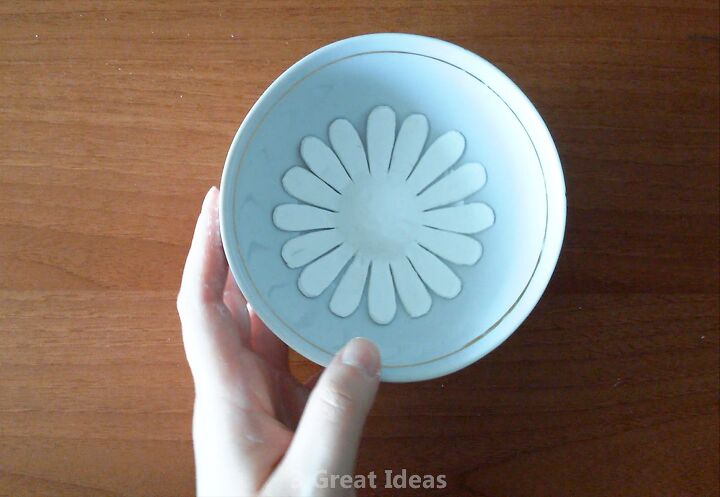
Make a small circle out of clay dough for the round part in the middle of the daisy. You only need to use water to stick the clay doughs together.
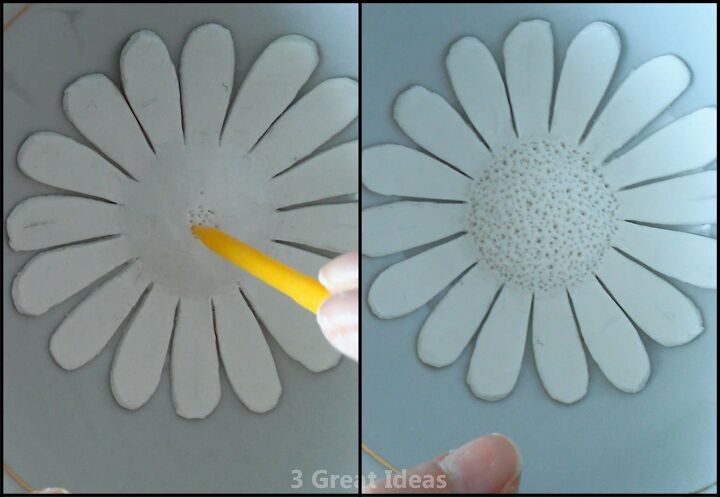
Make small holes in the entire round part with a pointed object. This way the daisy will look more real.

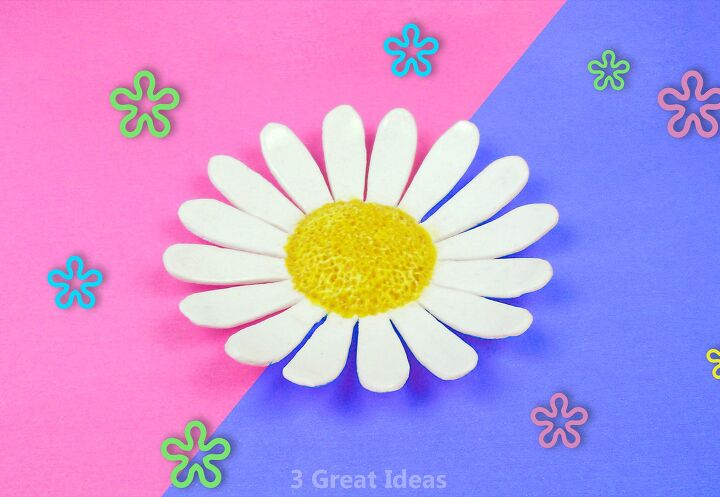
Let the clay dough dry for at least 24 hours. After drying, paint the middle part of the daisy yellow. I used watercolor. But you can also use acrylic or gouache paint. Apply varnish after the paint dries.
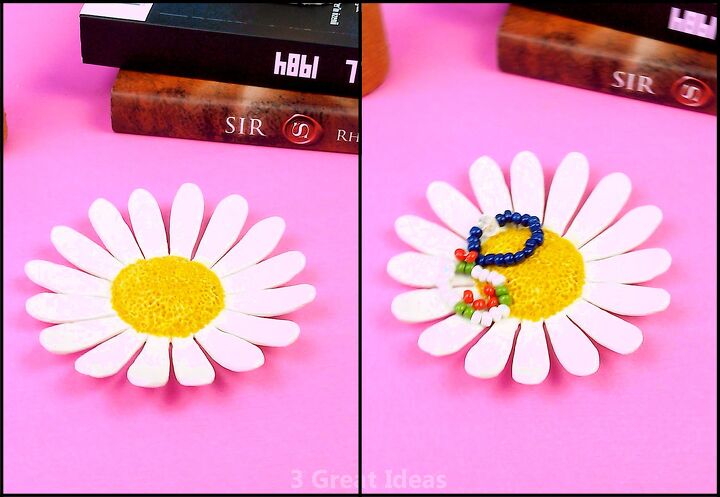
In this way, the daisy ring tray is ready. You can use it not only for your rings, but also as an organizer for jewelry and paper clips. Or you can just use it as a decor.
I love daisies. That's why I made it in the form of a daisy. But you can do it any way you want.
If you want to watch all this content as a video, you can see all the details in this video.


Frequently asked questions
Have a question about this project?
Very cute